How to Build a $100 DIY Dining Table - with Plans
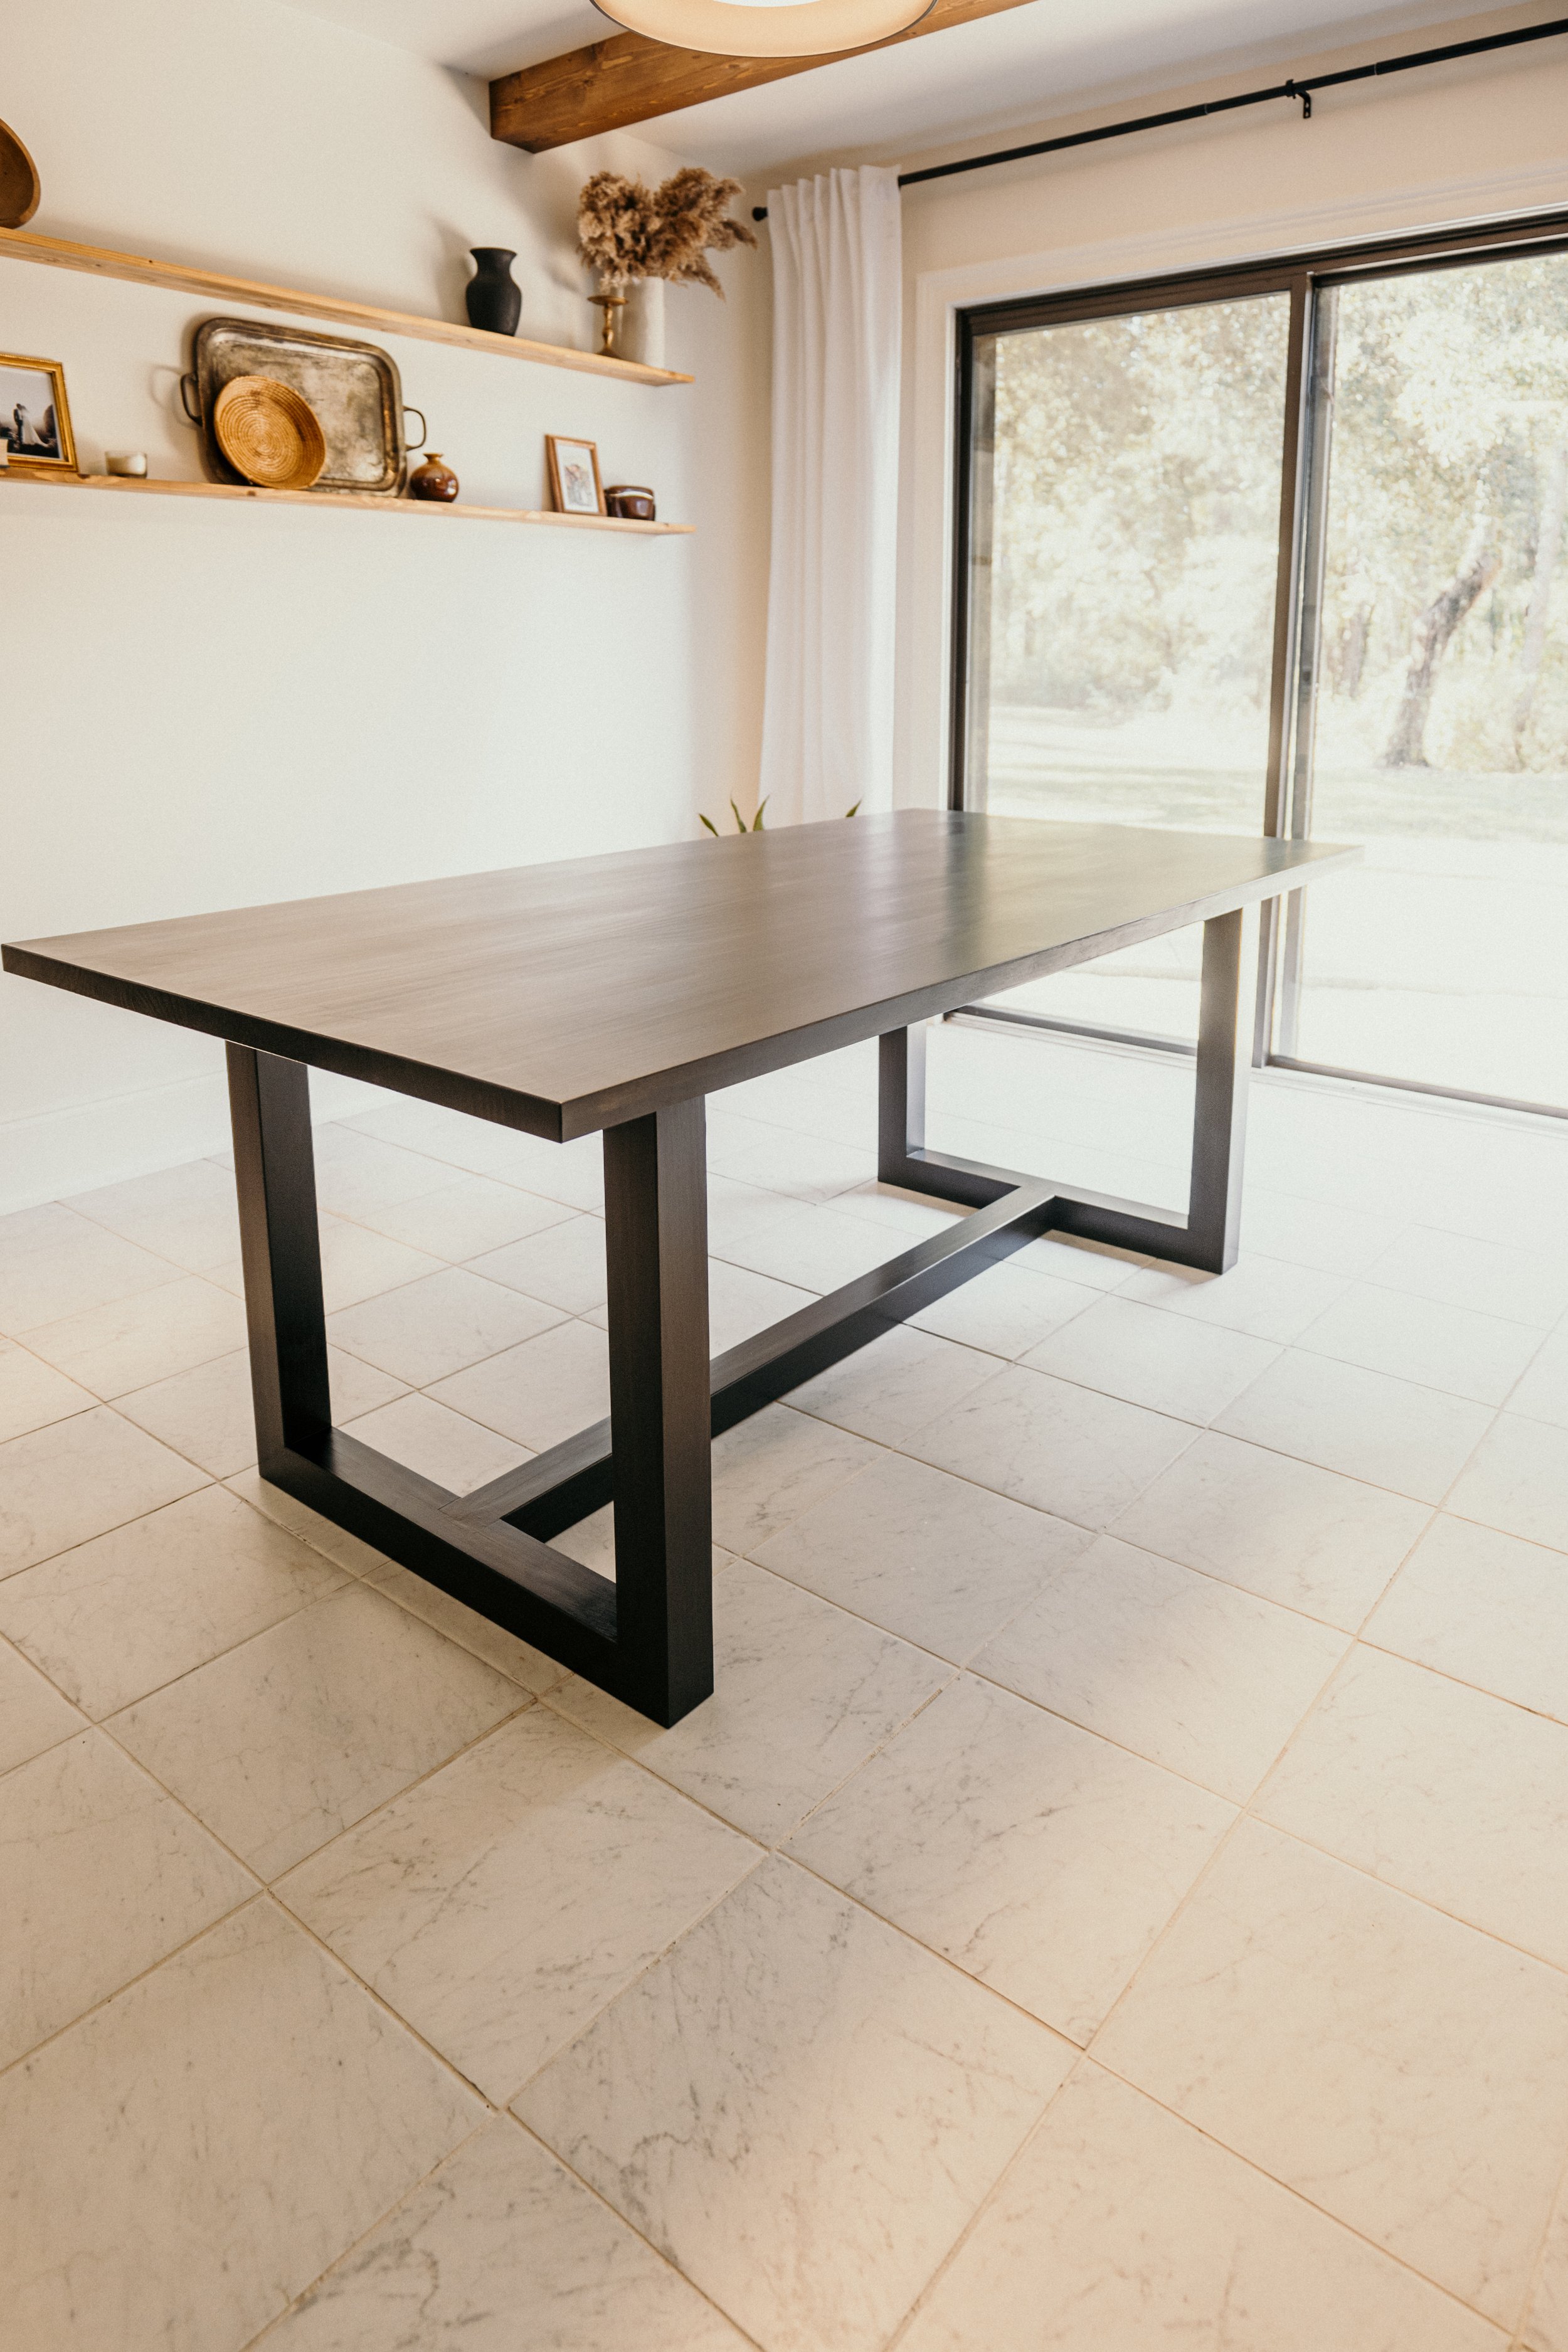
Lumber prices are going down people!! We built this Modern Farmhouse Dining Table for $100 in wood materials. The last time this happened was in 2017. Honestly, I wouldn’t just say this is a farmhouse table. This would be perfect in a contemporary home (like ours) or even in a modern organic home.
Full set of build plans with a cut list and detailed 3D modeled instructions here: https://www.woodbrew.tv/store/p/diy-modern-farmhouse-dining-table-plans
Materials
Clear Coat Finish (Polyurethane or Polycrylic are great DIY options) We chose to use a high-end outdoor finish that is more expensive/optional.
How to Choose Your Materials
We are using basic construction lumber you can find at your local home center. These materials, however, can warp and move on you so here are some pro tips on how to pick your lumber.
Try not to get the center of the tree in your boards. You can see this by seeing the round pith on the end of the board. If you can’t avoid this as we couldn’t have in this project, you can rip them down in half and remove that center. This will greatly reduce the risk of warping.
You want to stack that material flat in your shop or garage for a couple of weeks so it can settle out or do any twisting and warping it’s going to do before you start on your project.
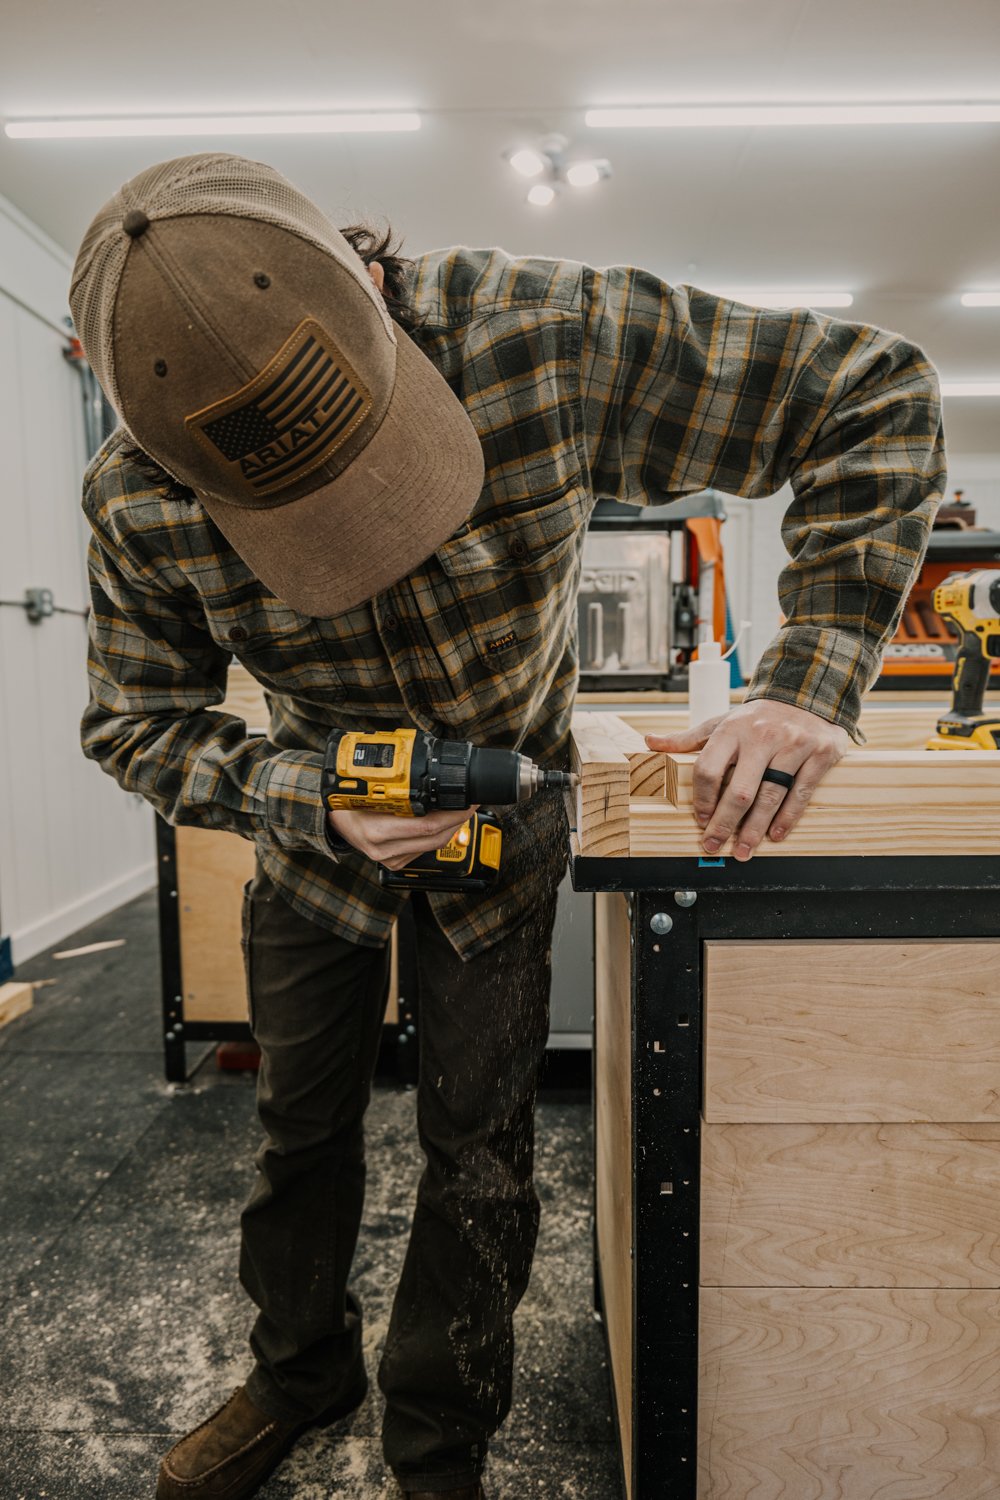
Take off the Rounded Edges
You can do this in numerous ways. We planed and jointed our boards, but you can run them through a table saw or circular saw to take off those rounded edges as well.
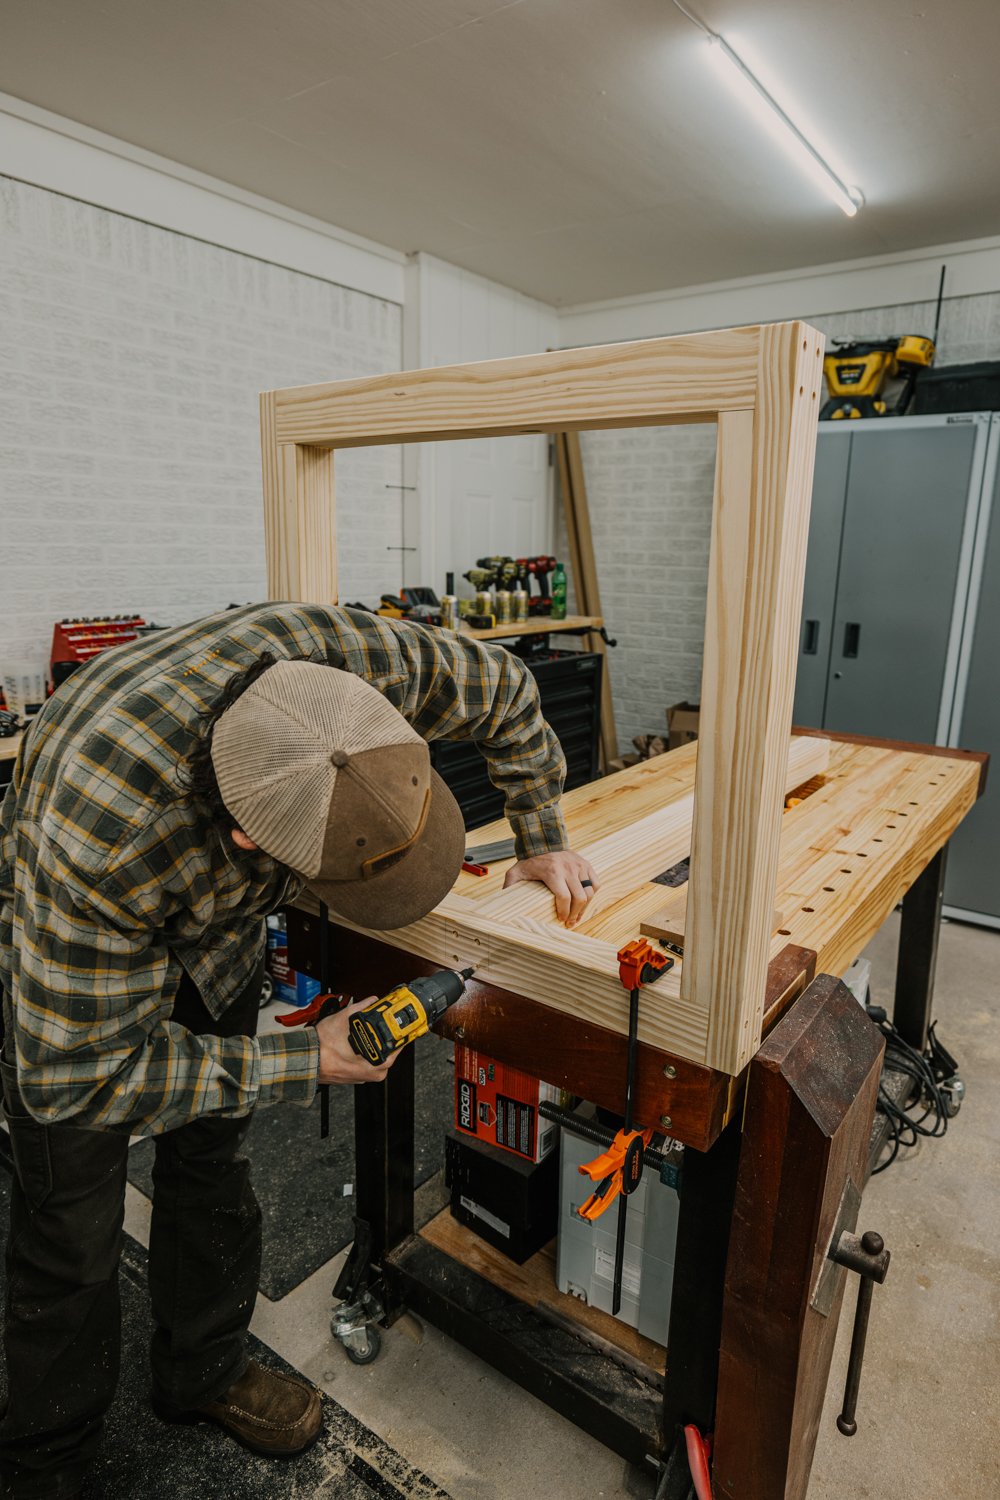
Assemble Table Top
With all your tabletop boards now with crisp edges, we are ready for the top glue-up. Again, there are numerous ways to do this depending on what tools you have. We used our Domino but can do the same process with a biscuit joiner or dowels. Place glue all down the edges with your dominos, biscuits, or dowels, and connect all the boards together to make that top. Use as many clamps as you can get your hands on that are long enough to squeeze the entirety of the top together. Leave overnight.
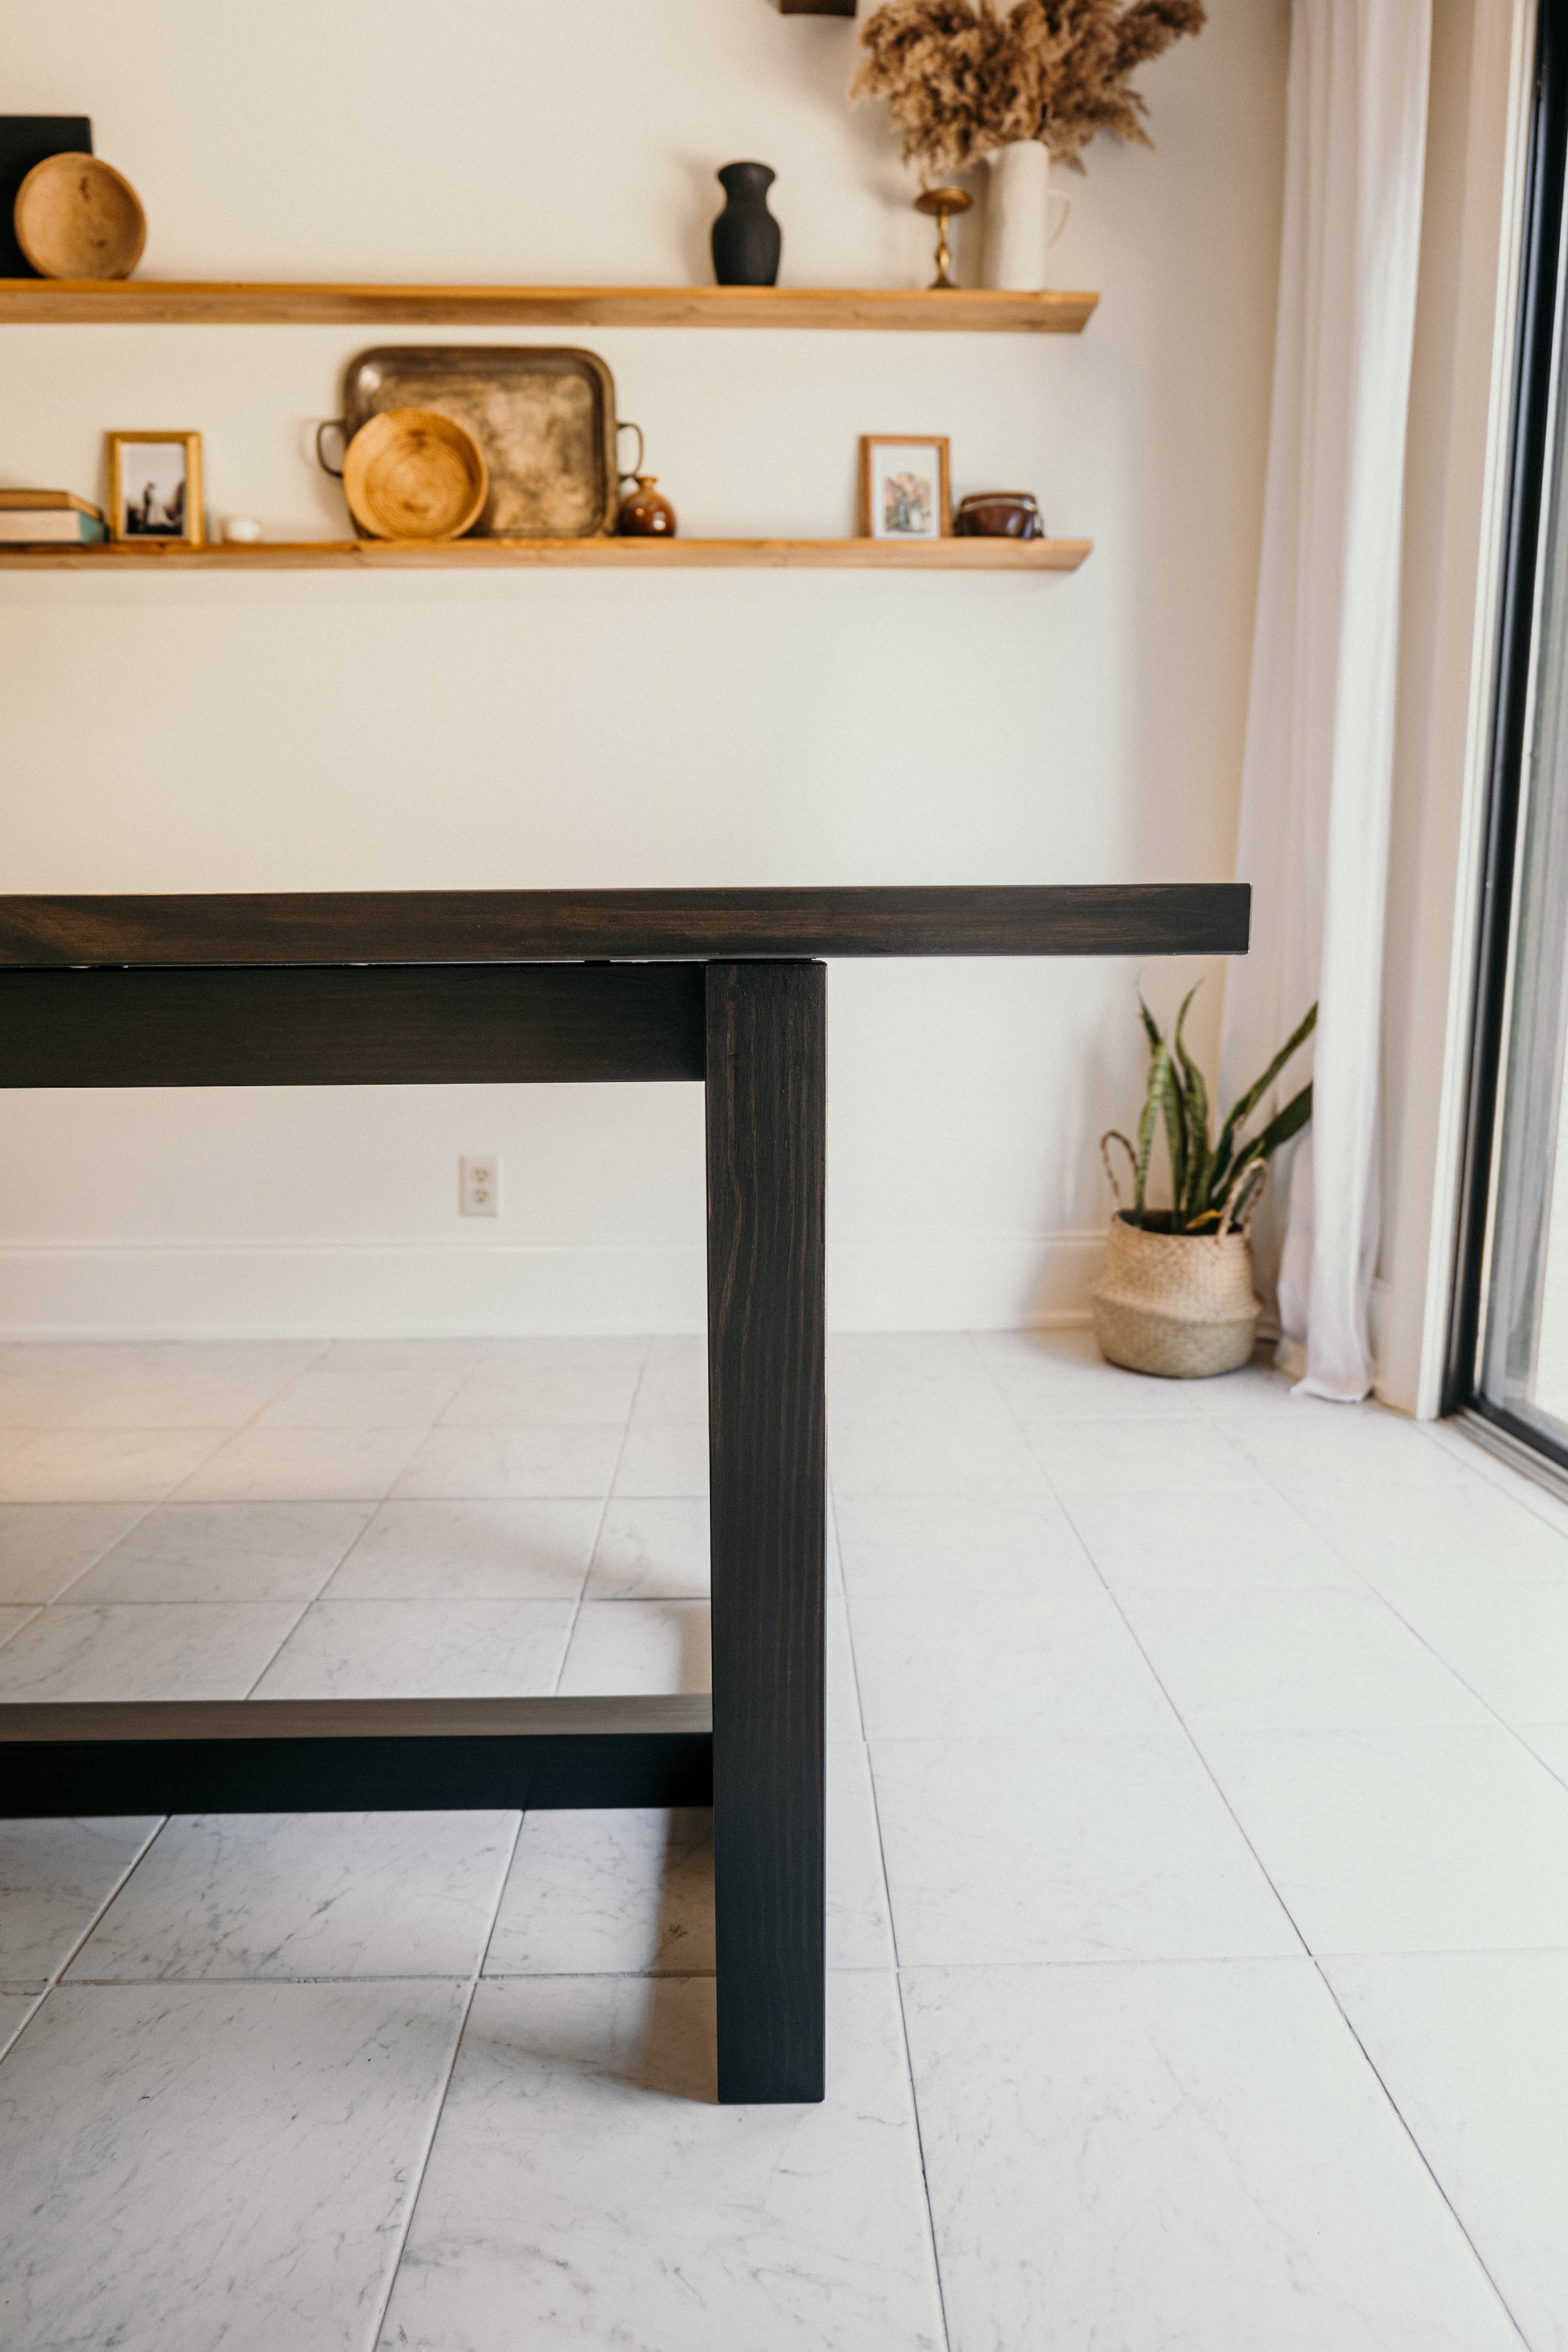
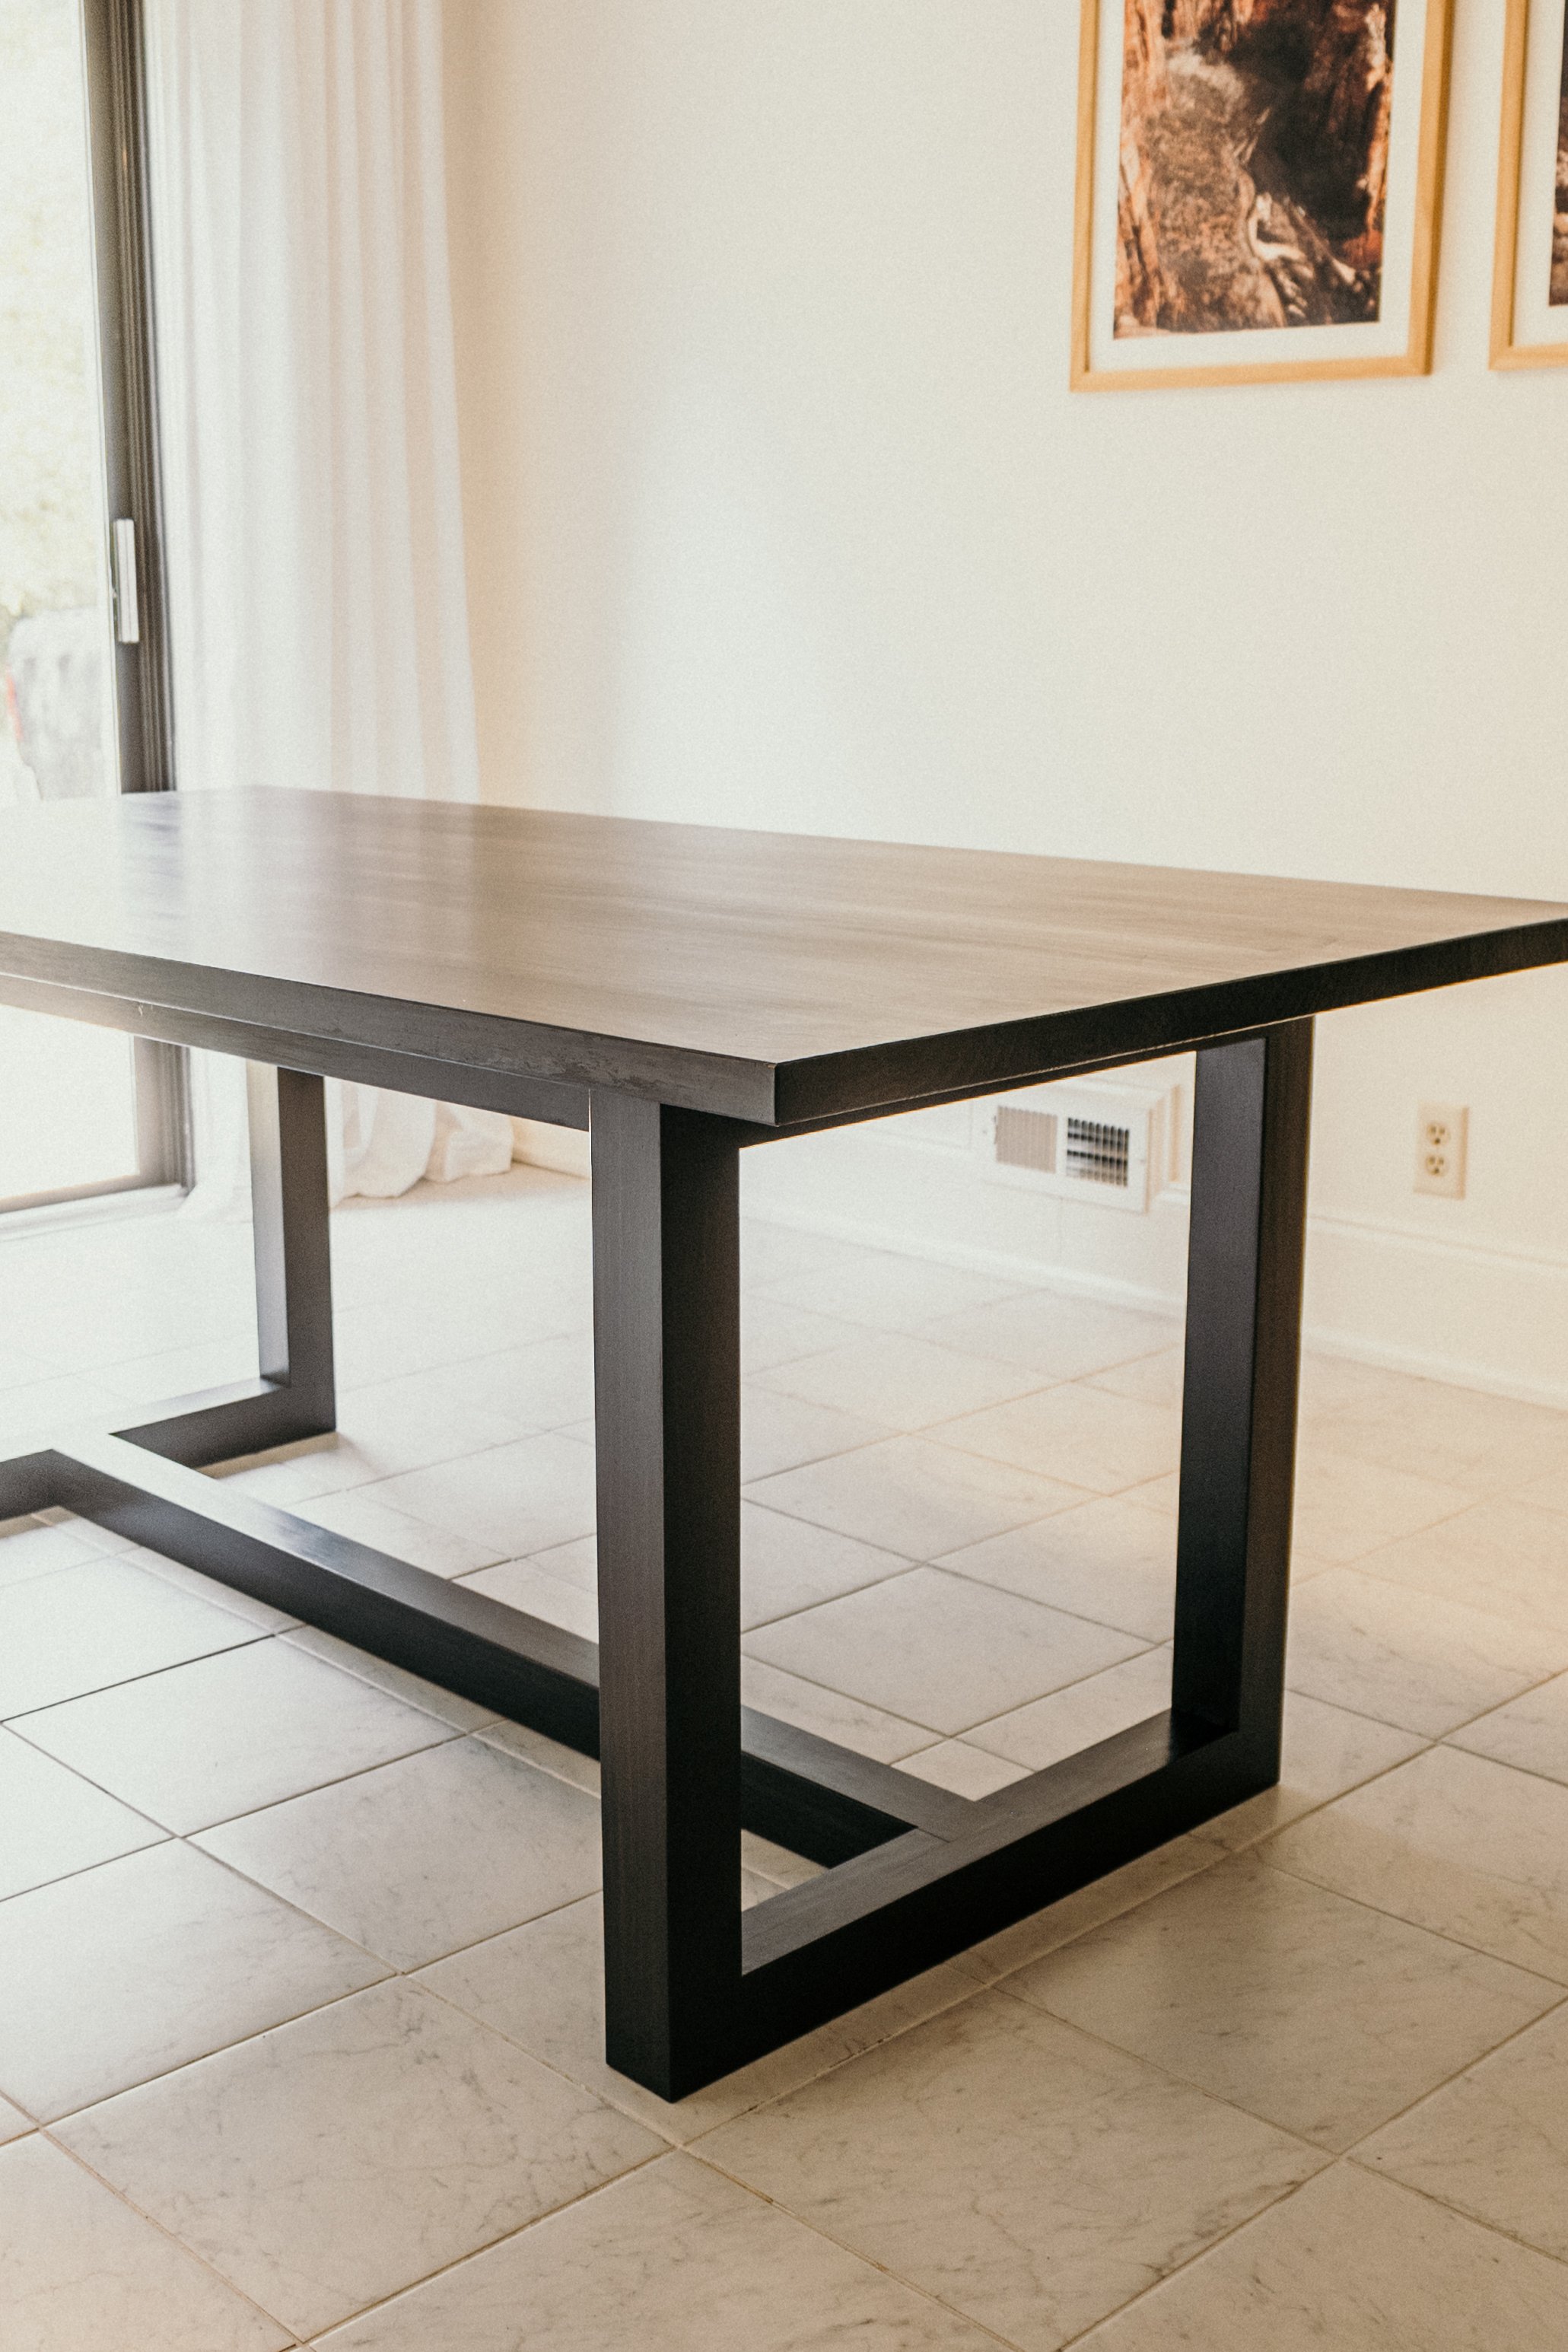
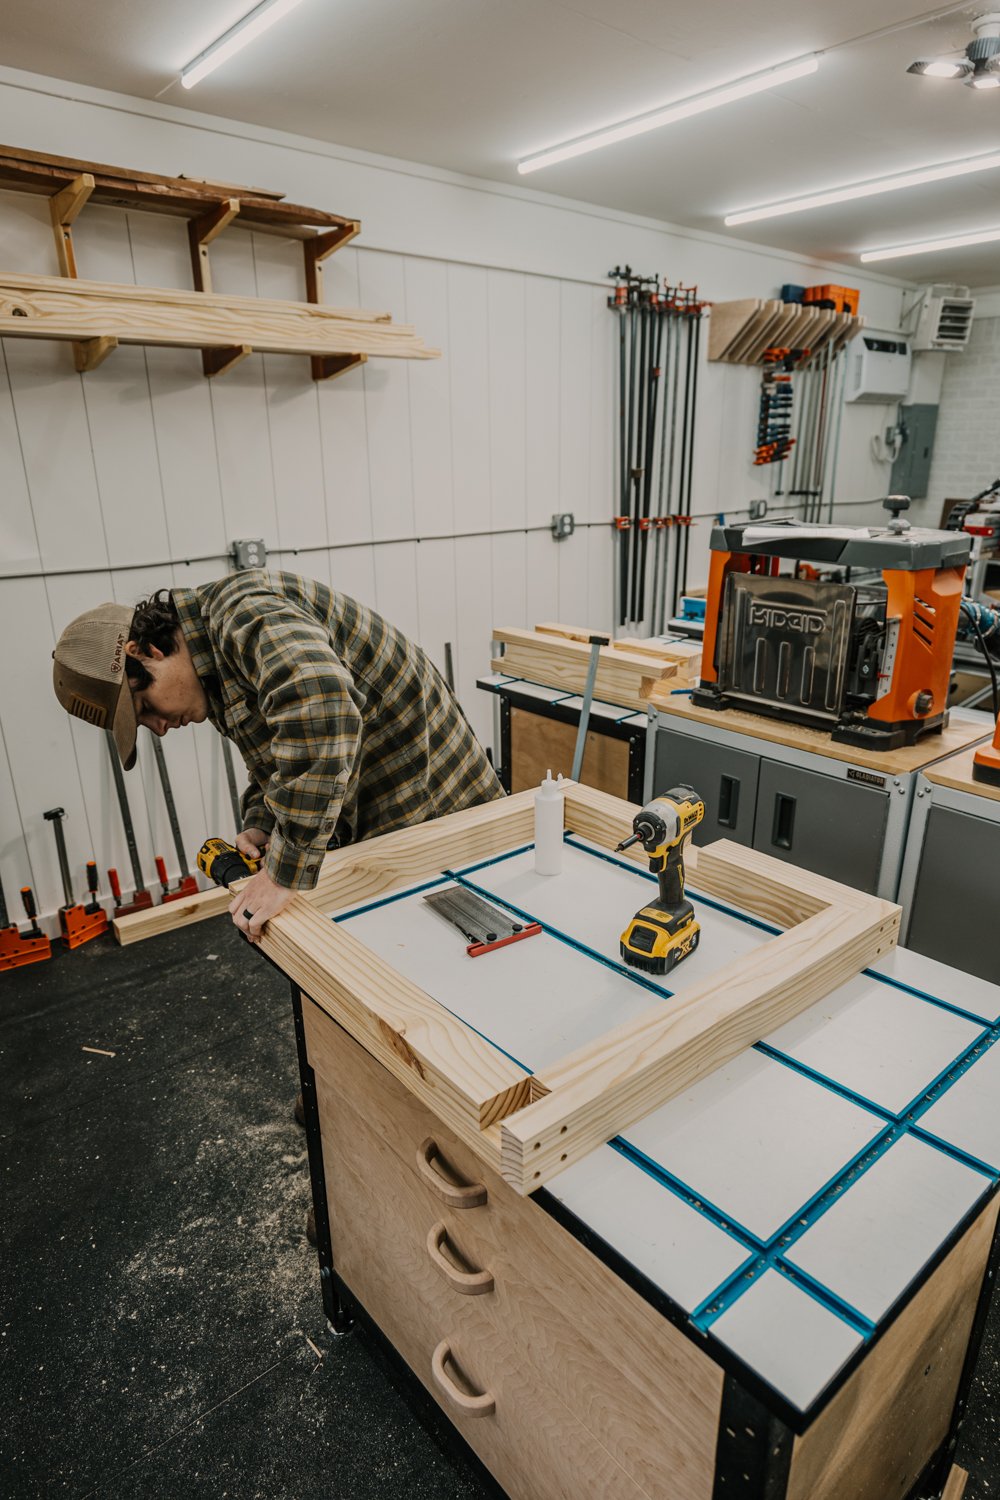
Construct the Base with Simple Furniture Joinery
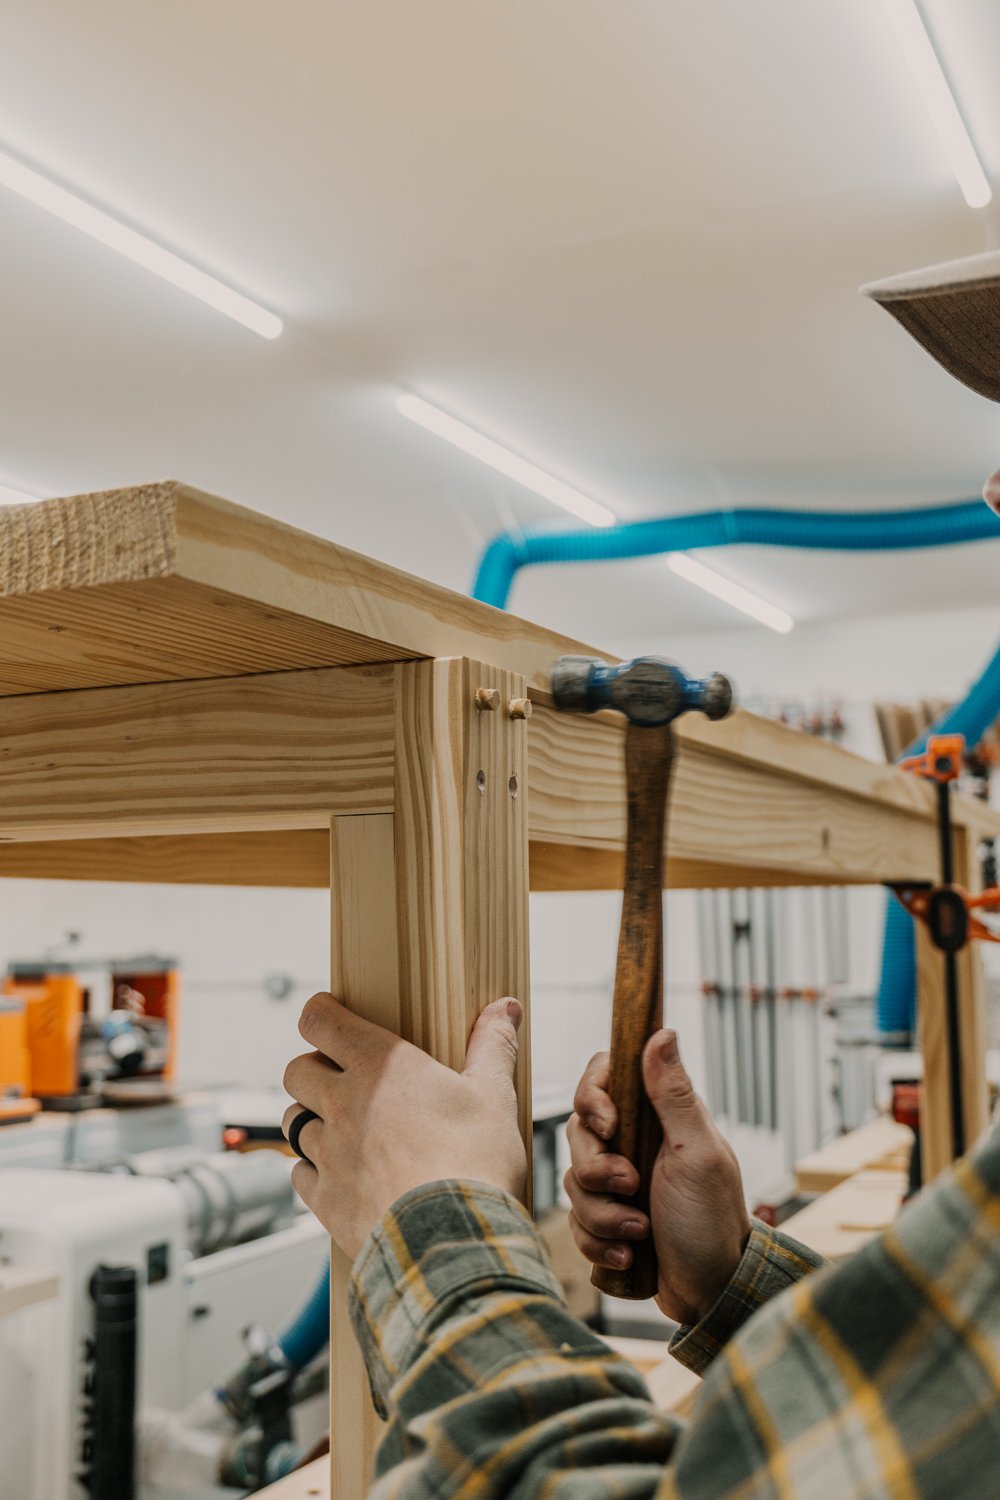
Constructing the base might look complicated from the final images. There are actually two boards glued to each other on each side with interlocking joinery, but DO NOT FEAR. You can achieve this joinery by cutting the inner boards shorter than the outer ones. Check out the video and photos for more demonstrations and get the project plans for even further explanation!
We used a countersink bit for all of the screws in the base and filled them in with tiny pieces of dowel that are placed in those holes with glue. Come back after a couple of hours or so to trim off the excess dowel and sand smooth.
The Best Finishing Technique for Pine Wood
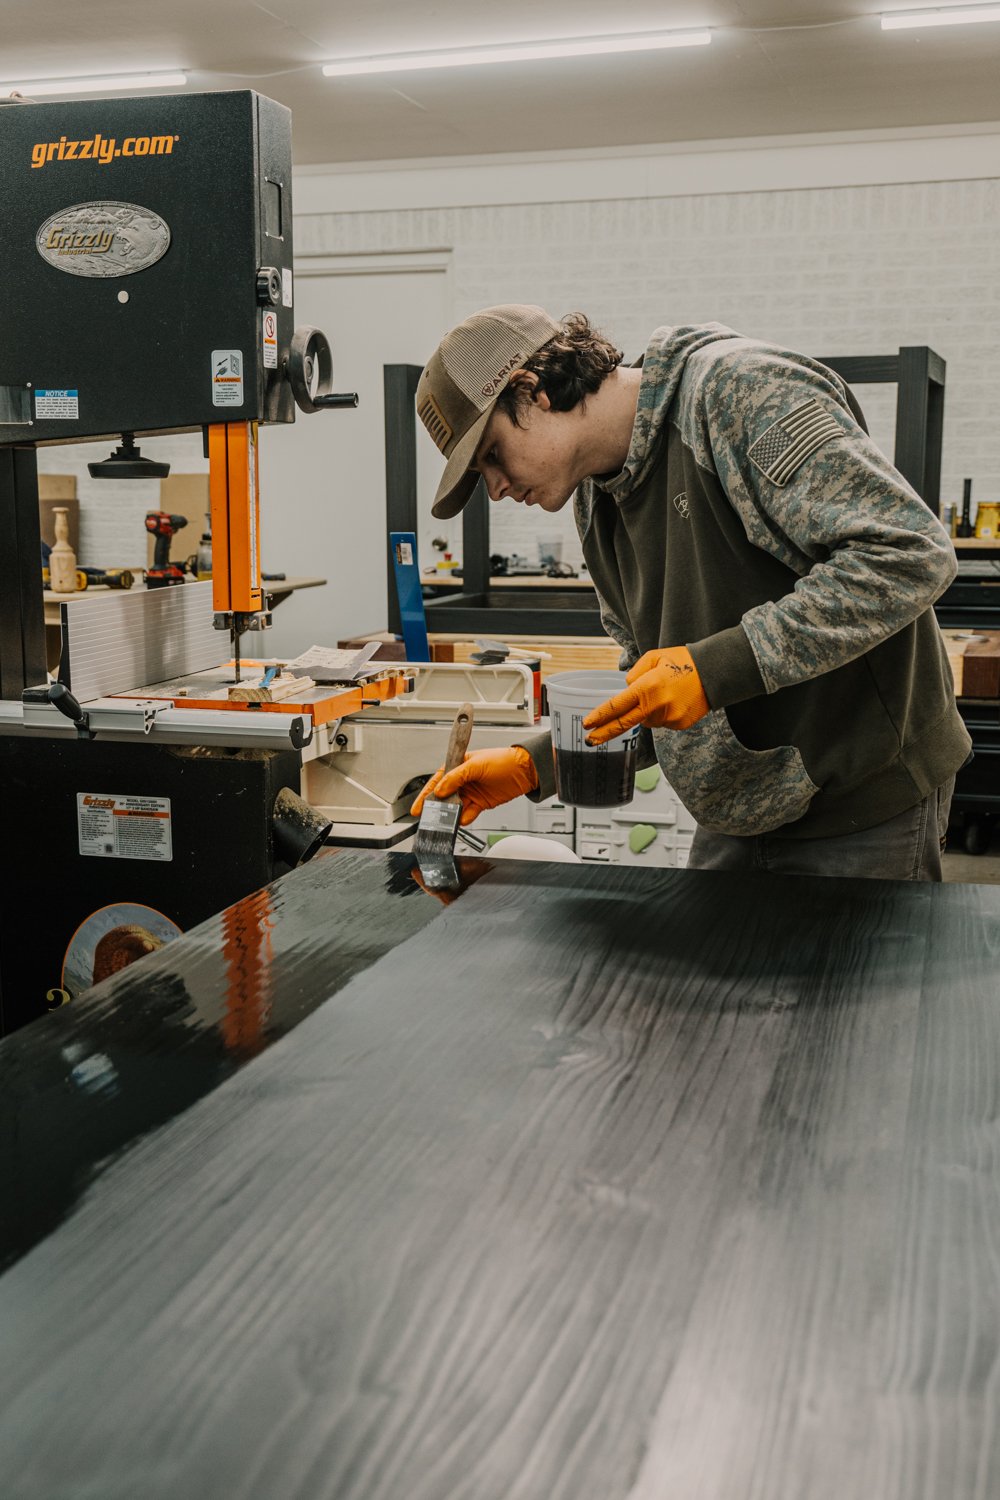
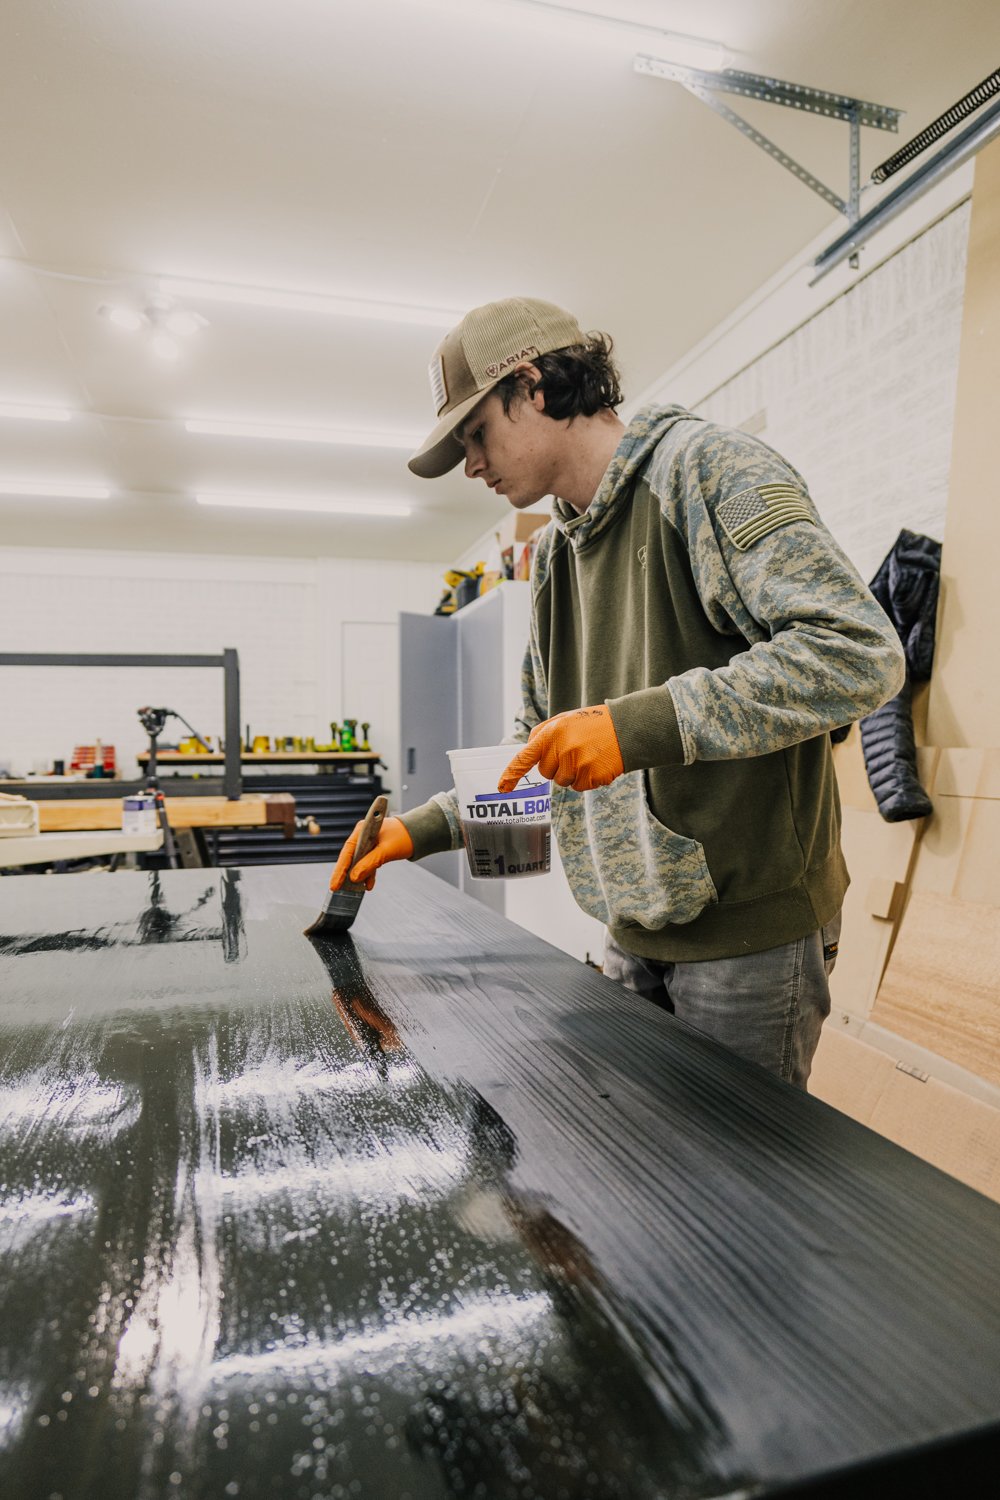
I suggest you finish the tabletop separately from the table base so that is it easier to get to every surface. I also suggest starting with the bottom side of the tabletop to practice so that when you flip it over you will be doing your final coats on the top finished surface.
Remove all dust from the surfaces using a vacuum, tack cloth, rag, or any other method. Apply a stain conditioner product to all surfaces if you want to stain the table. We use diluted shellac for this as a cheap alternative to wood conditioner. The wood conditioner will raise the grain so I suggest lightly hand sanding with ~320 grit sand paper to make everything smooth again. Be sure to remove the dust again.
First, we put on a Shellac that we made from Shellac flakes and denatured alcohol. Here’s a helpful video on how to make it.
When staining pine you have to use a pre-stain. If you don’t you’ll get a horrific striped table. A pre-stain or wood conditioner will help the stain go on the sapwood and more porous wood evenly.
We used a solid black color stain that is not a very penetrating stain. This allows us to easily cover the color variation of pine that usually causes many issues for people. This stain requires you to apply it and wipe it off almost instantly. We chose to wait ~1 min before wiping the excess off. We also decided to add a second coat 1 hour later to achieve a darker finish.
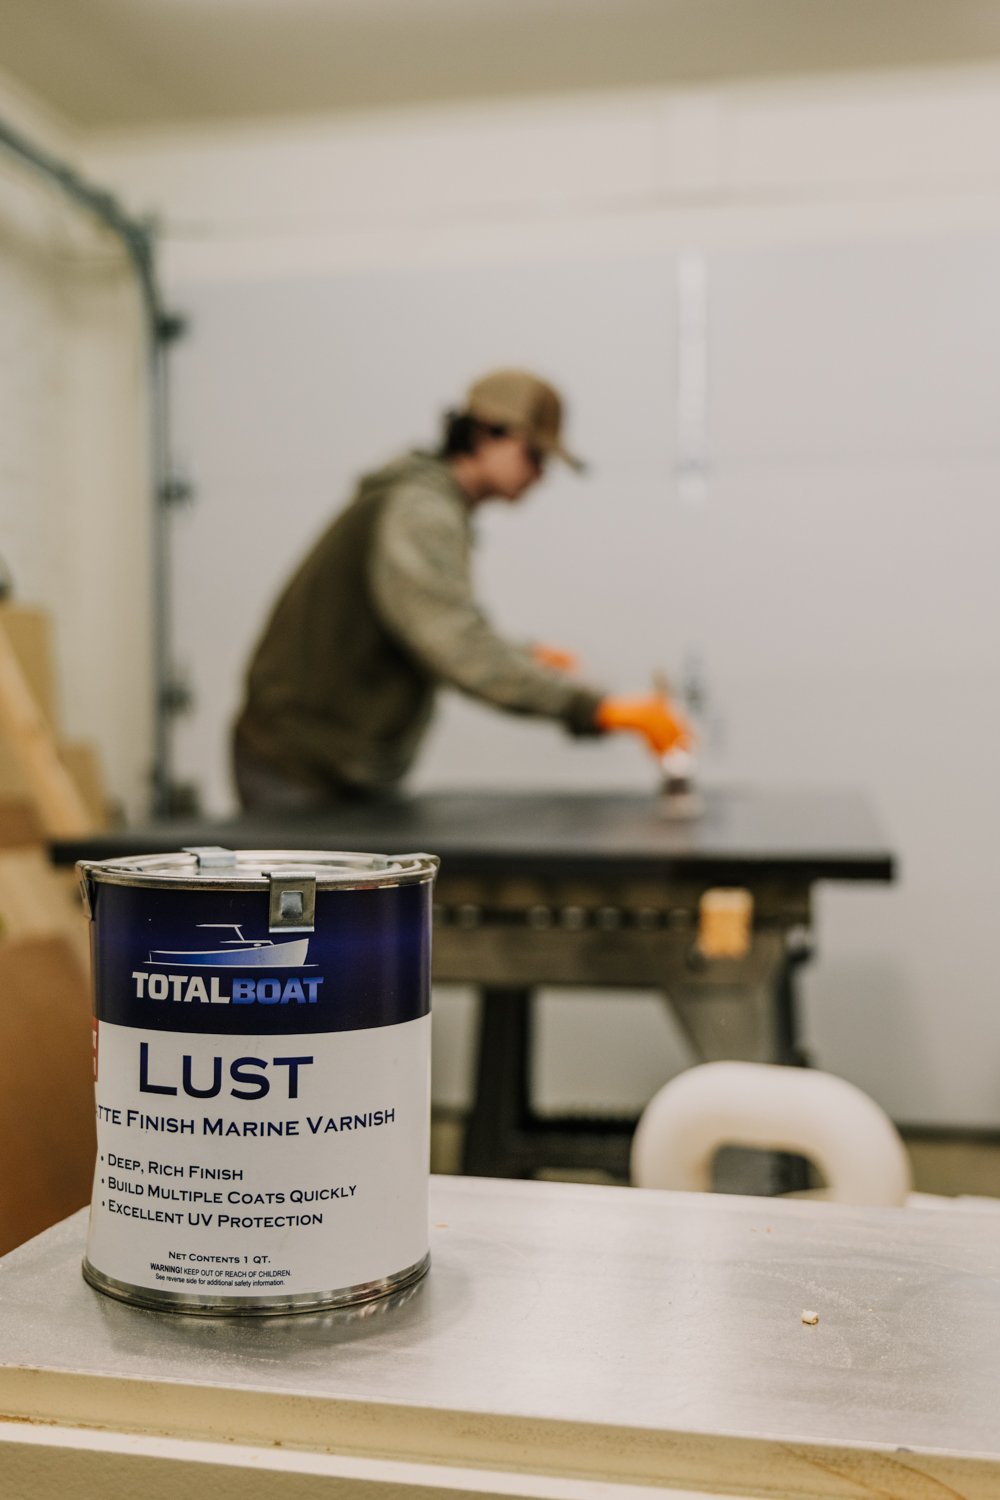
The stain needs to have a protective clear coat added over it. You will need to look at the "overcoat" time listed on your stain can to know how long to wait before adding this clear coat. I suggest using a polyurethane, polycrylic, or all-natural oil/wax finish for interior use. We used Total Boat Lust product (get 10% off using that link) because this table is being used on a covered patio. It won't be exposed to rain, but the extra UV exposure made us want extra protection. Can be used for interior use as well, just let it air out first because of the finish scent.
Now you have a Modern Farmhouse Dining table that can age with your family and handle the beating of a growing family. A dining table is the heart of any home – a gathering place where friends and family come together to share stories, laughter, and meals. Building your own dining table not only allows you to customize its design to perfectly match your aesthetic, but it also brings a sense of accomplishment and pride.