DIY Floating Media Center
If I told you this is our sixth media center build, would you believe me?! I guess this has become our specialty and we are SO okay with that! All of our media center builds are so different from each other that we get excited about each one. From a farmhouse media center with barn doors to cane webbing, to huge built-ins, we’ve done it all and they are all unique.
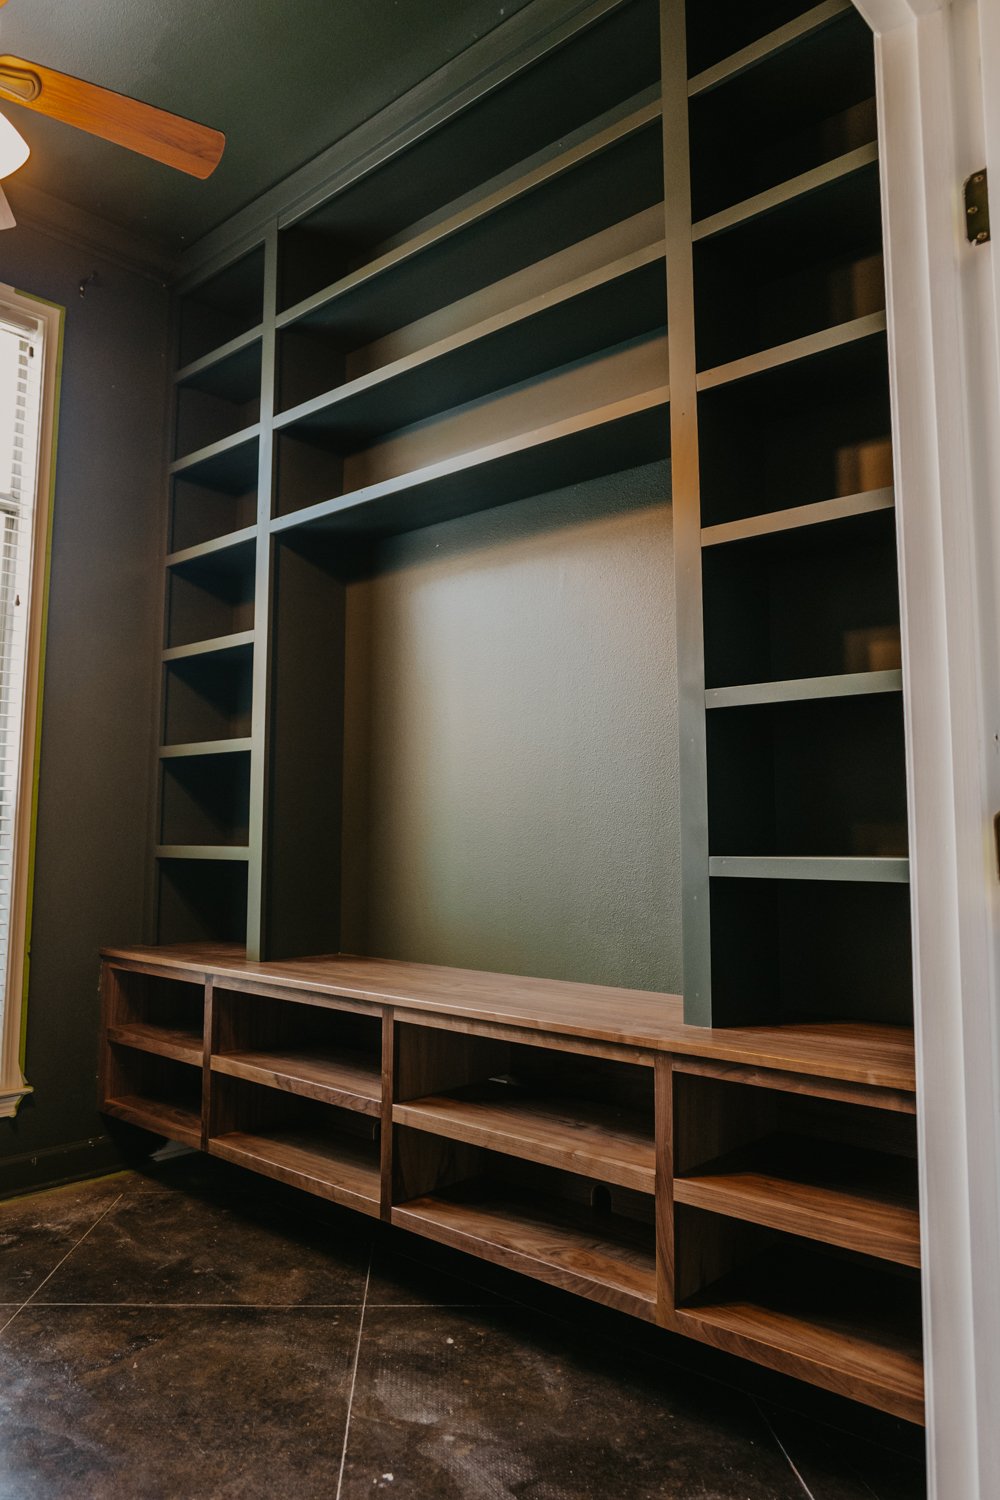
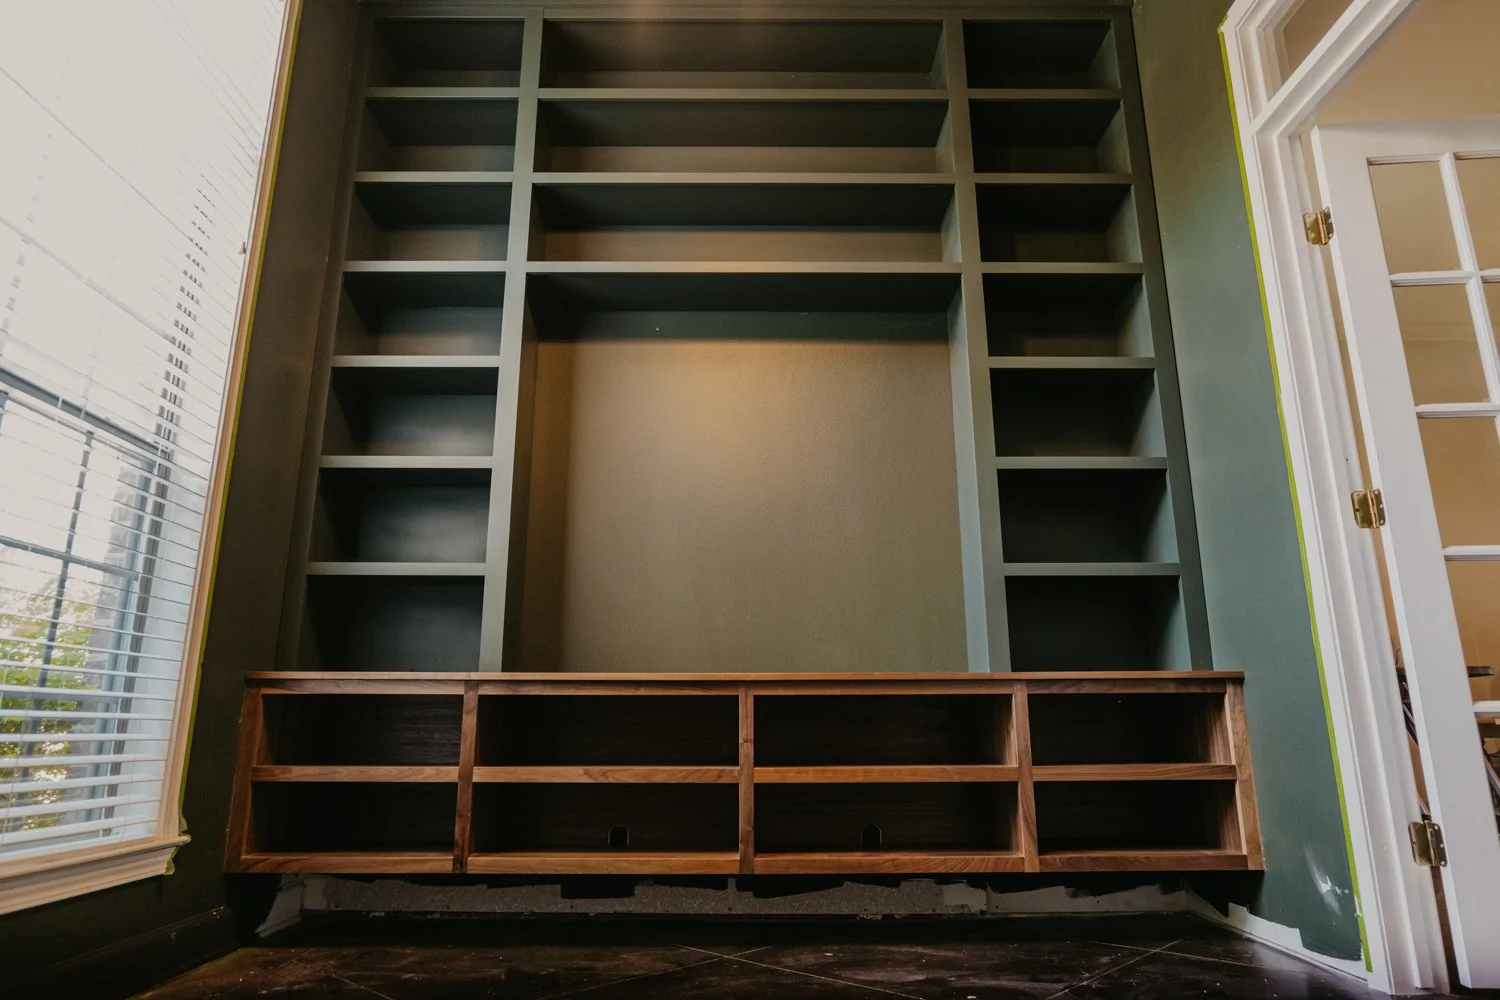
This one, however, is different from the rest. The room we are building this for used to be a dining room and our client had a wall and french doors put in to turn this into a home office for her husband. It’s really an office/media room, but we are about to completely transform this space!

We have plans available here if you want to build this yourself!
WOW your friends and family with a DIY Entertainment Center! Cozy up in the corner of your couch and enjoy your favorite movie or game in front of this beauty. The ample storage space and clever cord management will tidy up your beloved living area. This DIY Entertainment Center is easy to build and designed with thoughtful details.
Dimensions: 105-1/4”L x 118”H x 19”W
Materials
8 Board Feet of Walnut Boards 3/4" Final Thickness
(3) 3/4” Walnut Plywood
(1) 1x4x10 Poplar Board
(6) 1x3x8 Poplar Board
(6) 1x2x8 Poplar Board
1 Gallon Cabinet Paint (We used the Sherwin Williams color Ripe Olive 6209)
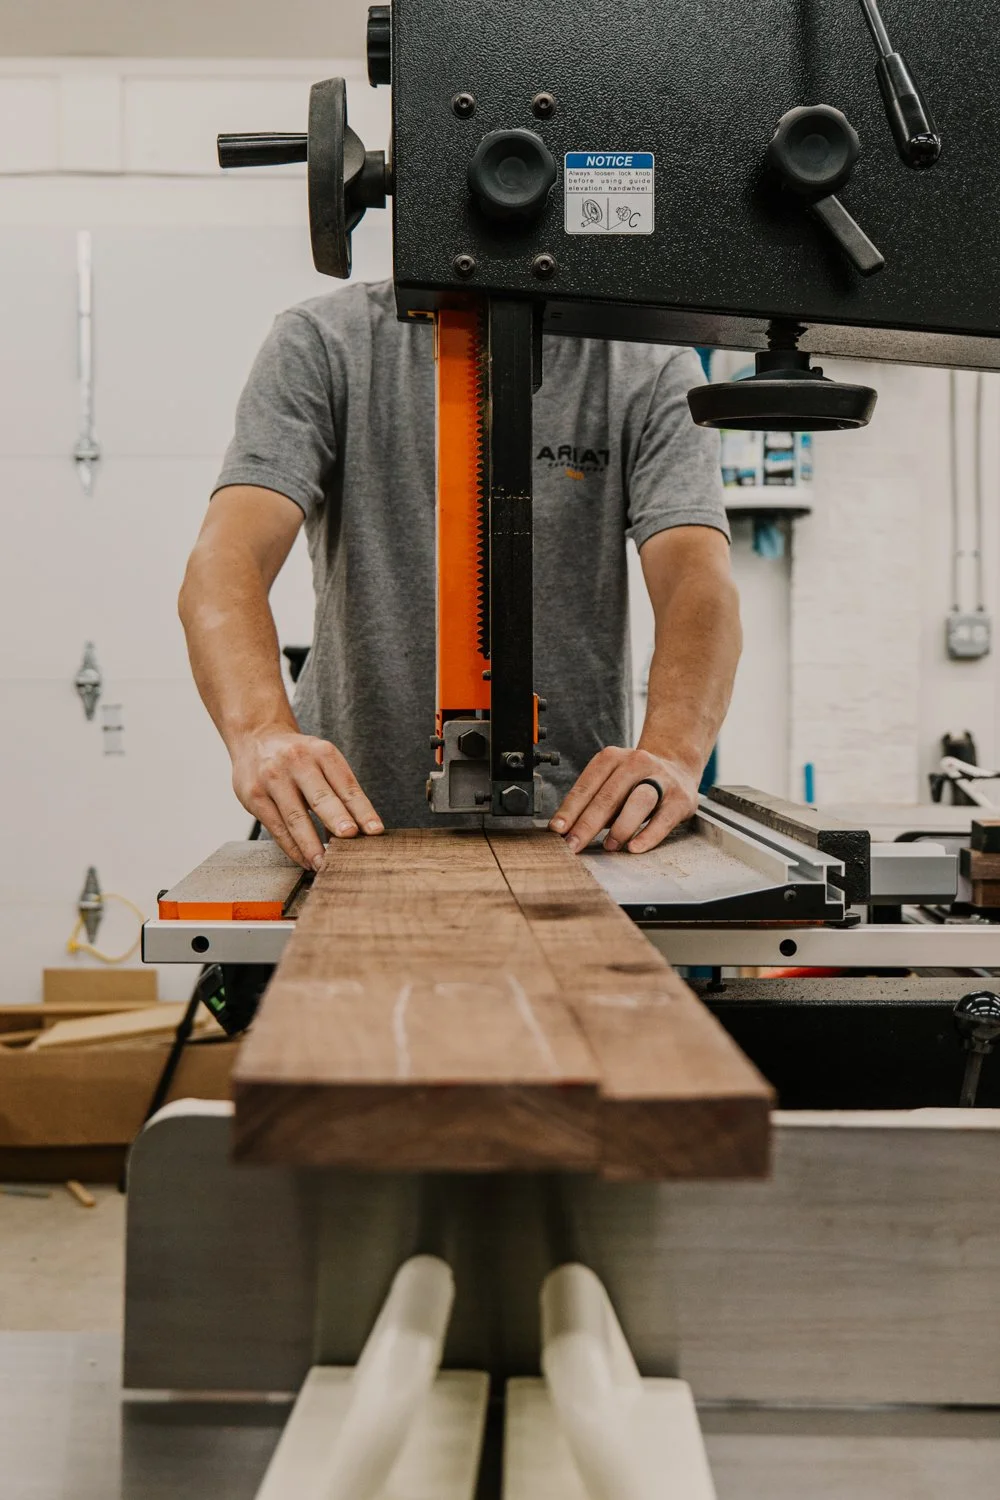
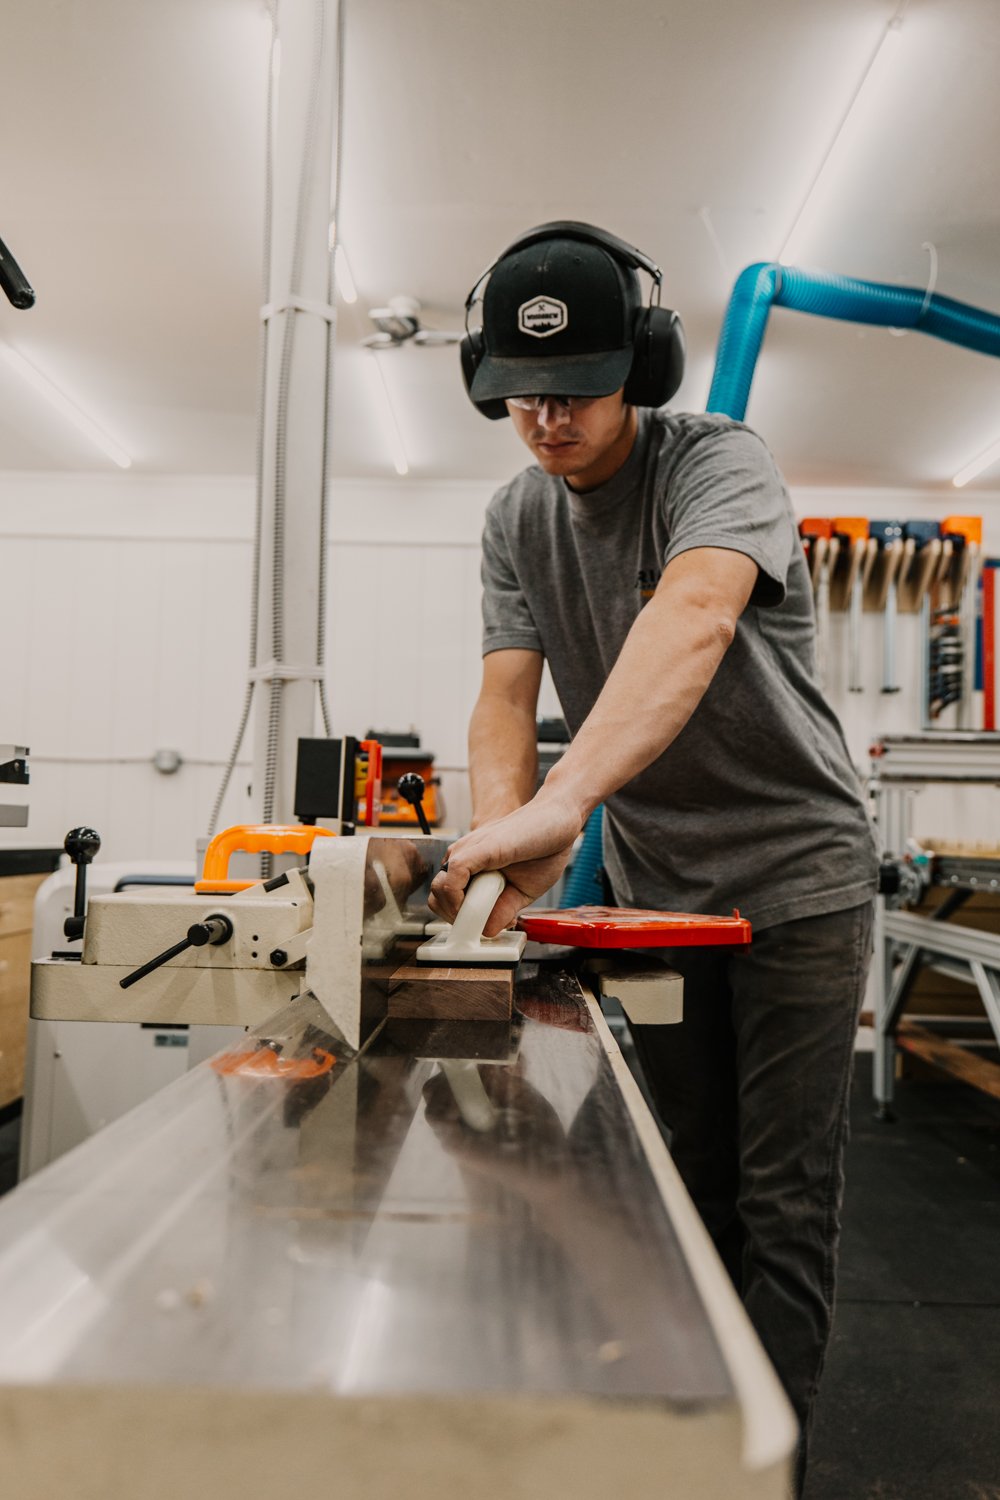
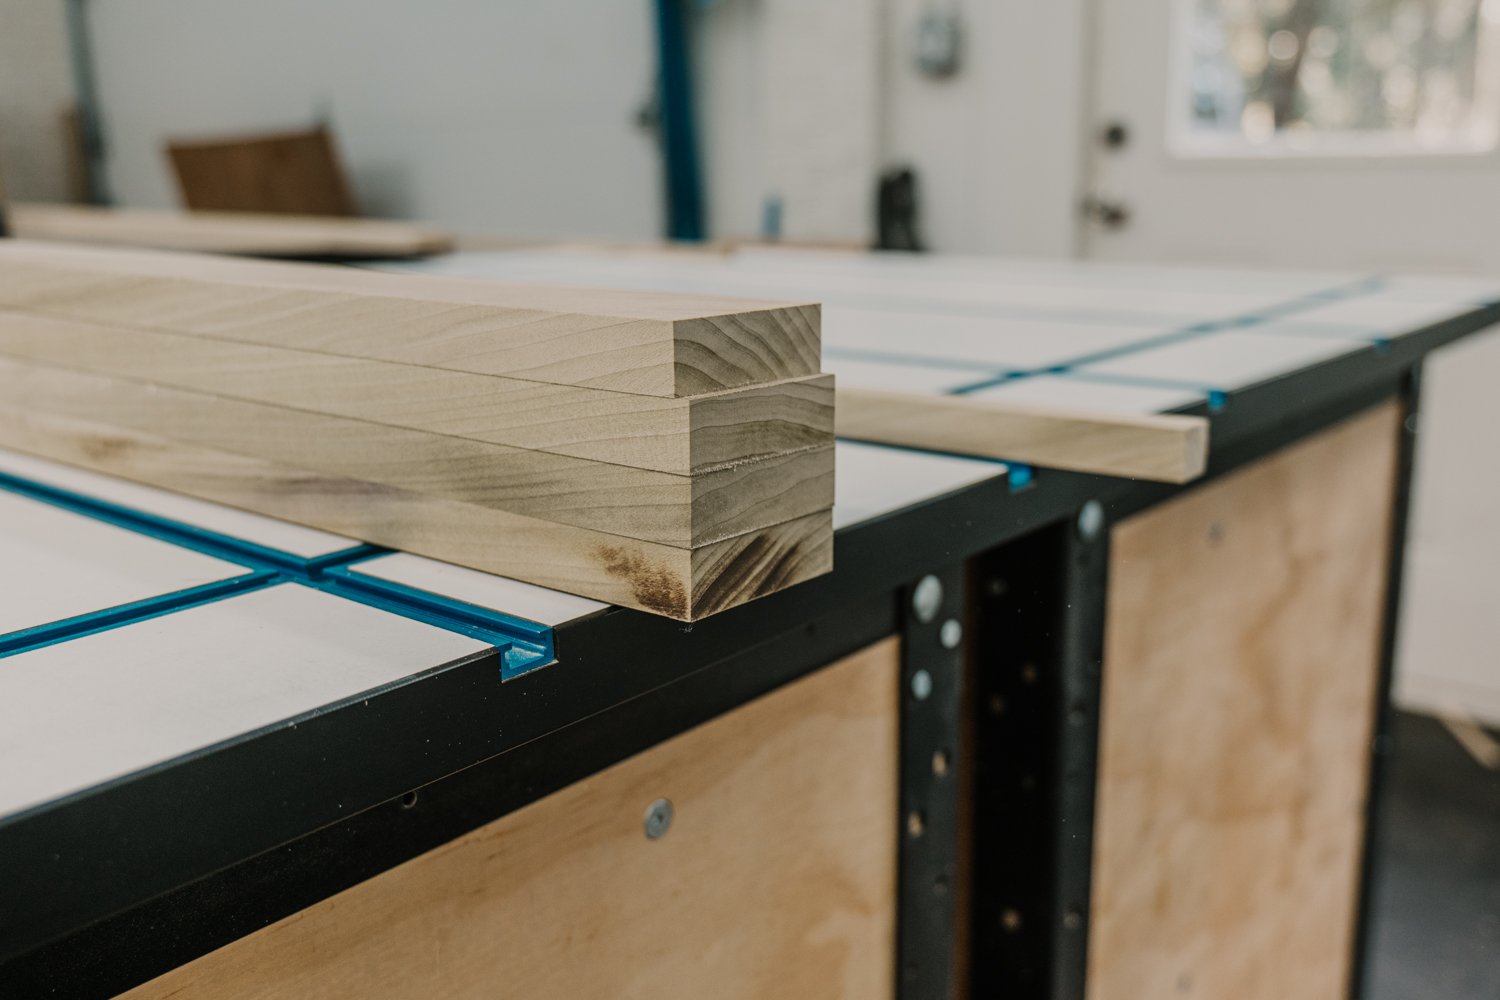
The first thing we did was mill our walnut lumber using the bandsaw first, then moving to the joiner. We let them sit out overnight to allow them to move if they were going to before we got them to their final thickness using the planer.
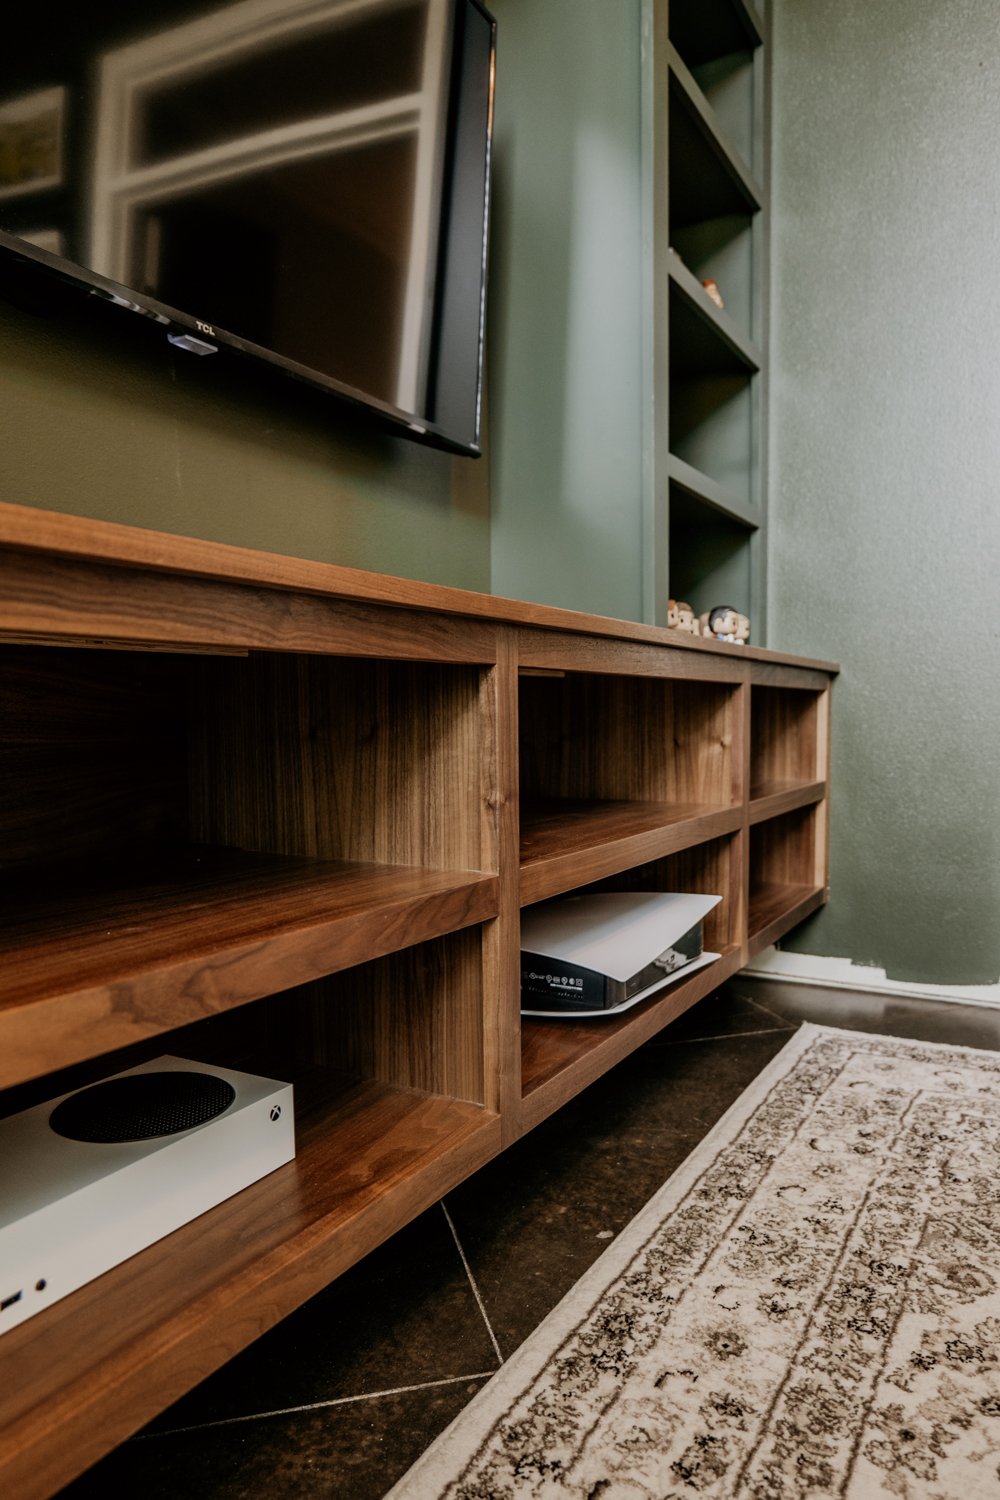
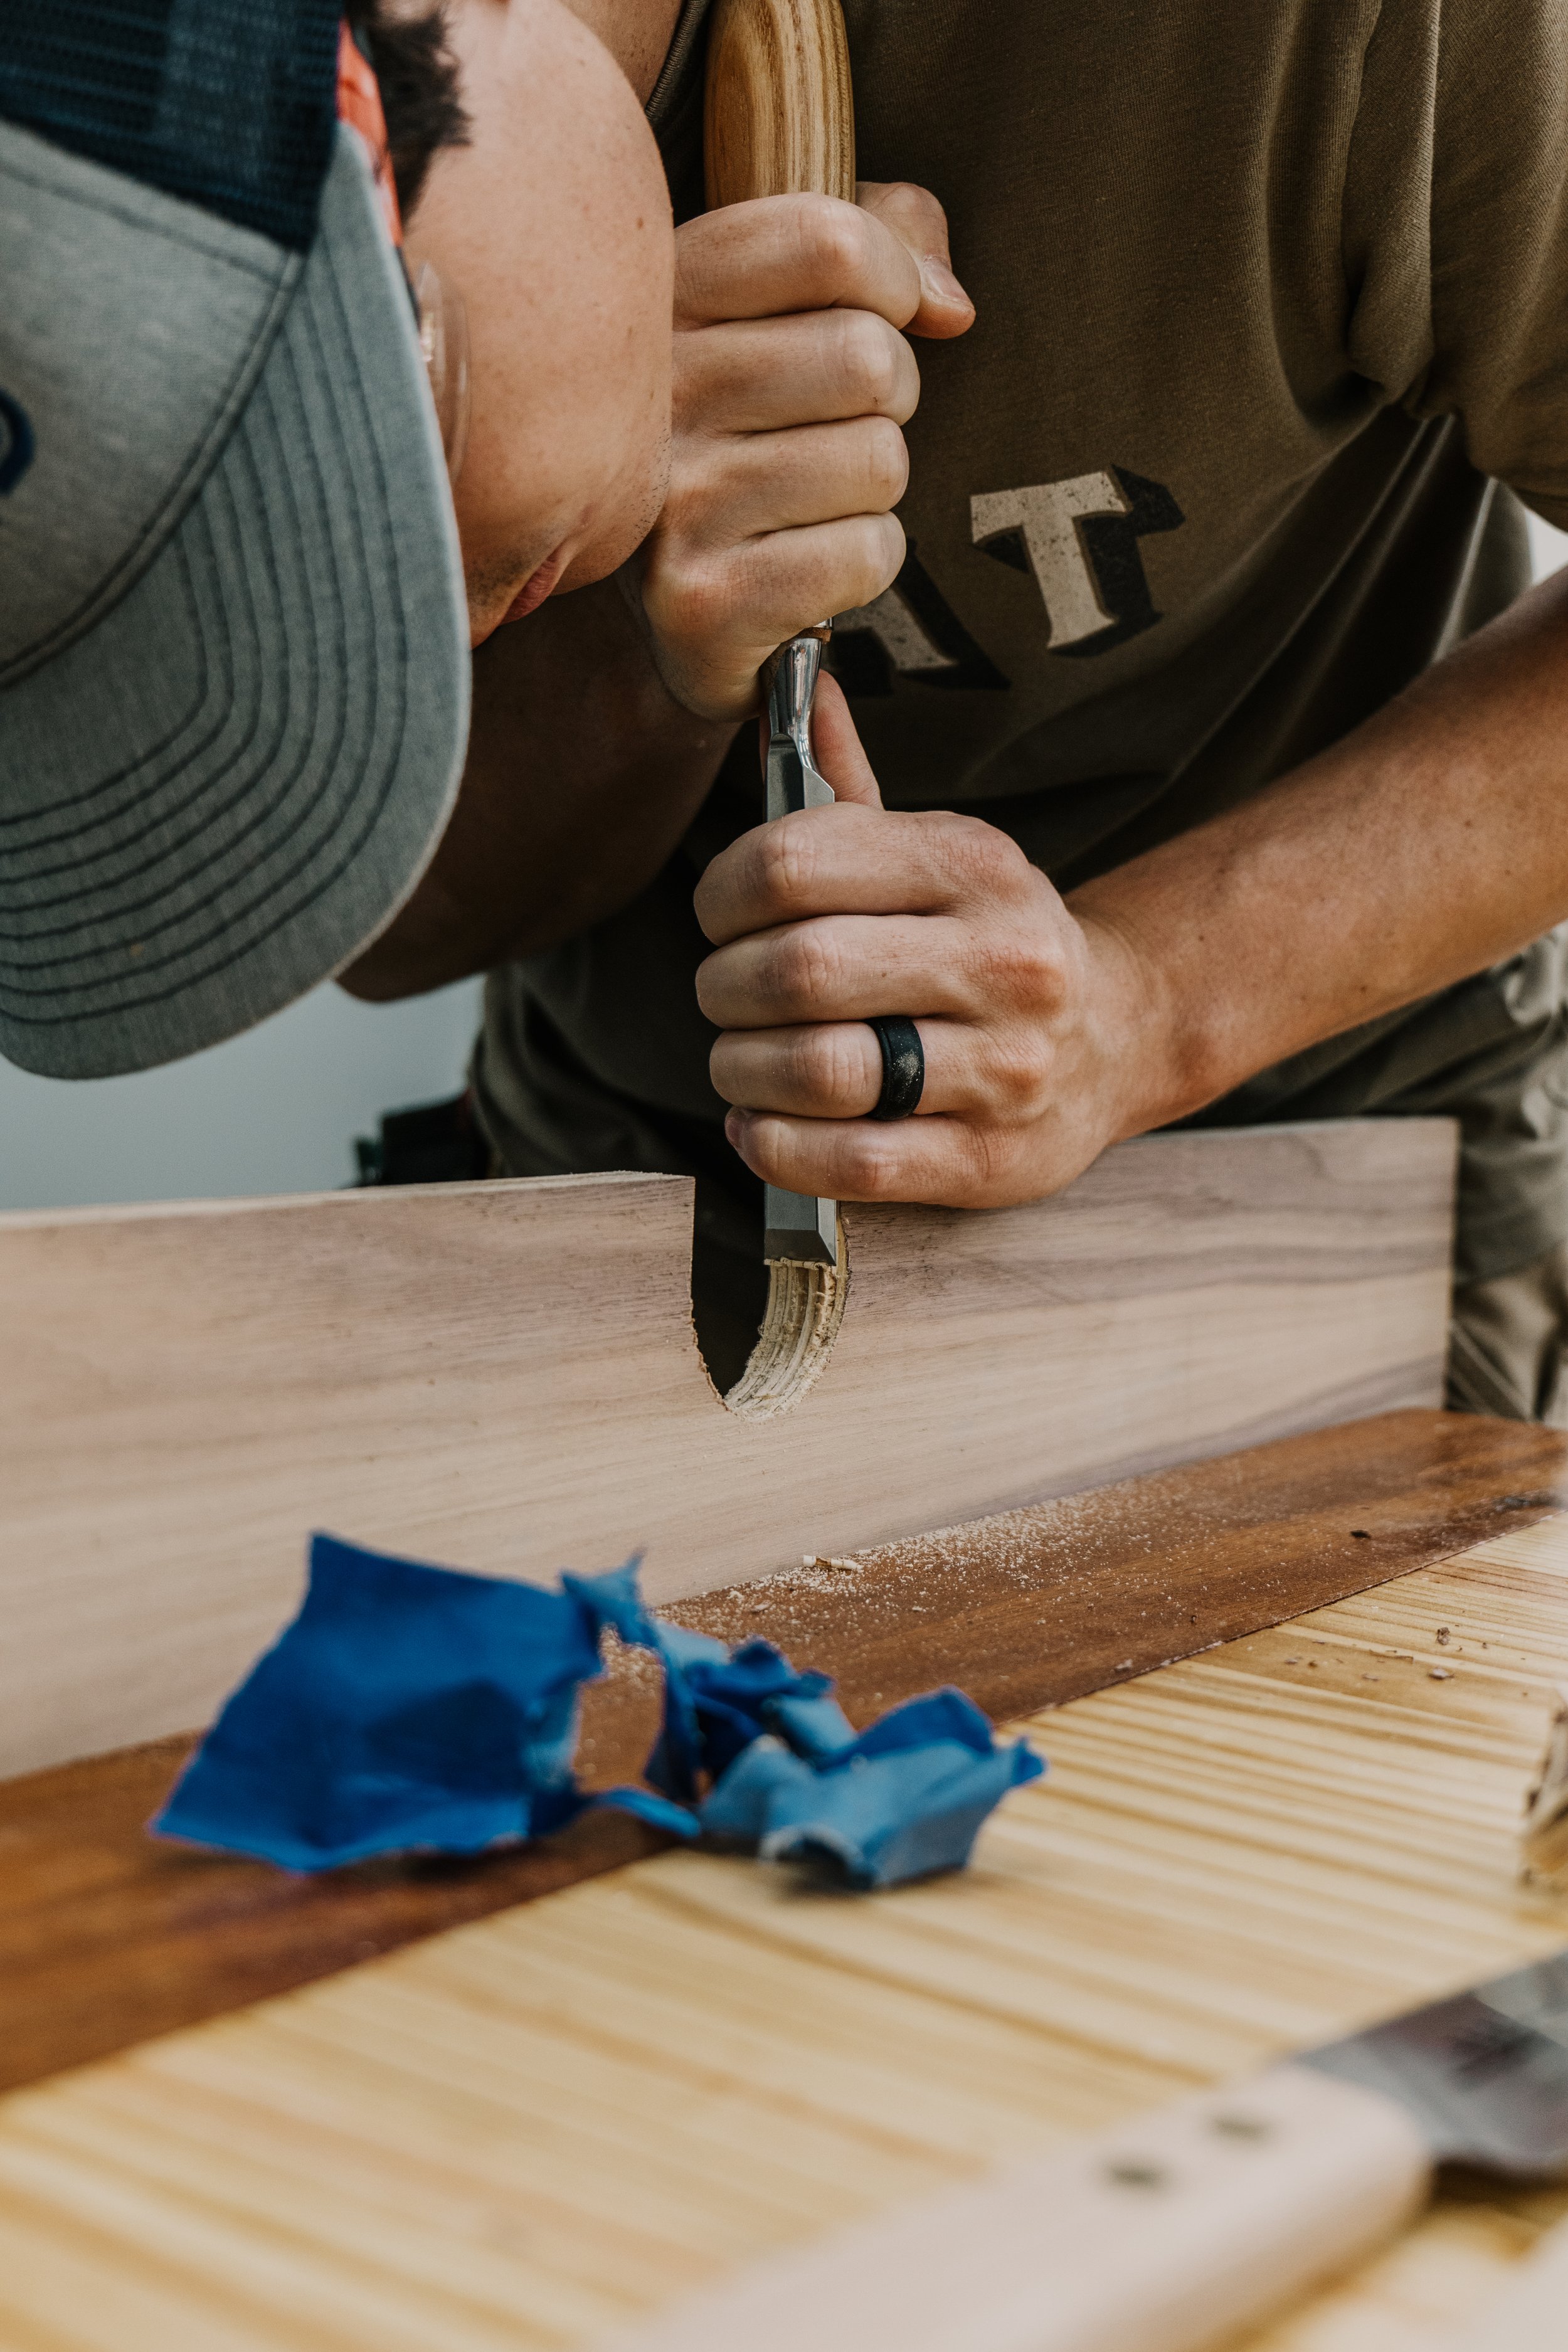
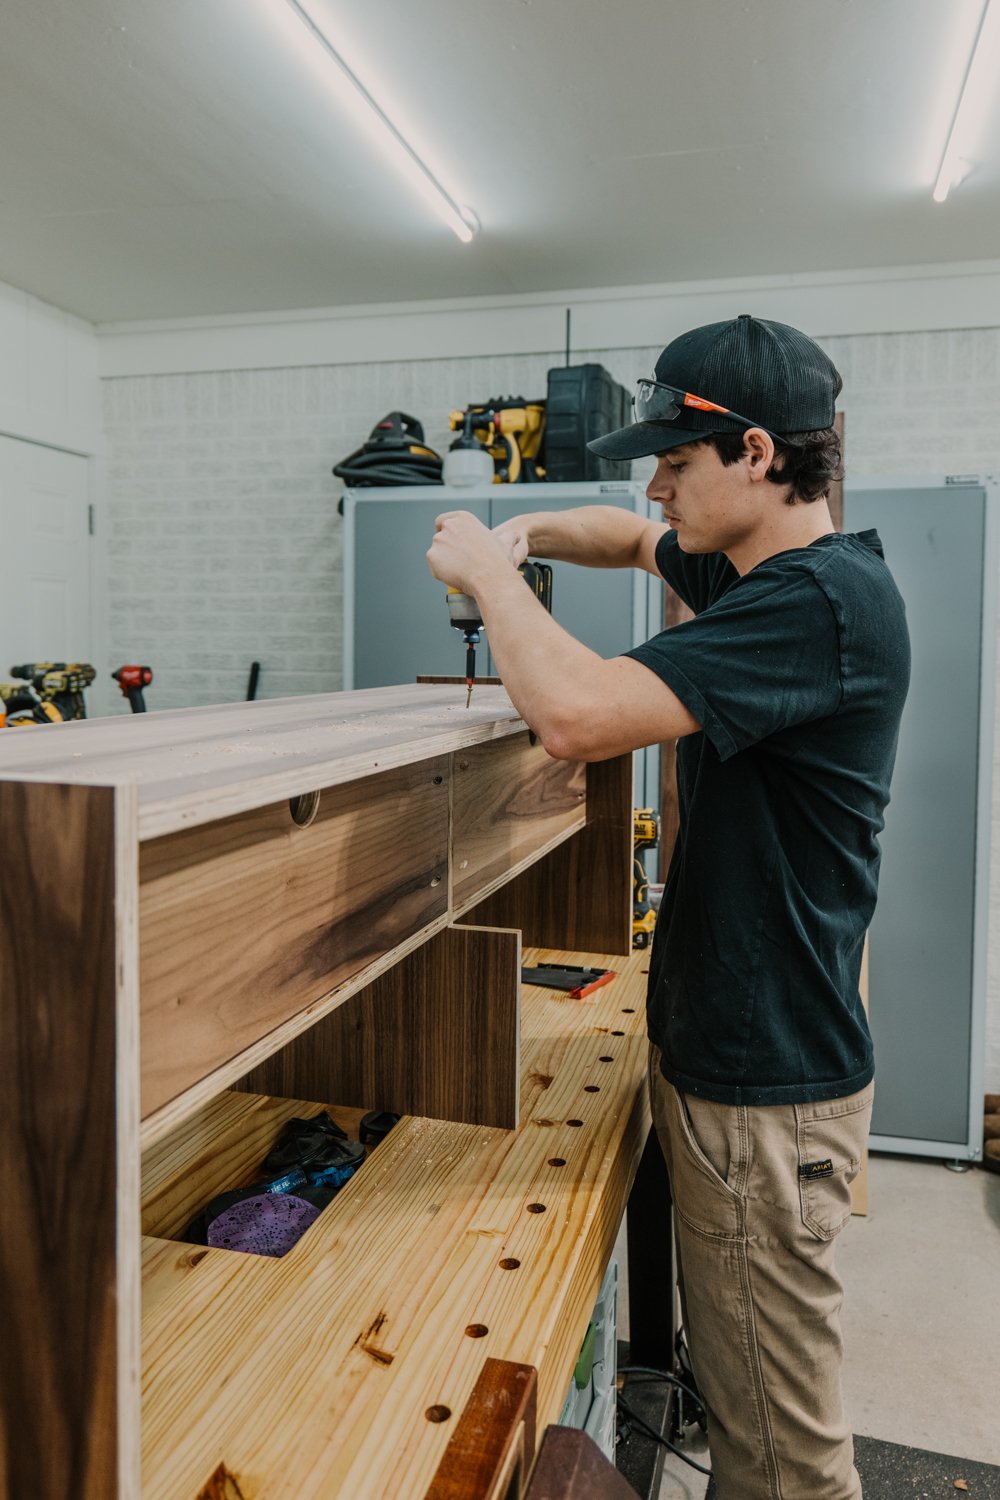
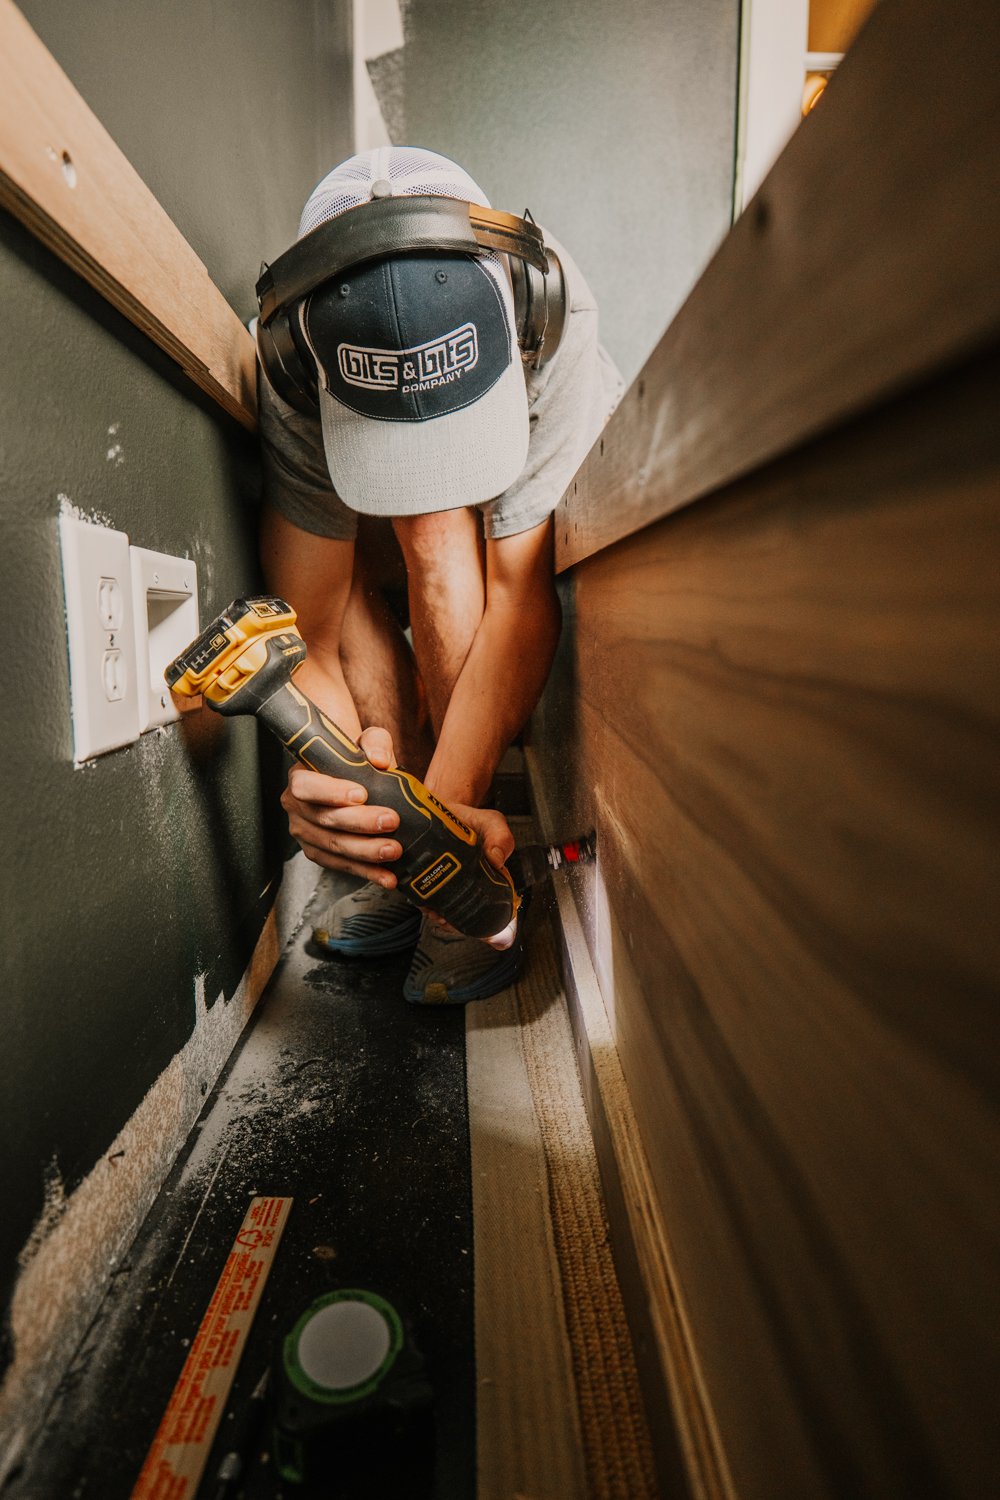
Next was moving to the walnut plywood and breaking those sheets down. We used a Forstner bit and lined up half of the bit to take out a semi-circle of plywood. This will allow cords from gaming consoles or anything going on the media center shelves to pass through to the wall outlet.

The plywood also got pocket holes drilled into certain parts. Again, everything is HIGHLY detailed in the project plans!

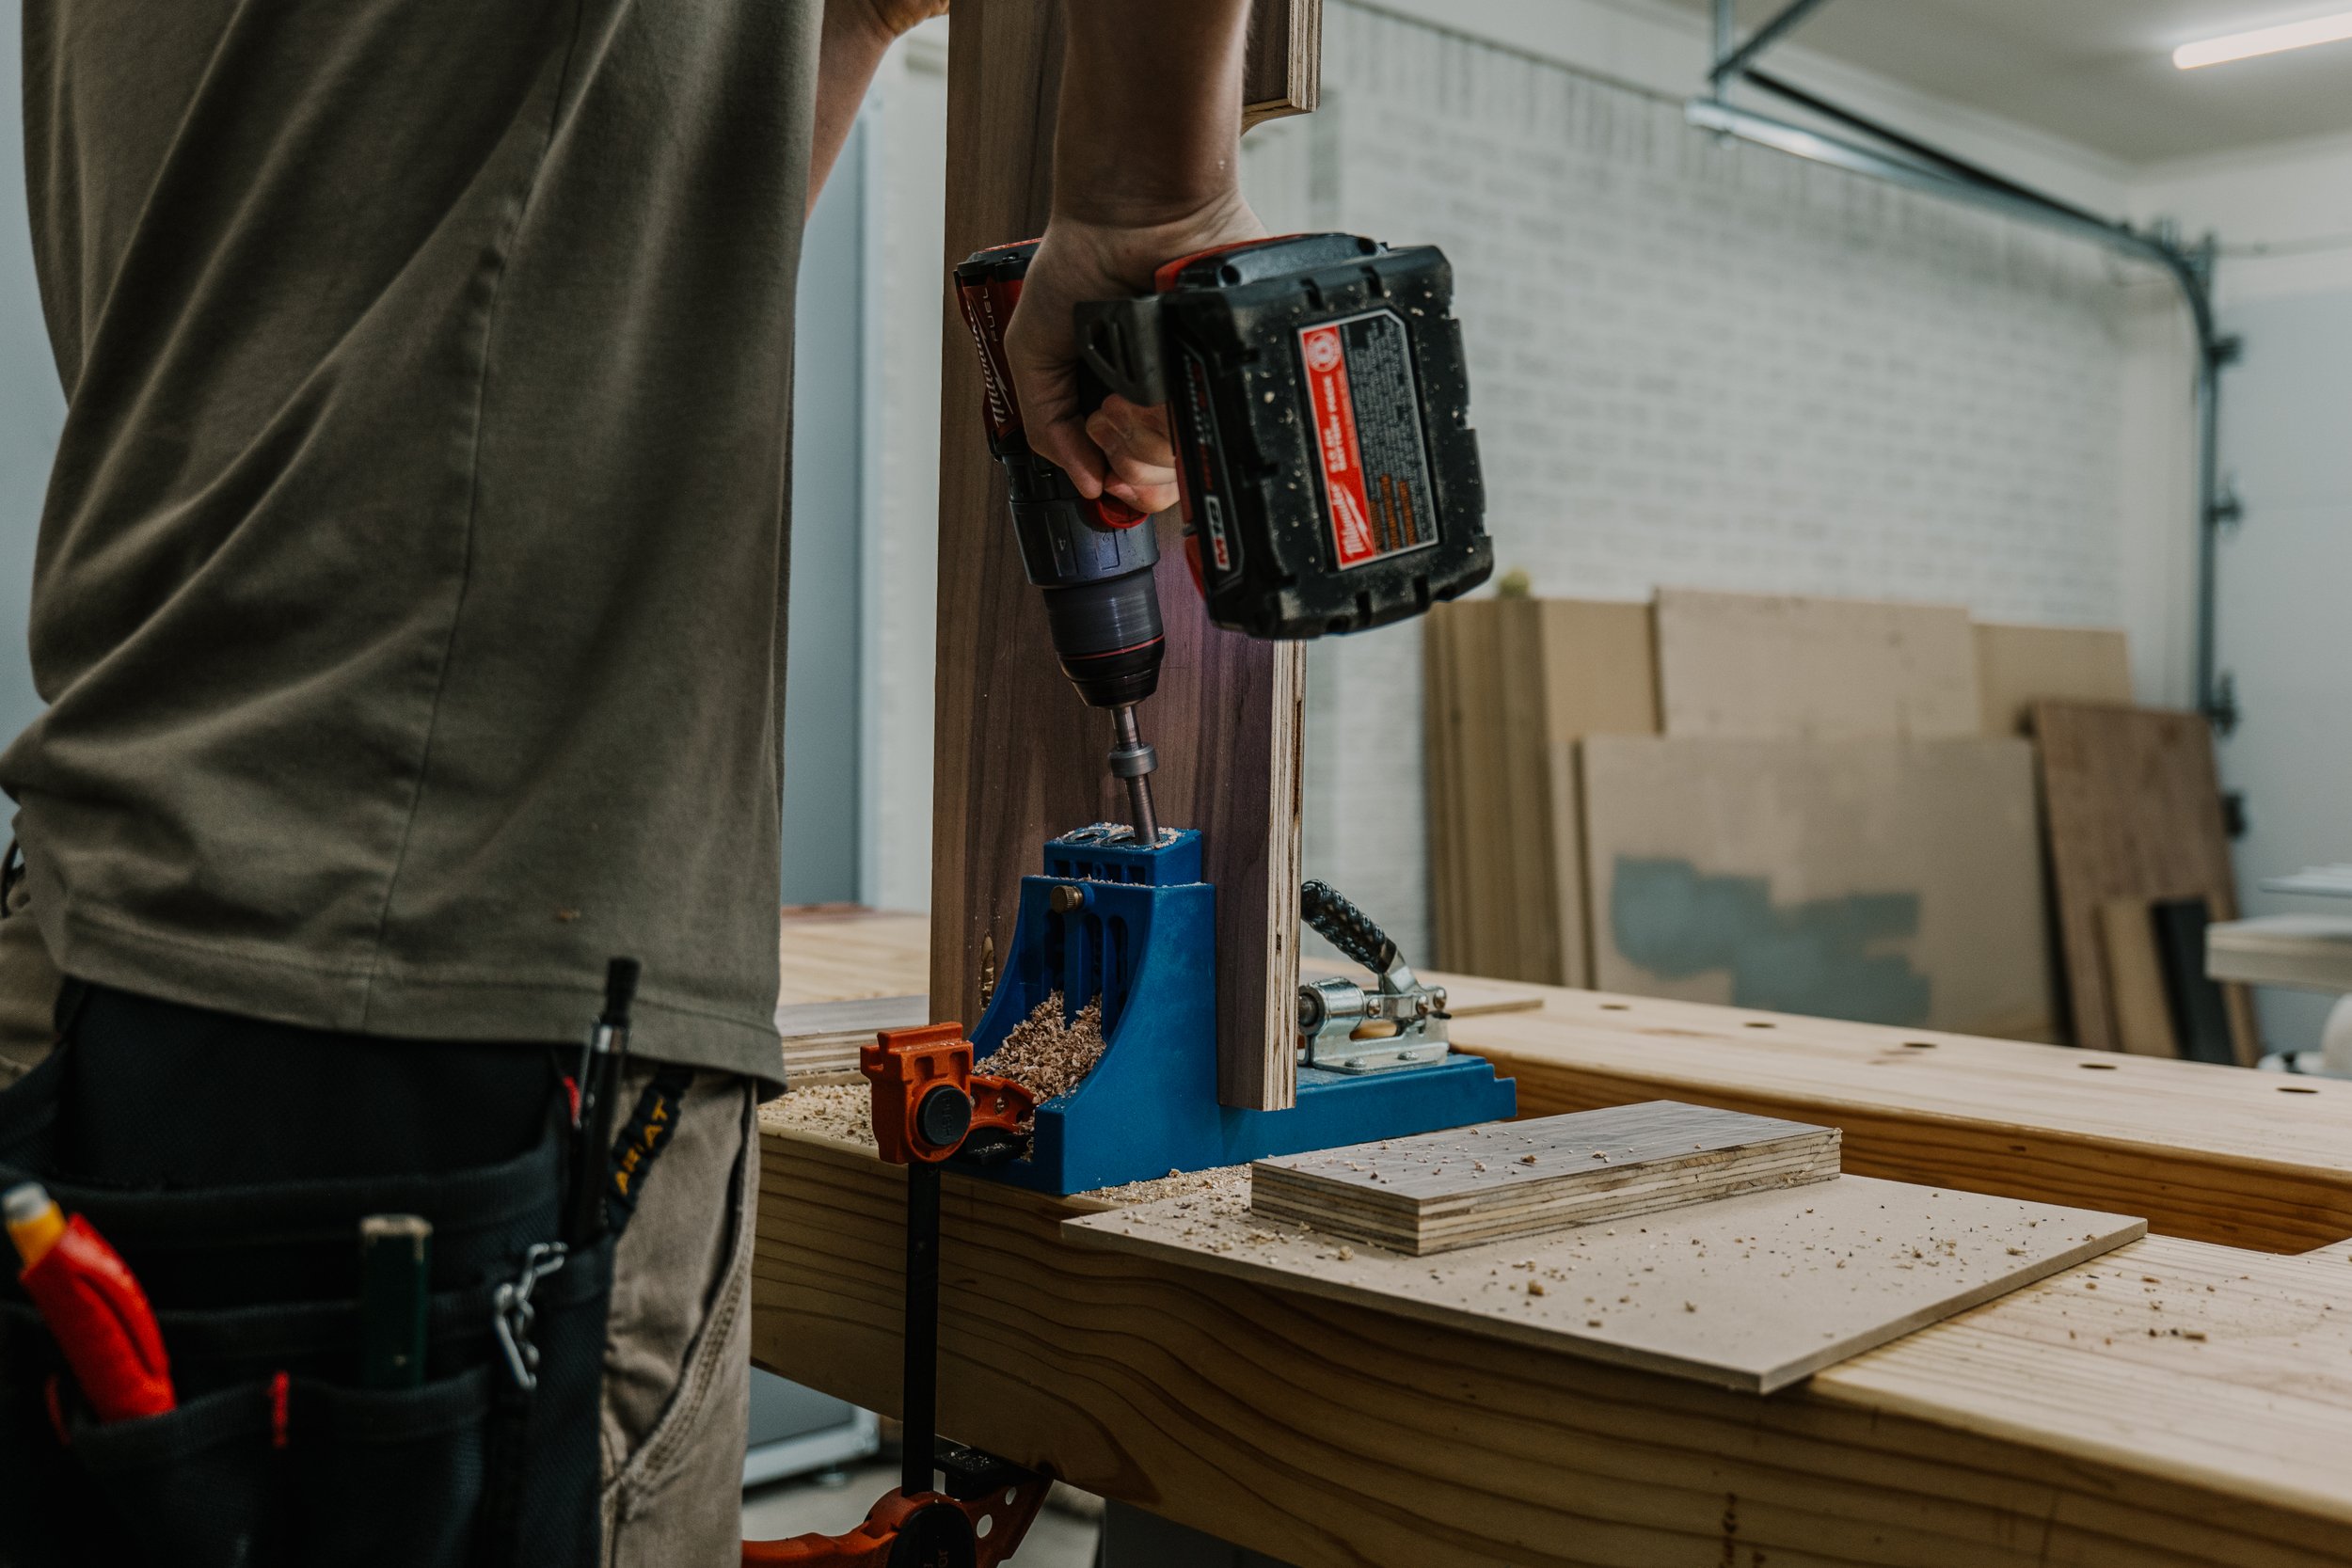

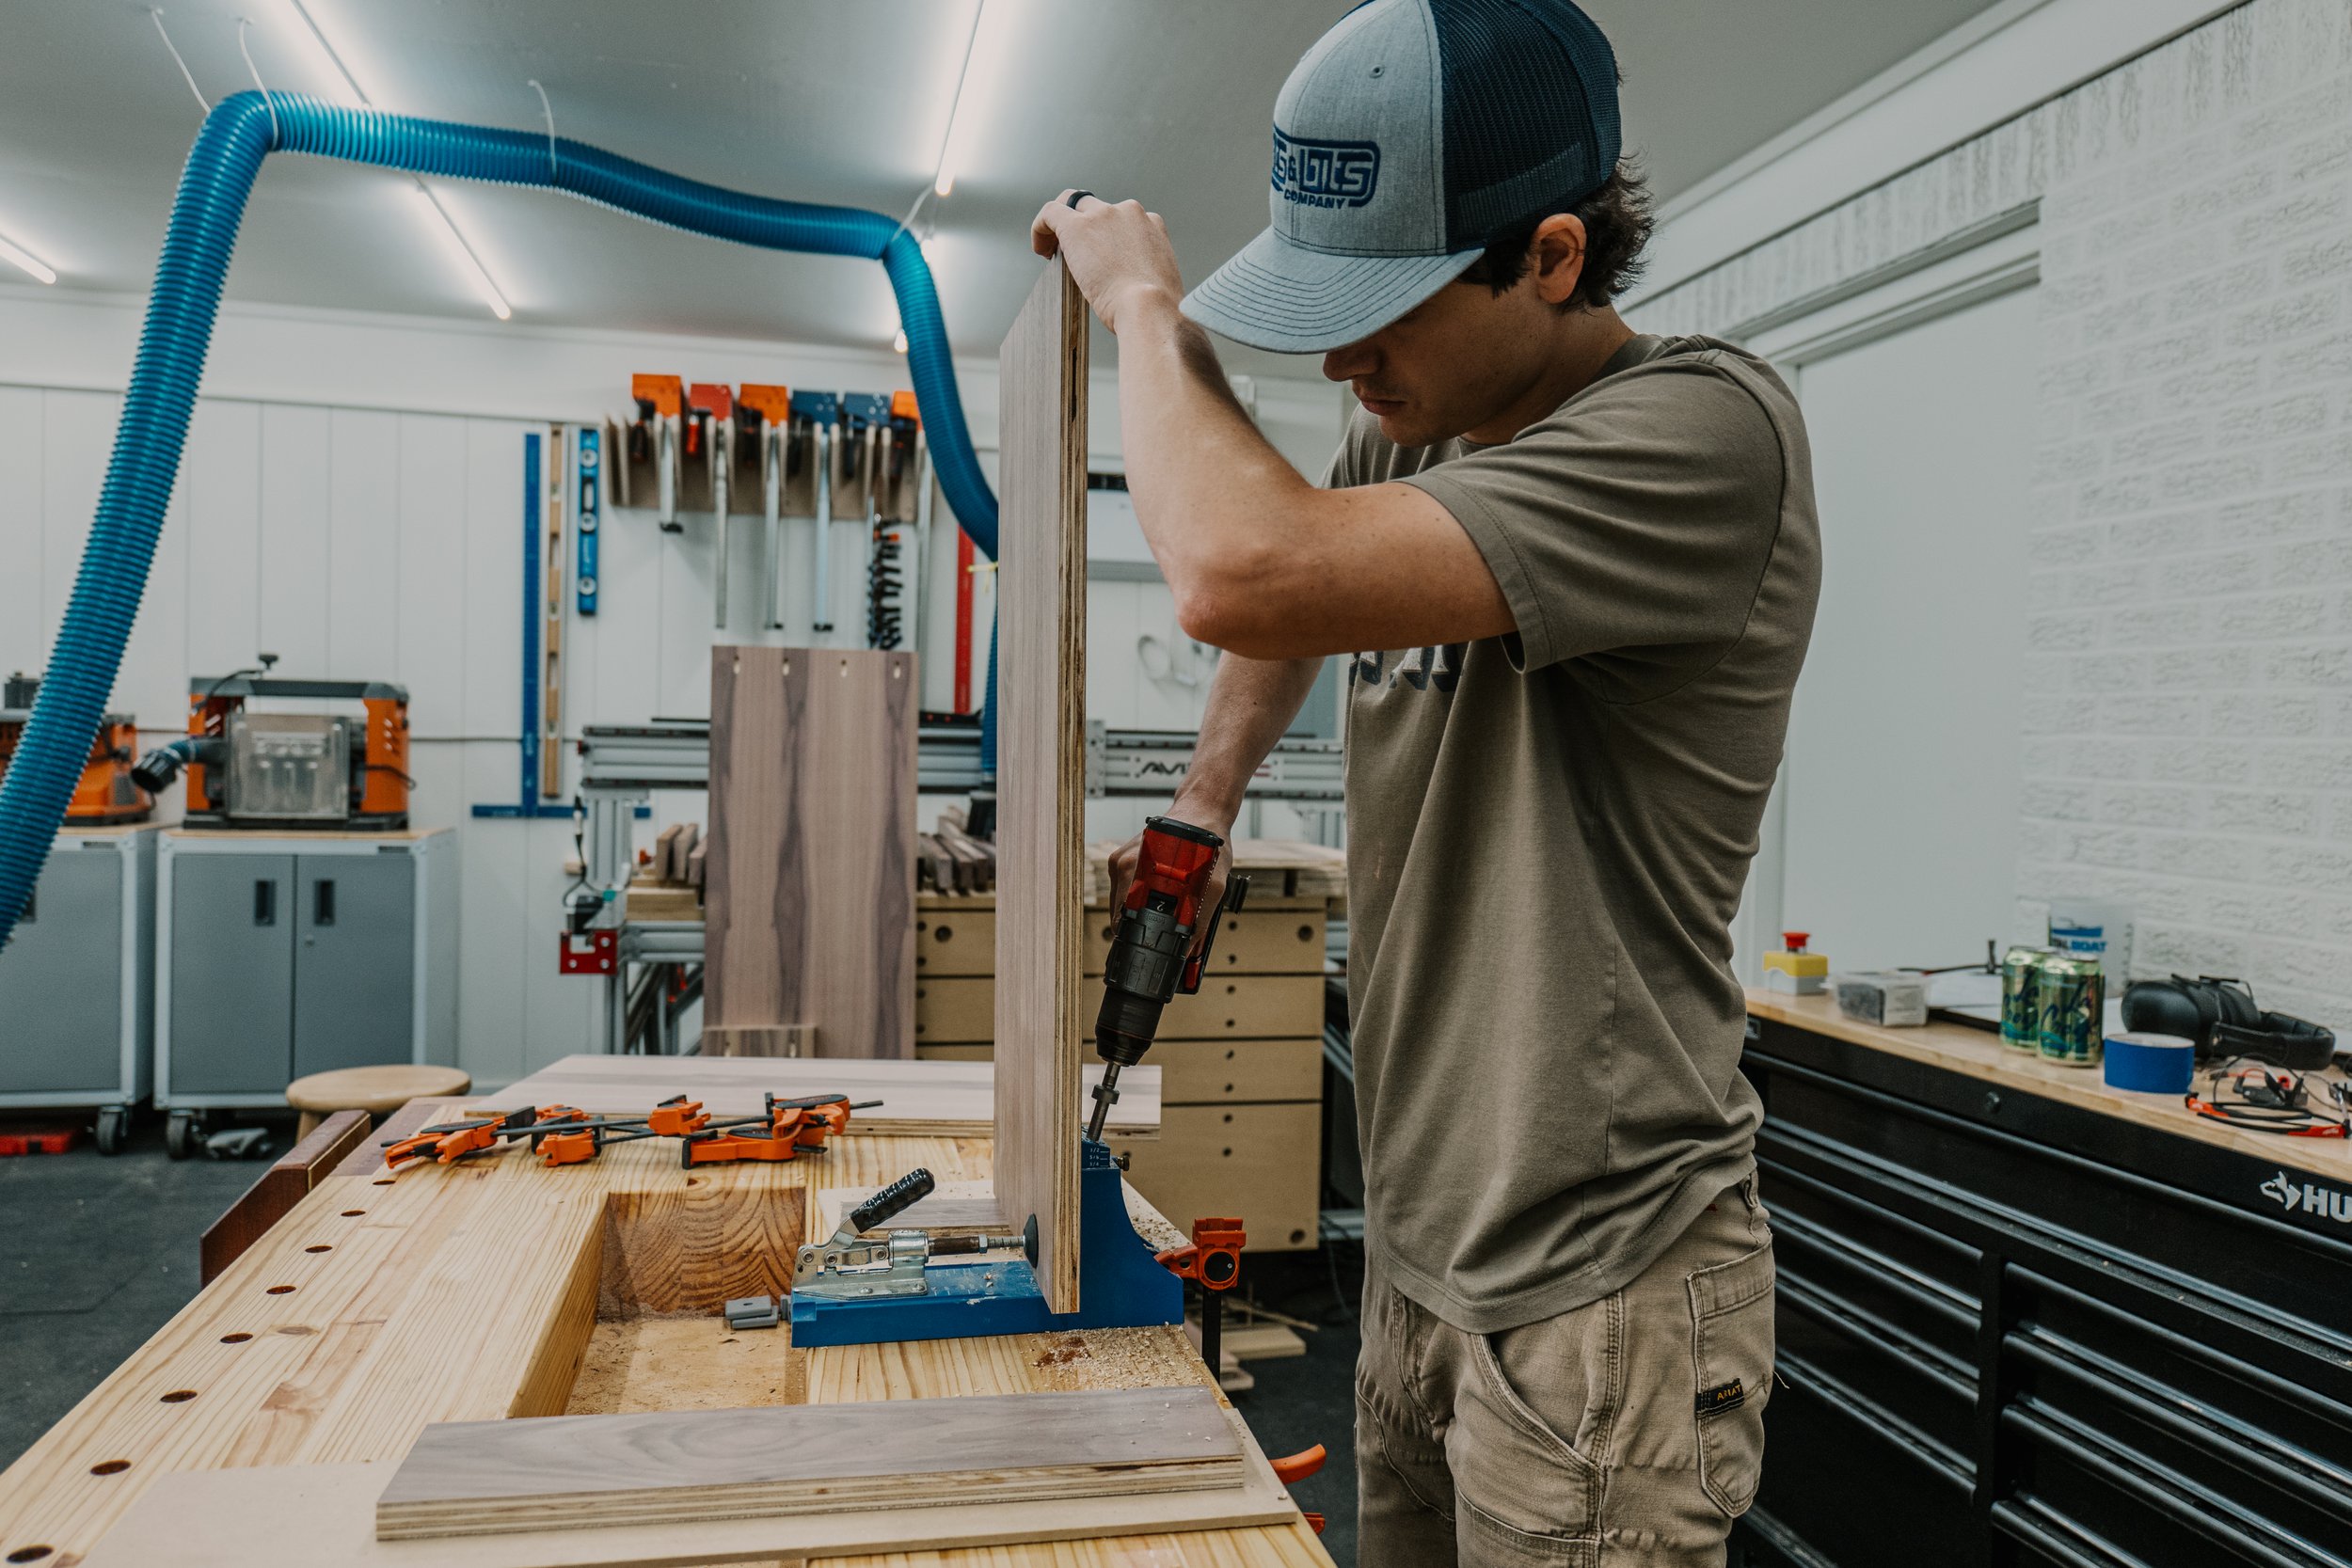
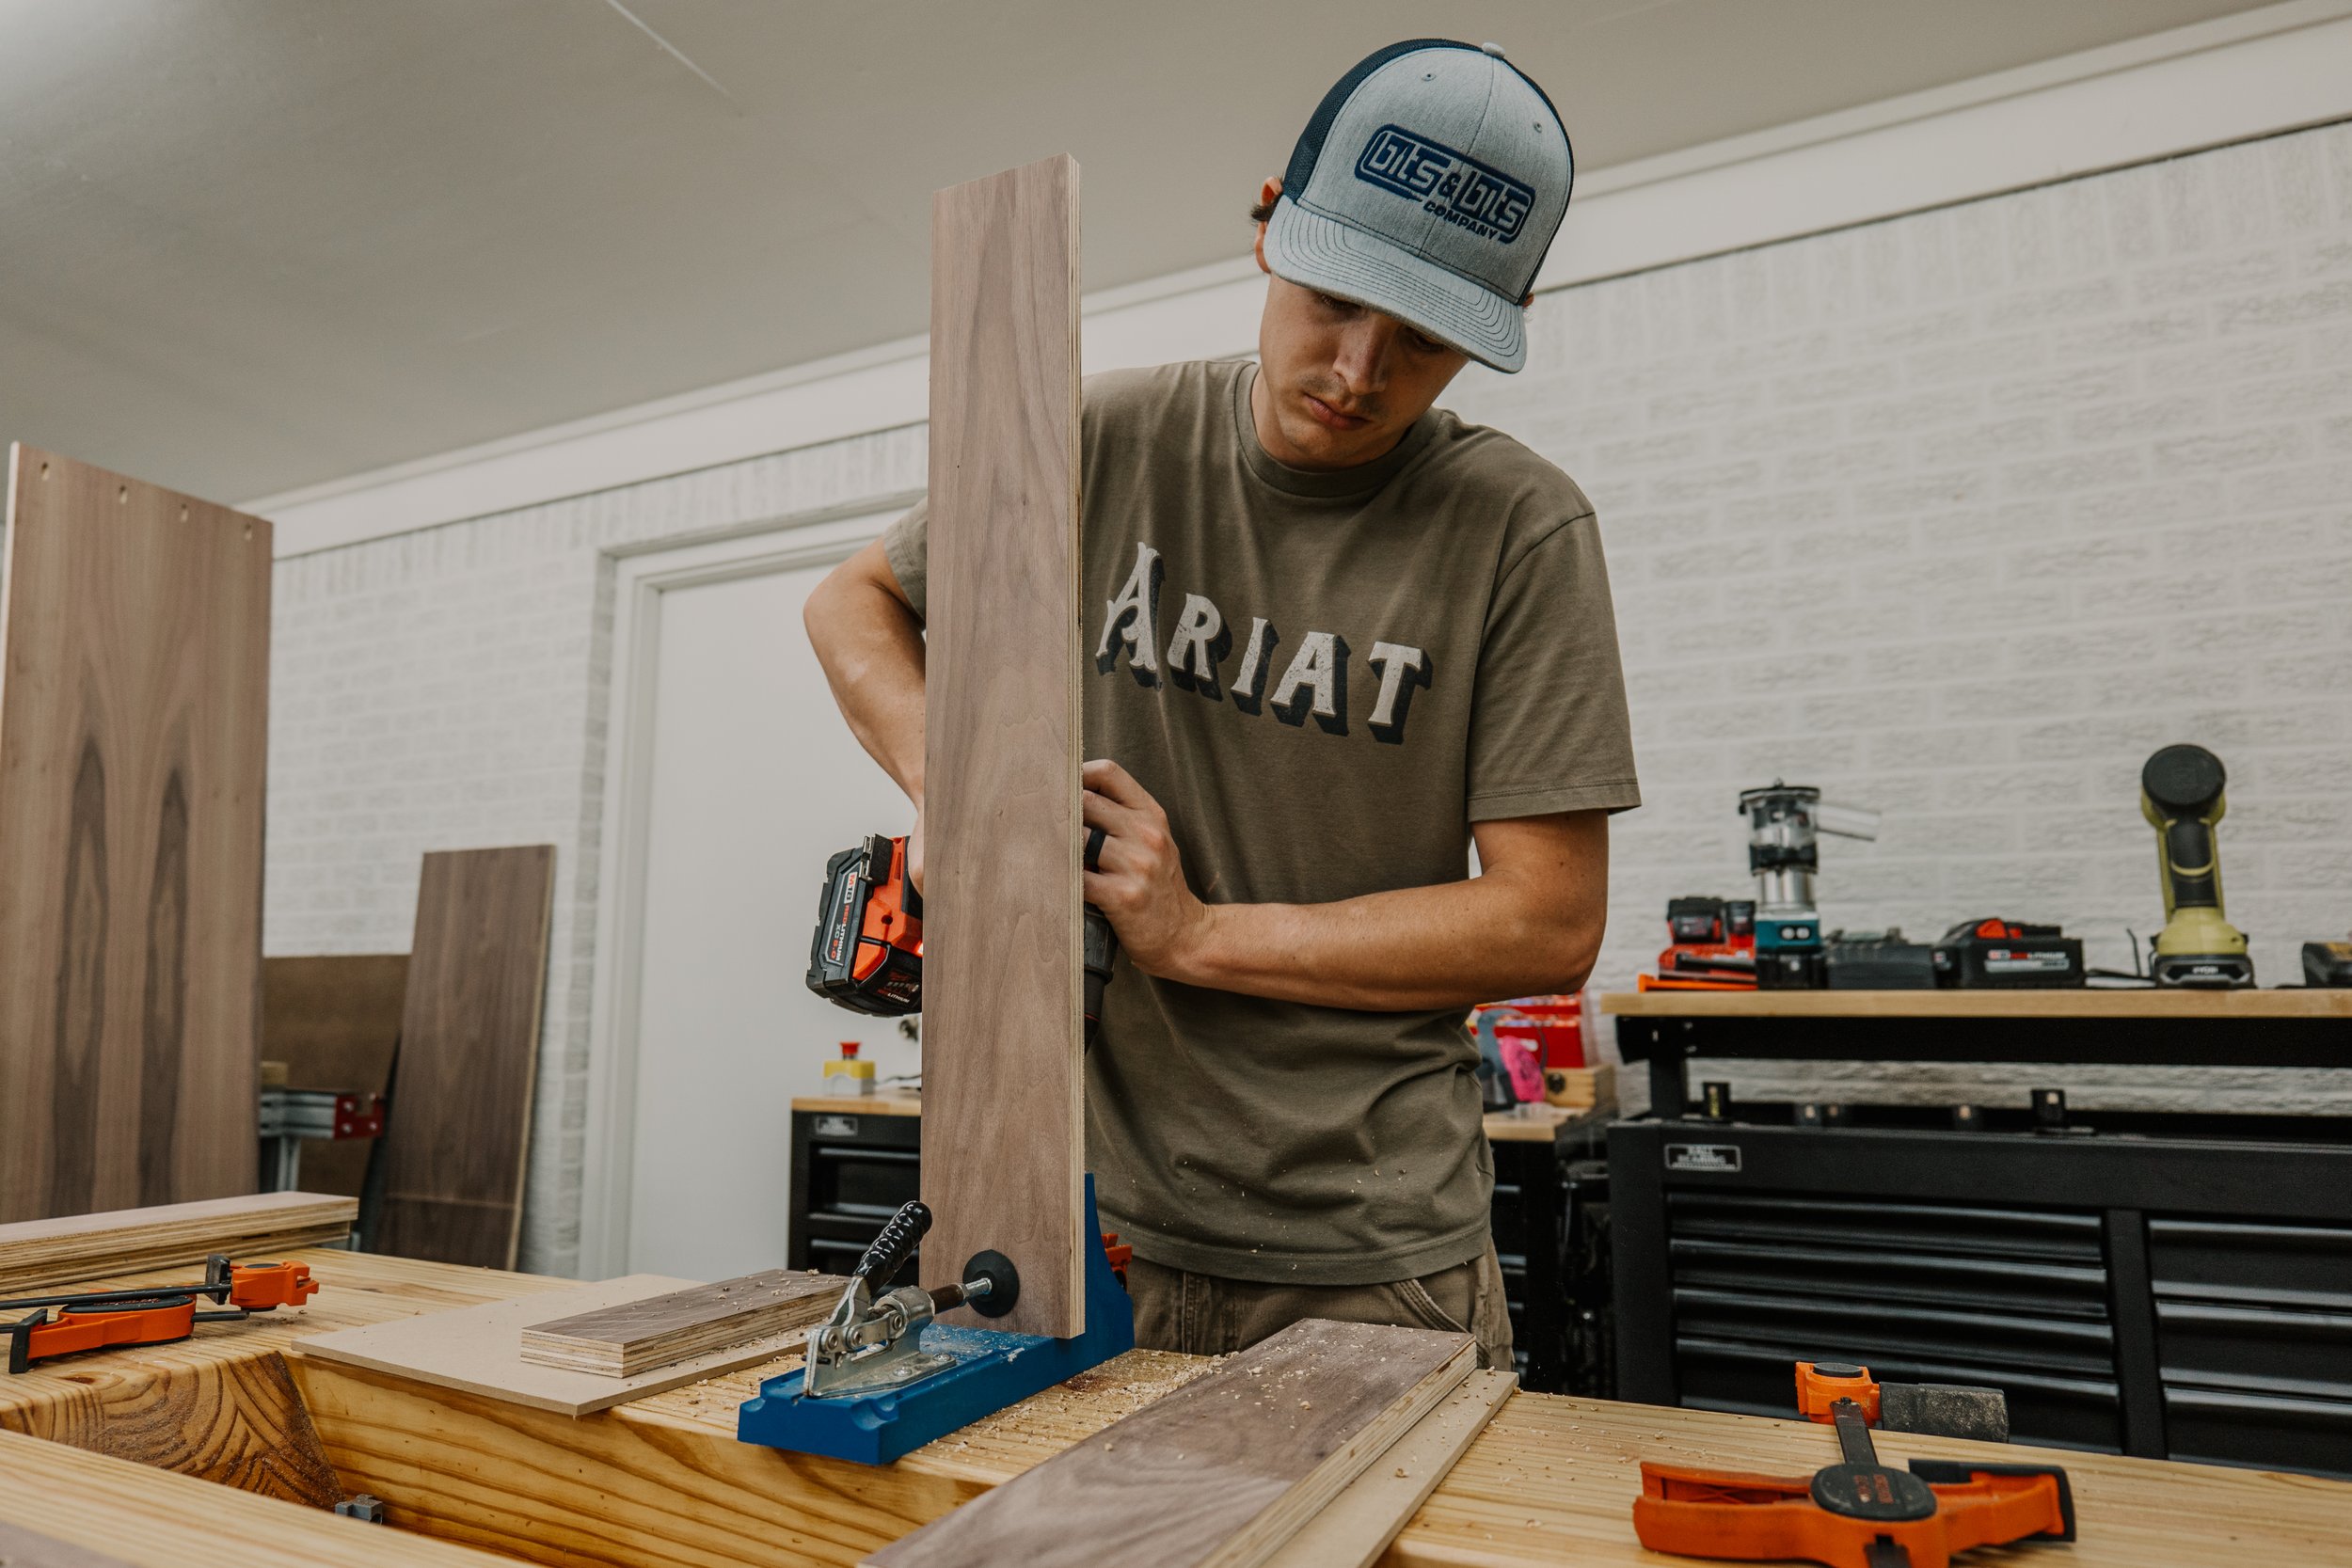

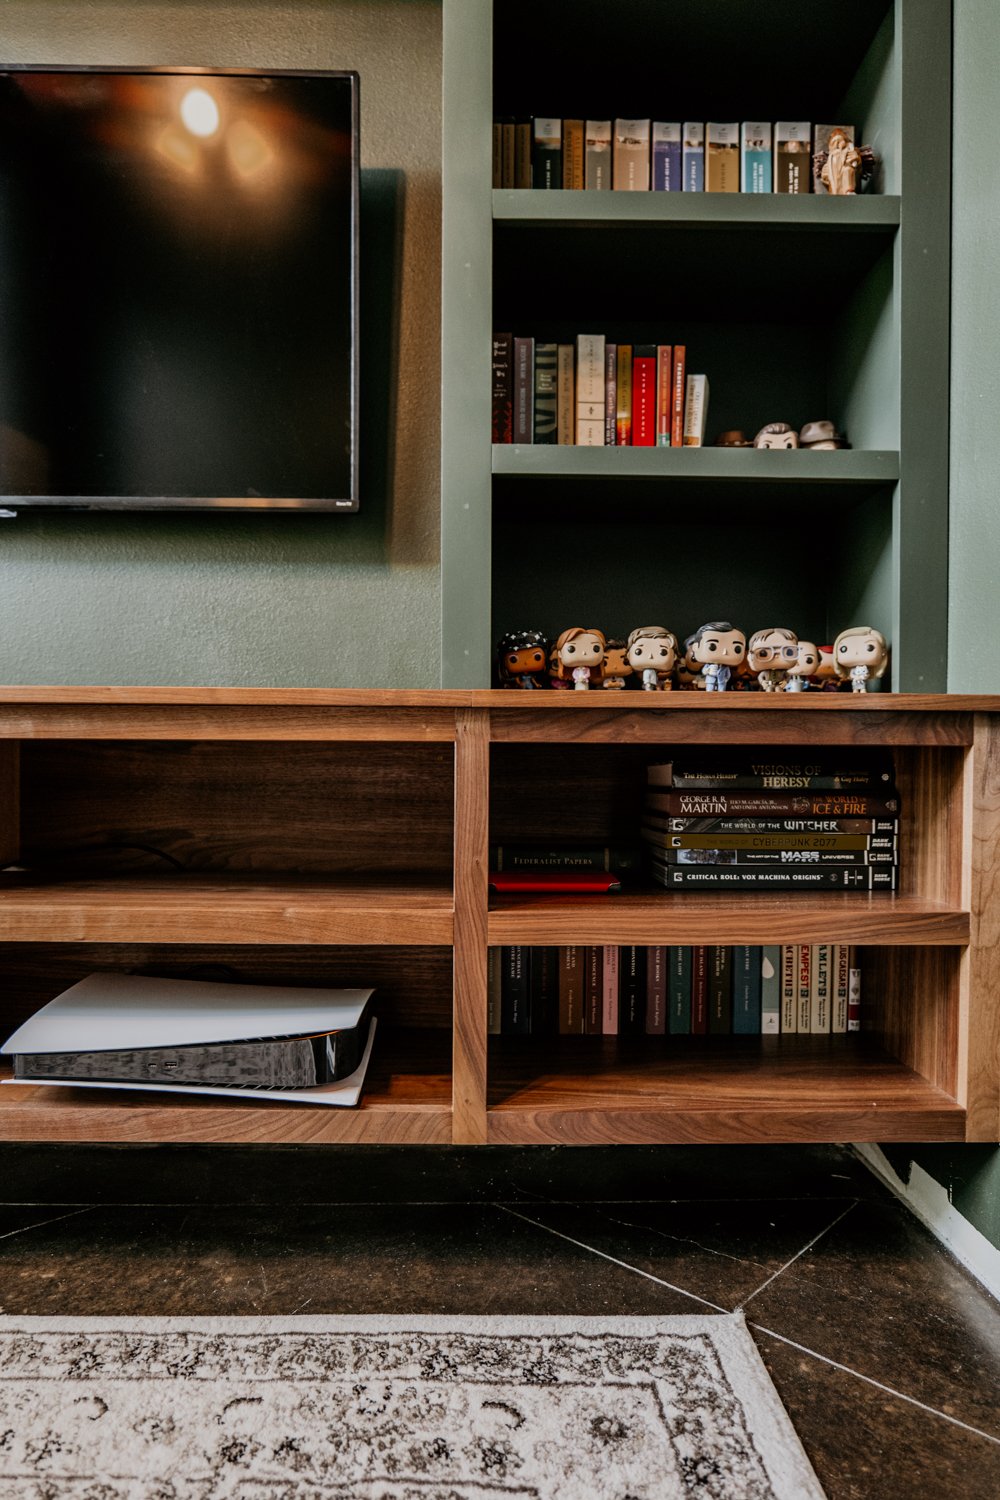
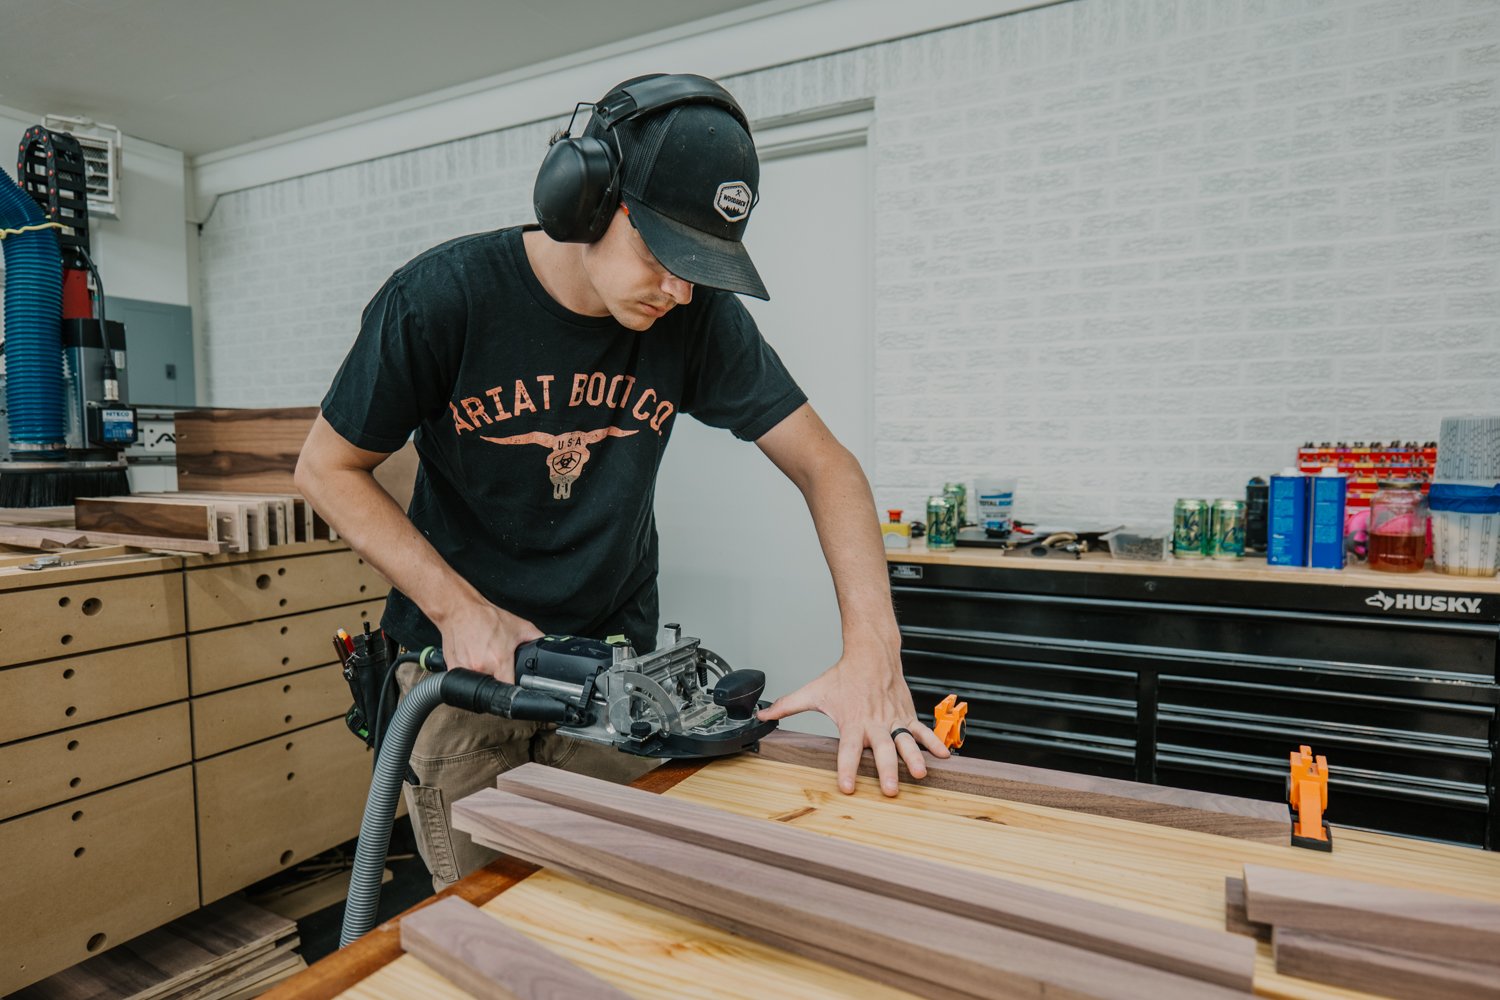
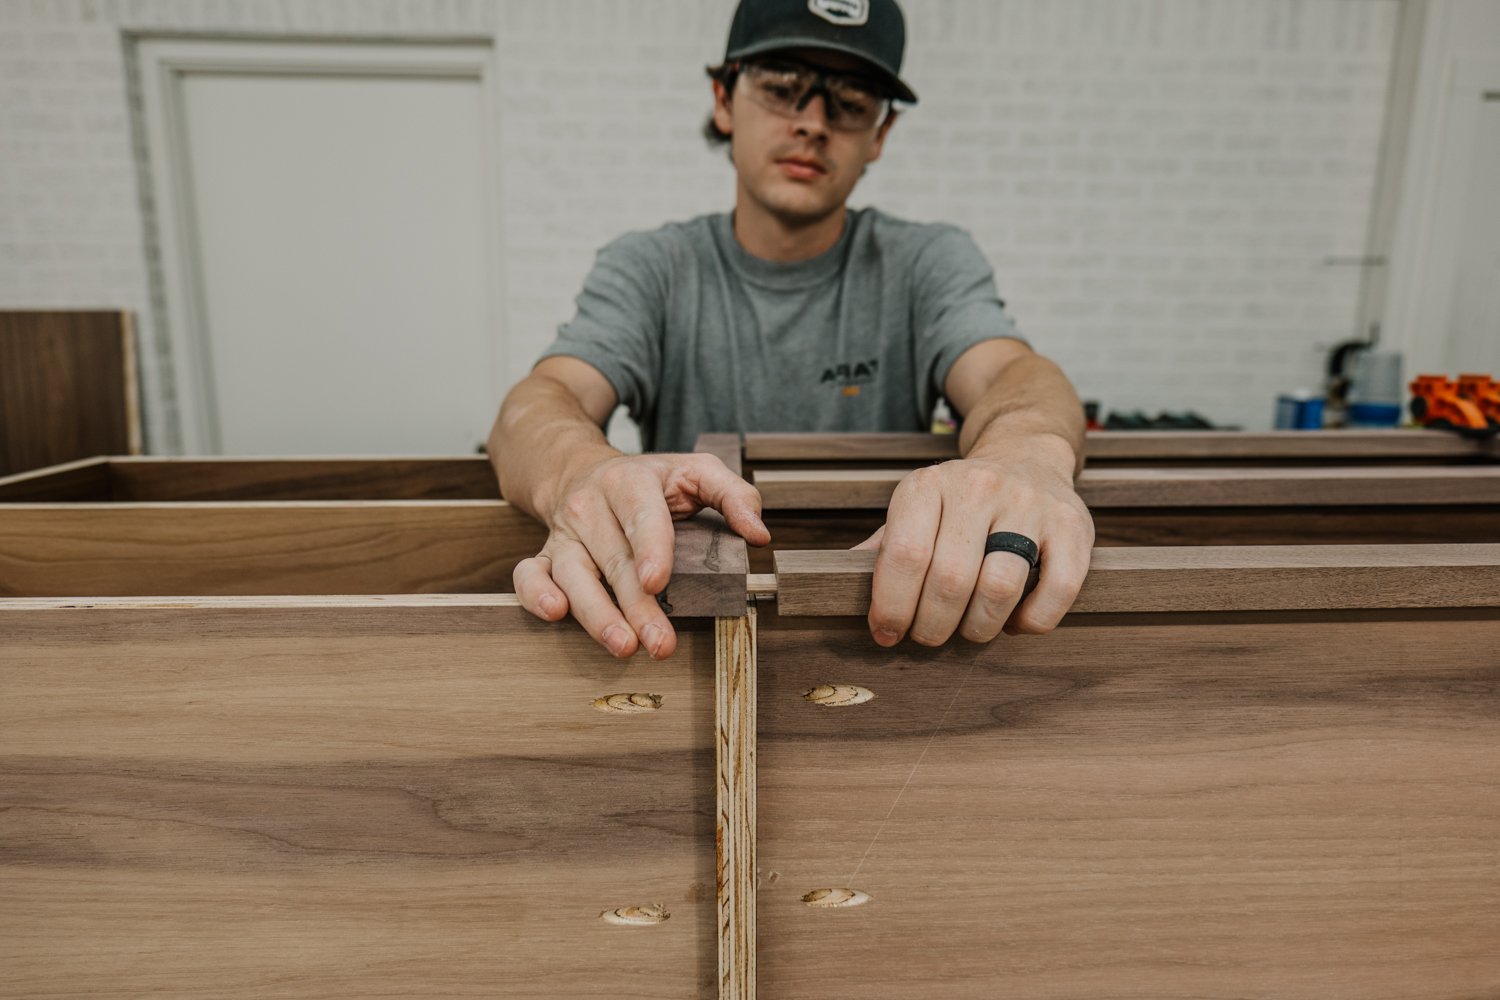
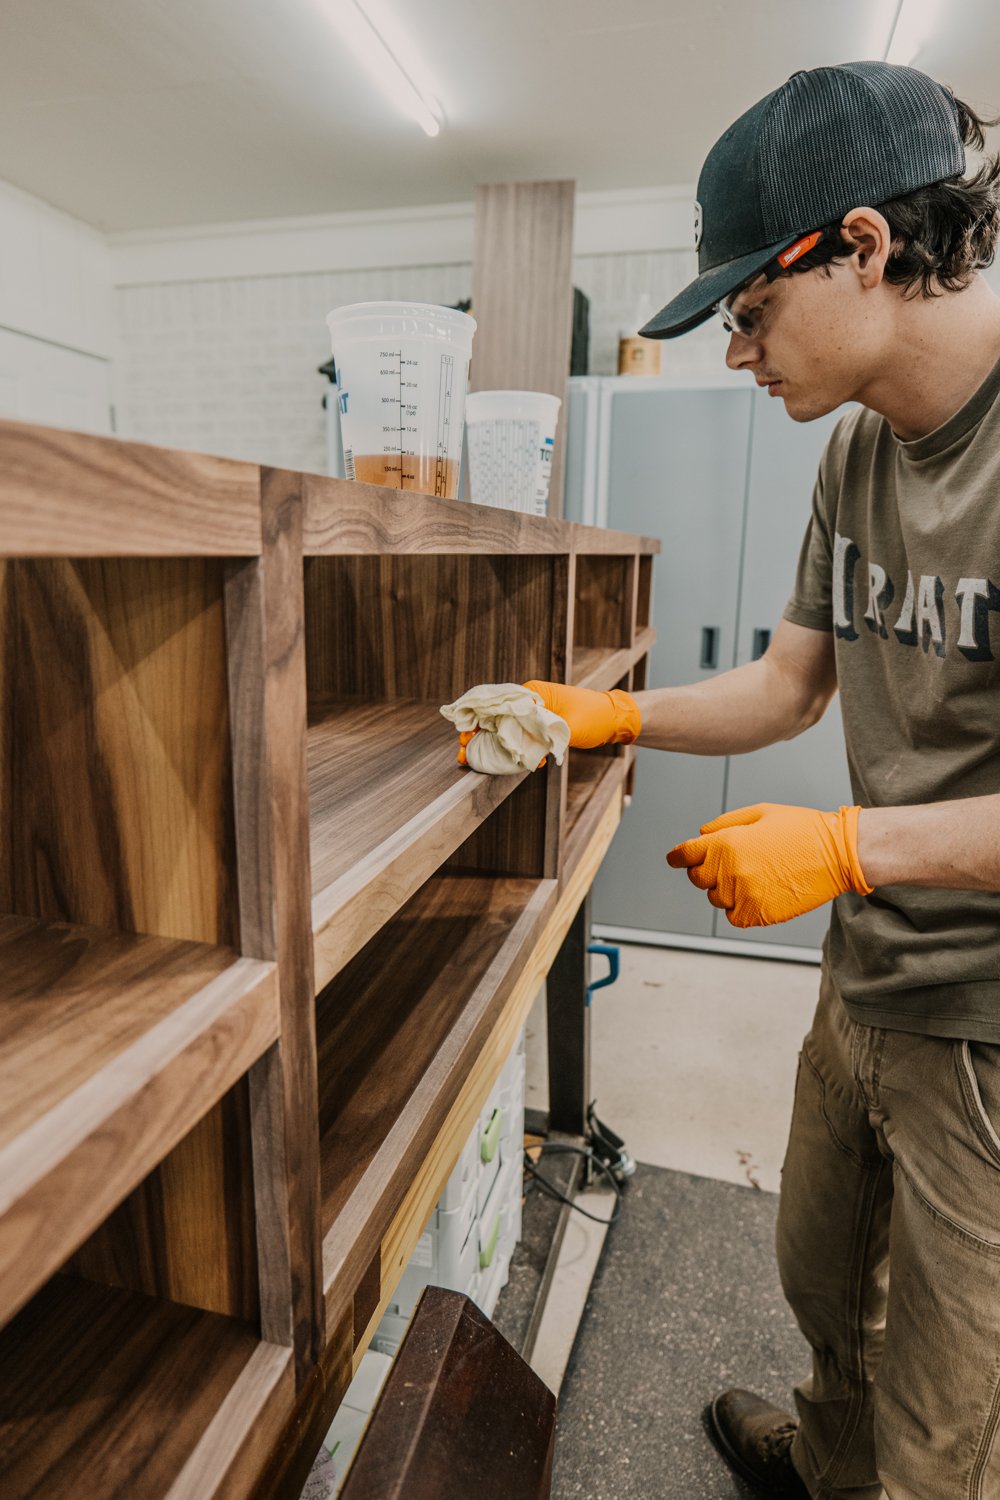
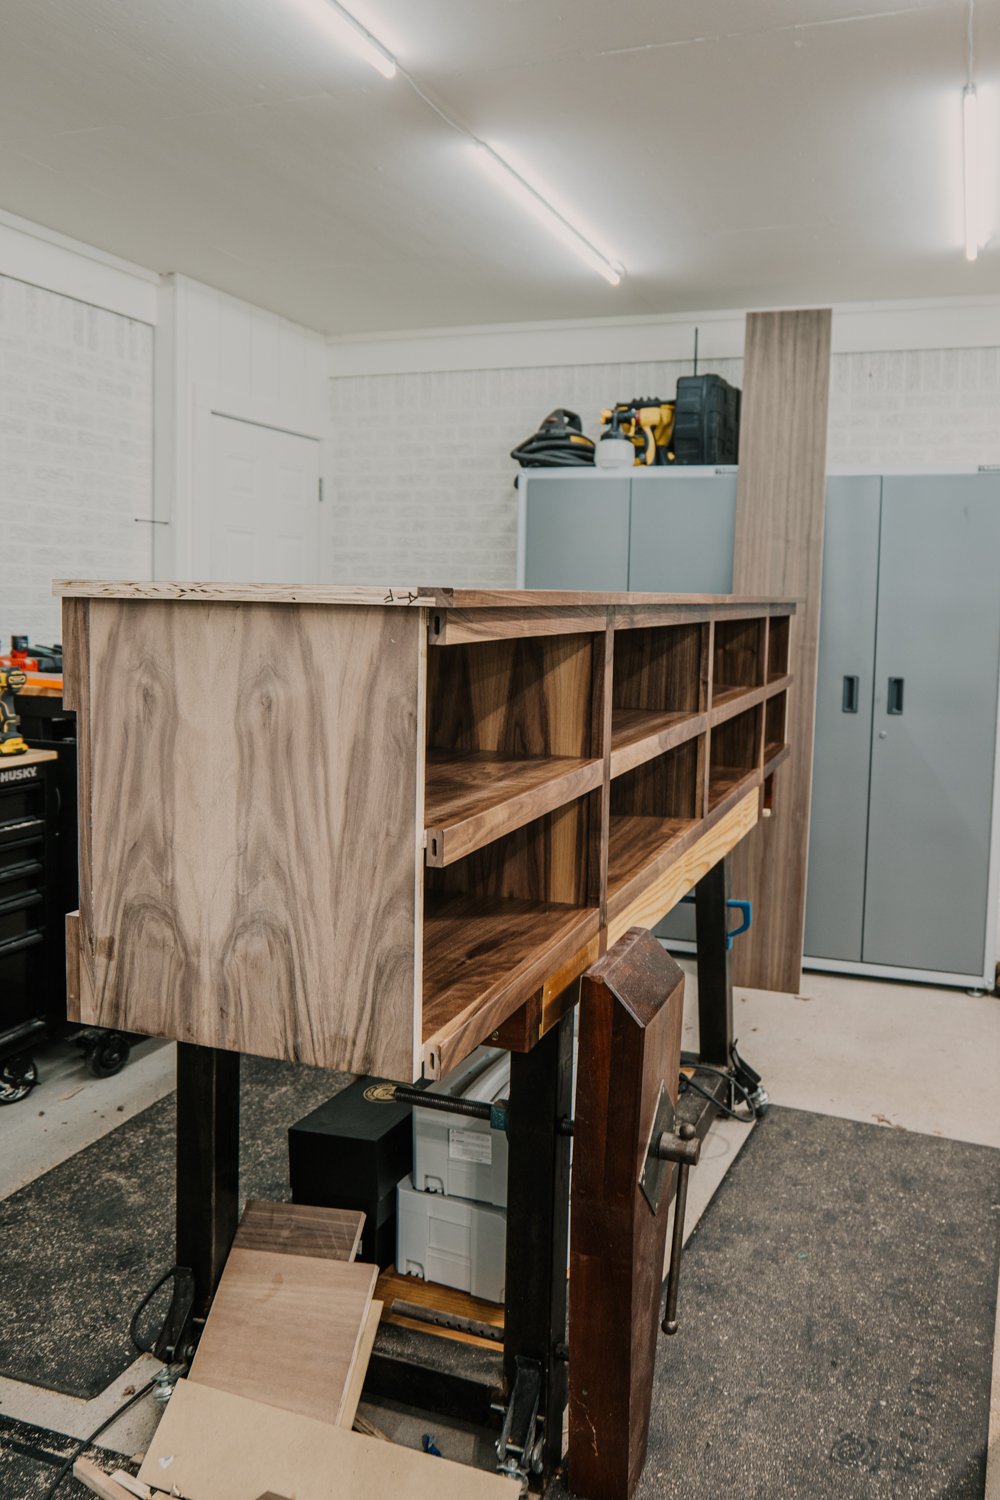
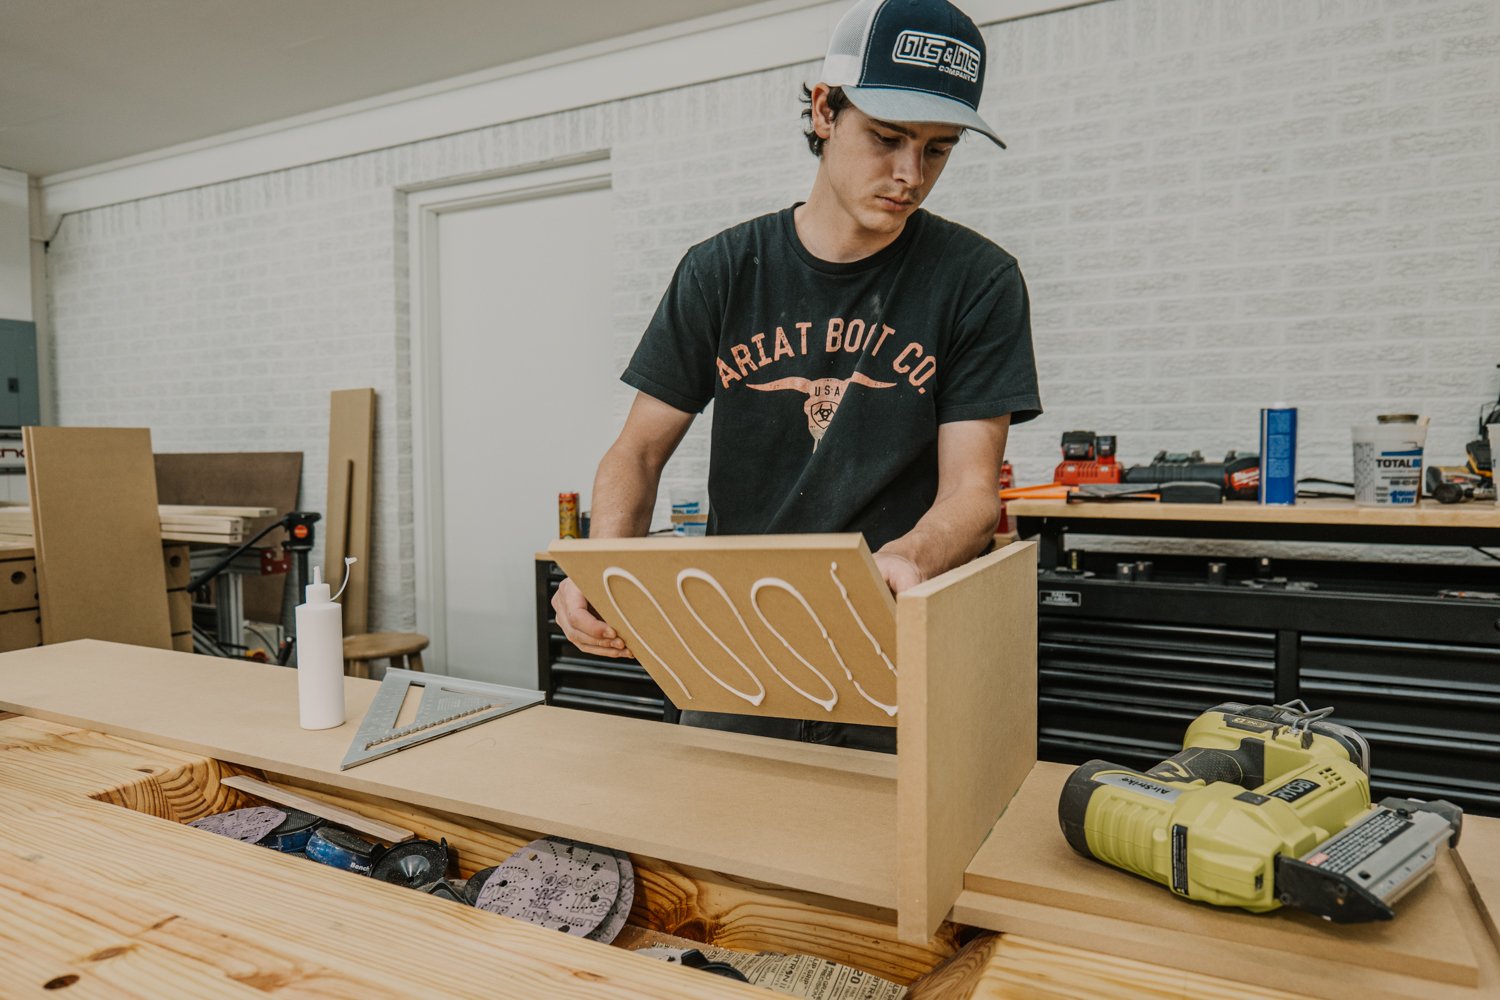
Since the media center is over 8ft in length, we had to domino 3 separate pieces together to make up the top. You could also use biscuits or pocket holes! Once all the plywood was cut to final dimensions, we started to add finish! This is a homemade solution of shellac, but you can also buy this pre-made. This is one of our top favorite finishes because it doesn’t add a high sheen, basically matte. You can see and still feel the texture of the wood grain, but it’s also very protected and easy to add more coats to.
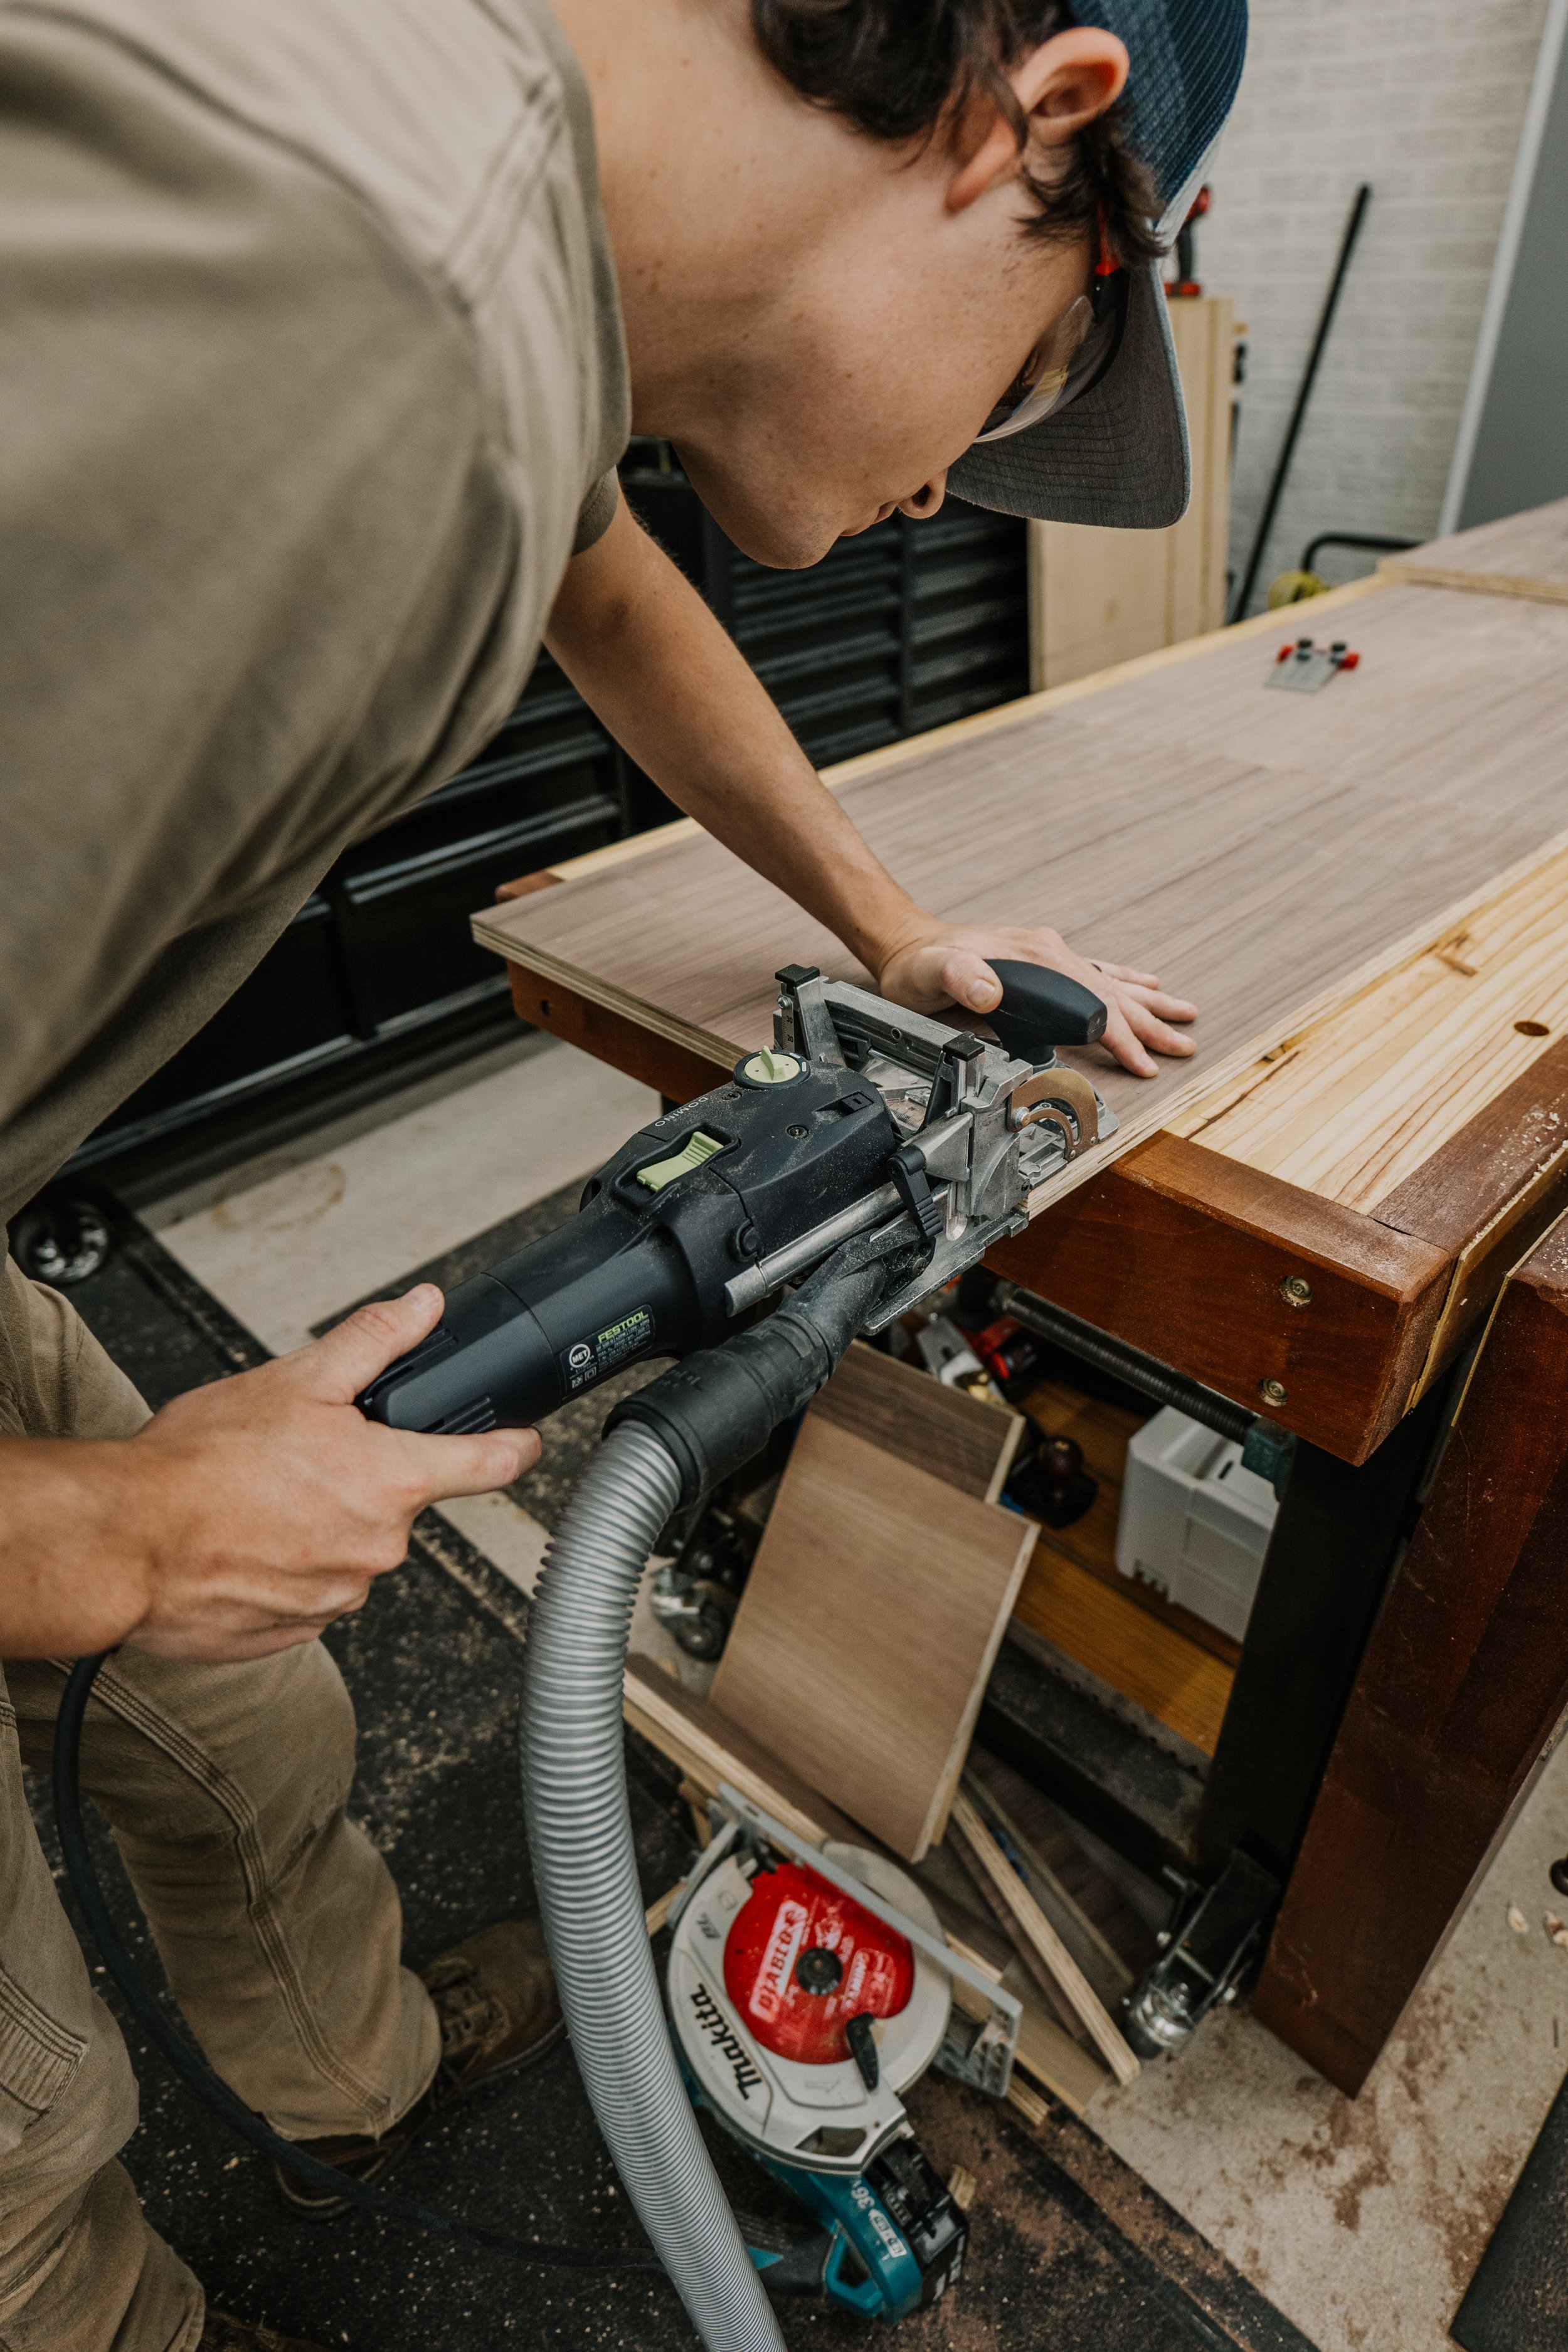

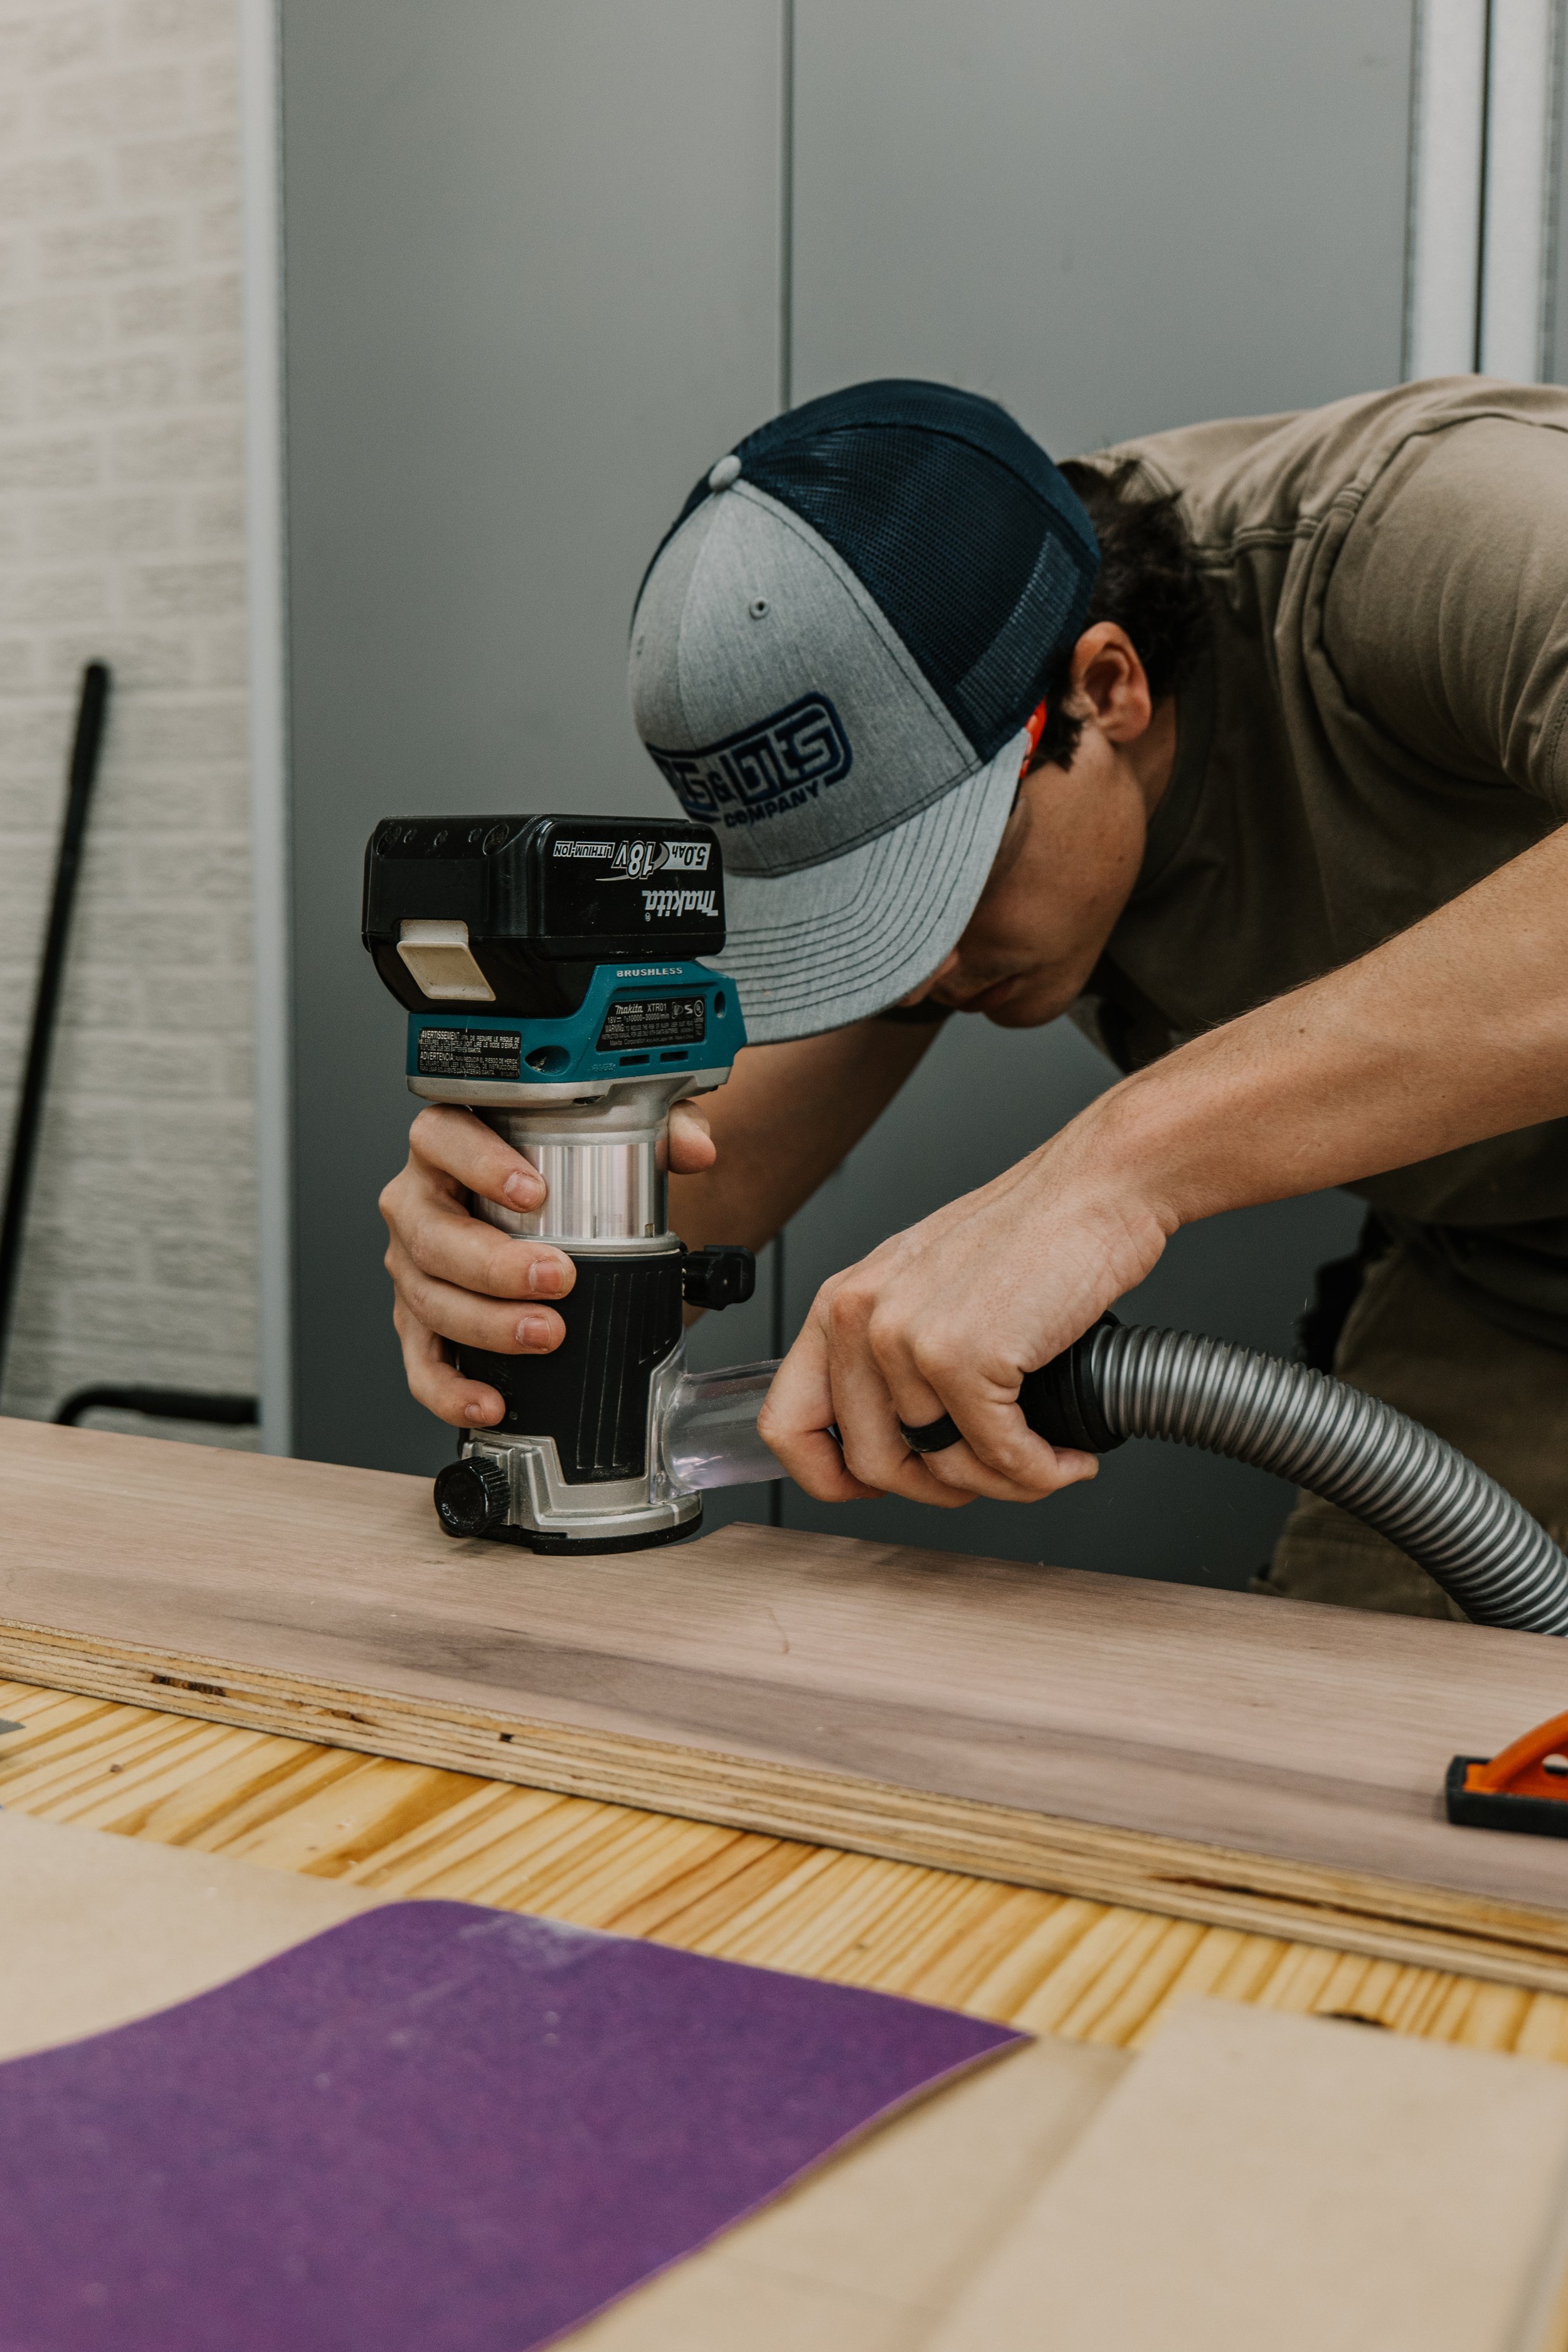
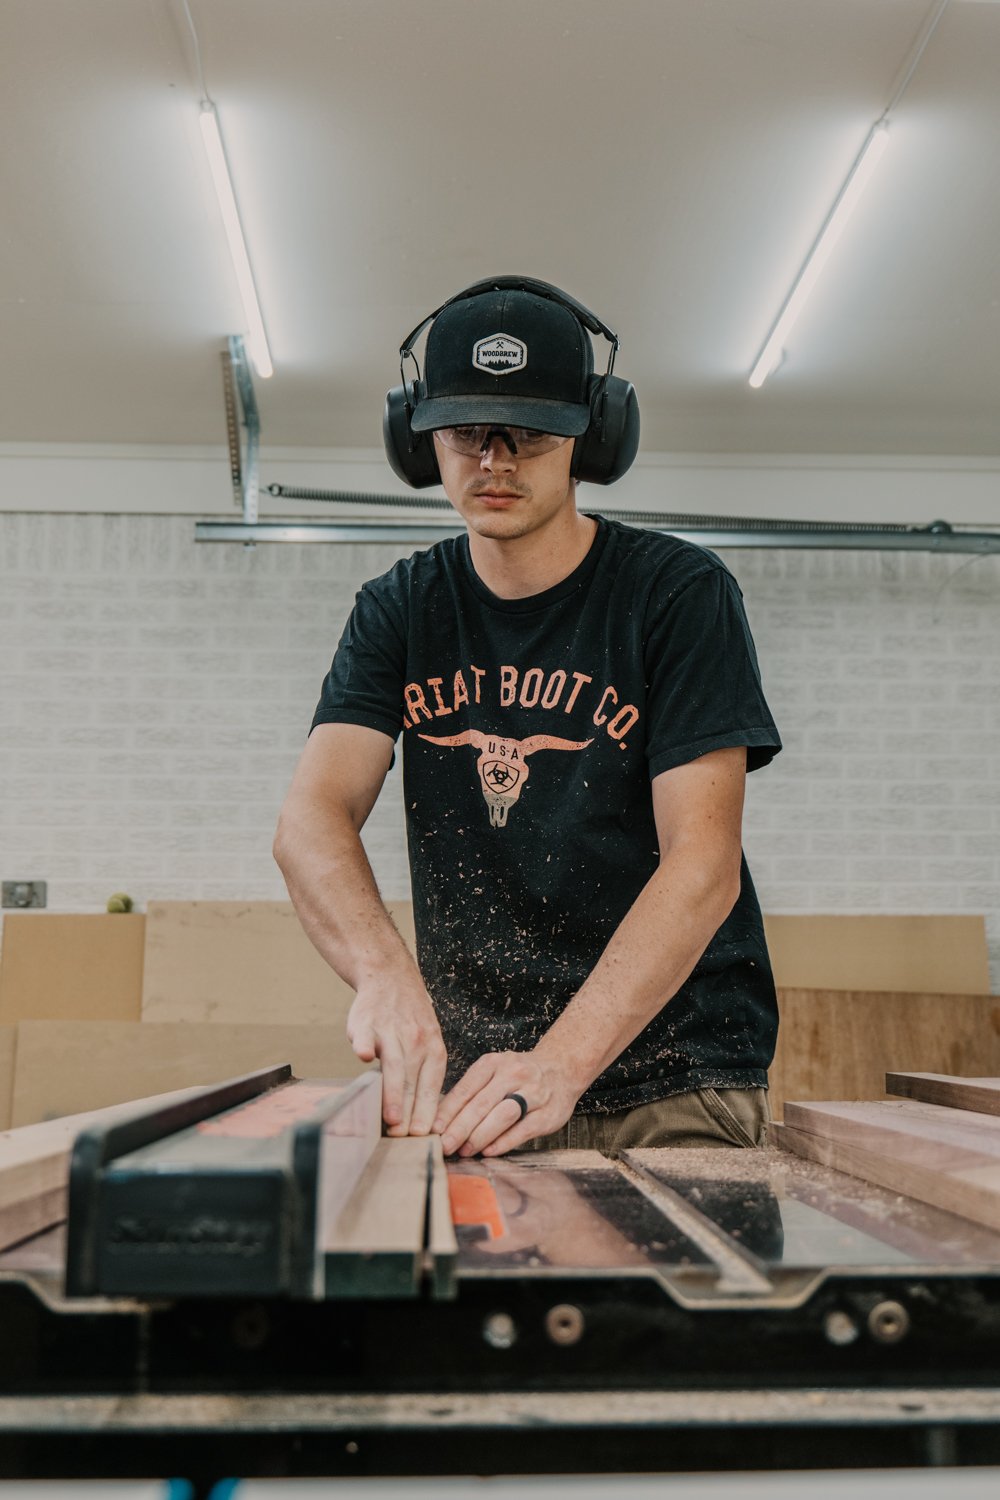
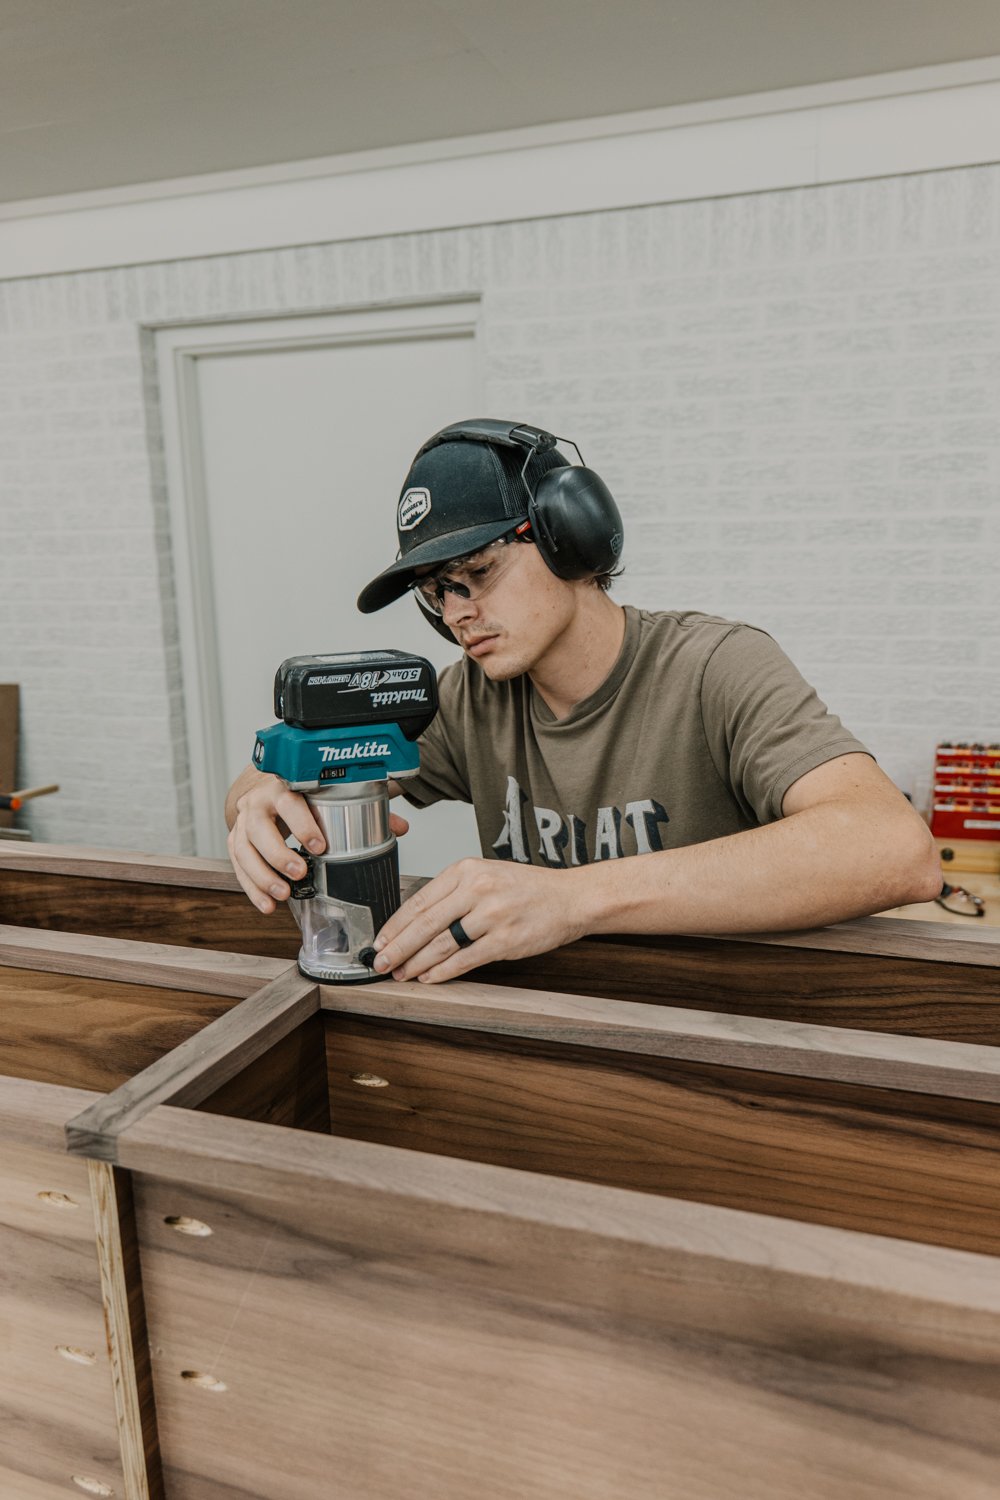
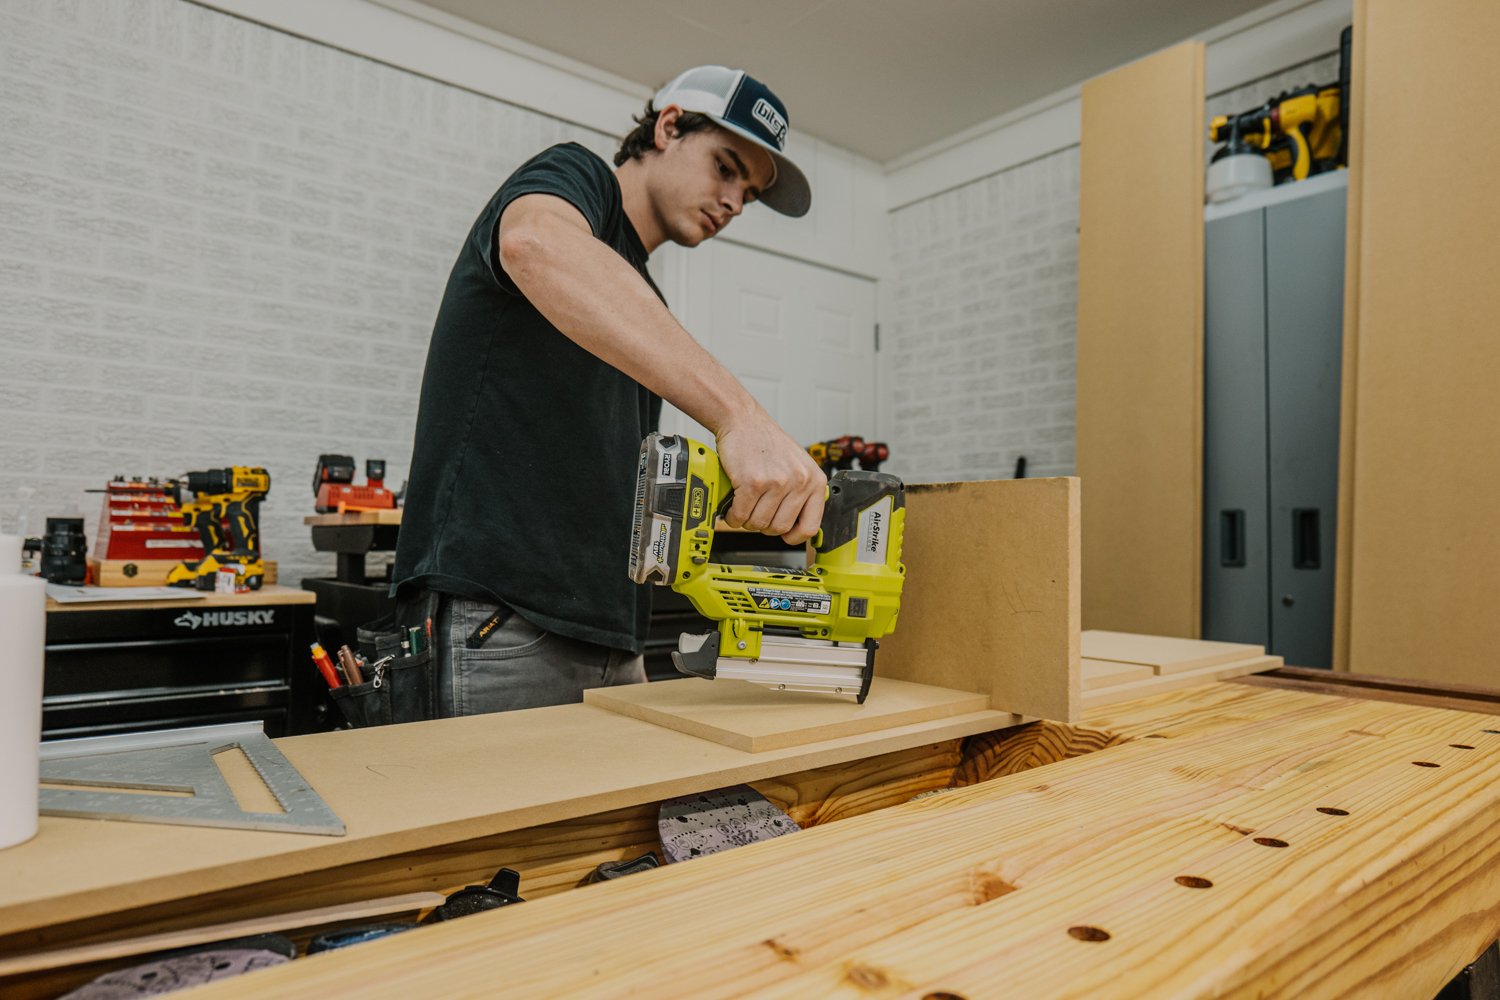
Onto the walnut face frames! We used the table saw to get the boards to the final width and length. We used the Domino for the face frame joinery but again could use biscuits or pocket holes. Finally, it’s time to start assembling!
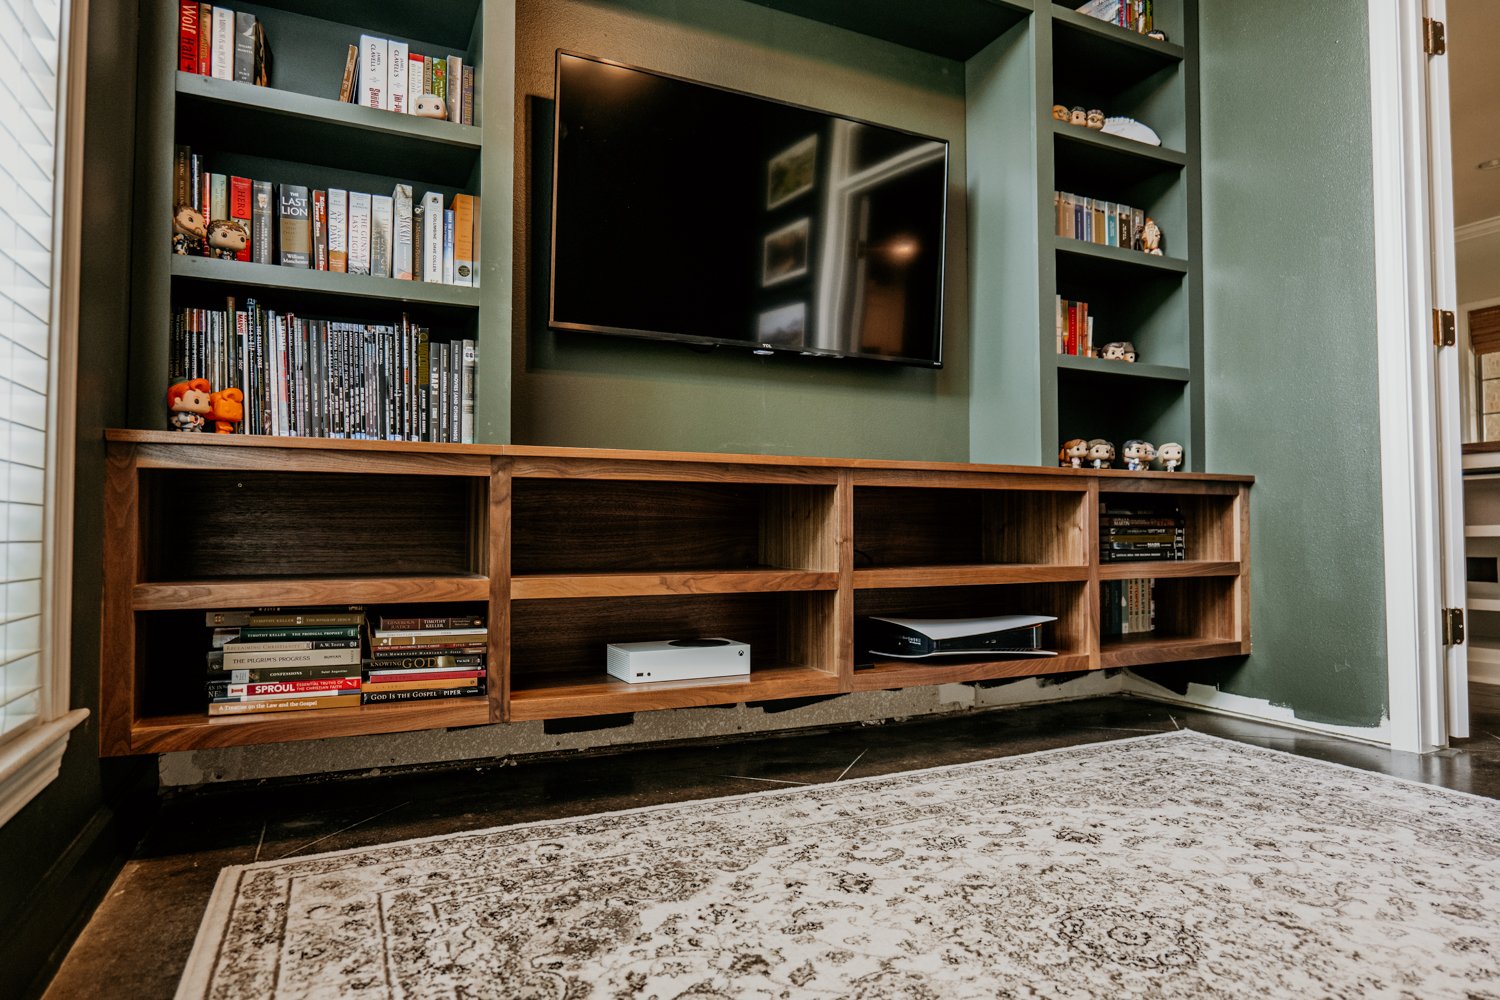
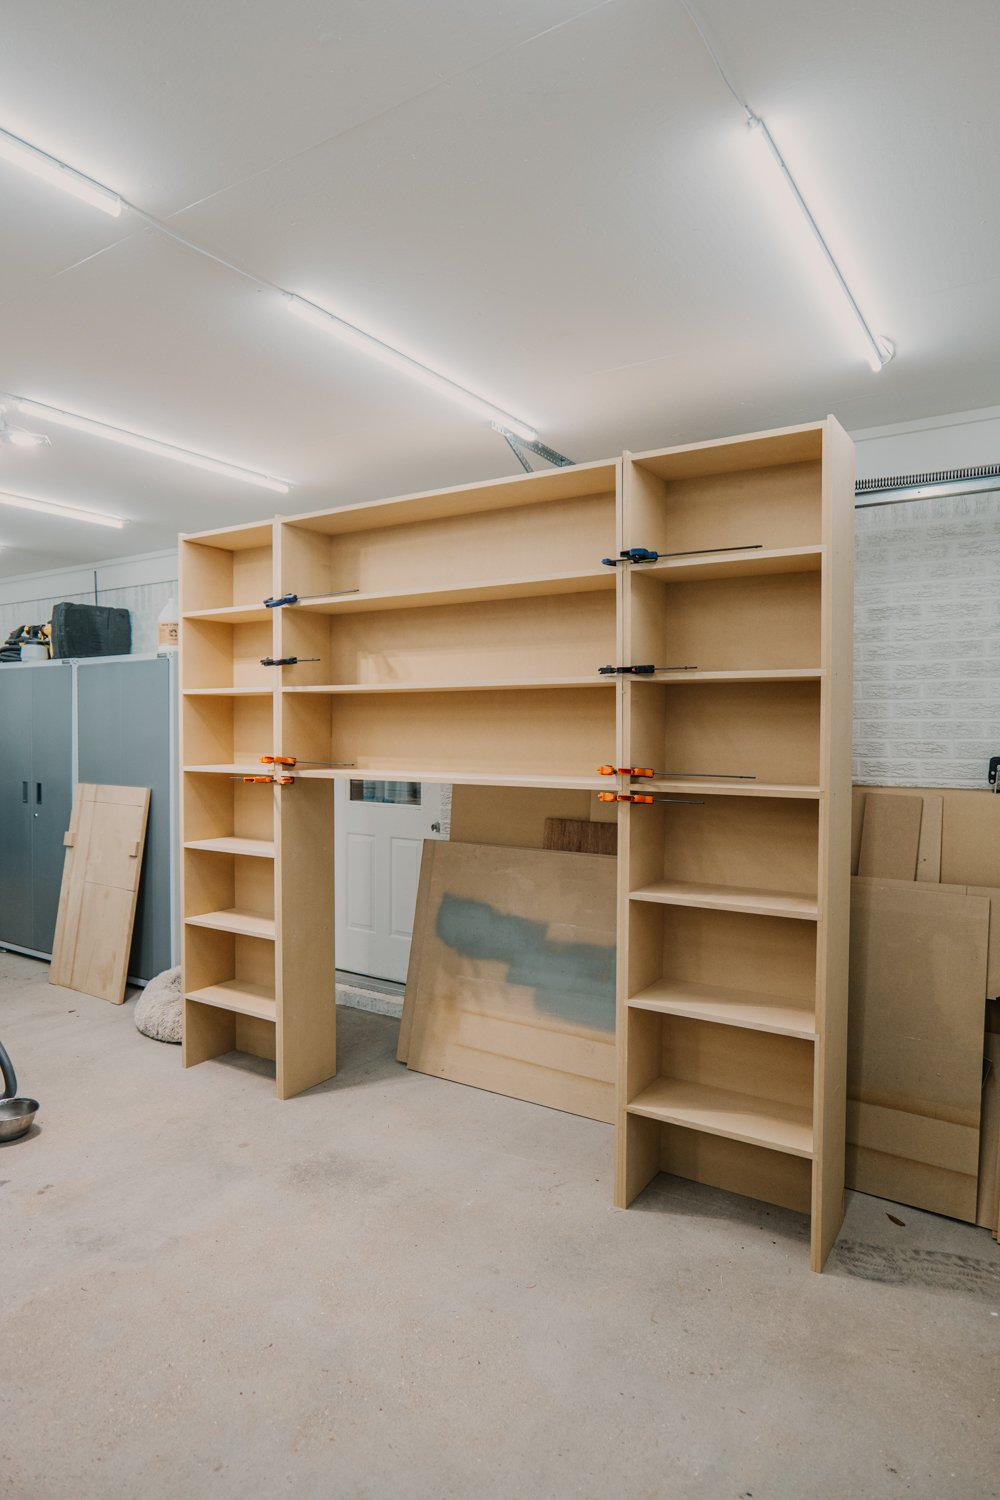
Once the media center was all put together, the edges are rounded over, and the finish applied to the face frame, we moved it aside to get started on the side bookshelves. You might notice that the face frame outside stiles are missing and that is so we can install this into the room. This media center will extend the entire width of the room, so keeping those off will allow us to push this into place.
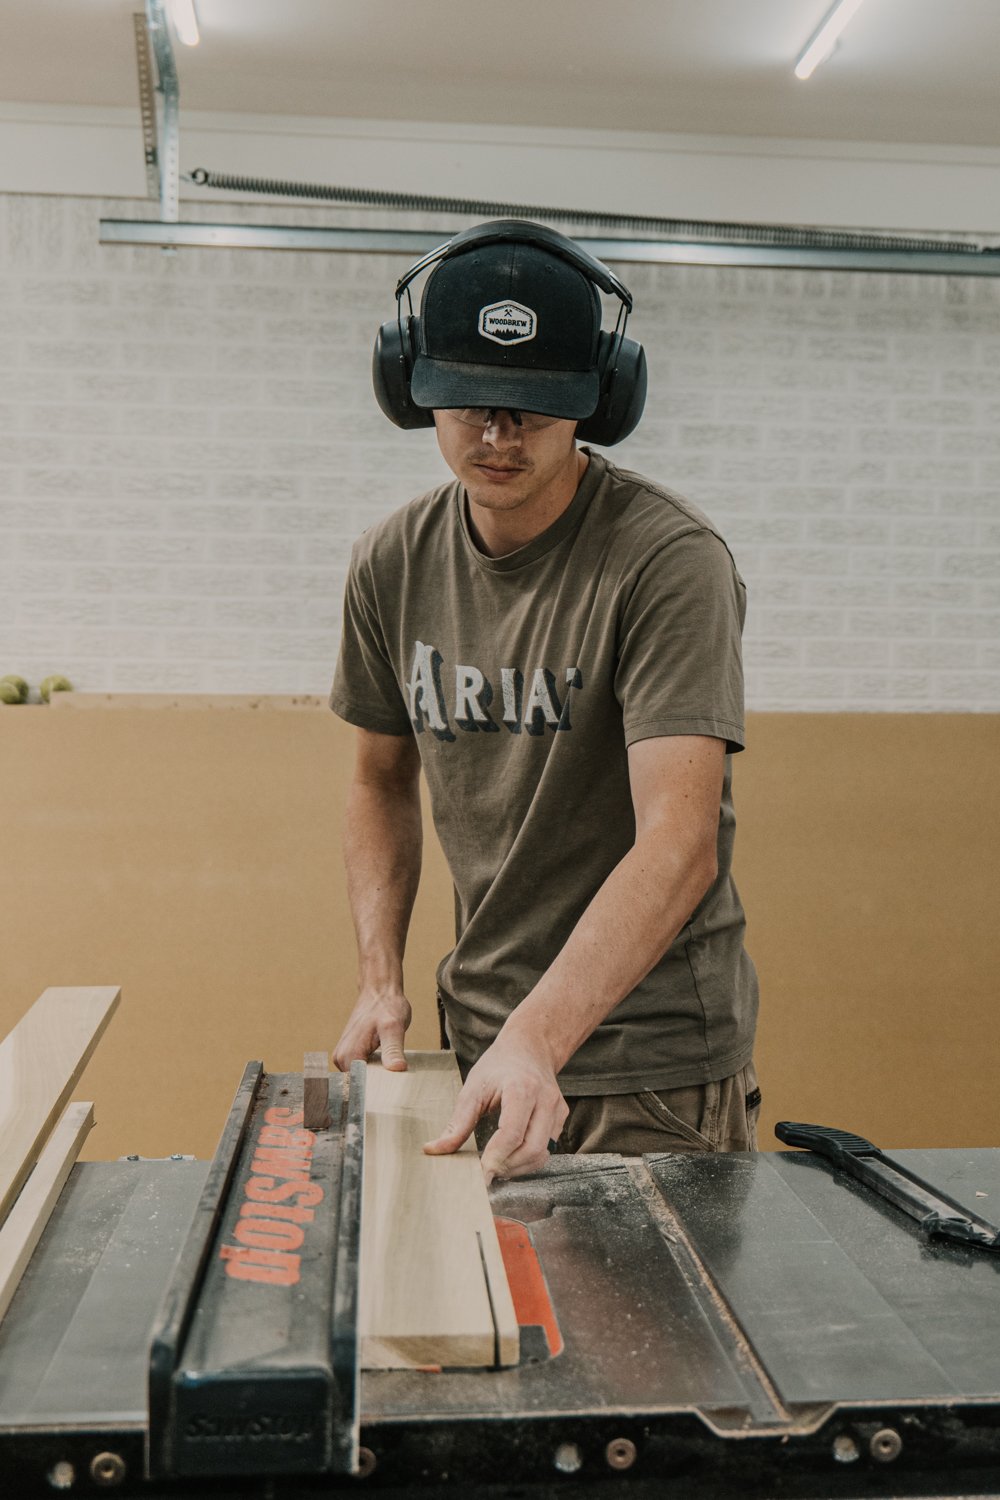
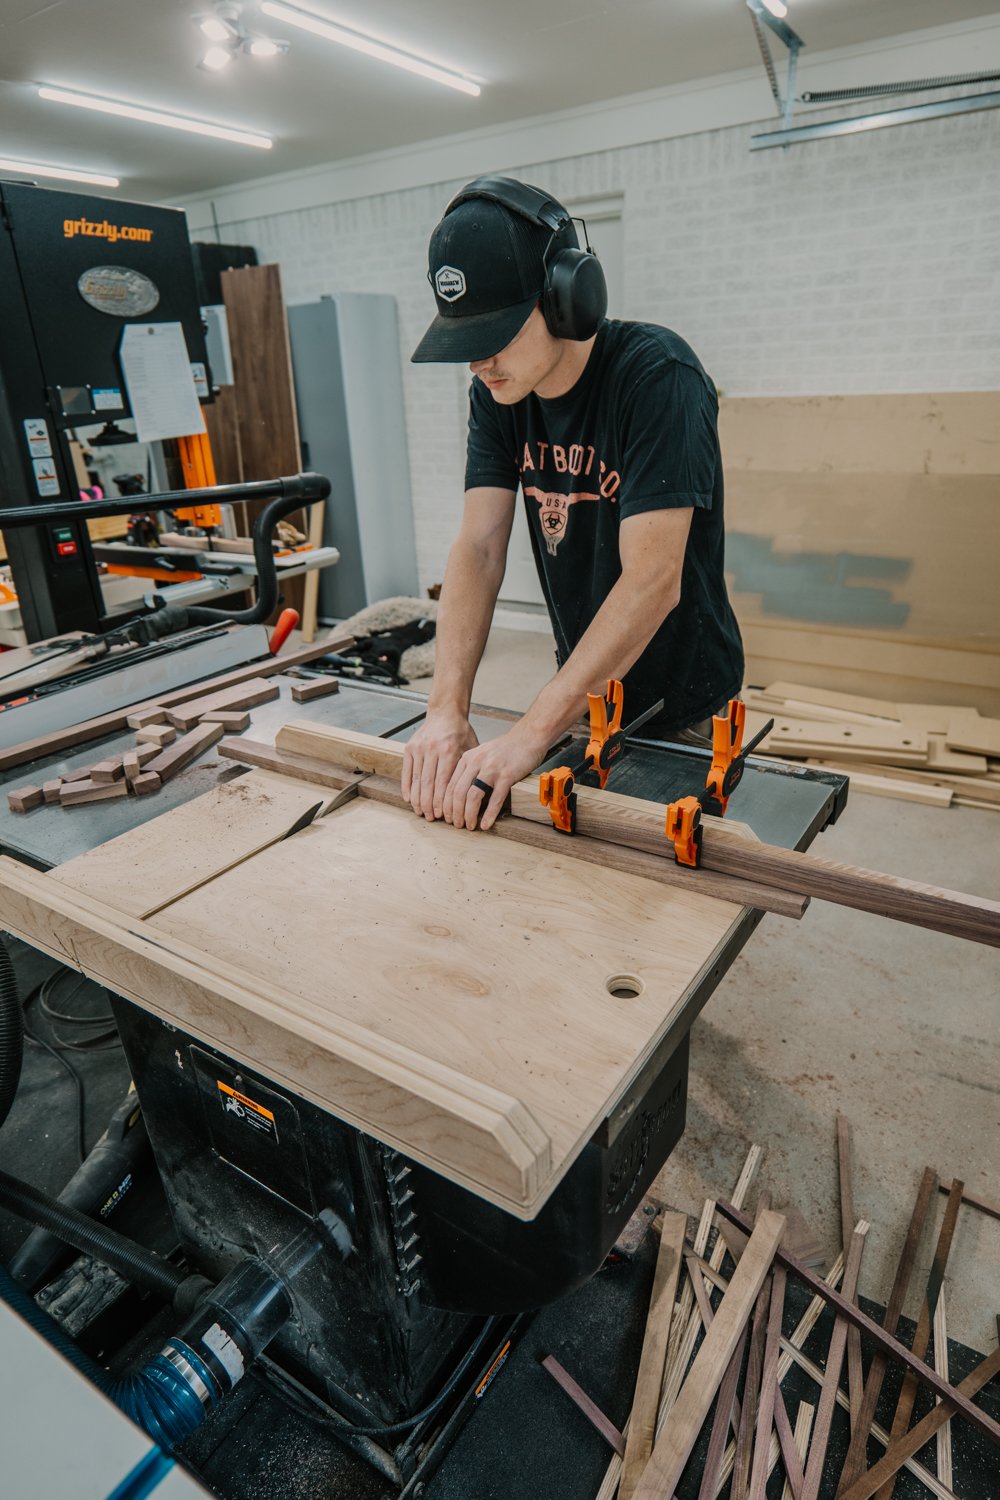
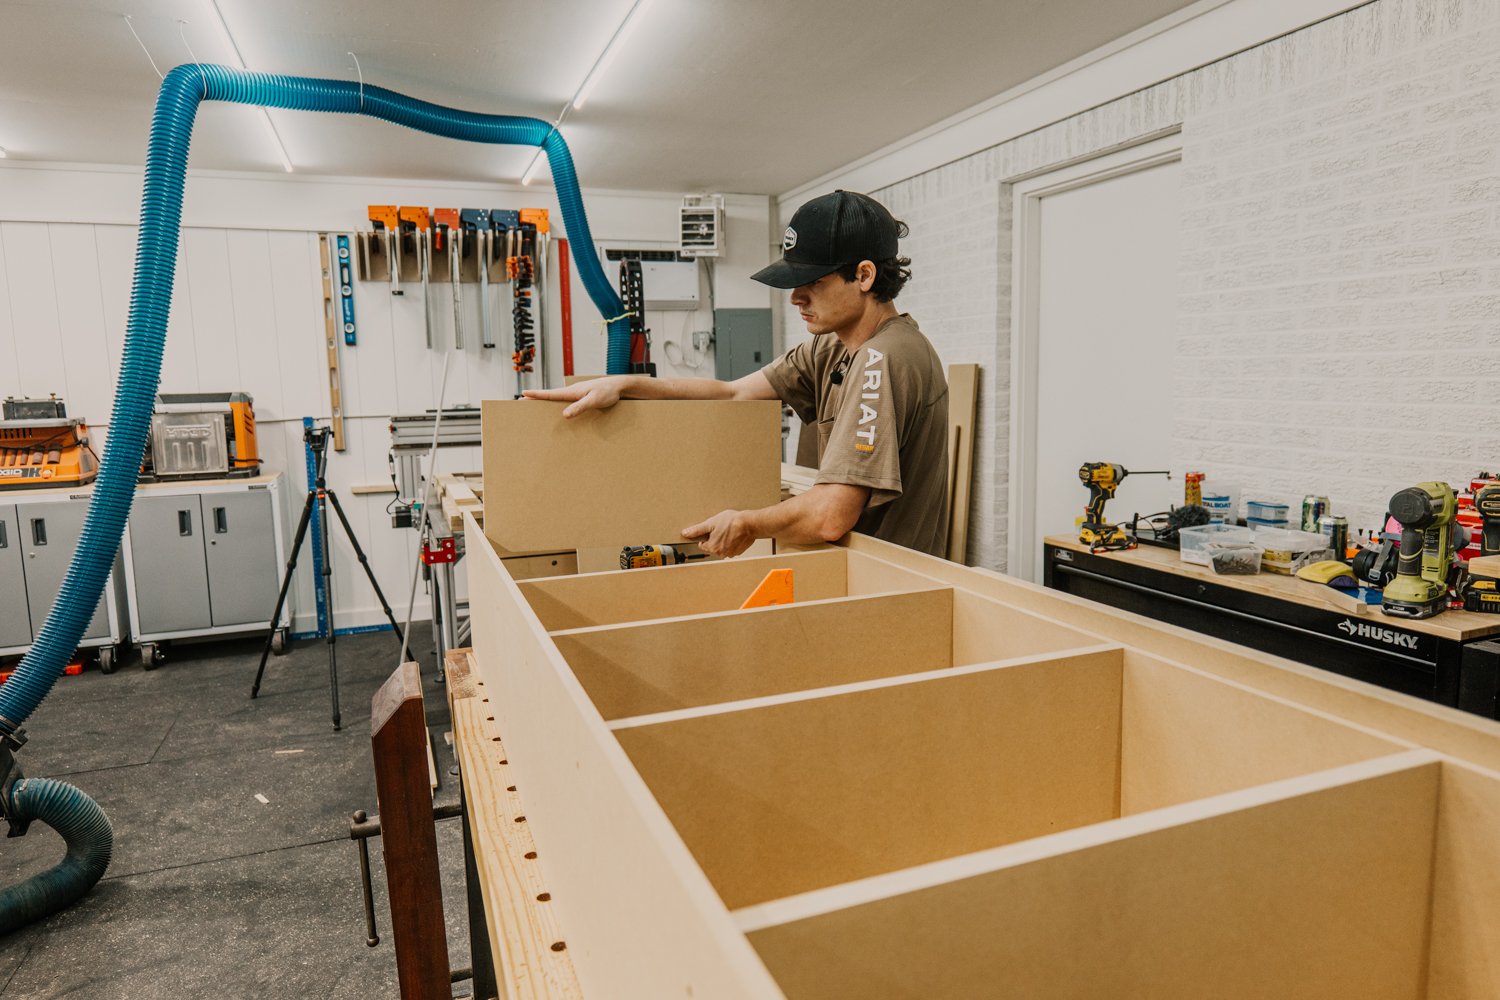
The bookshelves are made of MDF and the face frame is poplar. You can substitute the poplar for pine if you’d like! Everything will be getting painted. We started ripping down the boards on the table saw first.
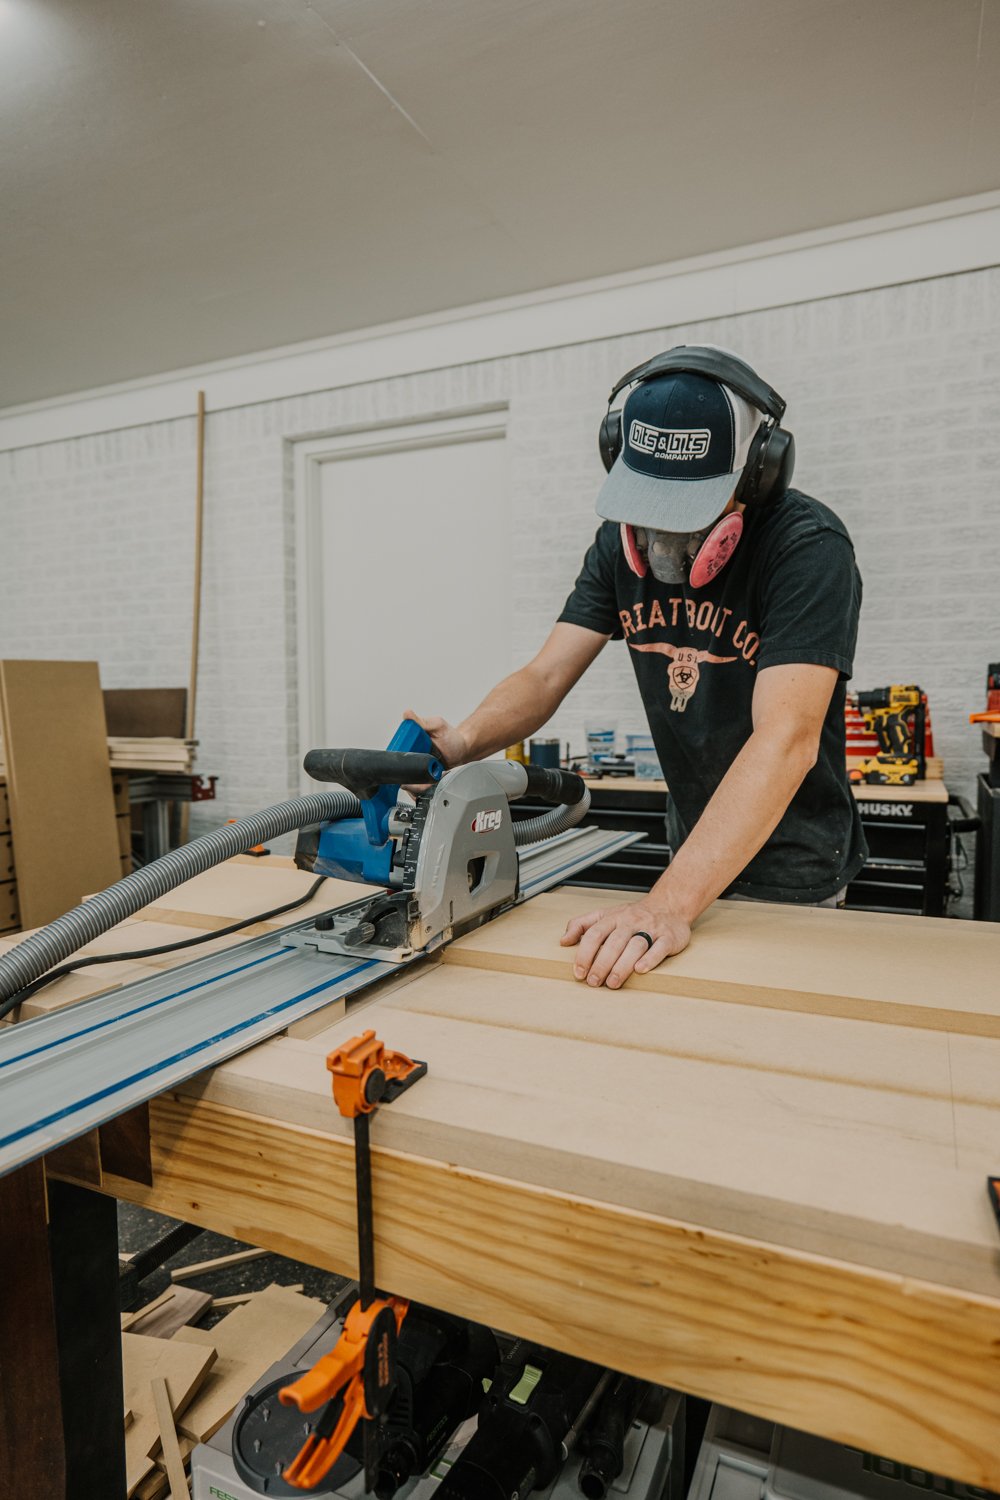
Using a combination of the table saw and track saw, we could get all the MDF cut down to the final dimensions and start assembling! You can watch our entire build series on this project if you want to see everything up close and detailed!
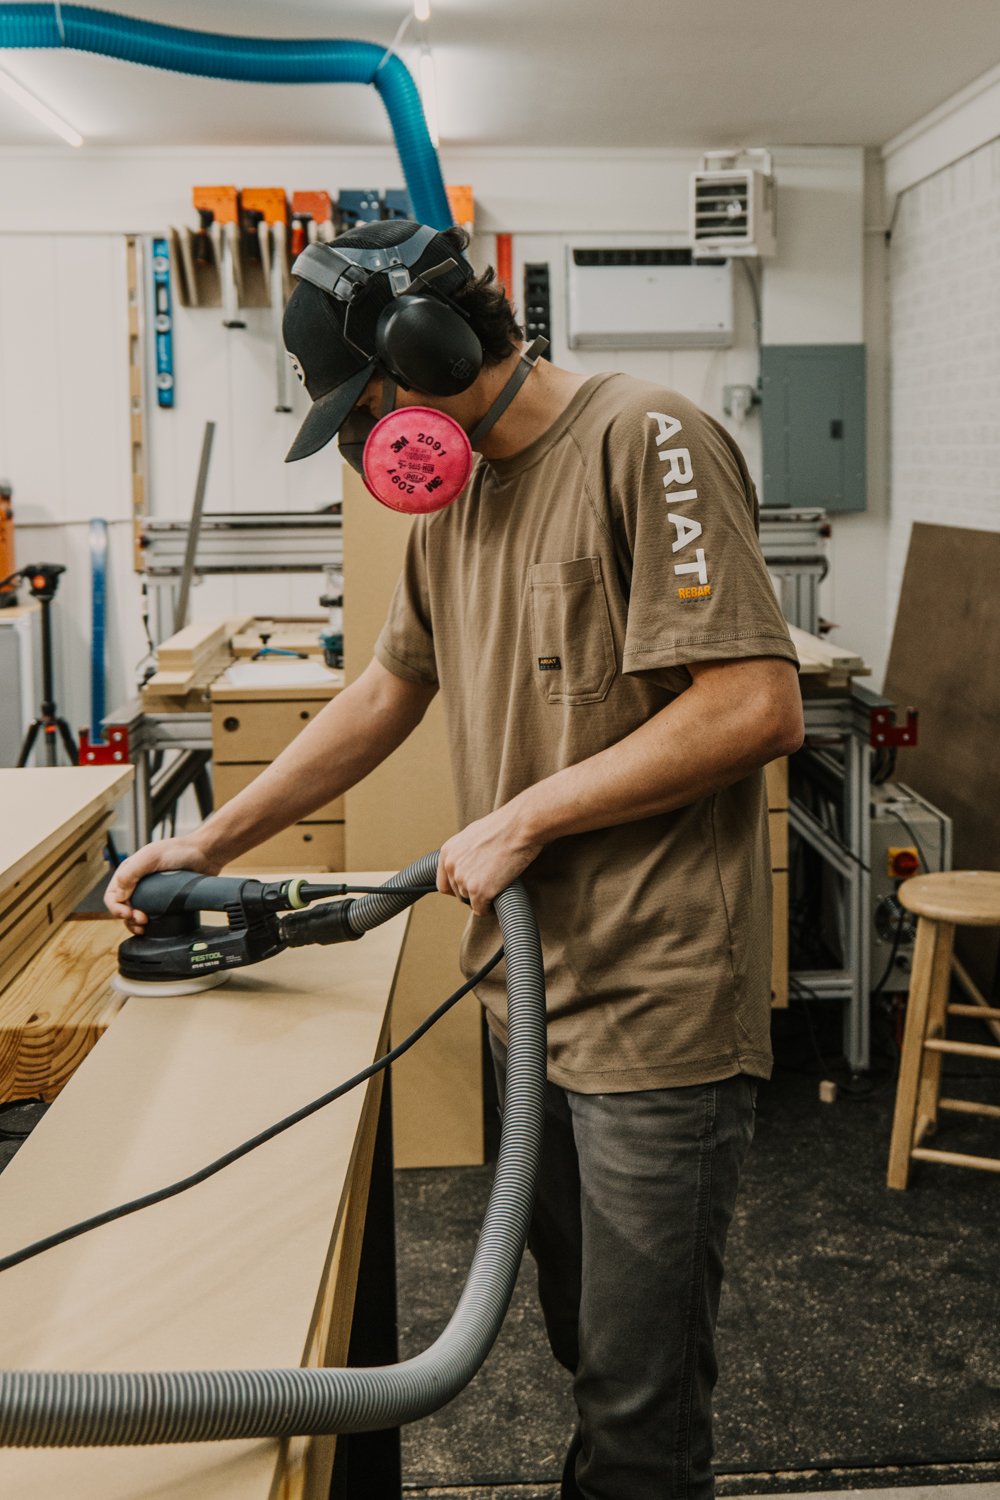
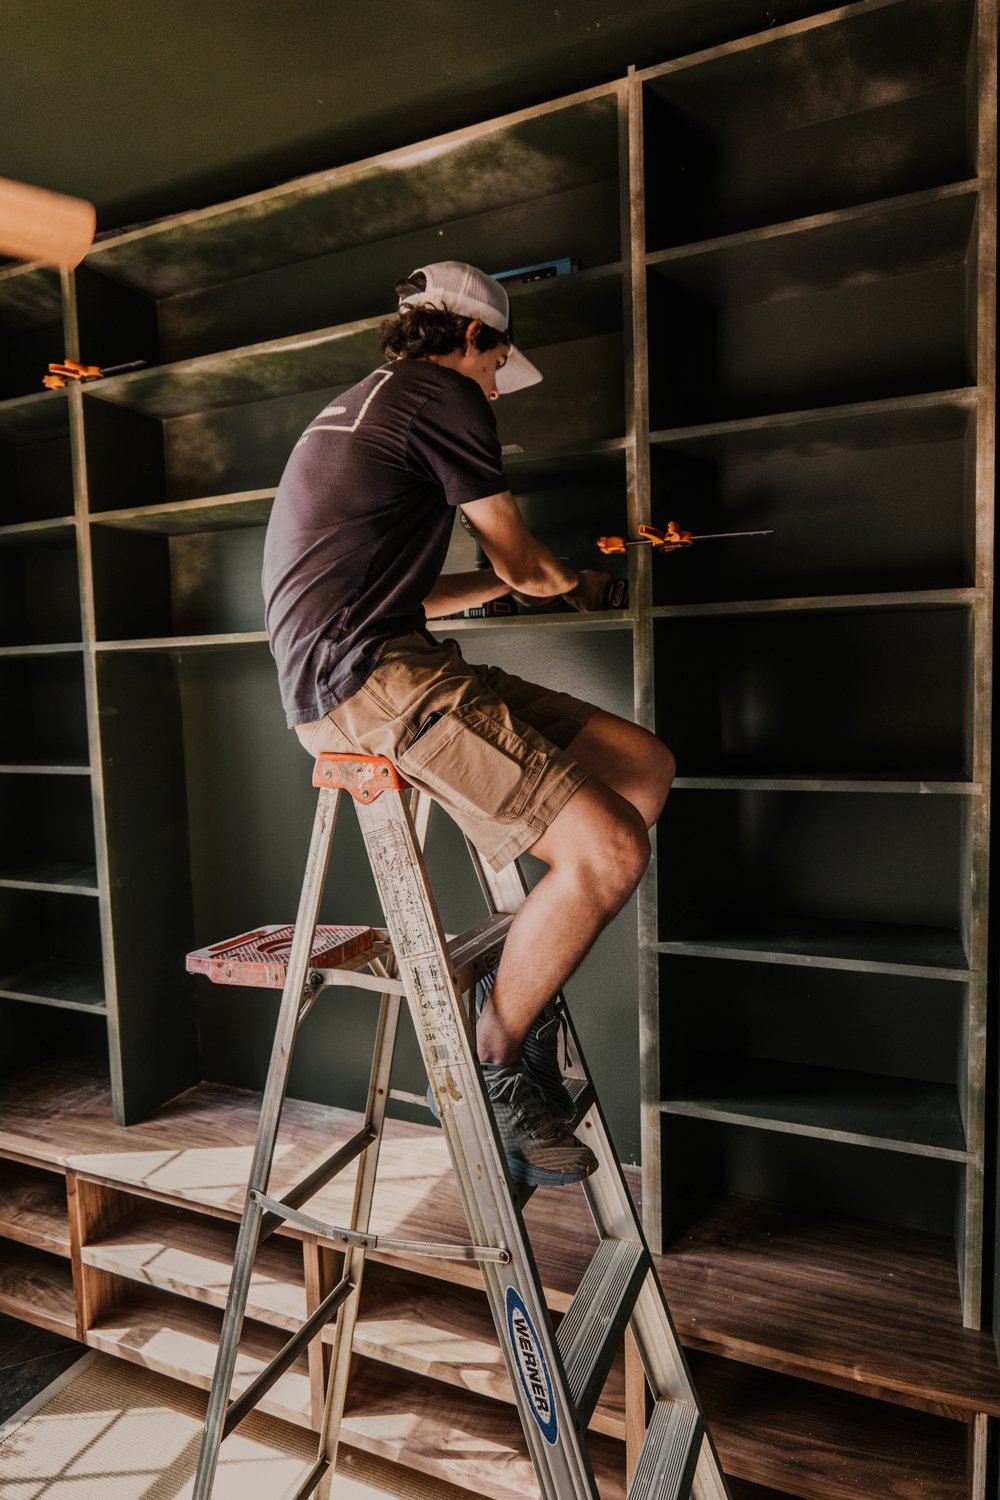
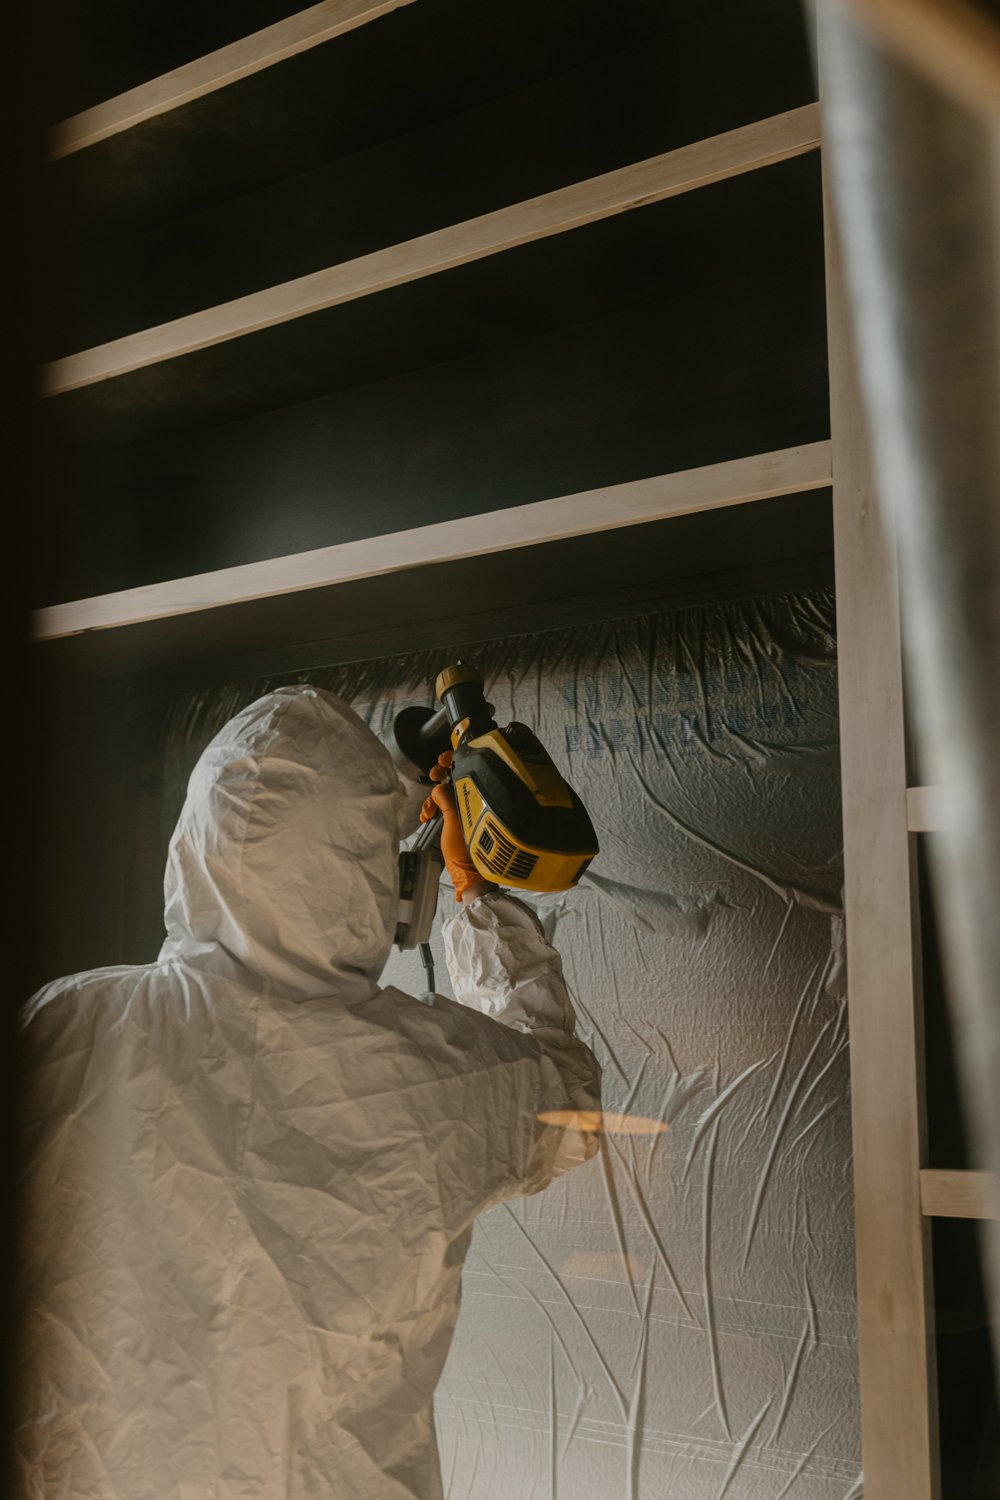
Once the side and upper bookshelves were sanded and assembled…you guessed it, paint! But first, PRIMER. DO NOT paint MDF with actual paint first. You need to prime. We did two coats of primer and sanded that down really well to get rid of any dried primer ridges. We decided to paint these in place once they were installed. However, we did paint the backs of the face frame first because it will be difficult to reach that after installation with the spray gun. The color we used is Sherwin Williams Ripe Olive.
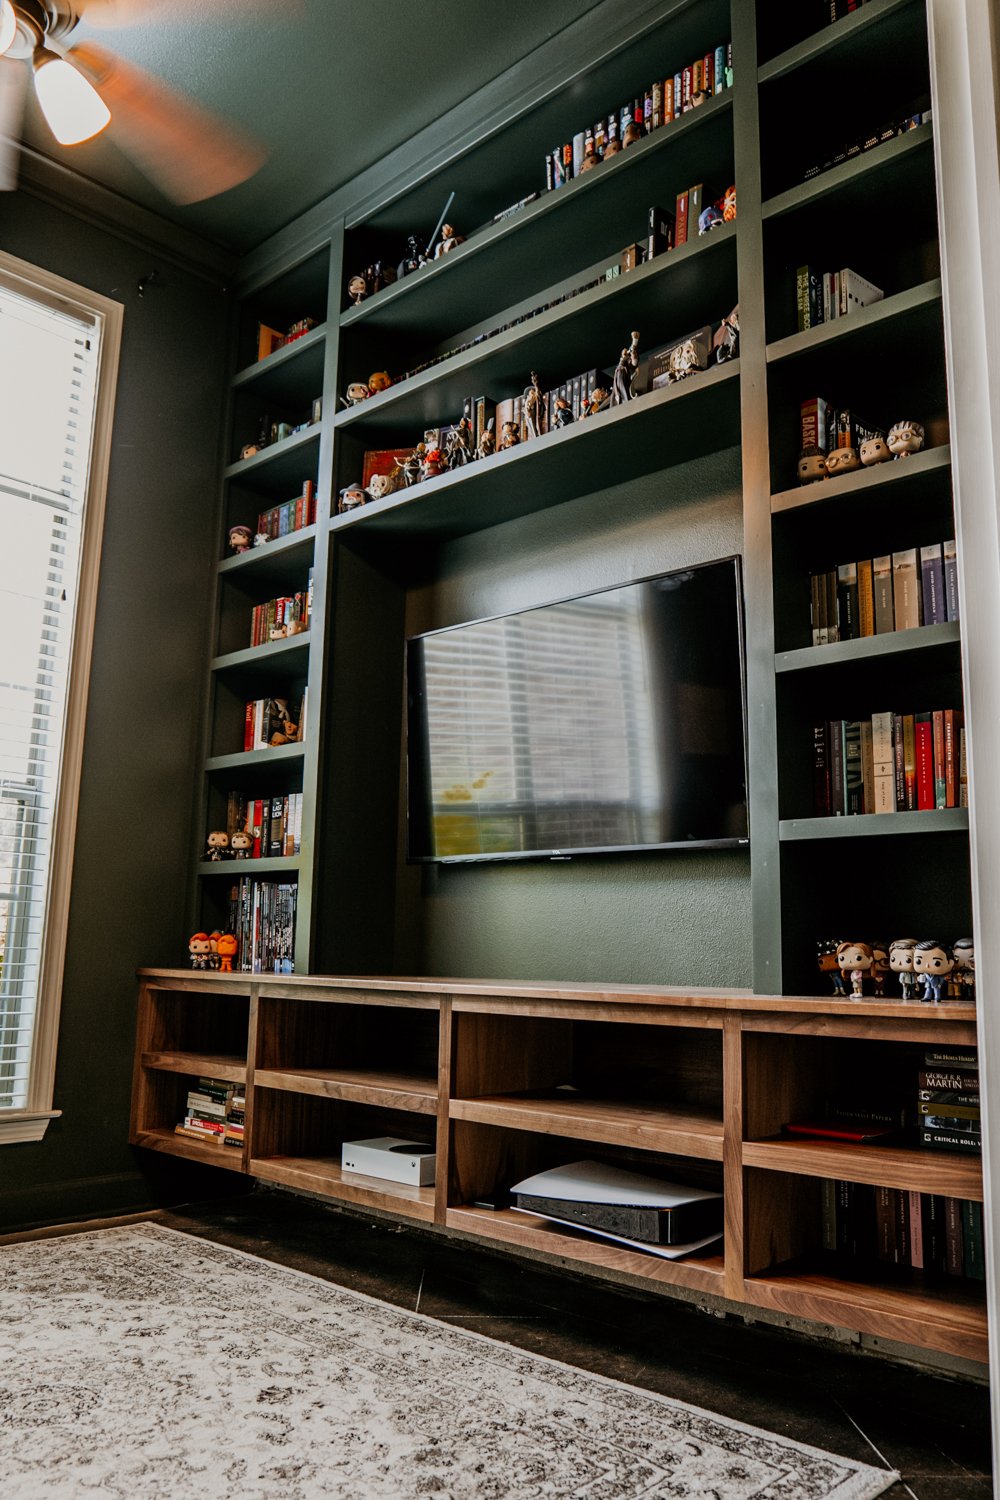
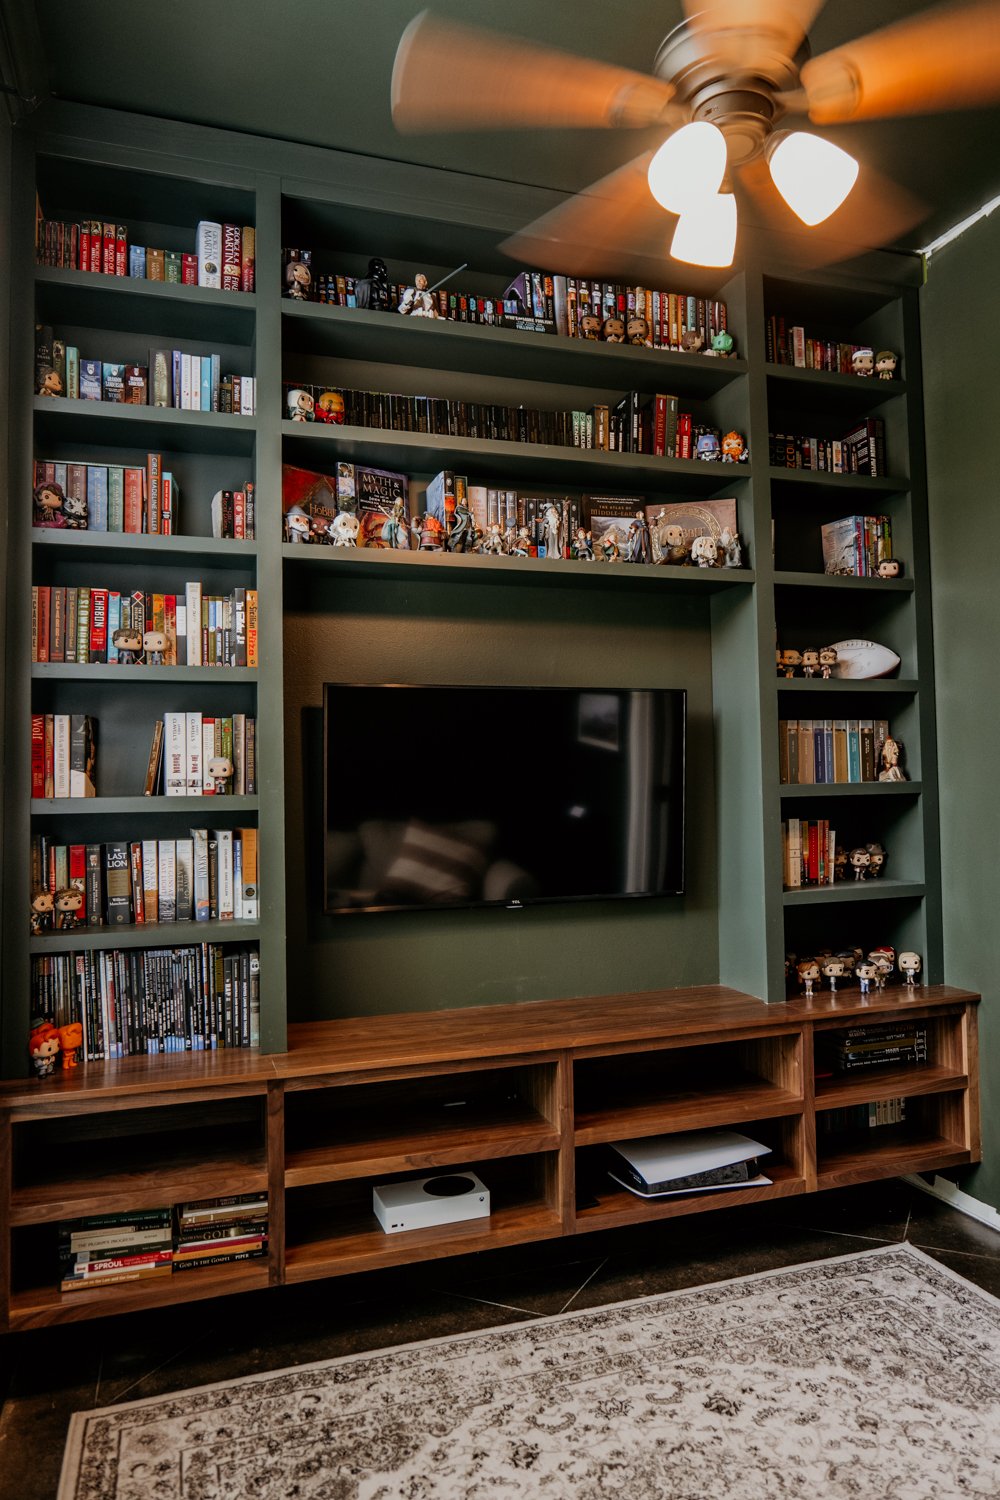
Ok, let’s get to installing!
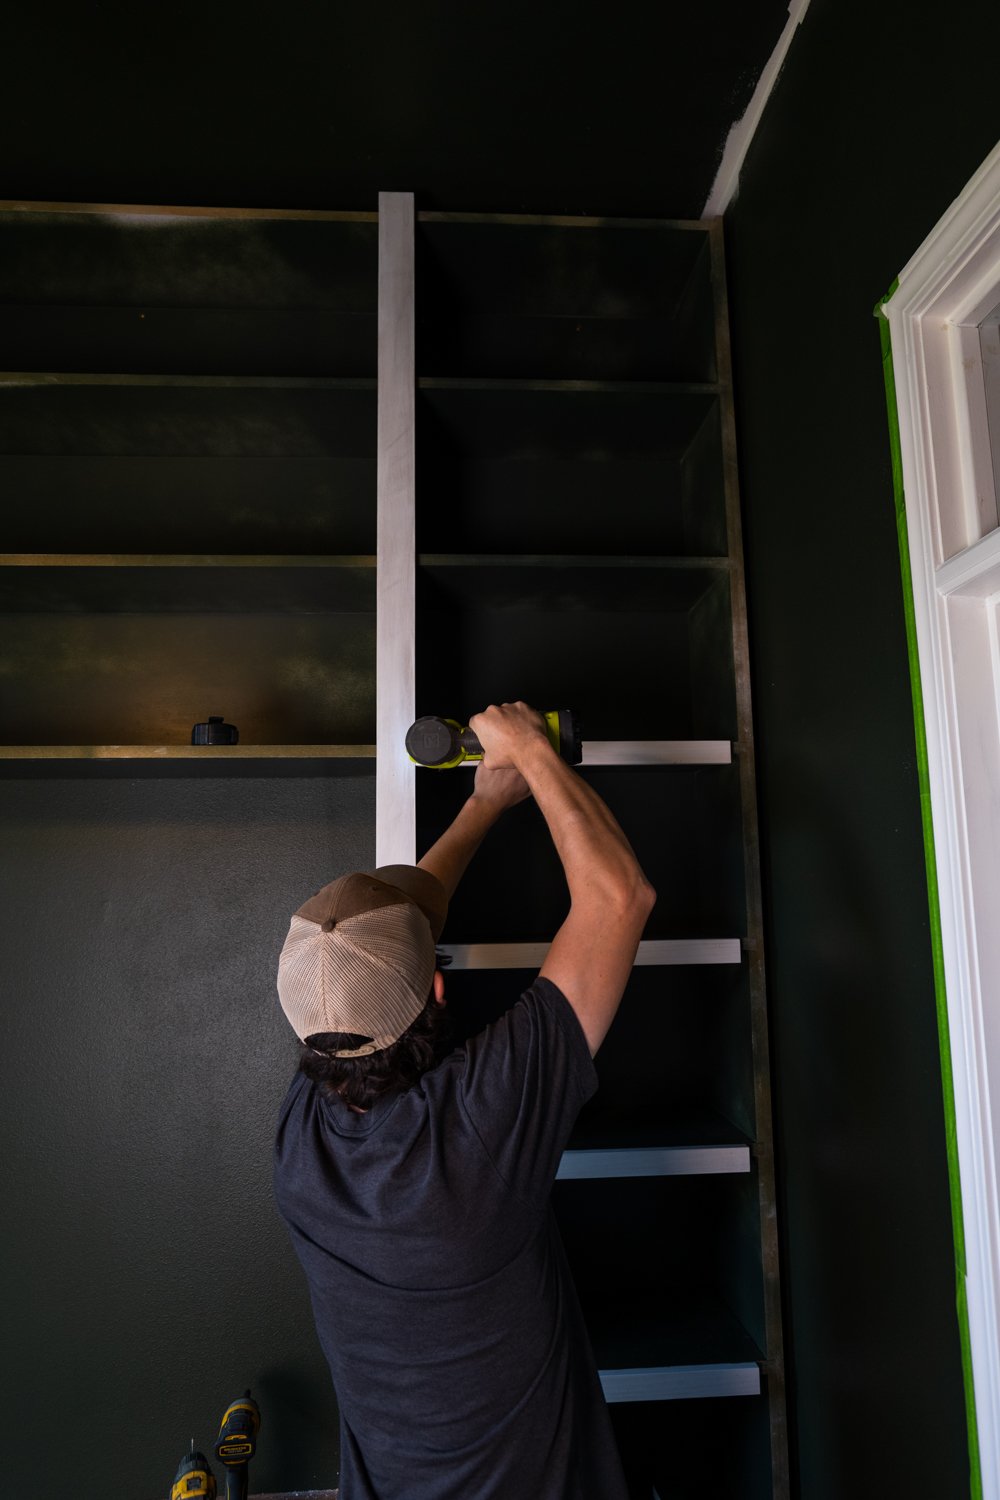
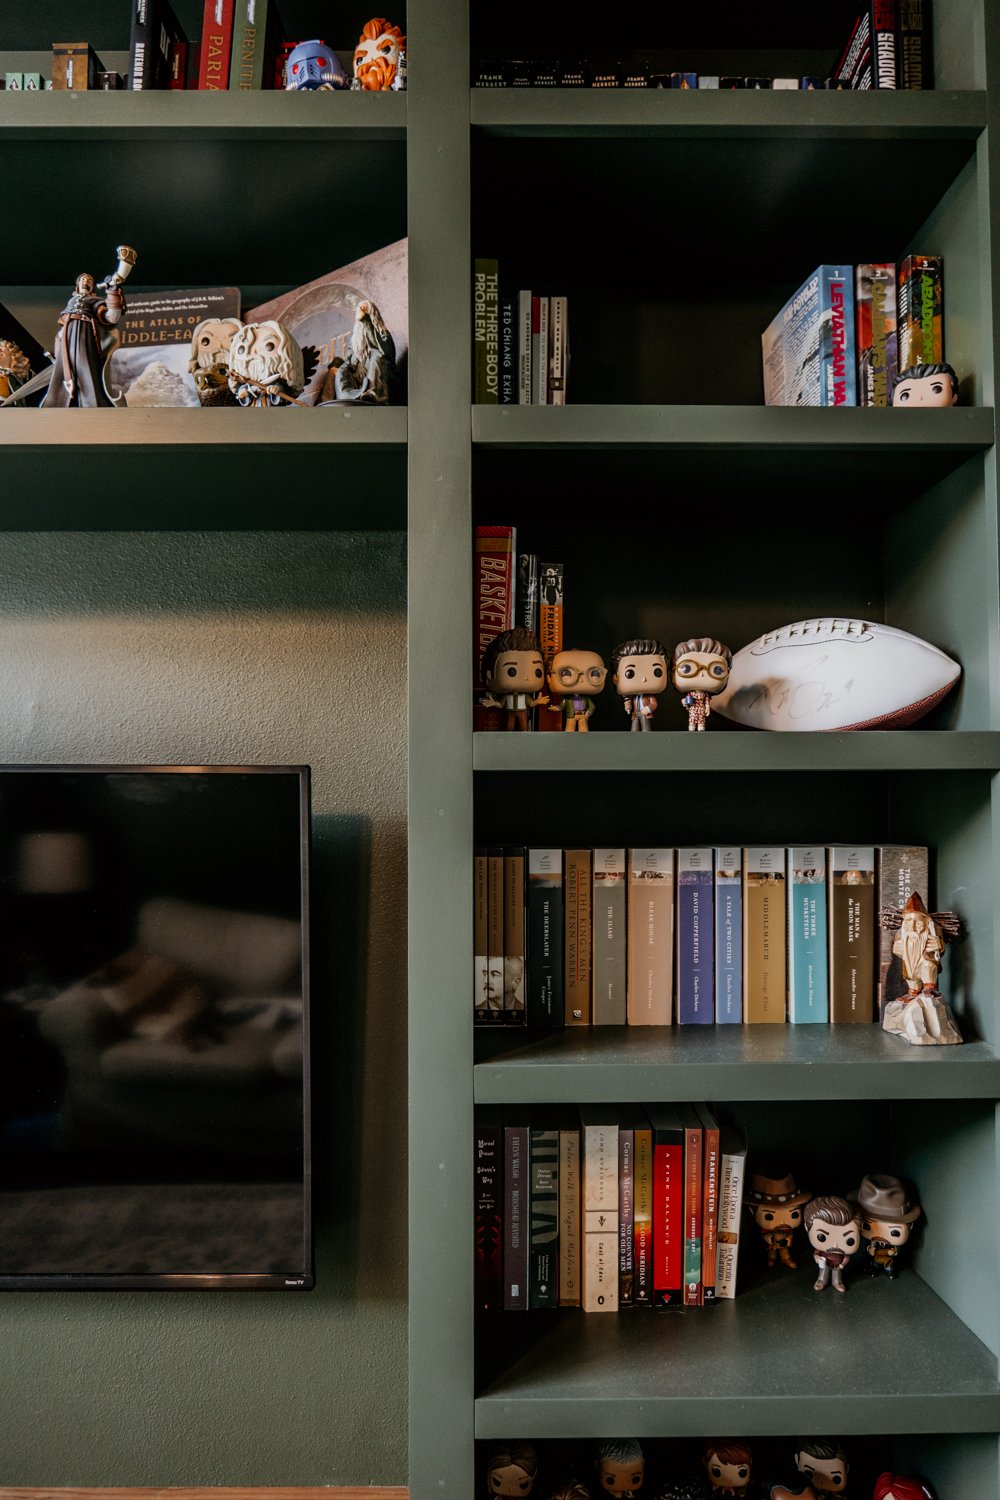
This room turned out INCREDIBLE! We love the monochromatic look with the walls, trim, and bookshelves painted the same color. It’s such a cozy room and I wish this was in our home! Watch all the videos of this project and enjoy!