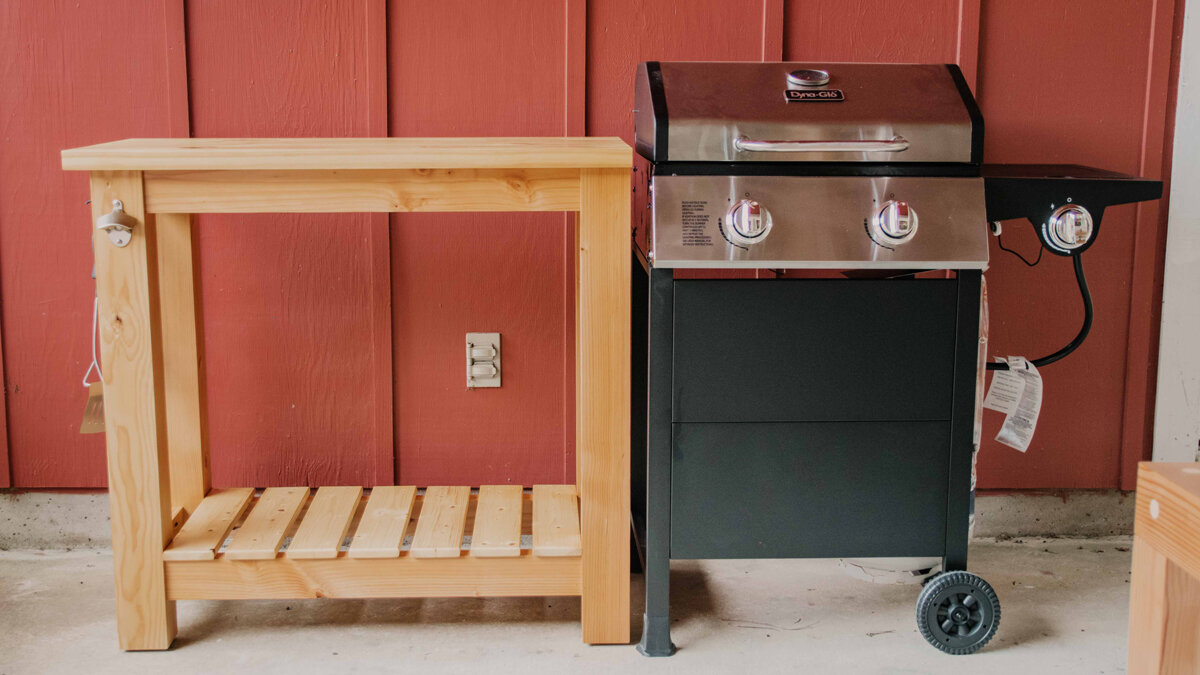
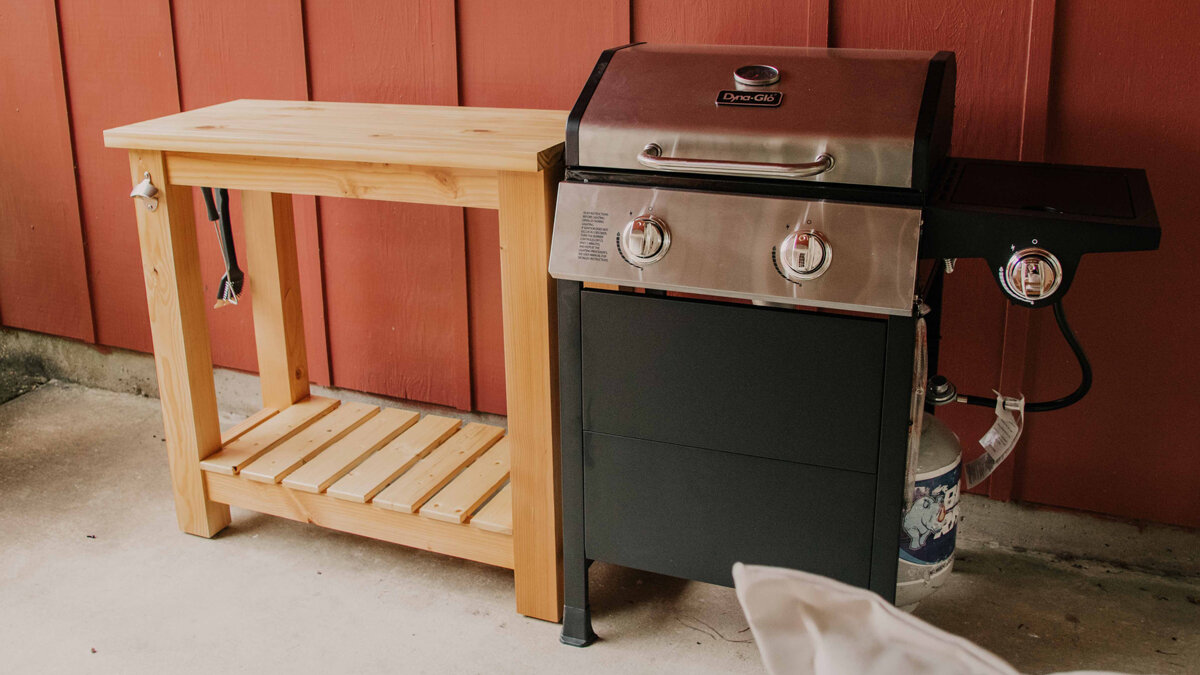
DIY Grill Cart


We always model our projects in SketchUp, and we always get tons of questions about how to make a cut list from the model. Check out the video above and the first part is exactly how we do that! You can also save $20 on SketchUp Pro using our code: "WOODBREWCREW" ! Click here:http://bit.ly/2YyIoxs
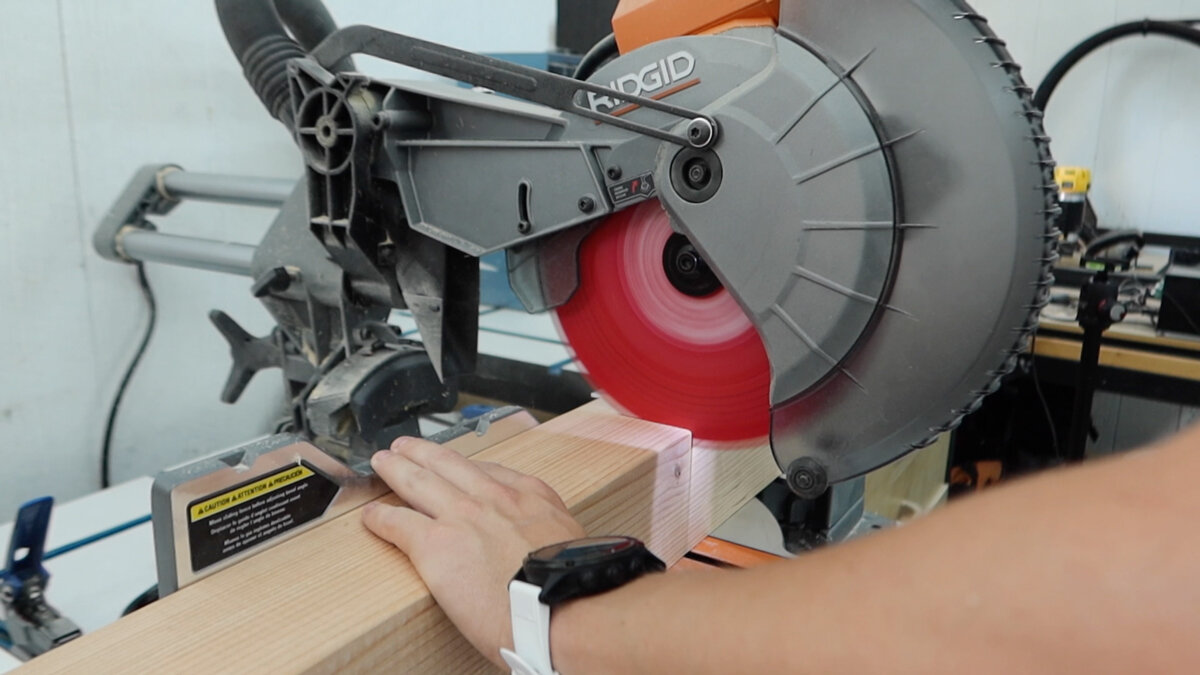
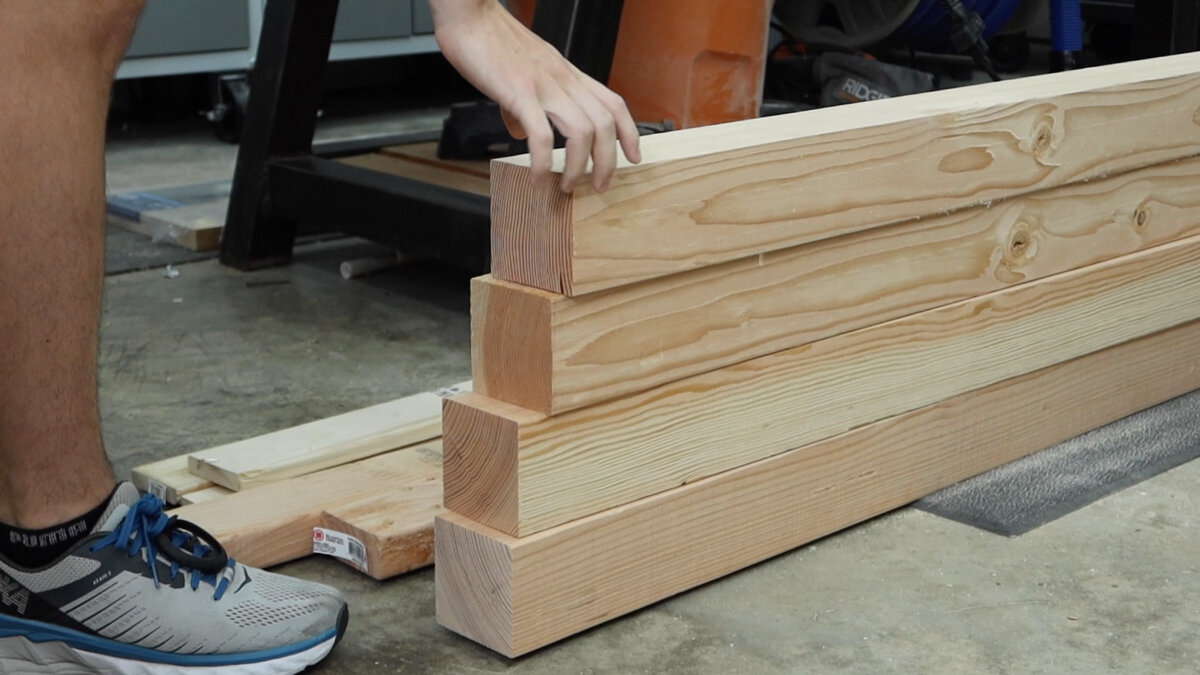
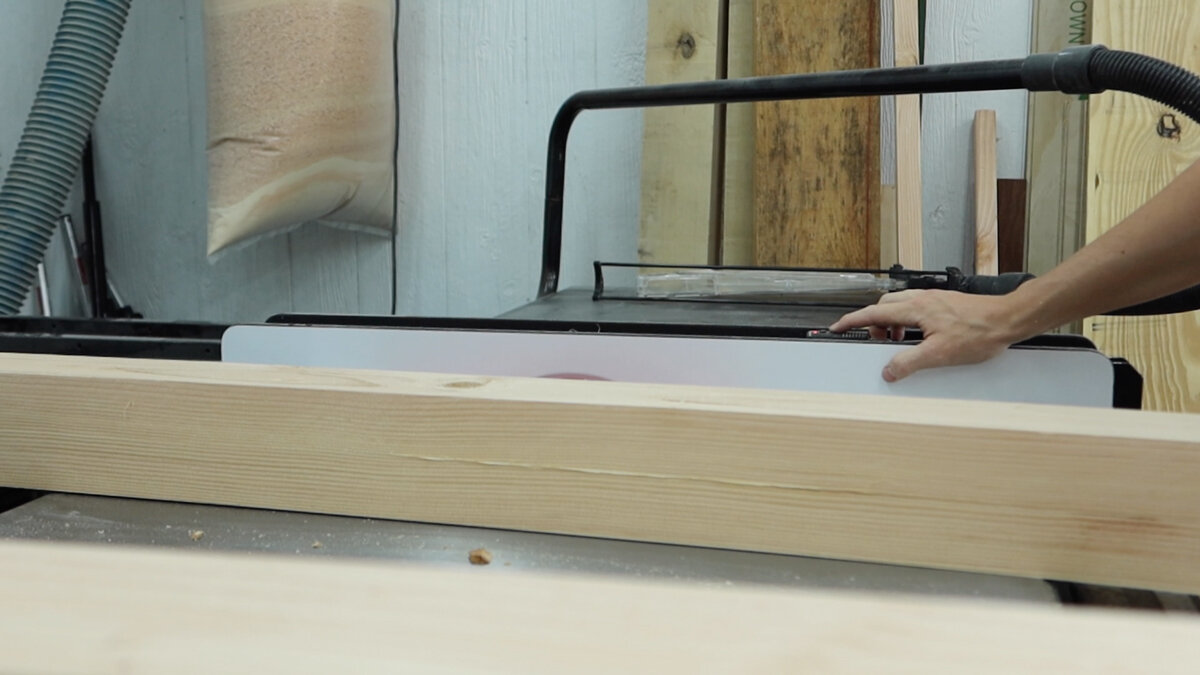
As always, first thing to do is cut down our materials. We need (4) 4x4s for the legs, (8) 2x4s for the top and bottom stretchers, and then we will be using some left over 1x4s from our last project of the planter. We are going to cut roughly what we need for just the legs and stretchers now, and we will get to the 1x4 slats for the bottom shelf when we know the exact measurement we need after assembly.
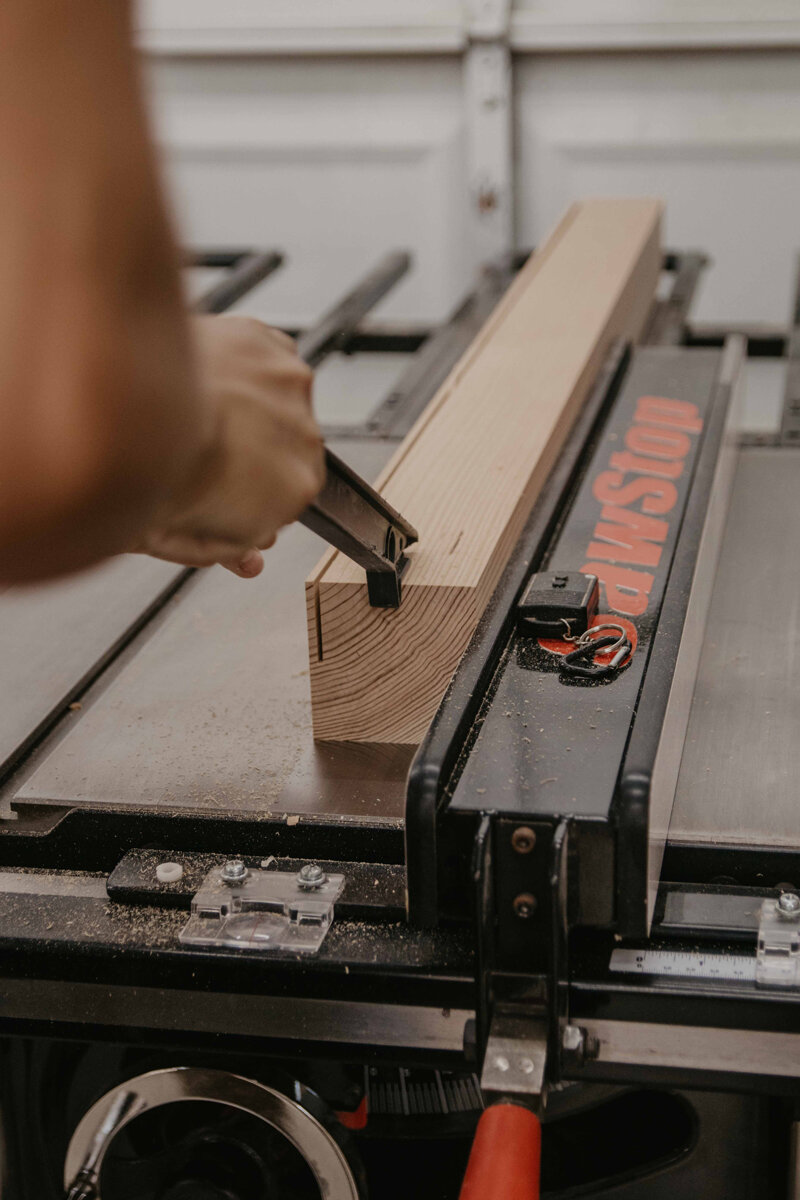
Next, we want to go ahead and plane down all of the boards, just to get that round corner gone. We just took off a little bit at a time.

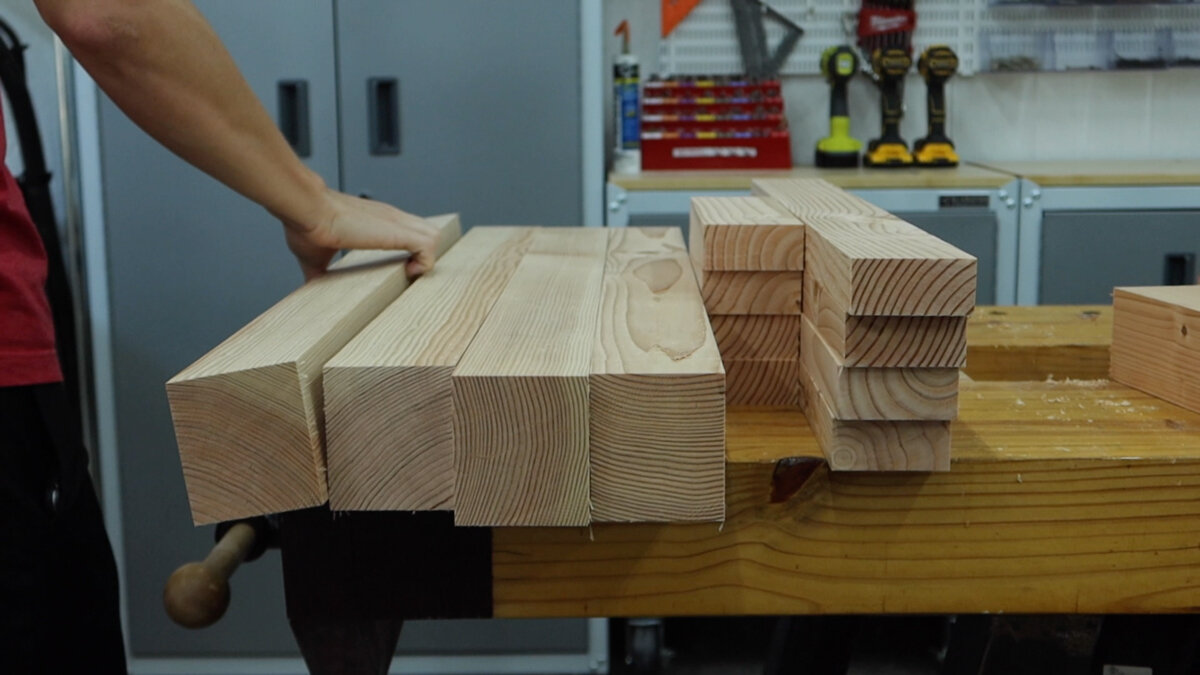
We wanted to make the 2x4s and 4x4s a little bit smaller so we could get rid of a little bit of weight. This table would be extremely heavy if we didn’t and we want to be able to move it around easily if we needed to. We also really like the idea of having more of a rectangular leg than a square out of the 4x4s. When we rip down the 4x4s we had to rip half, flip it over, and then do the other half. This left a little bur, or whatever you want to call it, just a little piece down the center, so we brought those back over to the planer to clean it up.
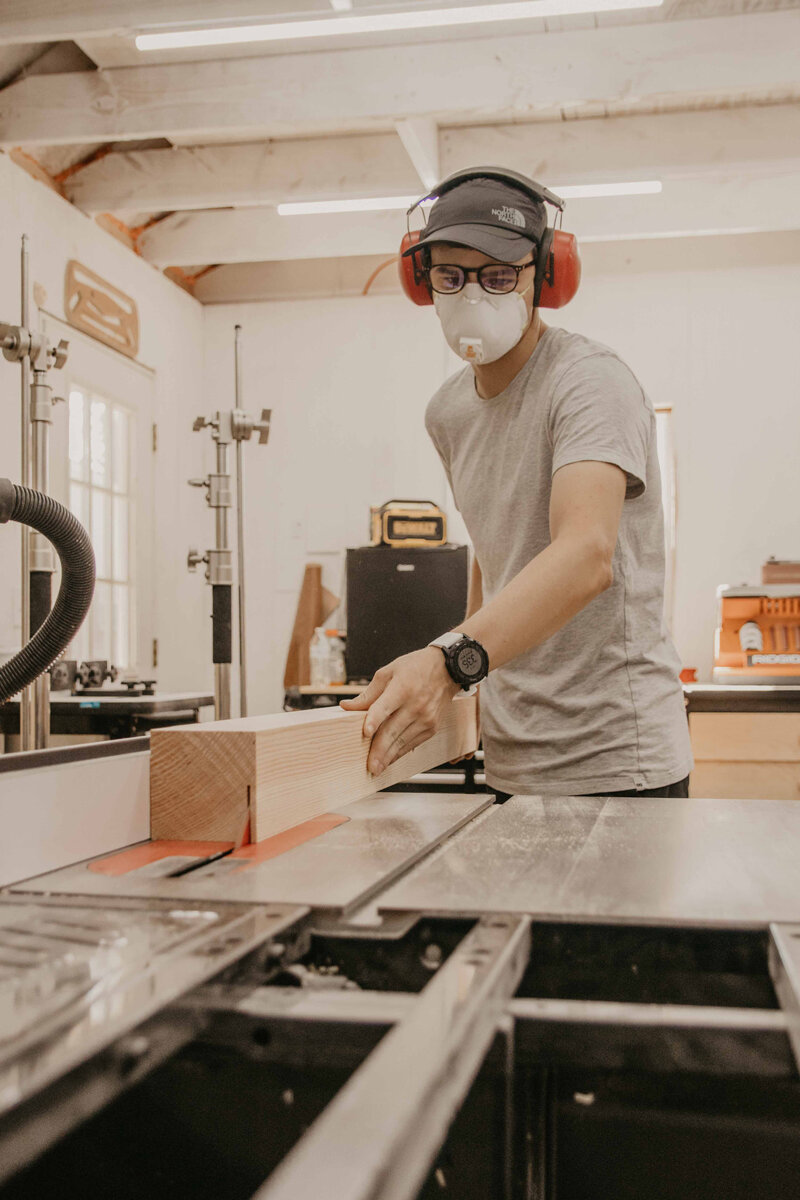
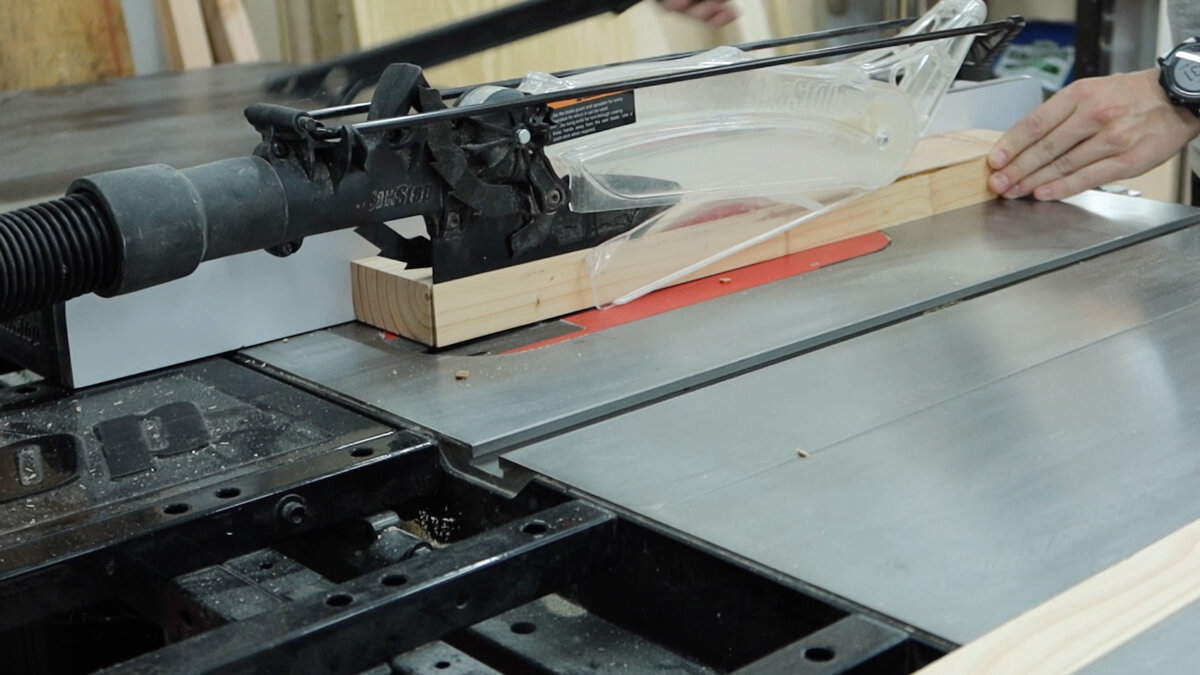

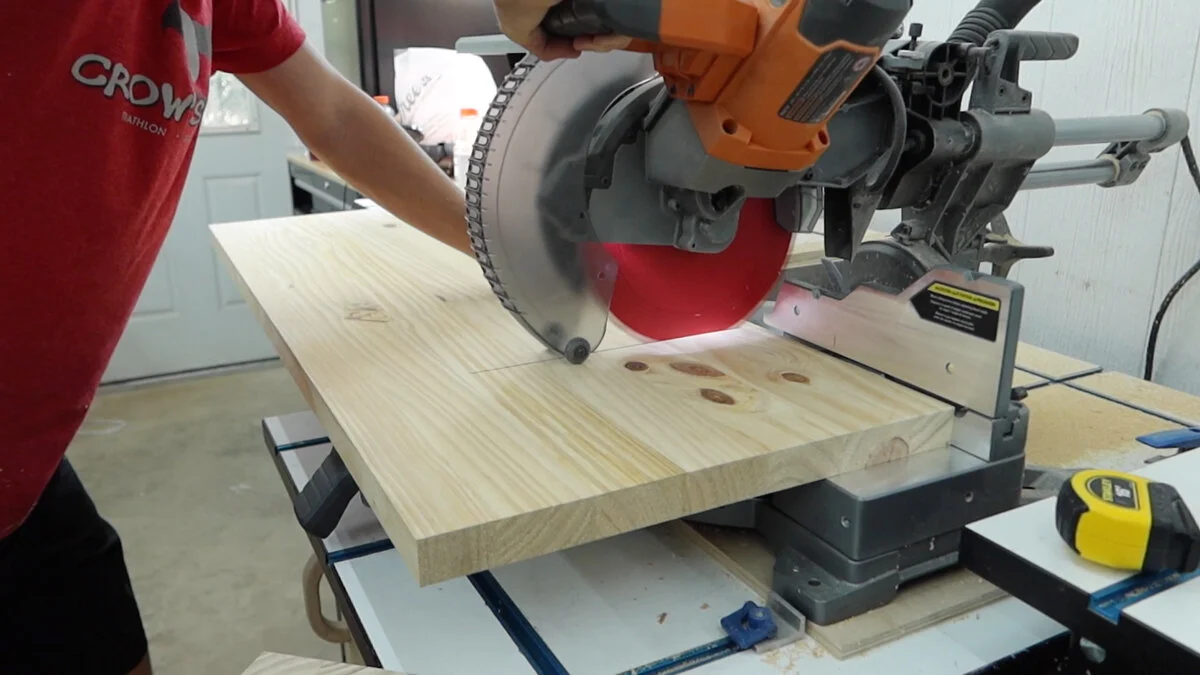
Now we can cut those pieces to the exact length we need. I don't know exactly why we did it this way, it just felt right and little bit easier to mange this way with not so many pieces.

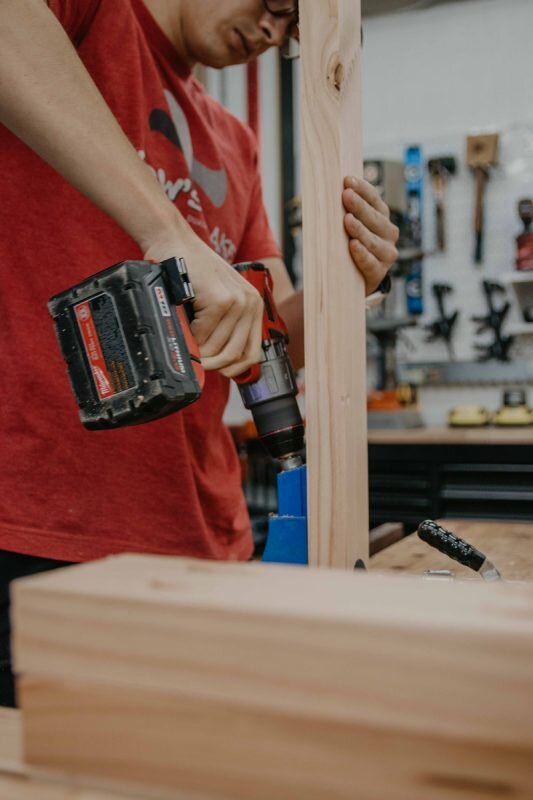
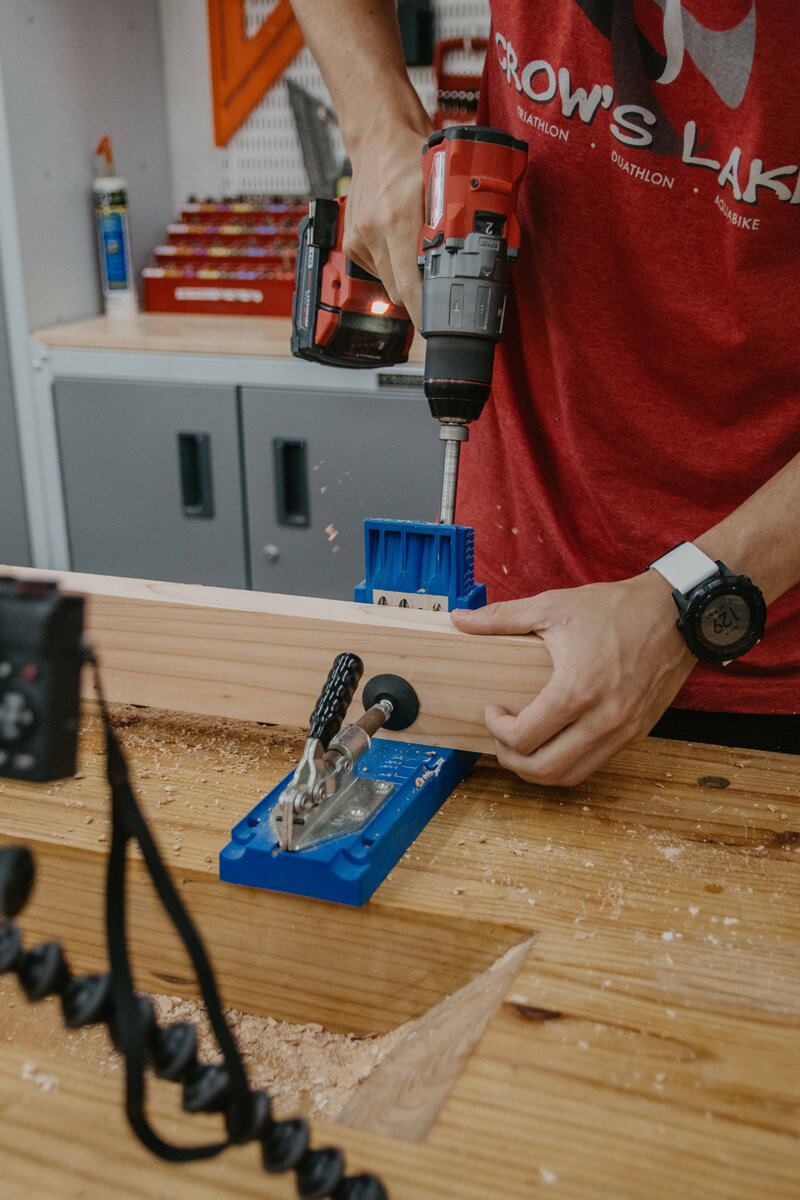
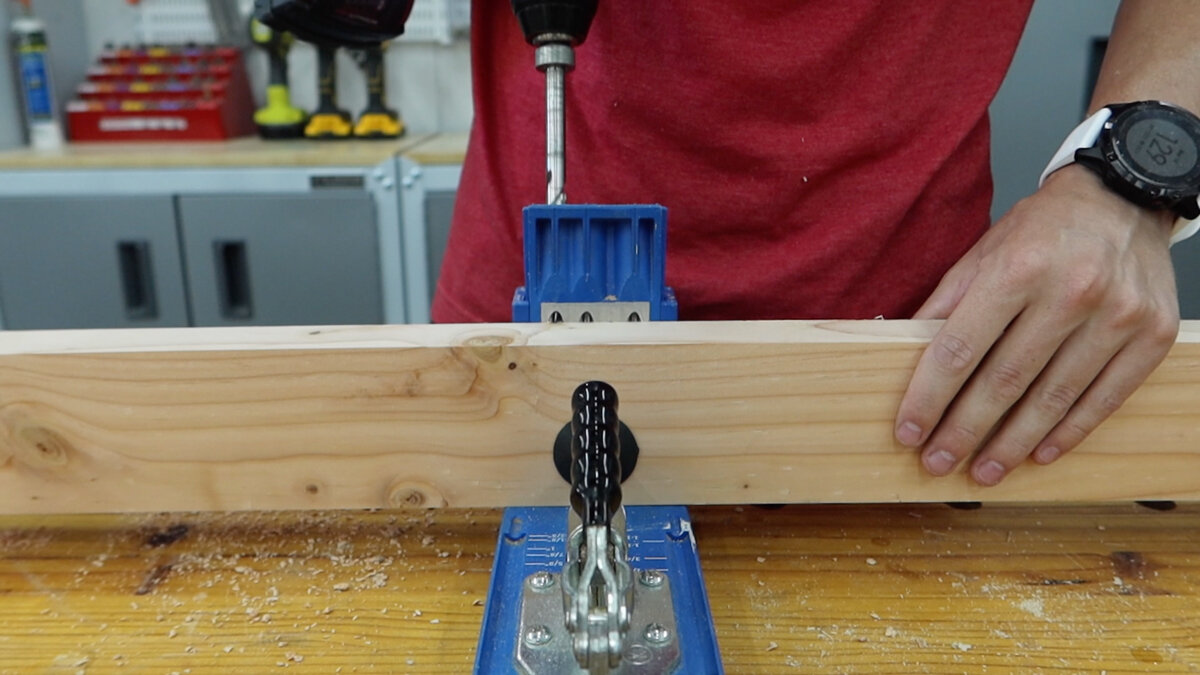
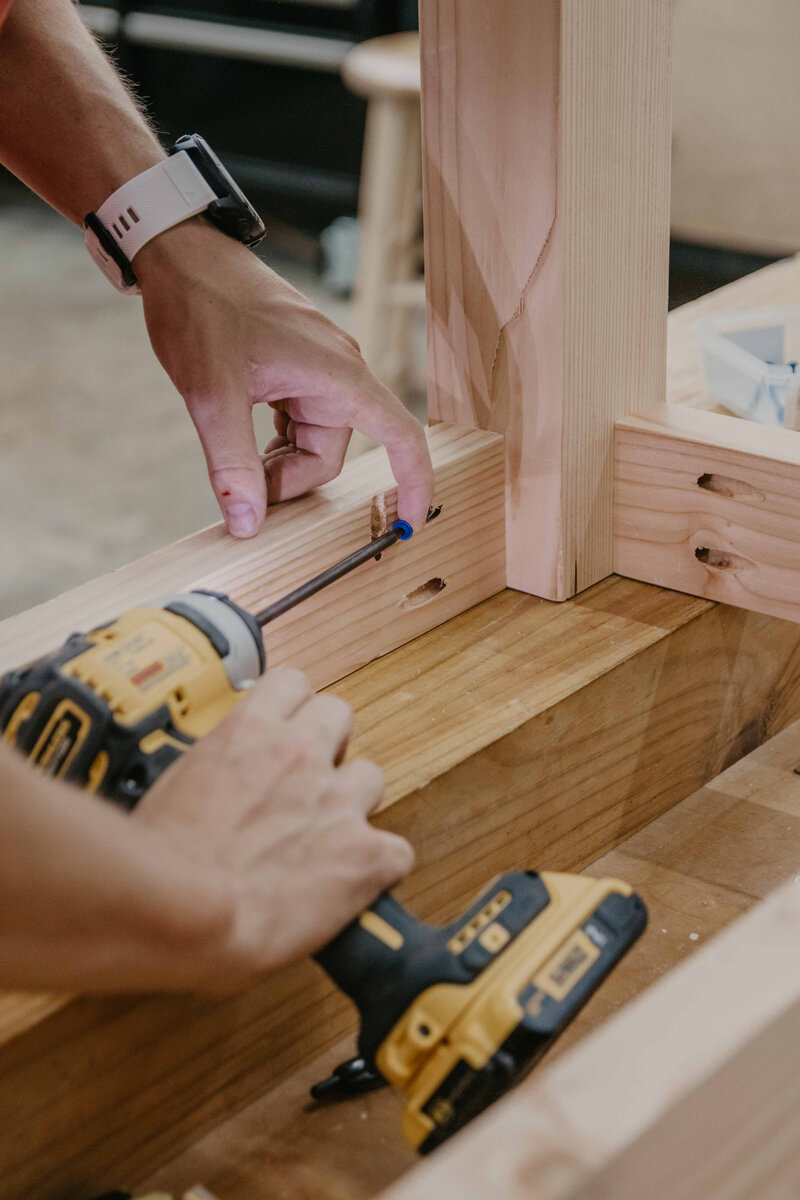
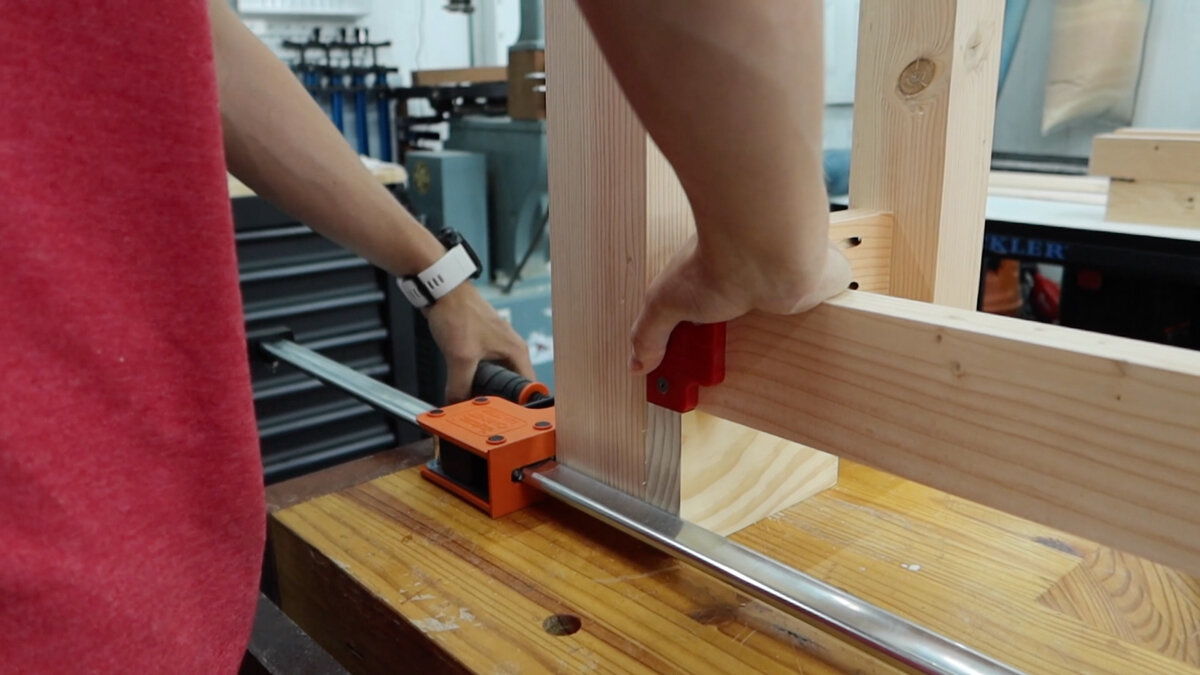
We chose to use pocket holes for the way we want to assemble this, so first, we have to drill the holes.
For the 4 stretcher pieces that are going right under the table top, we did 3 pocket holes along the edge so we can screw the top down.
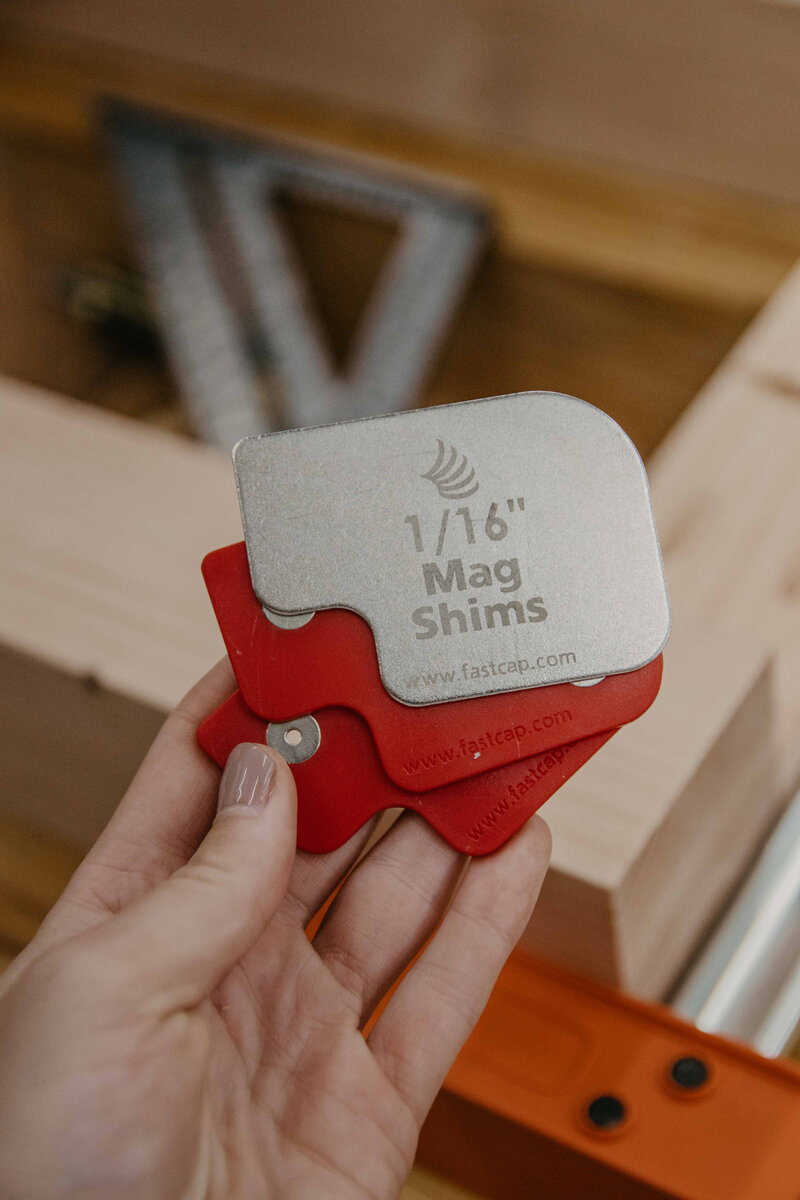
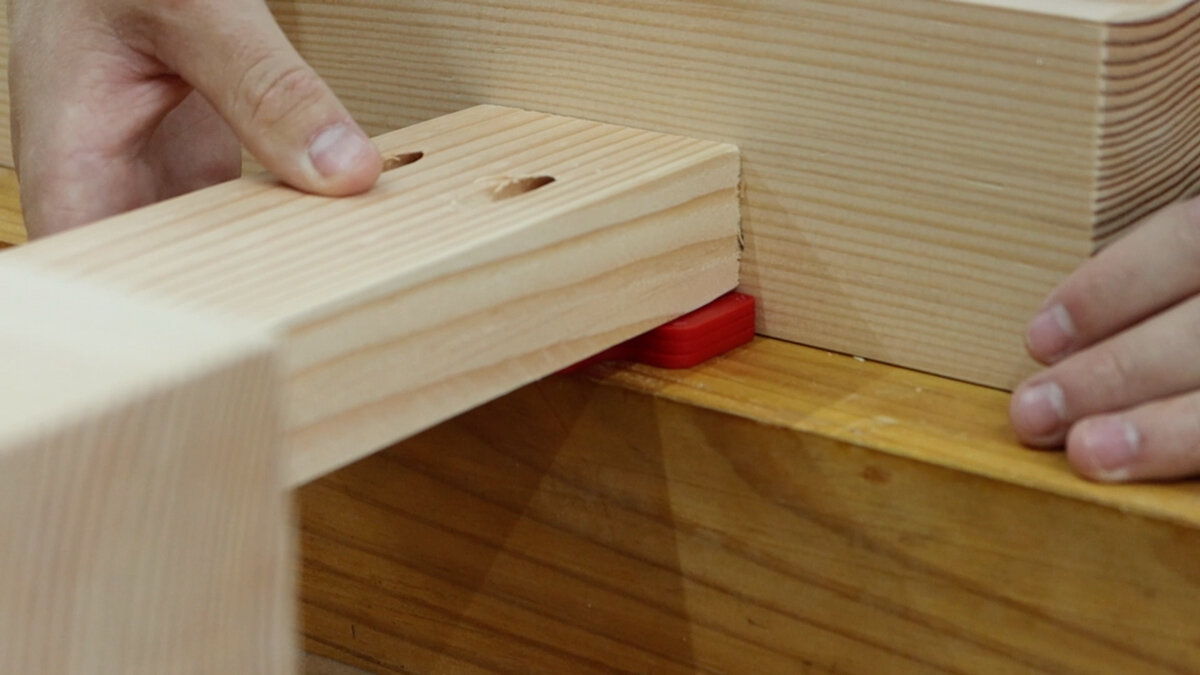
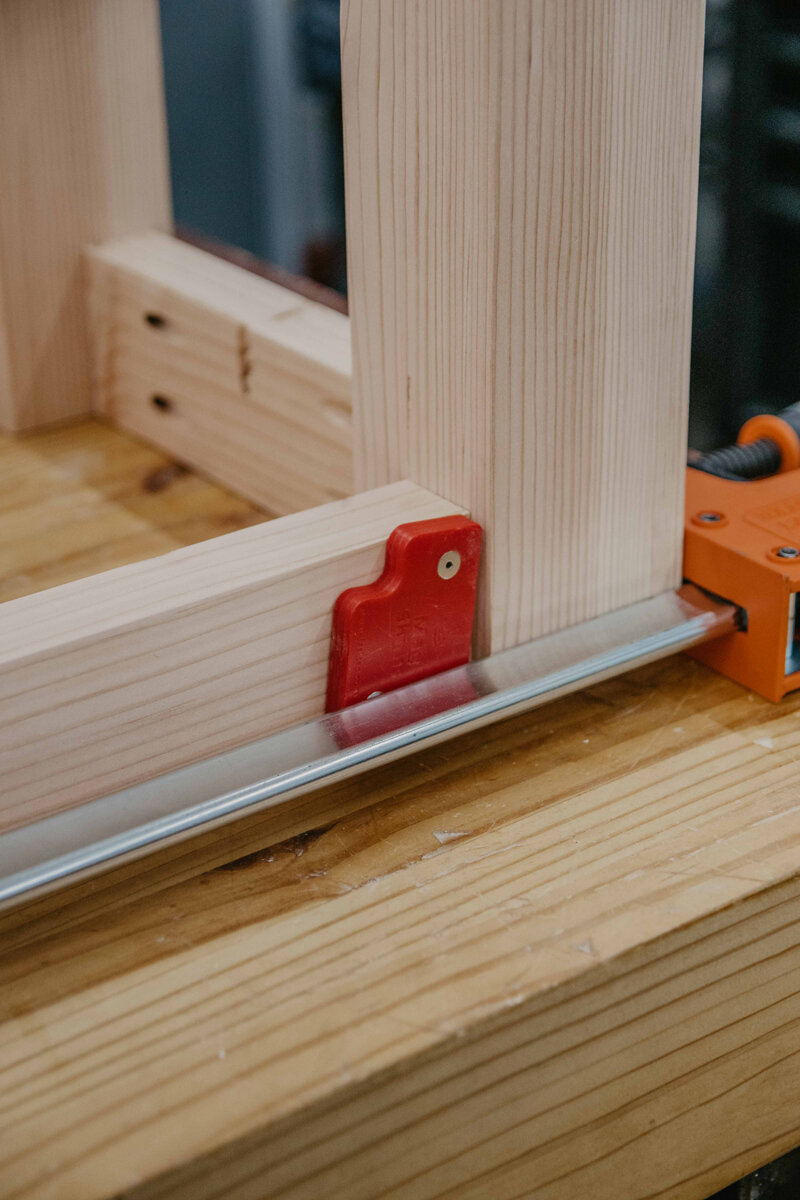
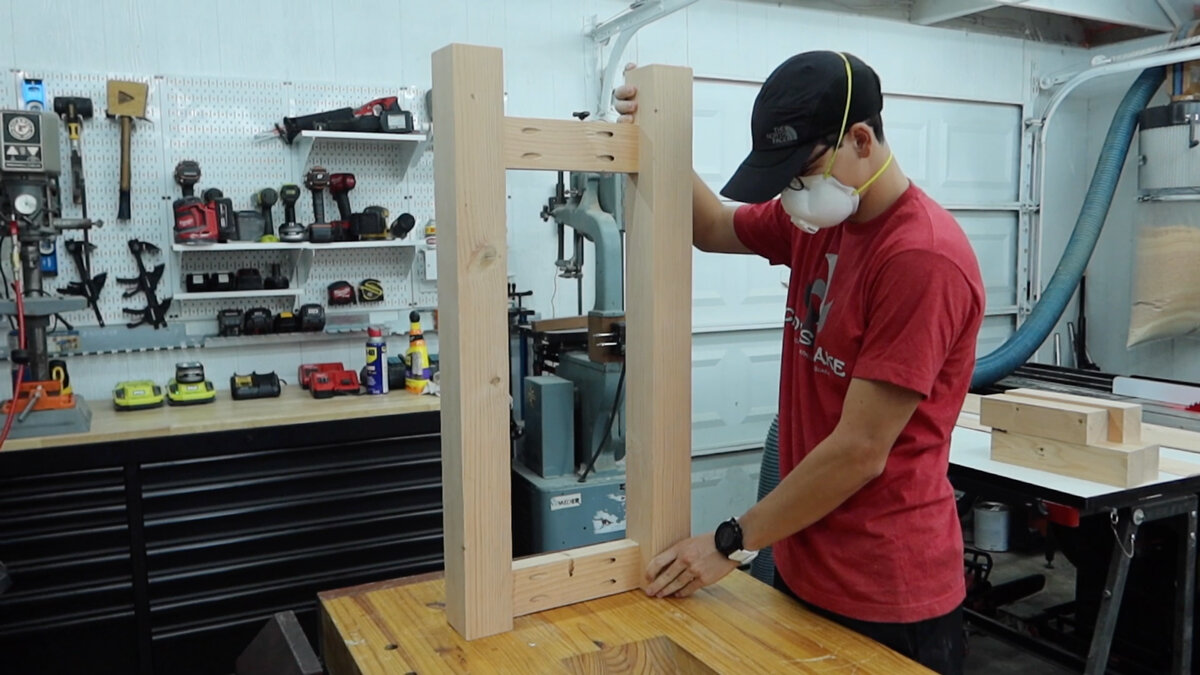
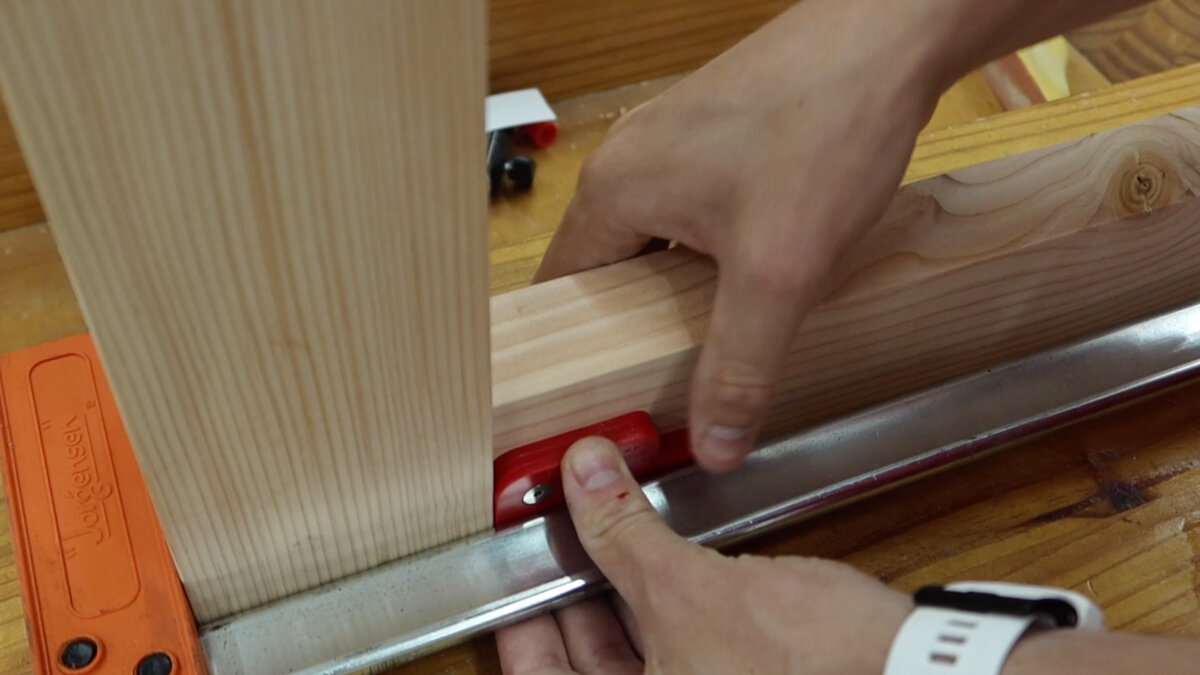
We will be assembling one side at a time and then attaching them together. The 2 legs and short bottom stretcher gets put together first, this little piece is 3 1/2” up the leg which will then be 3 1/2” off the ground. It’s also 3/8” pushed in with these spacers (affiliate link). Now, just the pocket screws.
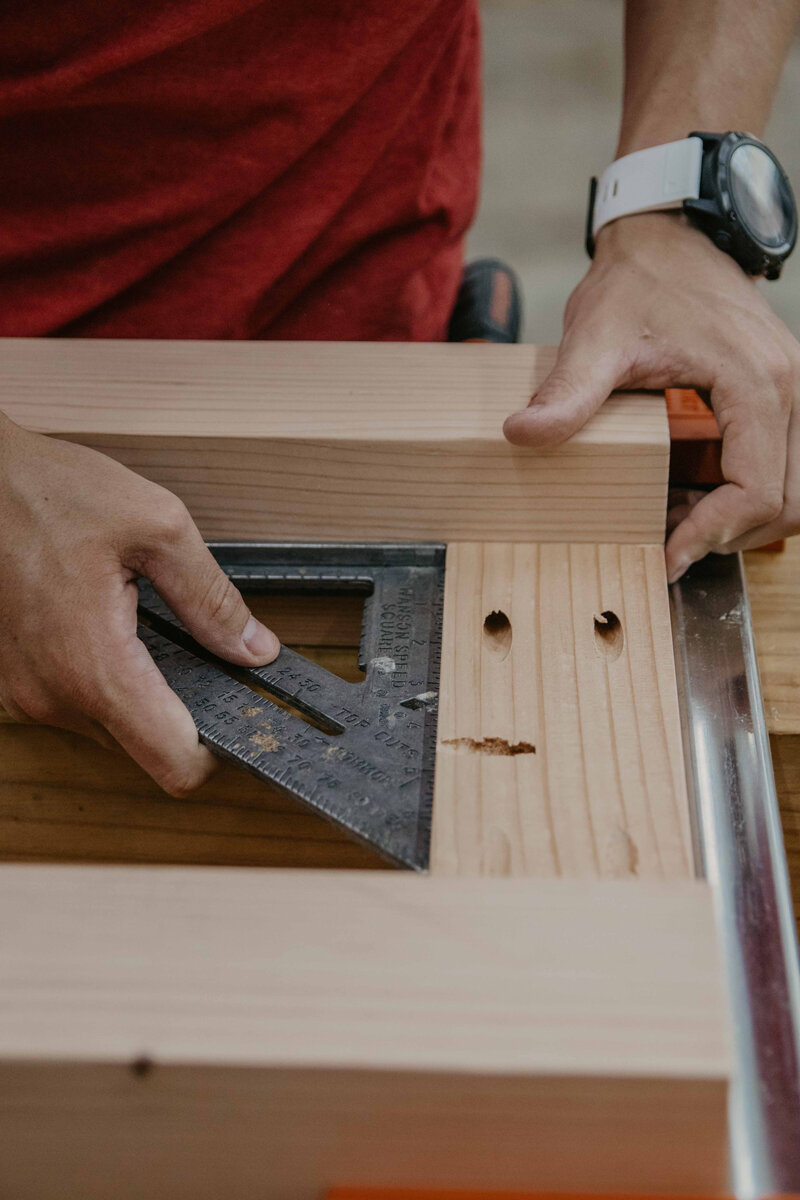
The top small stretcher is flush with the ends of the legs because we have to screw the table top down to these. Now just to repeat that process for the longer stretchers to tie the 2 sides together.
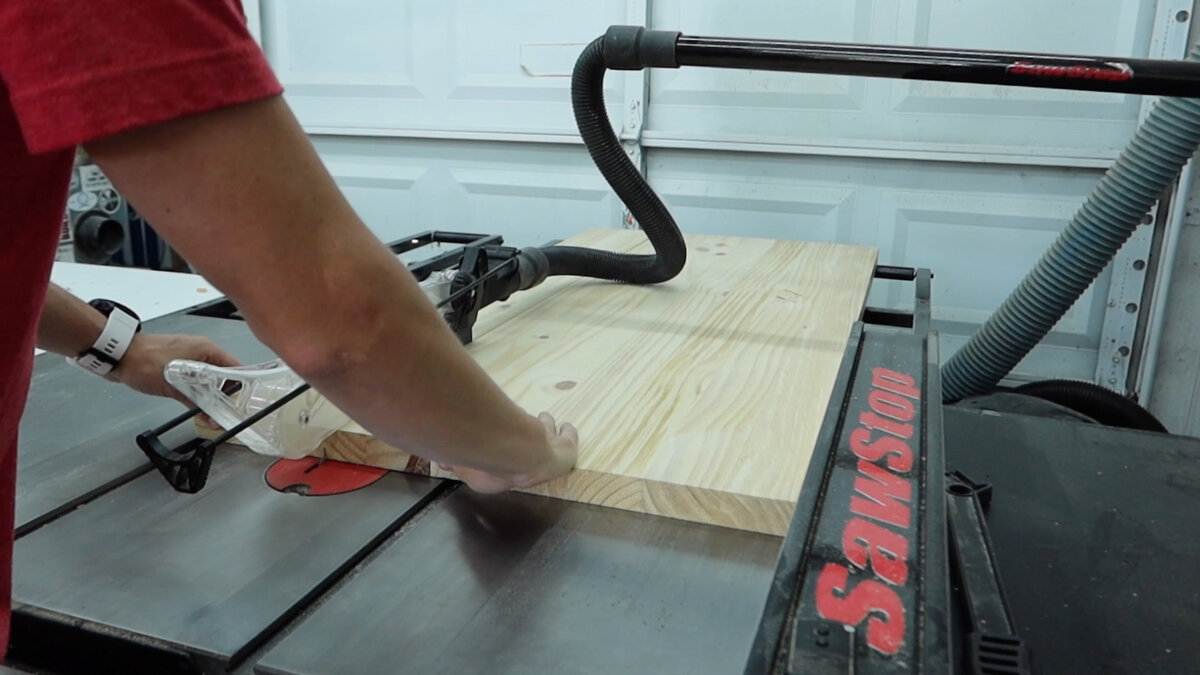
Now let’s cut the table top to length and width and get that attached.

Remember those 1x4s, now we can cut those to length and get them stapled down making sure they are all even and square.

For finish we are once again using the Total Boat Halcyon Amber Varnish, which we love just as much as the clear version. Also, I would totally recommend putting what ever you’re spraying up somewhere, we weren’t thinking and sprayed dirt all up on the bottom of the legs.

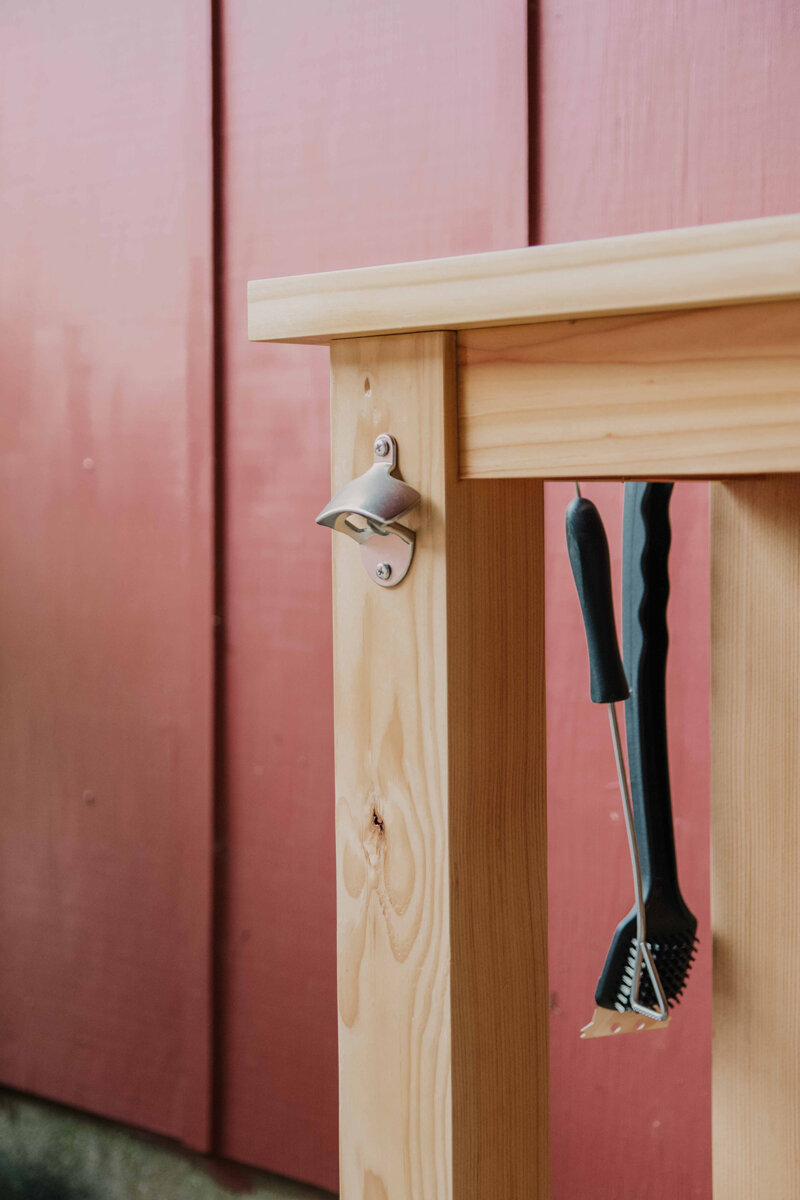
After the finish dried, we added a bottle opener and some feet to lift it off the ground just a bit. We can’t wait to hang out here when the weather cools down a bit and grill. We hope you guys enjoyed this project and you can check out all the outdoor furniture series here!