DIY Kid's Table and Chairs

We’ve never made a kid's table before, and hardly anything kid-related, so this DIY Kid's Table and Chairs should be fun! We have a set of plans available for this build here, so if you are interested in the measurements, they are all listed there! Now, let’s get started.
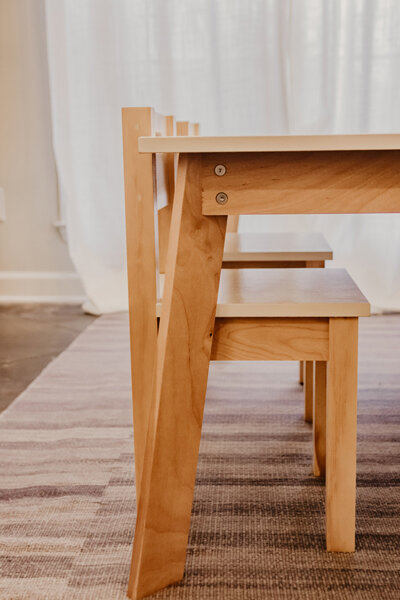
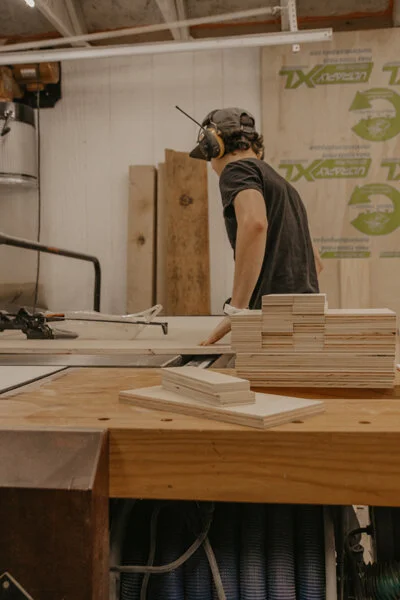
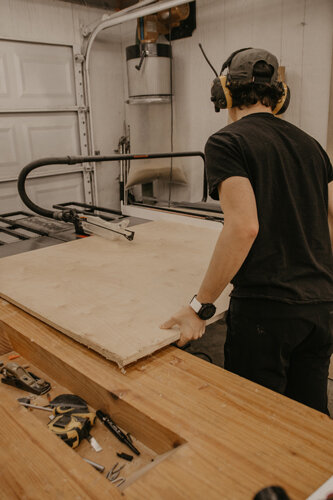
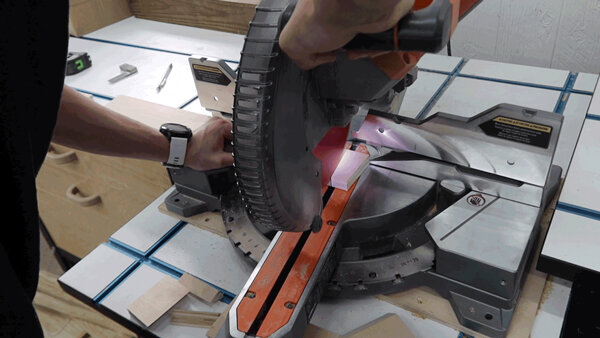
We were able to use everything from our scrap pile other than the 2x2s for the legs of the chairs. If you don’t have scraps on hand, you’ll need a 4x8 sheet of plywood of your choice, we used Birch. First step is breaking the sheet materials down on the table saw. Here’s a list of all the pieces we need: chair seat, chair back, chair apron, tabletop, table legs, table apron, and brace pieces. For all the apron pieces, they get a 45° miter cut on the ends. The table legs, however, get an angled cut on the ends in the opposite direction. This will give the table a pretty modern look with the legs leaning inward.
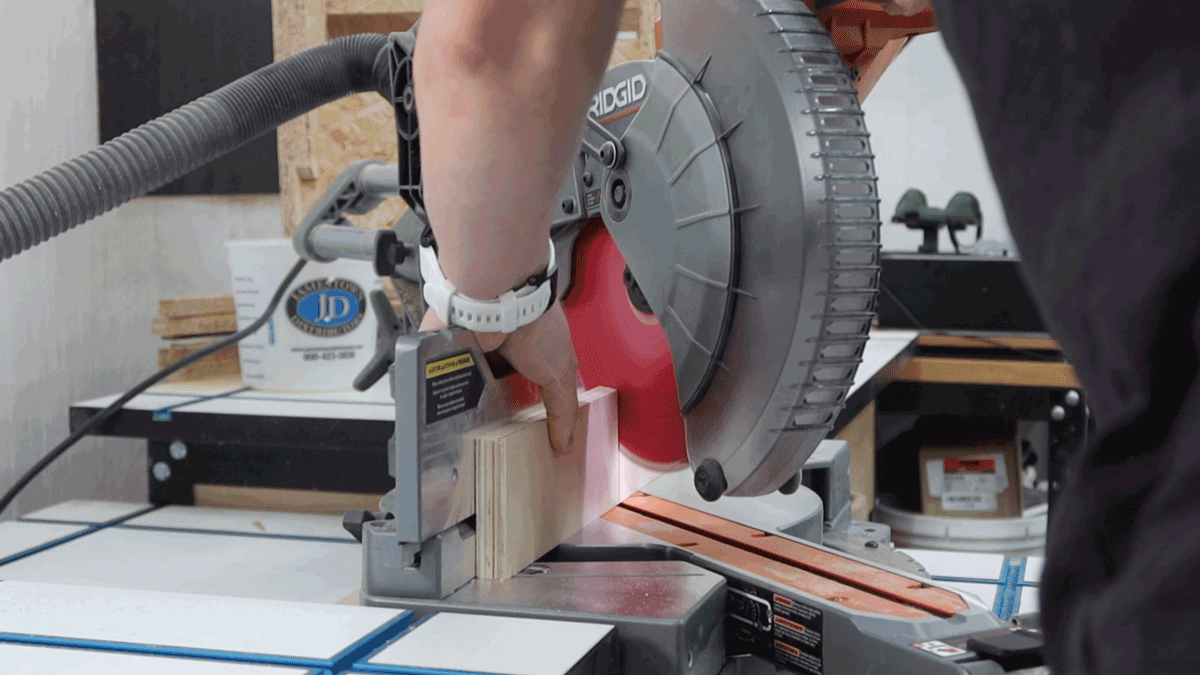
For the chair legs, we are using pine 2x2s that you can find in the select section in The Home Depot. These have 2 different measurements, 2 longer pieces for the back and 2 shorter pieces for the front legs.

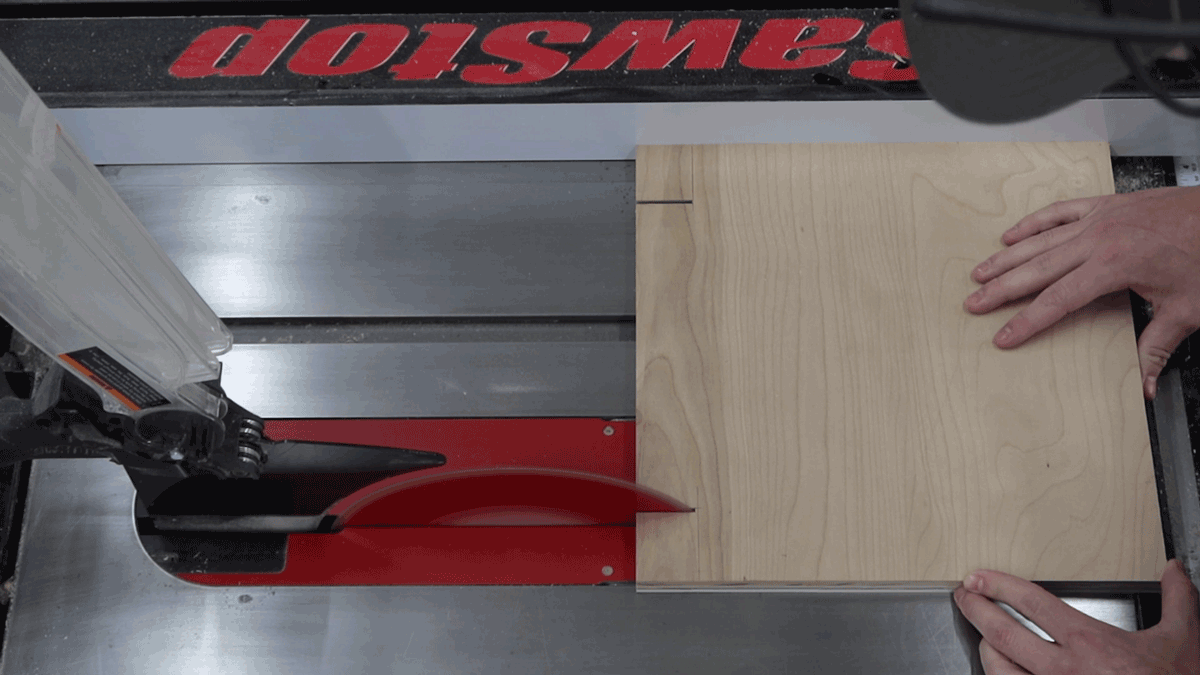
After all the pieces are cut to the right dimension, it's time to start working on some of the detailed parts. The seats of the chairs are getting notched out to accommodate the chair legs. We used the table saw for this, but if you don't feel comfortable with this method, a hand saw, Dremel or jigsaw will work just fine too!

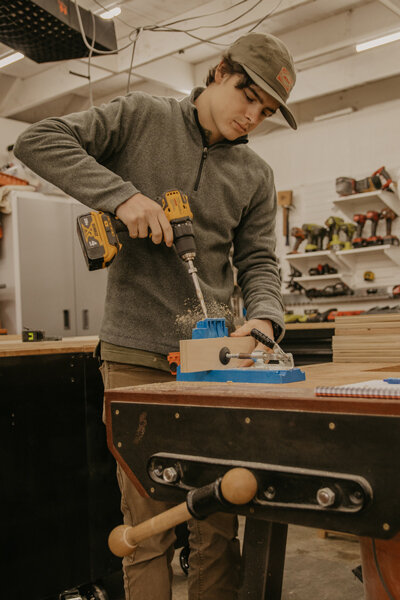
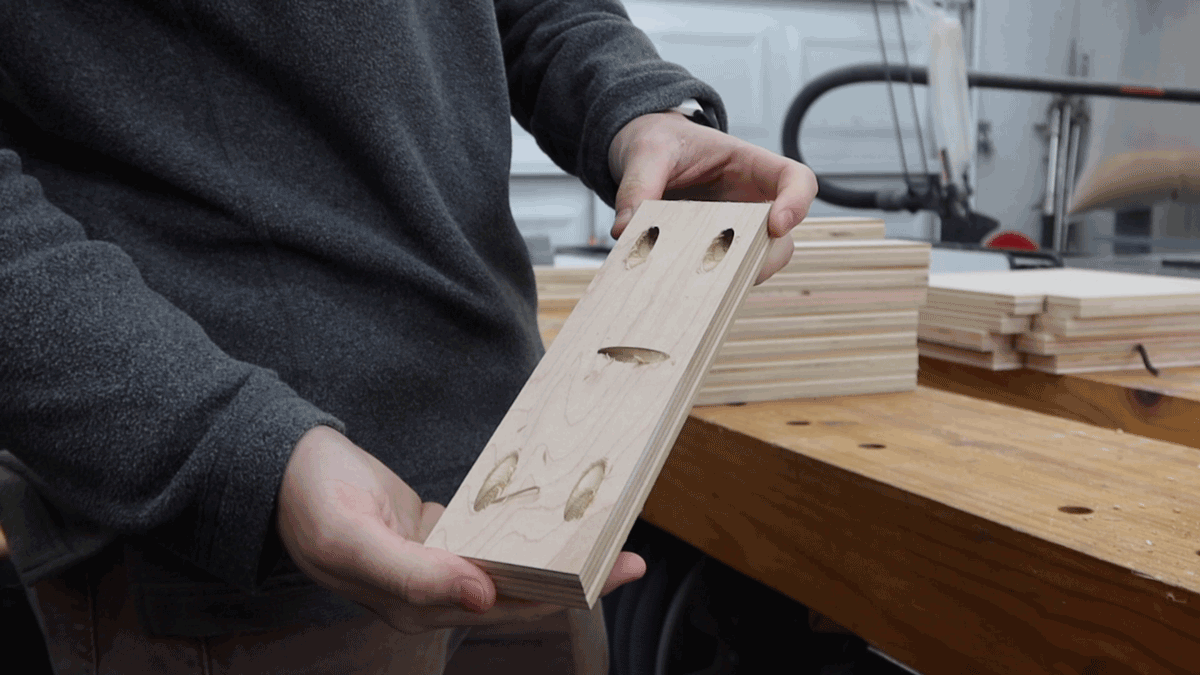
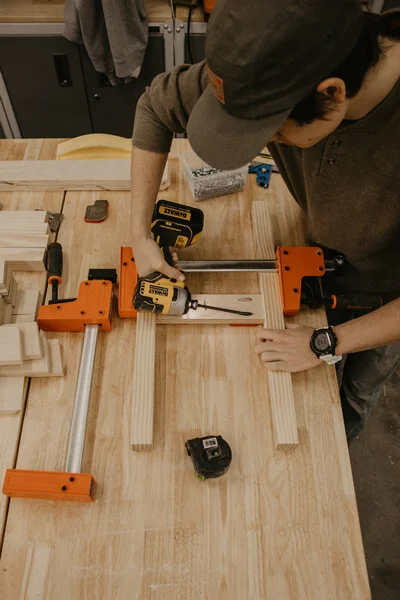
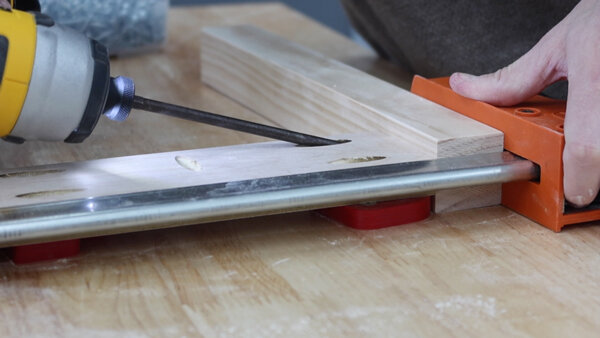
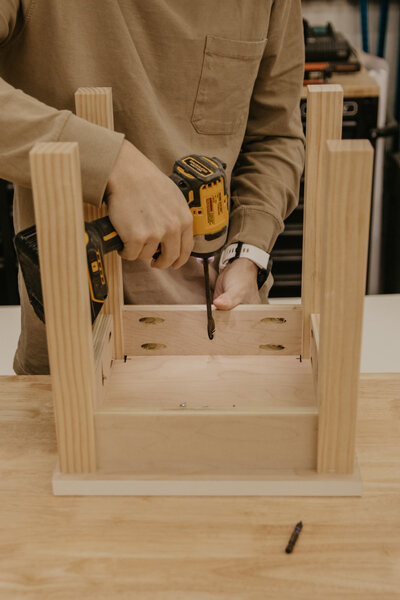
POCKET HOLE TIME. I say this in all caps because there's a butt-ton. Each seat apron piece gets two pocket holes on each end and then one in the middle. The table apron just gets pocket holes down the length of the board.
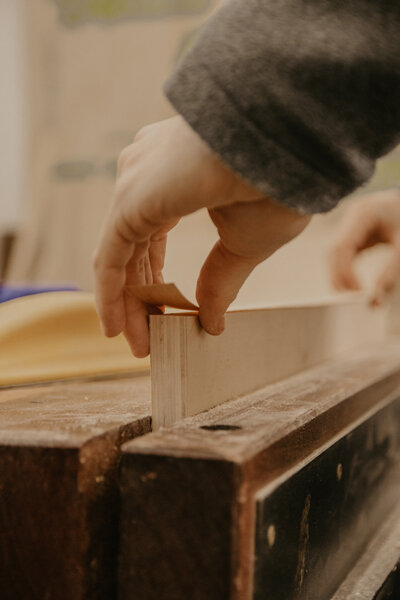
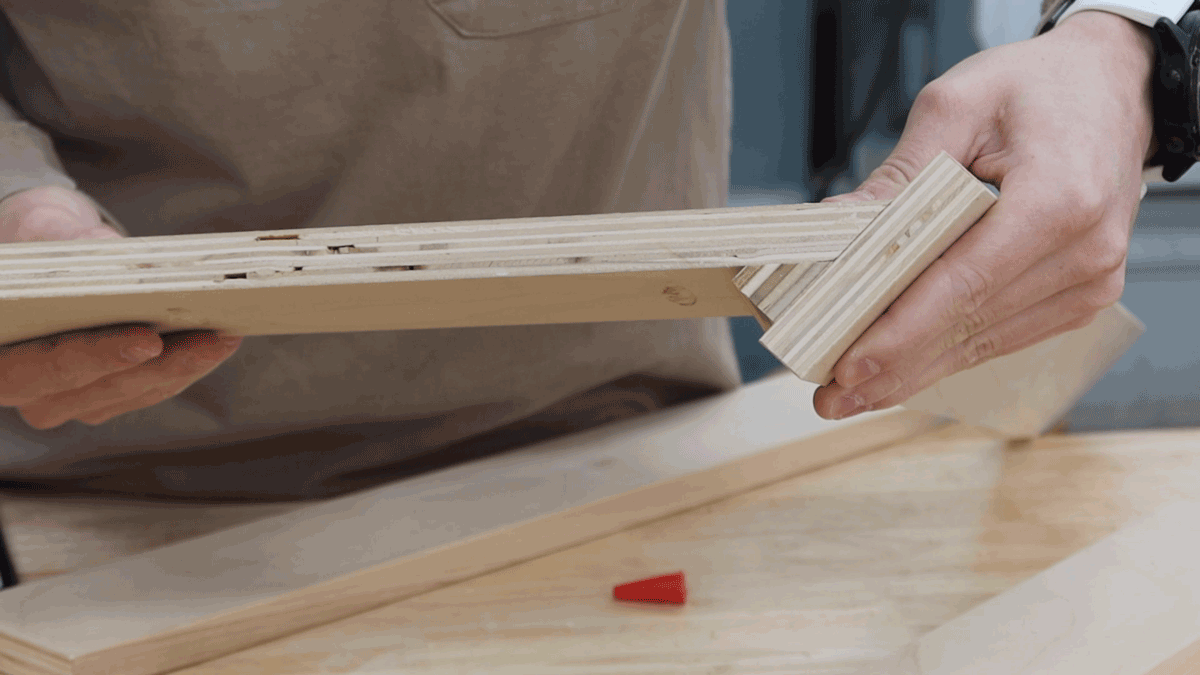
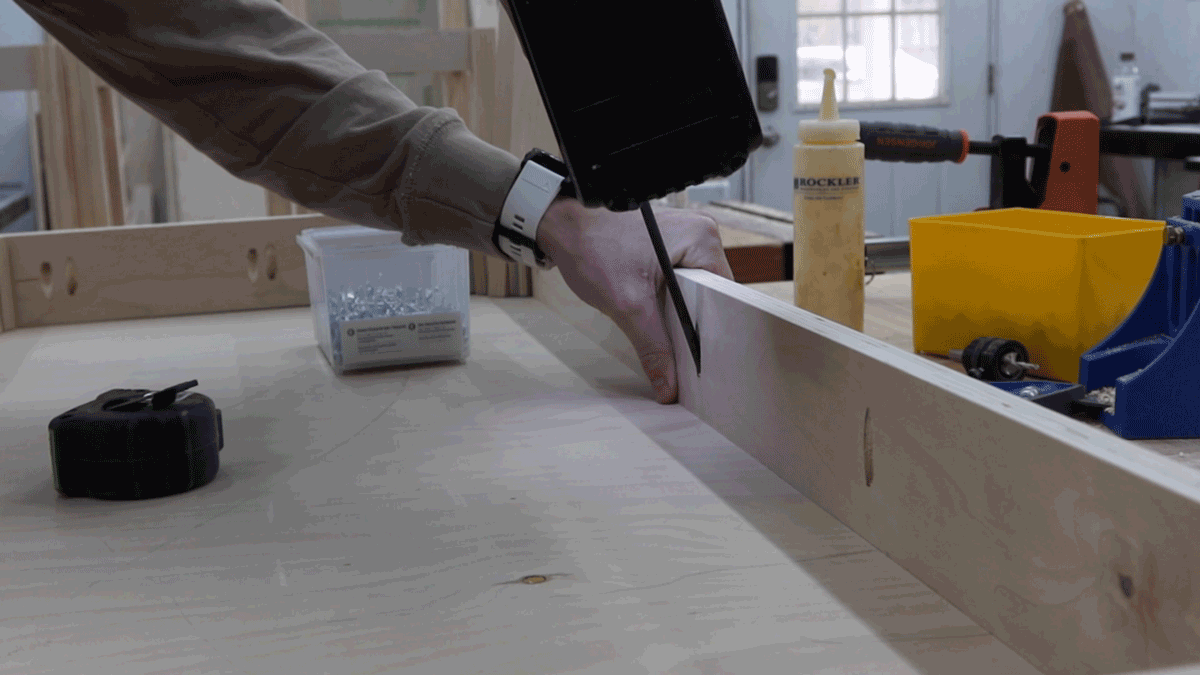
With all that done we are moving onto adding edge banding to the seats, each table leg, and tabletop. This edge banding is really great because it has 3M adhesive on the back, so no ironing involved.
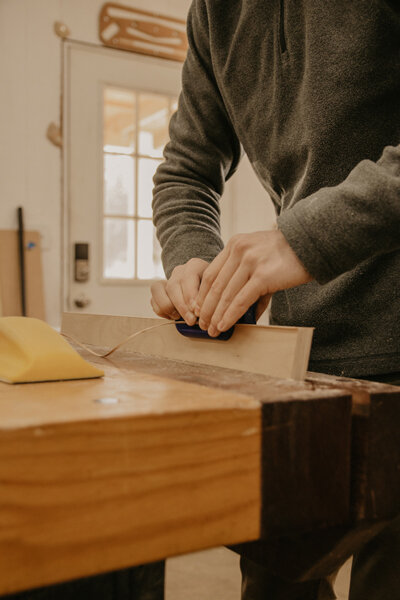
Here is a list of tools we use for edge banding. (affiliate links)
De-Curler: https://amzn.to/37wNUWL
Roller: https://amzn.to/396hV0y
Flush Cut Trimmers: https://amzn.to/2saXHCp
Edge Trimmer: https://amzn.to/2PMCpDX
Sander: https://amzn.to/34QsP7s
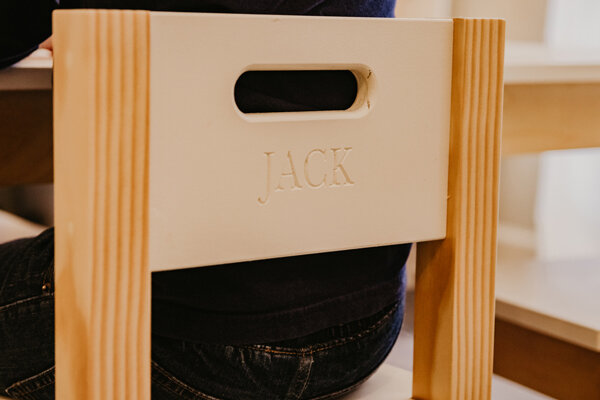
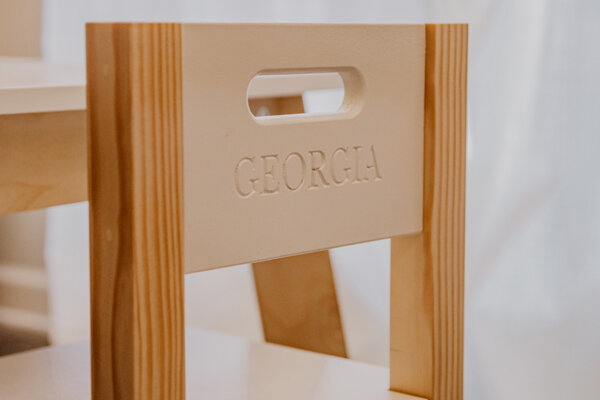
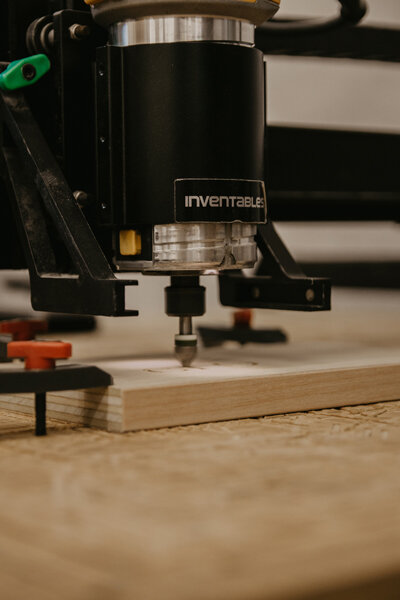
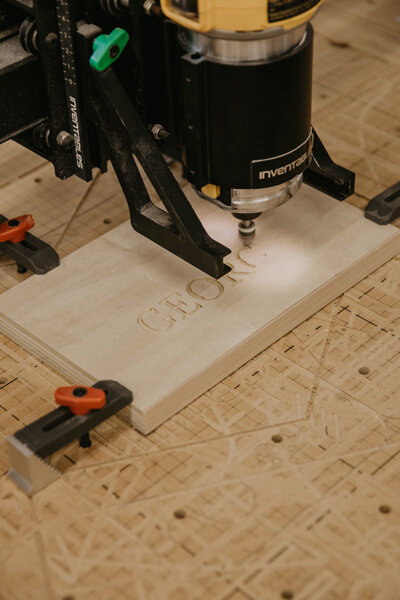
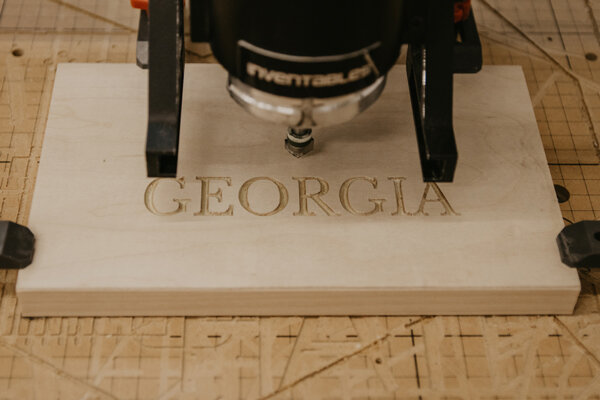
Last little detail part, we are customizing the back of the chairs with Dylan's niece and nephew's name with the Inventables X-Carve. We LOVE this machine! This has been apart of our shop going on 2 1/2 years now, and we have been able to be more creative and add more personal meanings to our projects. This DIY kid's table and chairs is going to be so cute! You can check out the exact machine we use here: http://bit.ly/2NtYwQm (affiliate link) Inventables also uses a free software called Easel, there is a more advanced one called Easel Pro, but you can go ahead and play around with it here: http://bit.ly/2znhC1A
After the handles and names where in the seat back, we came in with a handheld router (affiliate link) and rounded over the edges. We can't let these babies get hurt with a handle.

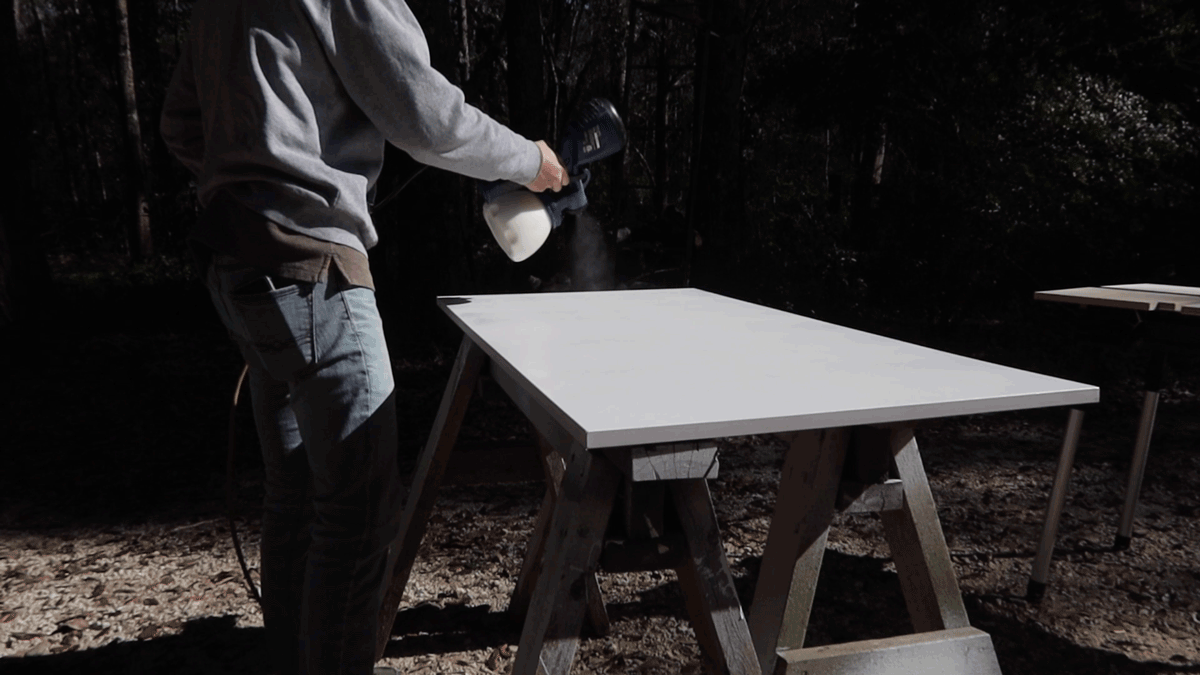
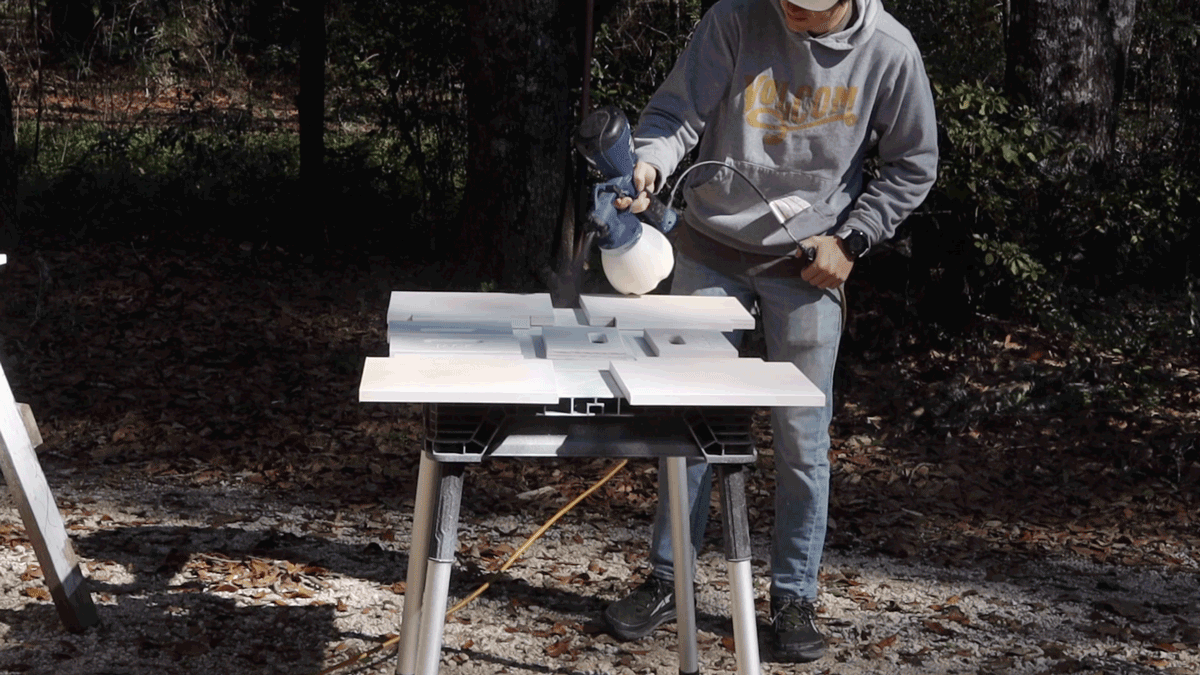
Now that all the cutting is complete, we are going to go ahead and spray white paint onto the tabletop, chair seats and backs. Everything else will be natural. Sprayer: https://amzn.to/2RRW3yh (affiliate link)
While the paint dries we can sand and start assembling what we can of the chairs and table. We used a 3/8" spacer (affiliate link) to bring up that chair apron into the center of the legs.
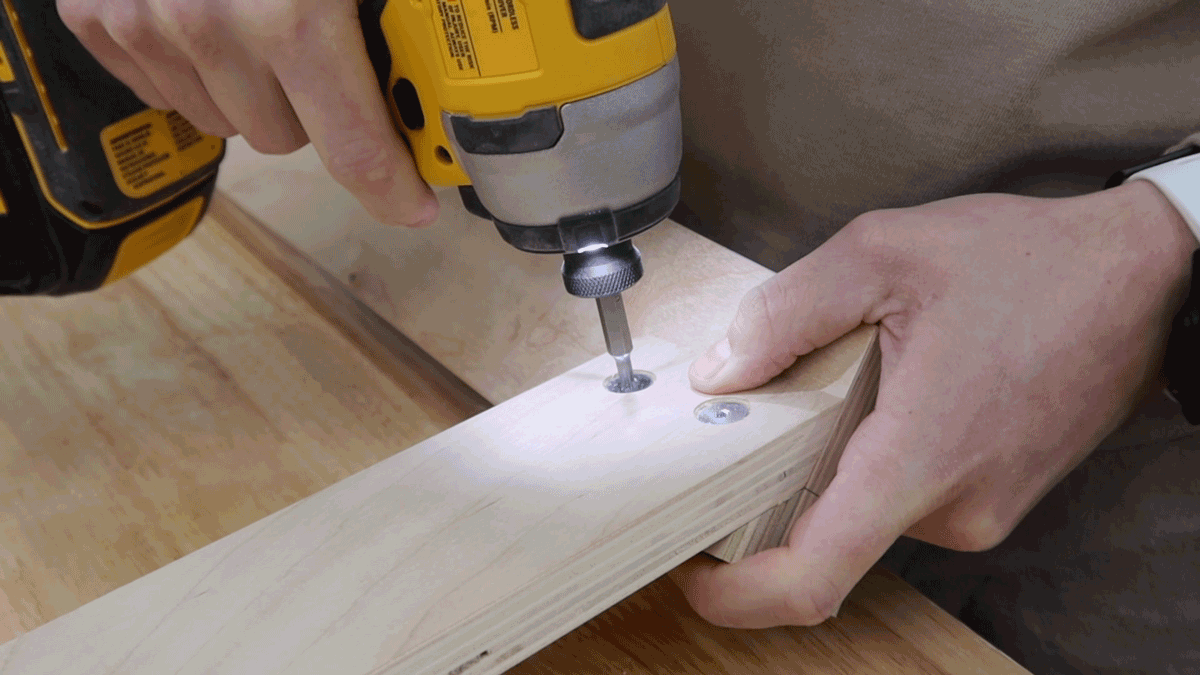
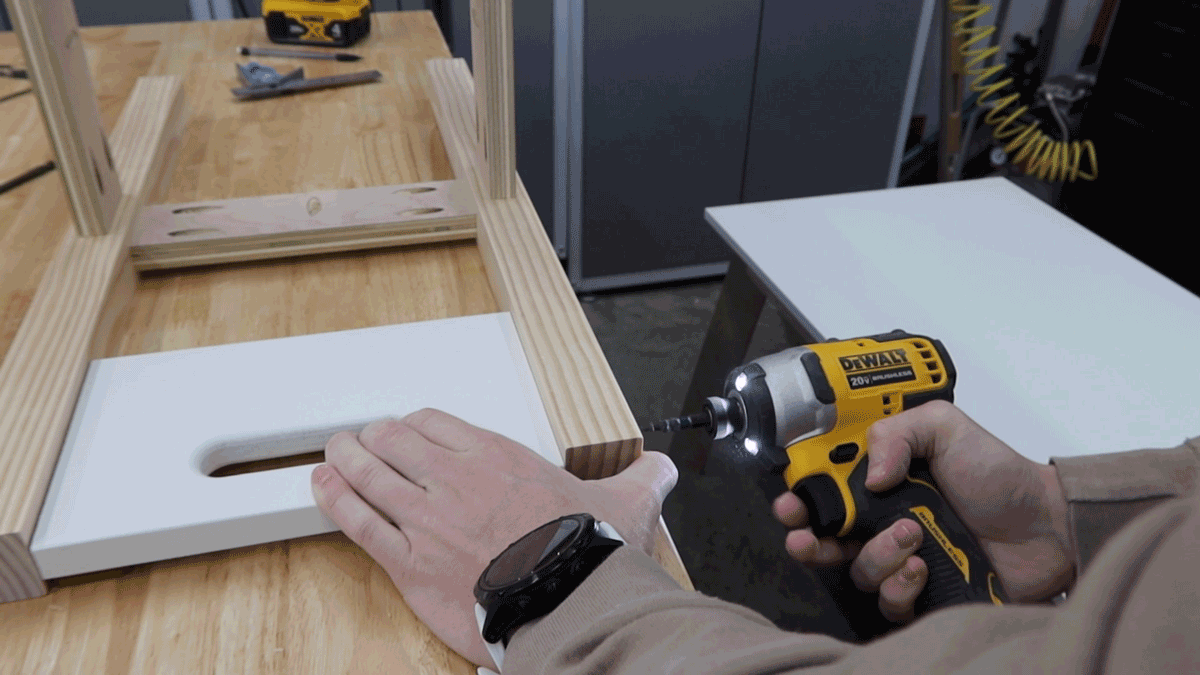
For the legs of the table, we added these support blocks to help with stabilization and this is just a mind settling step, just making it's super secure. Then, we can use the FastCap screws to attach the table apron/stretcher to the legs. If you don't like the look of the screw heads showing, you can get these stick-on covers in birch to match the wood.
Drill bit: https://amzn.to/37vAx97 (affiliate link)
Screws: https://amzn.to/37zsfNM (affiliate link)
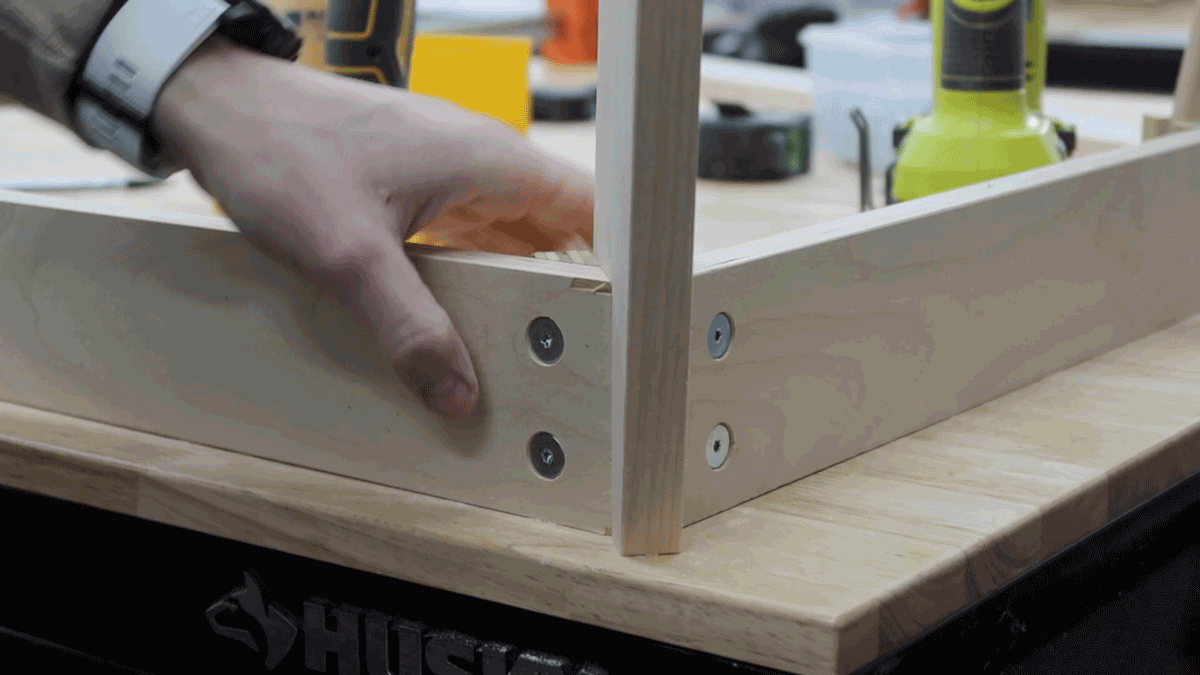
After the paint was dry, we can put everything together! This is my favorite part.
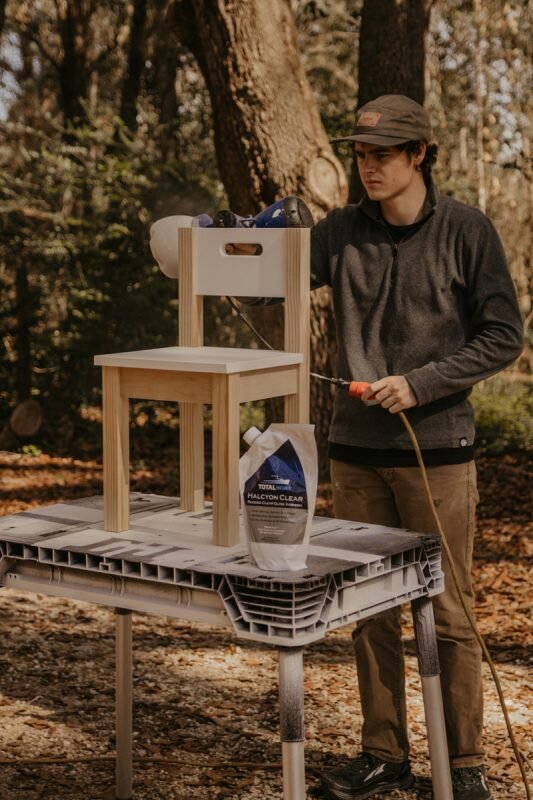
Last thing! Spraying on our favorite finish, Total Boat's Halcyon Clear Gloss Varnish! We used this for many projects in 2019 and can be used in indoor and outdoor settings. The best part is, it's water-based!
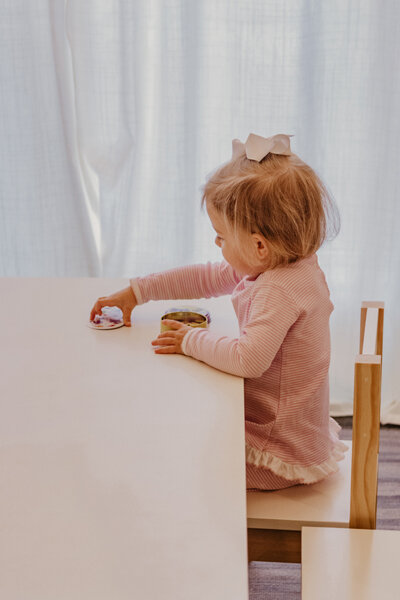
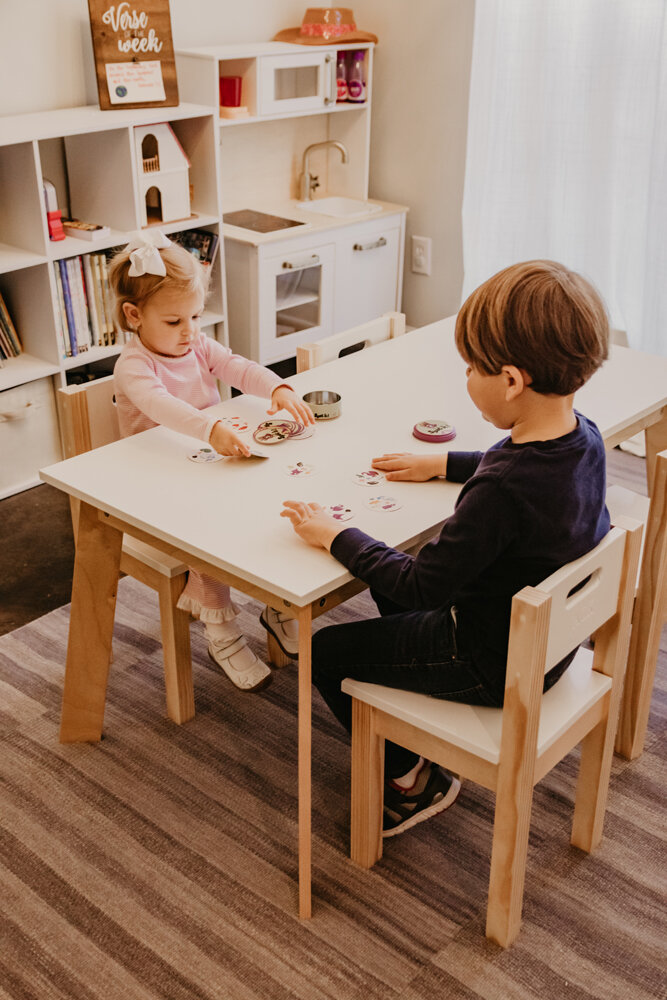
This DIY kid's table and chairs turned out so good! I love the modern, but still kid look to it! Remember we do have a set of plans for this project, so if you are interested in building this you can grab you a set here: https://www.woodbrew.tv/product/diy-kids-table-chairs-plans/