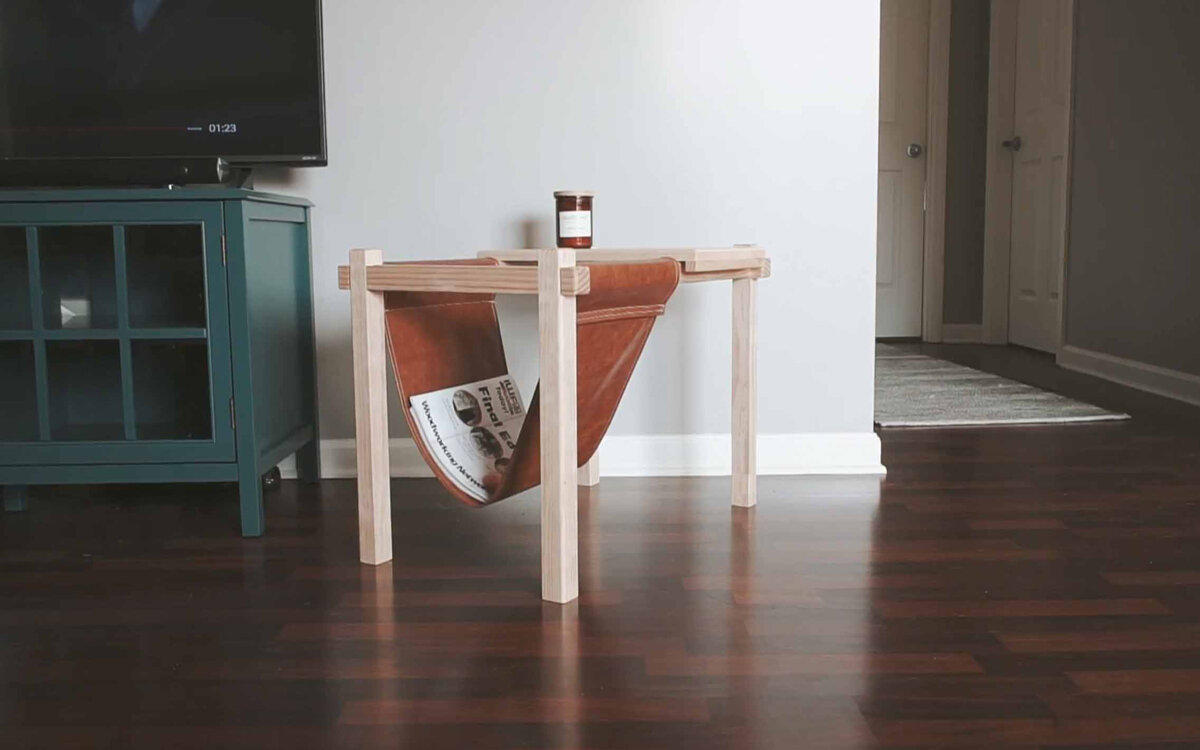
DIY Side Tables with Fabric Magazine Rack
This project is sponsored by Skillshare.
While we were on our road trip up the east coast, we stopped by Sam Ryan Design's shop! We met back in February at Workbench Con and had planned to come up to Virginia at some point. Also at Workbench, we realized how much Sam and I (Molly) have in common. We love Target, mint chocolate chip ice cream, and we don't eat the "crusties" that come off the Chick-fil-A chicken. Anyway, while we were visiting we found out so much more we had in common and had a great time working in the shop with her and getting to hang out.
Now back to the project, lol.
We decided to make matching side tables with a fabric magazine holder because it was something simple enough to make in a couple days and it just sounded like such a cute idea.
This project is super simple to make and only requires one 8' 2x2 and 24" of a 1x12. We were already making two of these tables, so we bought 1x12x4 for the tops and just cut it in half.
First, we cut all the pieces to length. We cut 4 legs, 2 long stretchers and two short stretchers. After that, we decided to do half lap joints to connect the stretchers to the legs. This will allow the ends to stick out a little bit in the end product. This can be done with a hand saw, circular saw, or the easiest tool, a table saw, which is what we used.

We marked 1" from the ends of the stretcher to make that 1" over hang on the corners. Then marked over 1 1/2" from the first mark, this is what we will be taking out for the half lap.
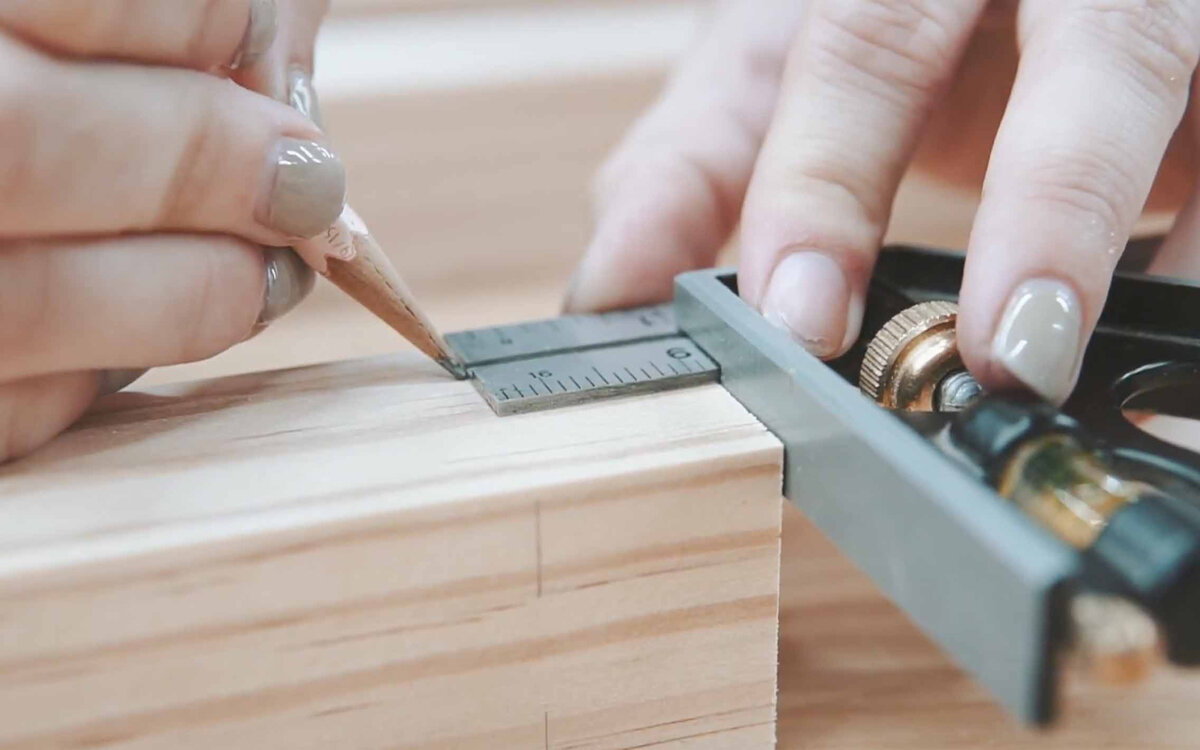
Raise your blade to half the height of the 2x2, then make several cuts between your marks to clear away most of the material. Then it's super easy to break away what's left and then use a chisel to flatten the surface. Repeat this process on the rest of the boards. Do each side on the stretcher, but only on one side of the legs.
Next, we drilled out pocket holes to connect the long stretchers to the legs.
Pocket Hole Jig we used:
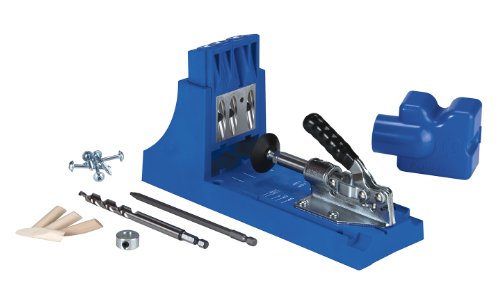
Kreg Jig K4 Pocket Hole System (affiliate link)

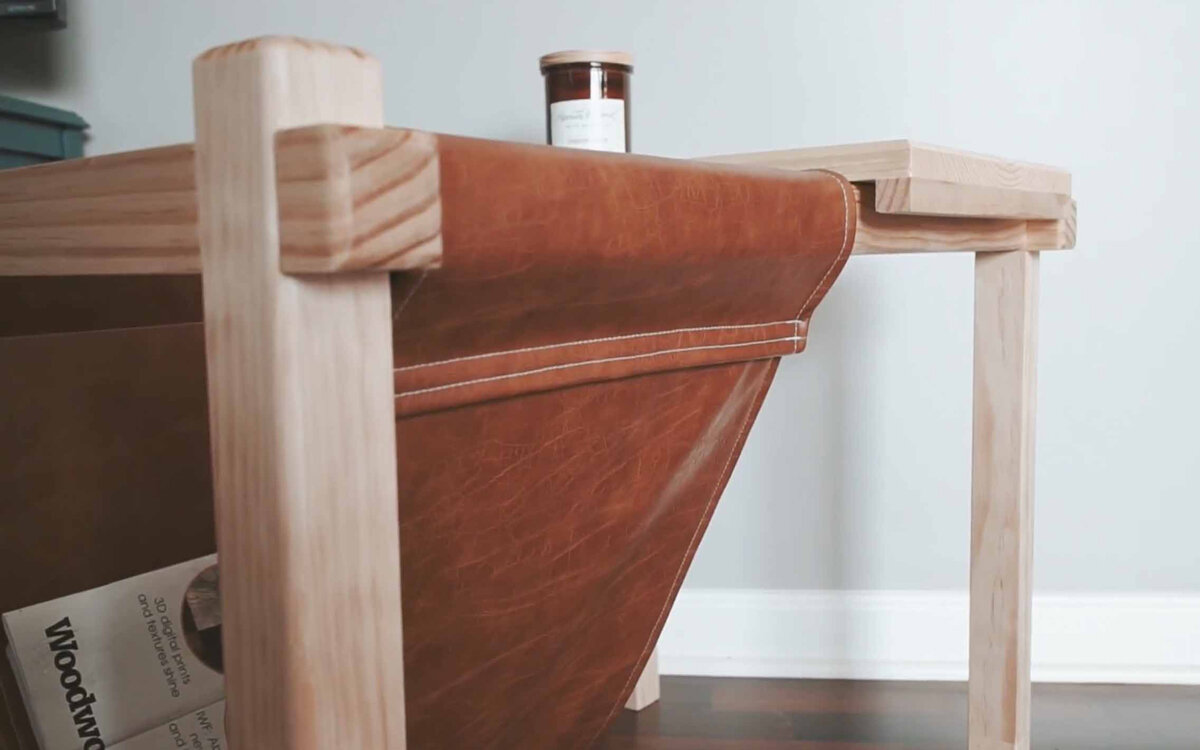
Last thing we did was round over the outside corner of the legs, and all the edges of the long stretchers. That way the fabric doesn't rip over time on a sharp edge.

Assembly time! We glued and pin nailed the half lap joints together. Make sure the rounded edges of the legs are facing the outer sides. Next, we attached the long stretchers with pocket hole screws.


For the tops, we added a couple strips on the underside to keep it from falling off and so it will be able to slide back and forth and then also can be taken off for a lap table. We just used glue and pin nails to attach them.

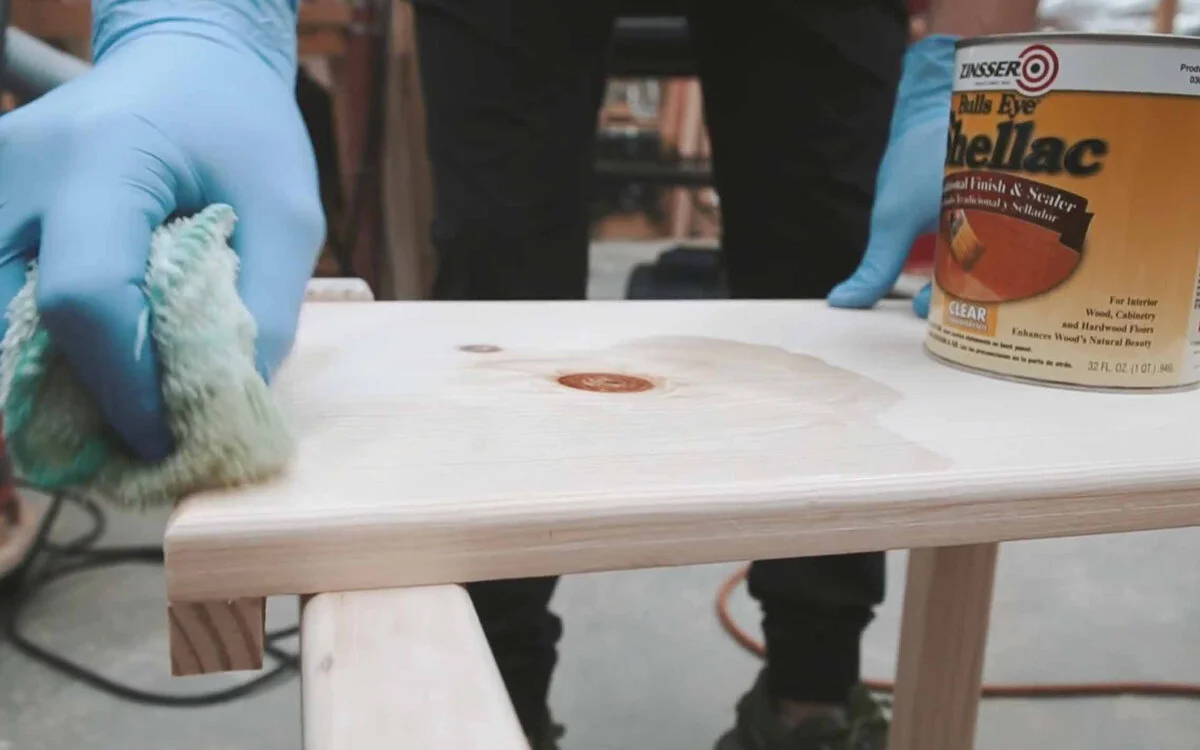
For finish, we used shellac because we were in a hurry and this stuff dries pretty fast. Feel free to do a fun stain or paint!
Then we sewed our magazine holder. We chose a faux leather, we think this color with a natural looking wood really works well together. We sewed the edges nicely and folded the sewed the ends over to make a loop for the 2x2 stretches to go through.
And then we were done! Super fun and easy project for a day's work. Huge thanks to Sam for letting us invade her shop!
Thank you Skillshare for sponsoring this video. Skillshare has thousands of online video classes that can teach you how to do pretty much anything. There is a really great class about sewing that i’ll link below that taught me how to sew in a matter of hours. If you’d like to hone a current skill, or learn something new I highly recommend you check out their service. This linkwill get you 2 months free of Skillshare Premium. Take advantage of it as the link is limited to only 500 signups!