Gravel Landscaping Around the House
We have always loved the look of gravel landscaping, especially around the house. Mulch needs replacing and gets thrown everywhere, but a major plus is that this gravel is the same on our driveway. It just makes sense to buy one kind of rock instead of multiple!
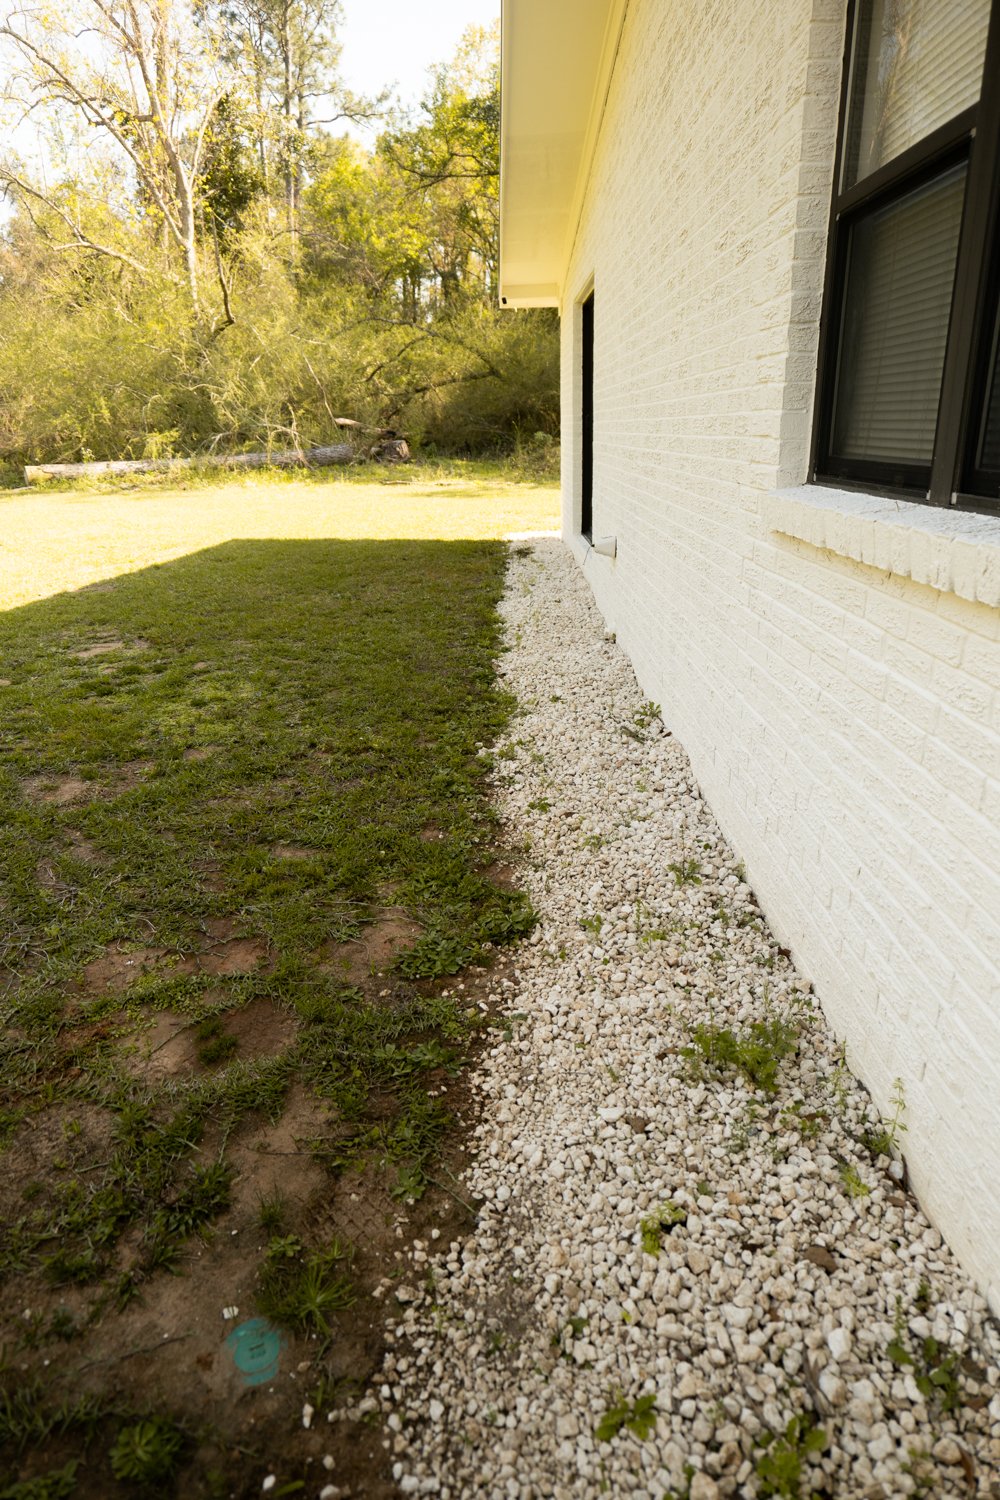
Ok, let’s talk about the before and the MAJOR mistakes we made. When we first moved into this house, we knew we were going to lay gravel around the perimeter. So, I got to digging to start the process. I didn’t create straight lines and keep the same distance from the house all the way down. We could’ve stopped there, but no. We continued with putting gravel in and weeds started growing through. A nightmare.
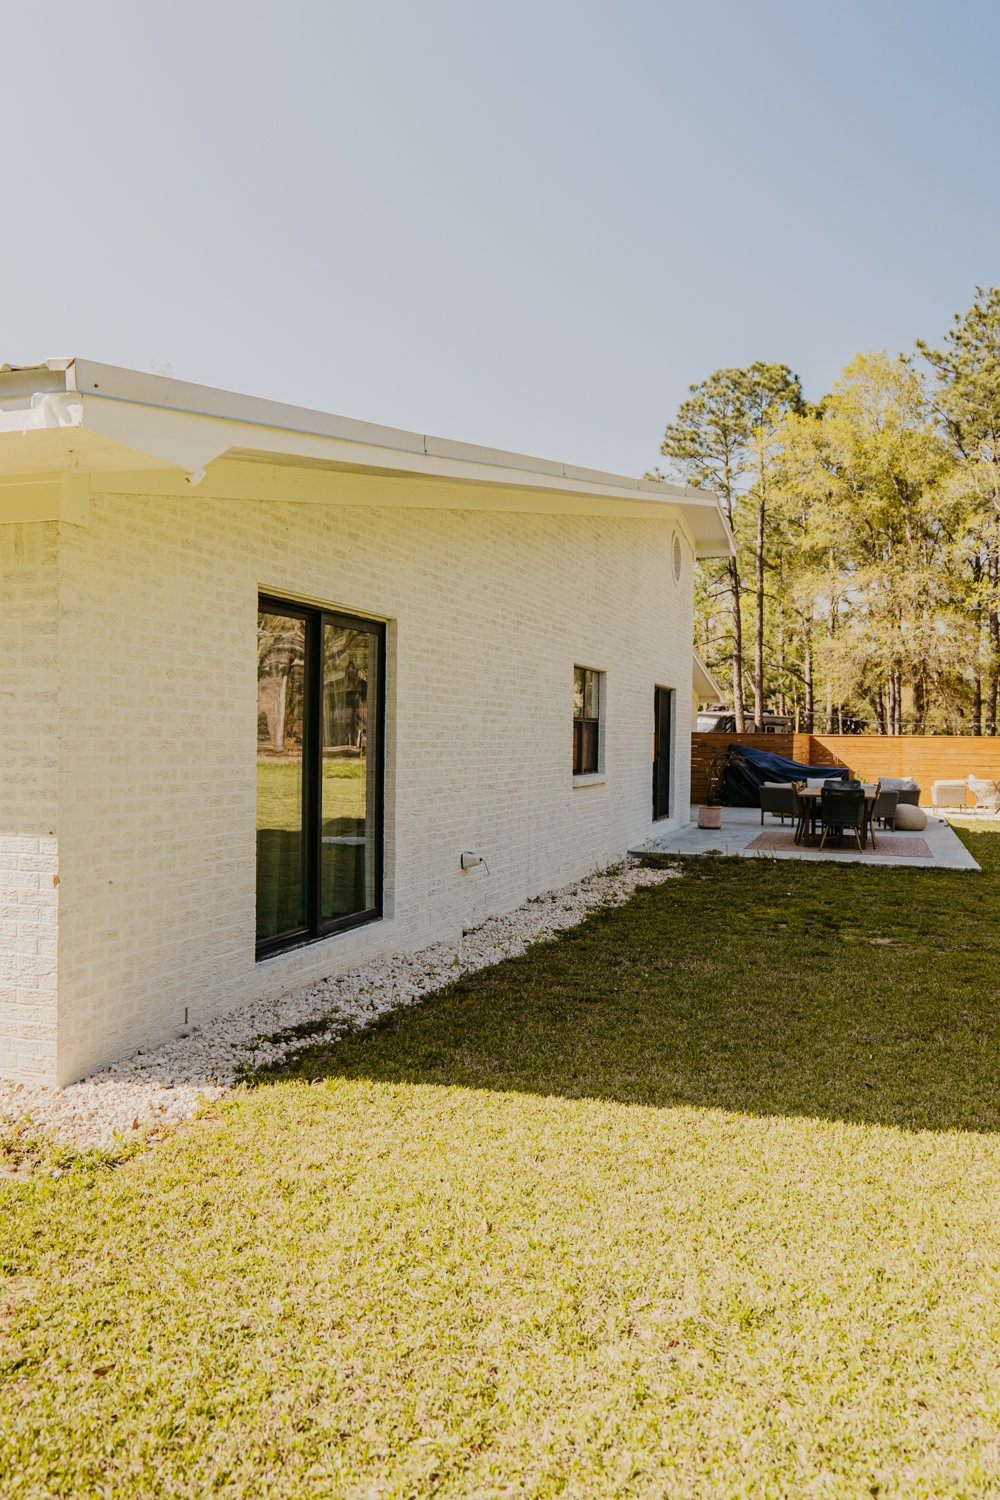
Here we are over a year later and we are finally making this spot look GOOD. Don’t be fooled, we still made a few more mistakes. I’ll let you know what we did and how to avoid those down below. If you are looking into this project and haven’t started yet, you will be FINE. Let’s continue.
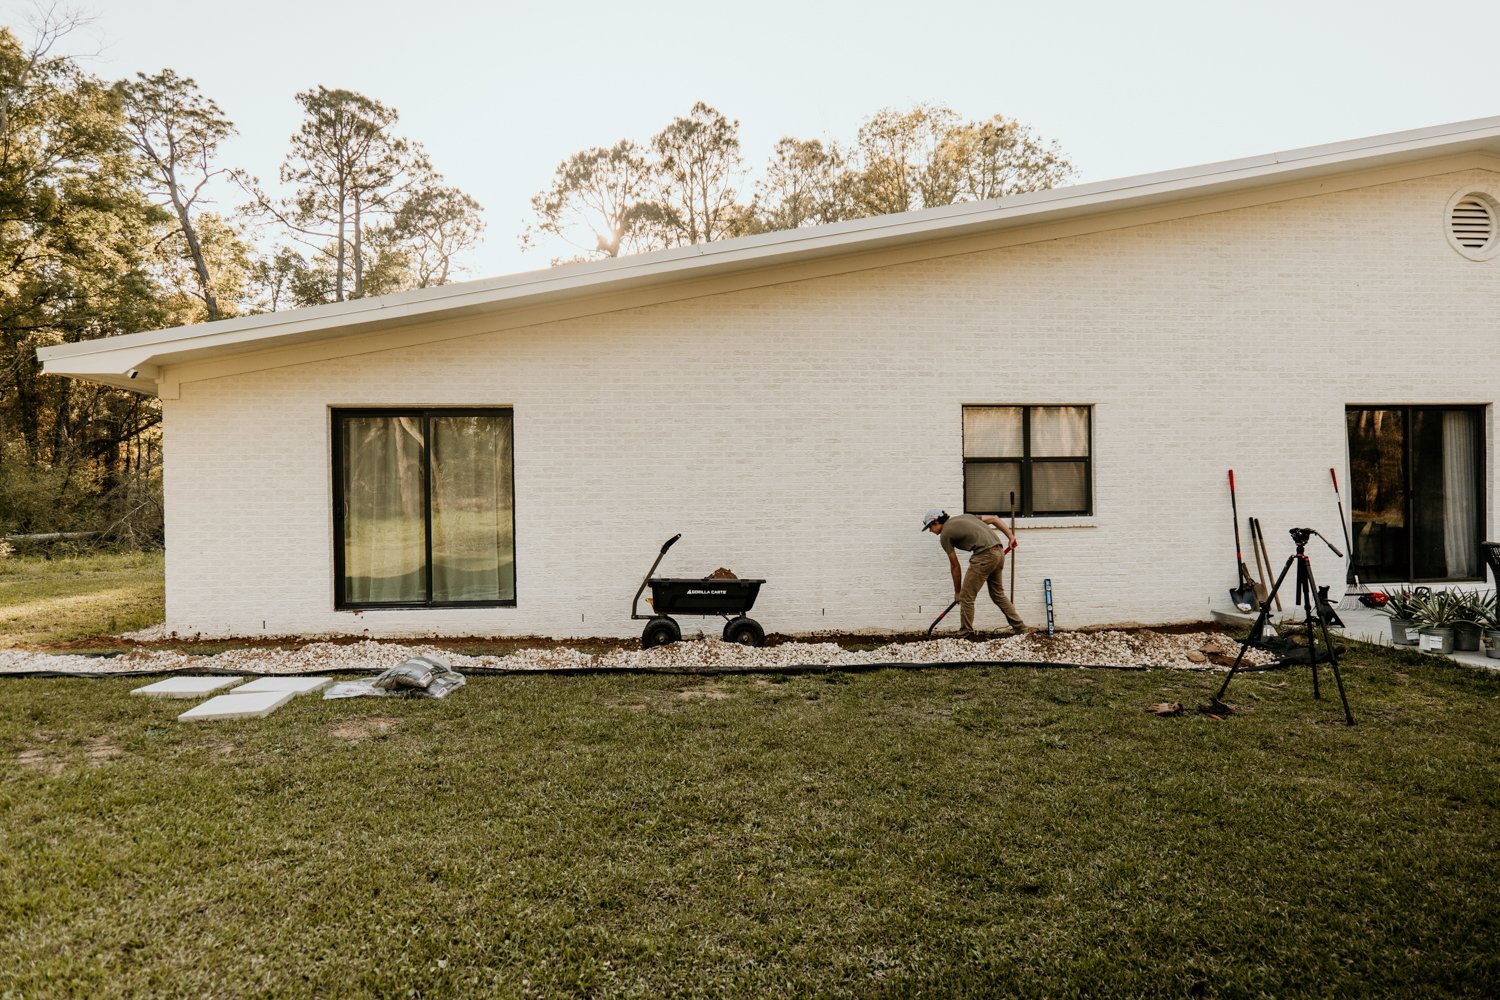
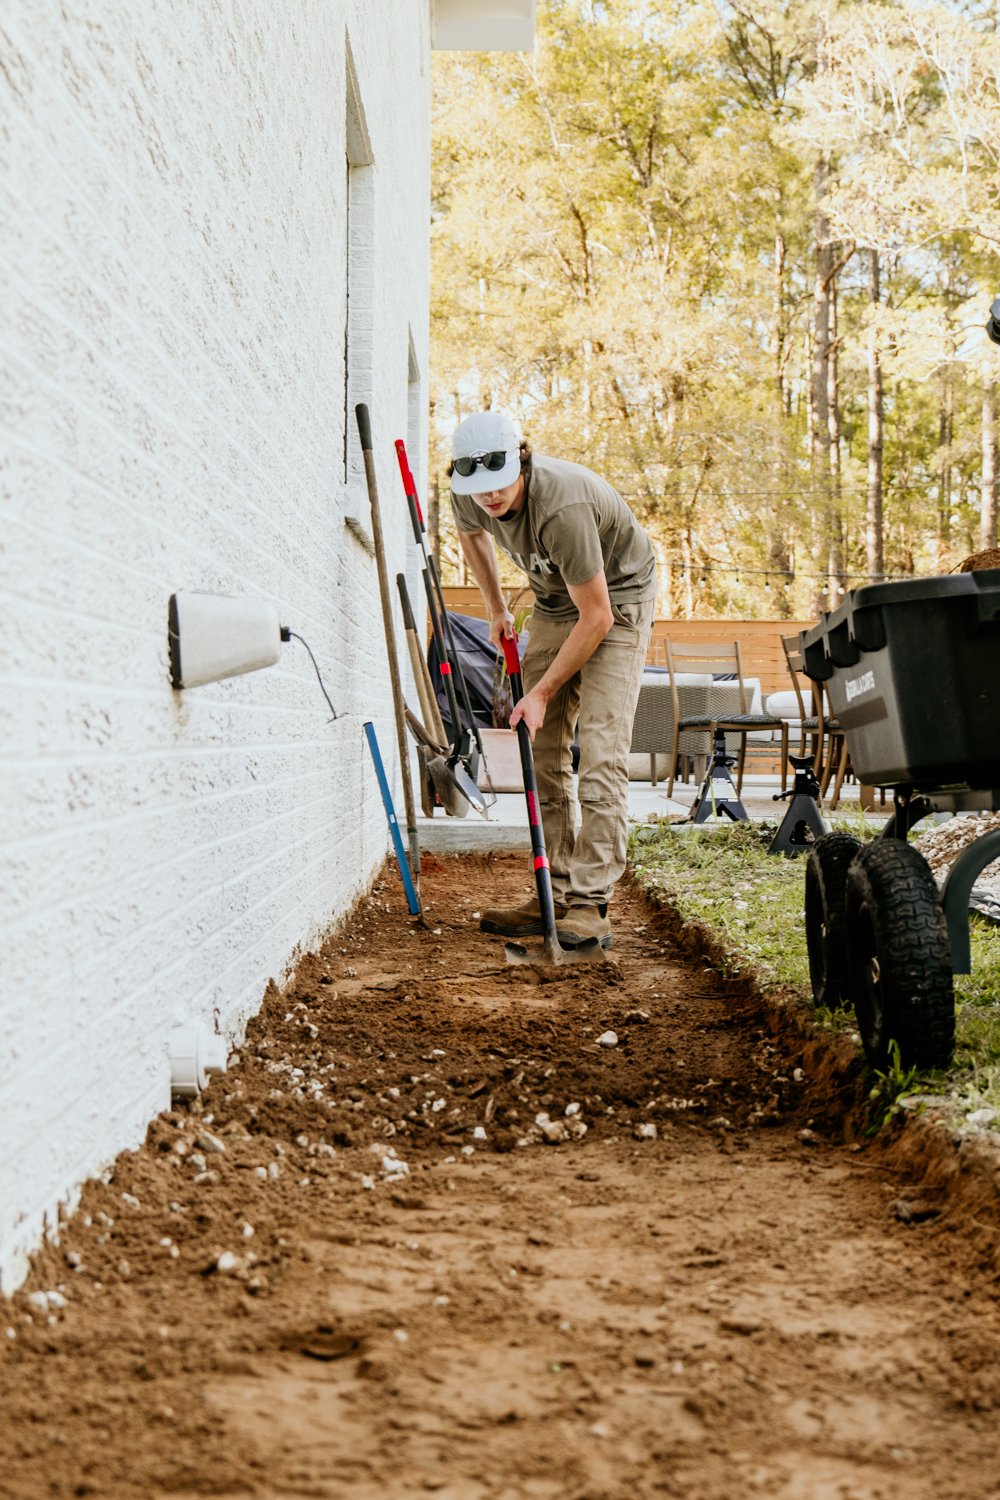
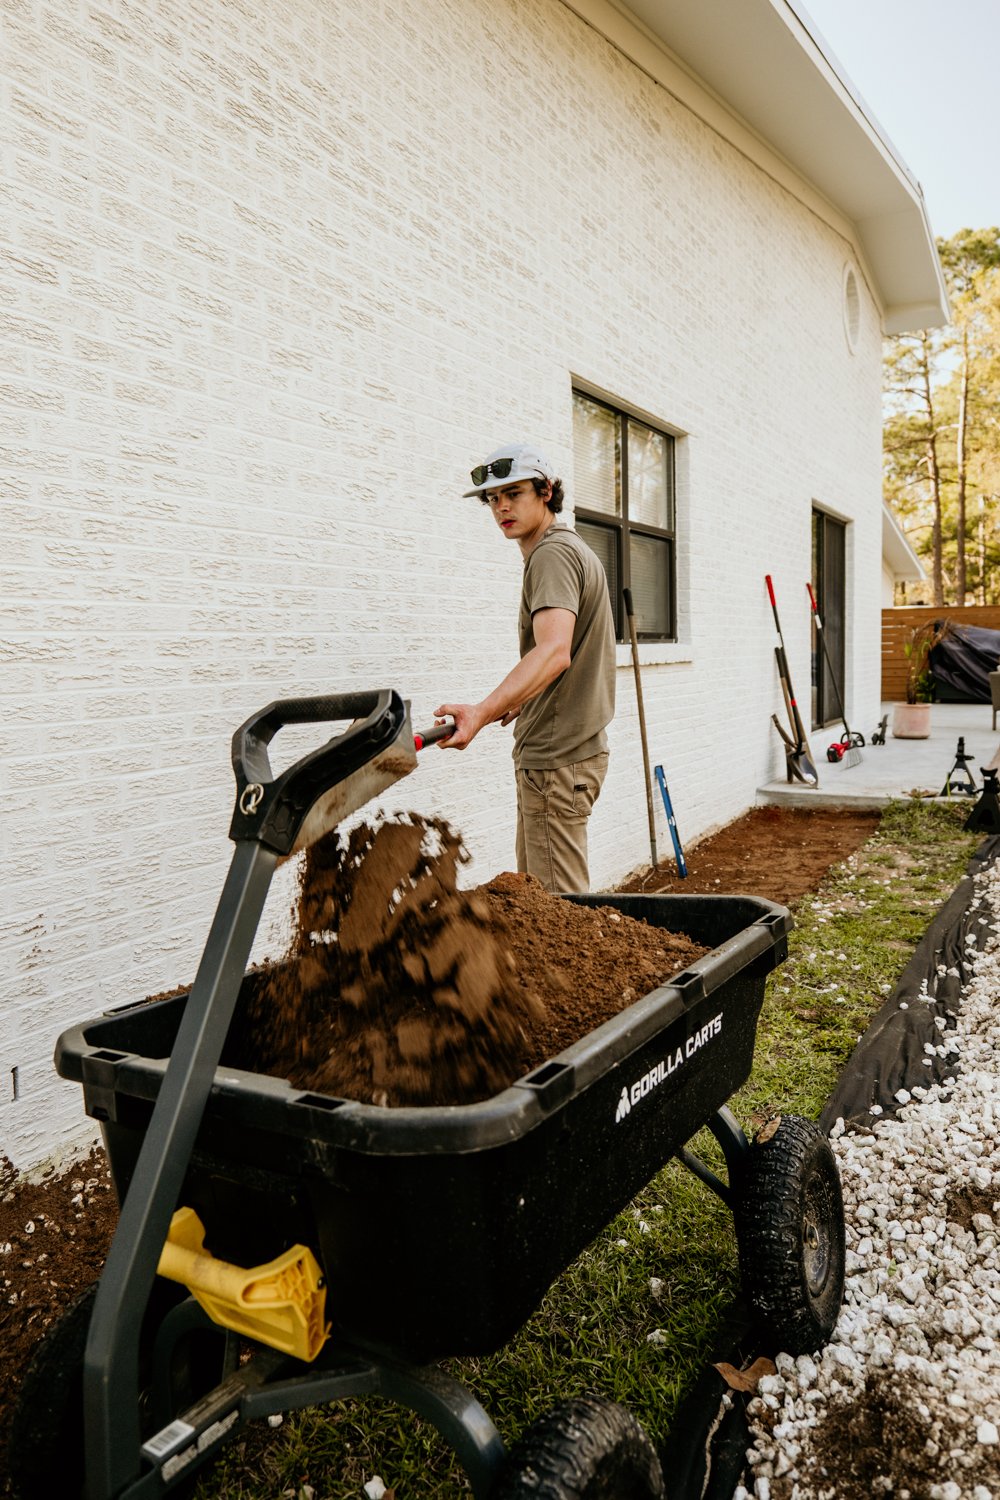
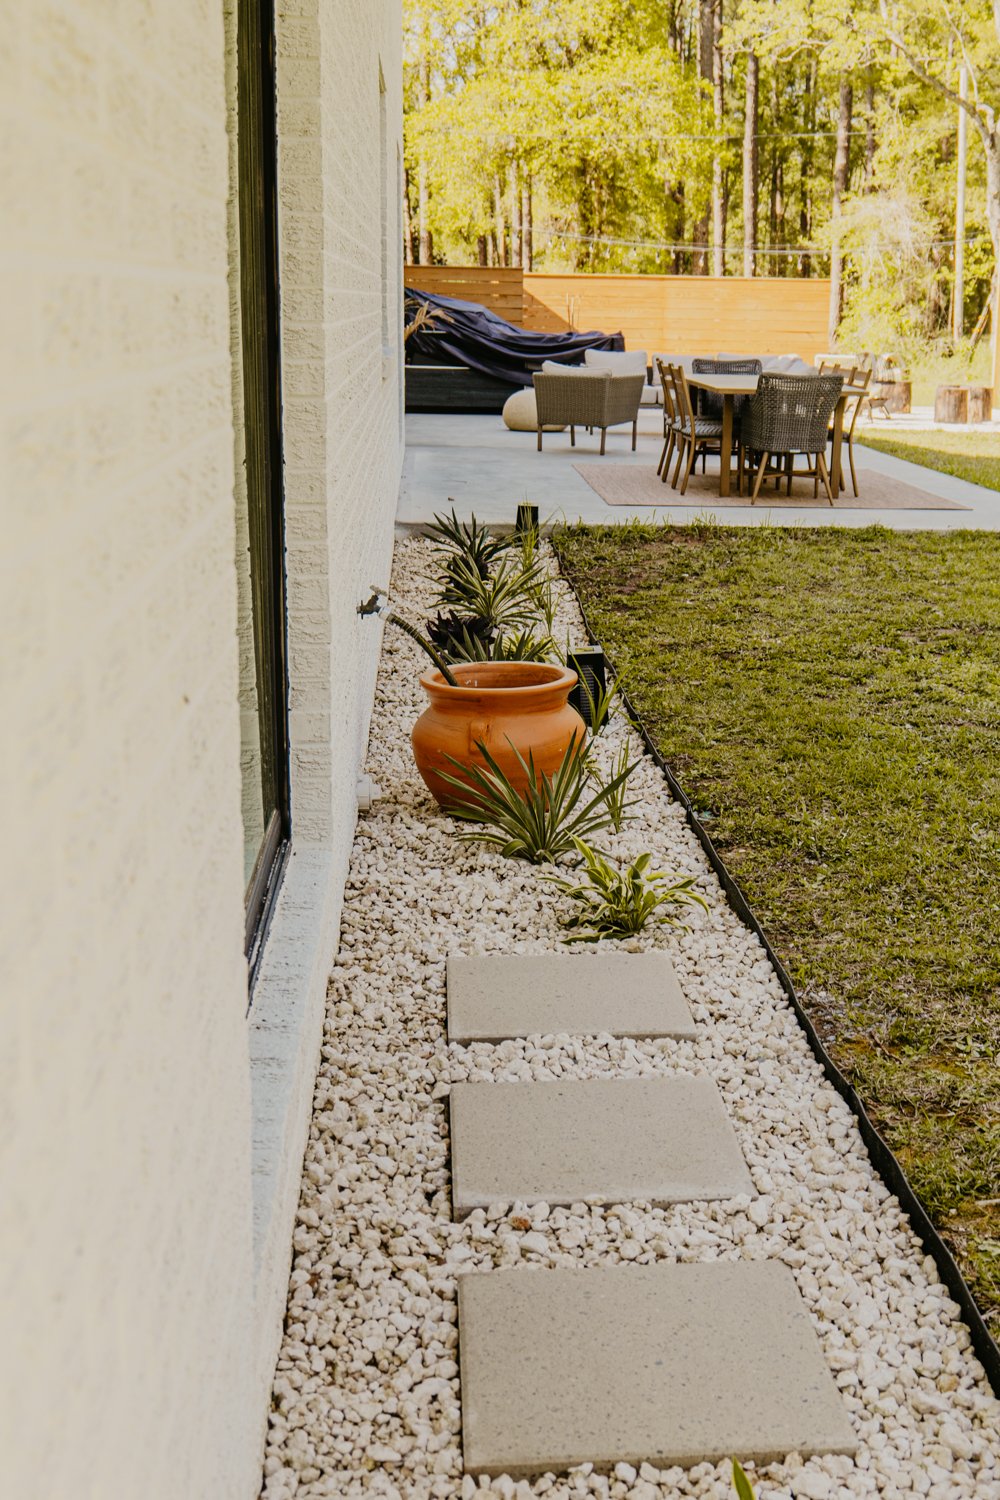
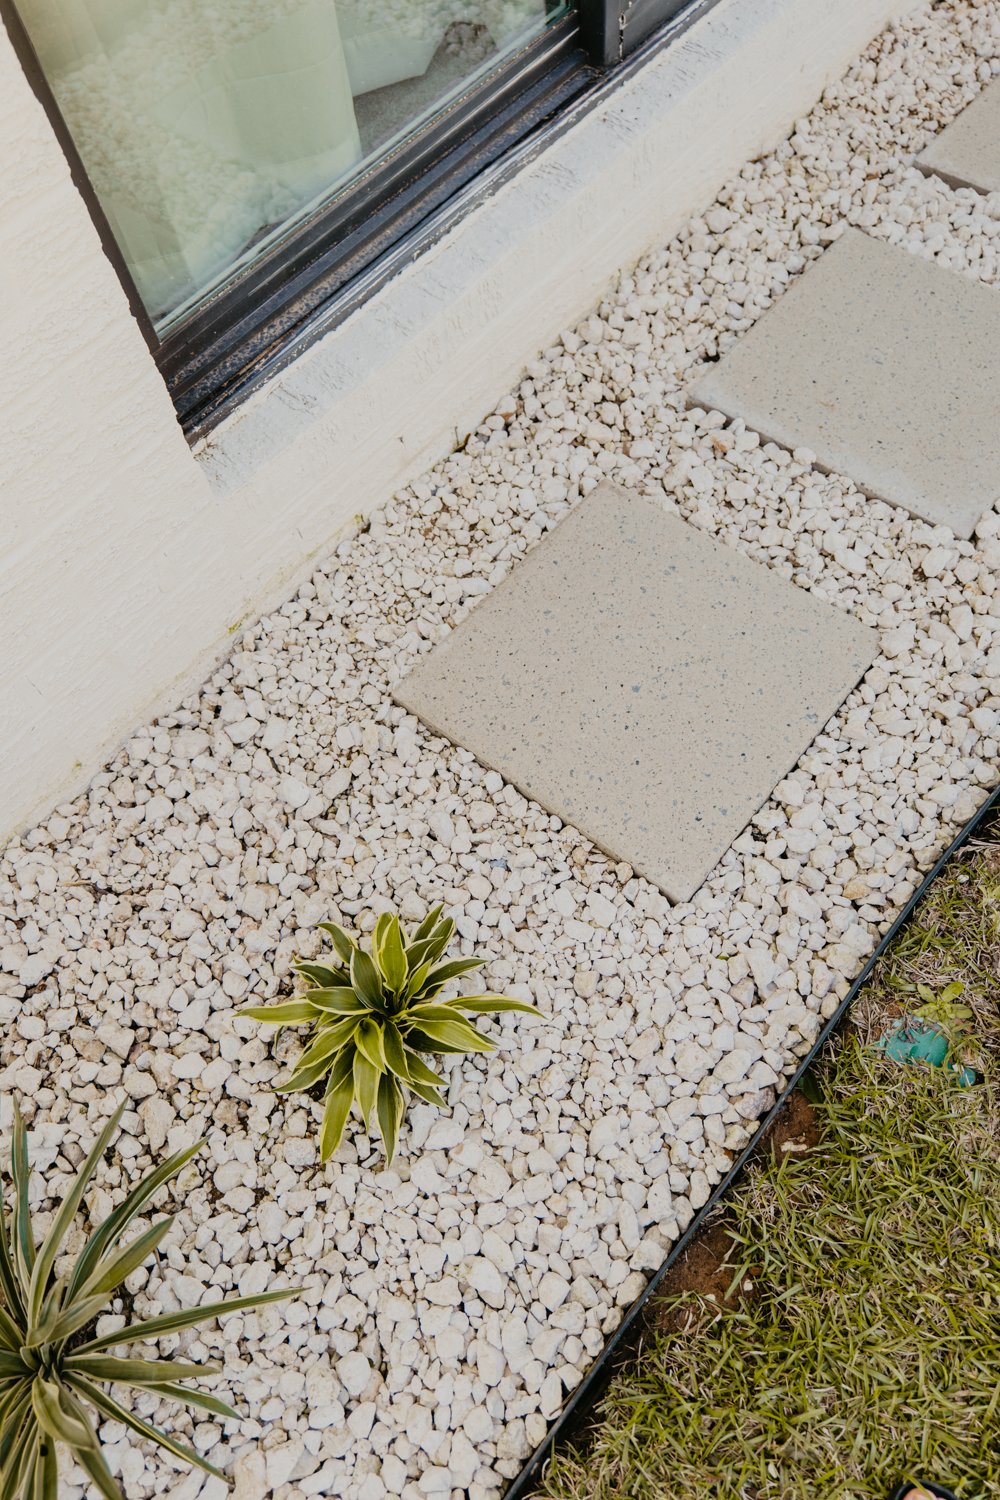
We started this project by removing all the gravel and laying it on some fabric. Then, we could grade the dirt away from the house a bit and install composite landscaping bordering to make the edge straight. If you can get your hands on some plastic weed barrier/landscaping fabric, DO IT. This was our second mistake by using actual fabric and weeds can literally grow right through the kind we bought. I won’t even mention it.

We went to The Home Depot to get all of our supplies. We wanted green plants for sure, but saw the purple queens and had to get those! Here’s everything we got:
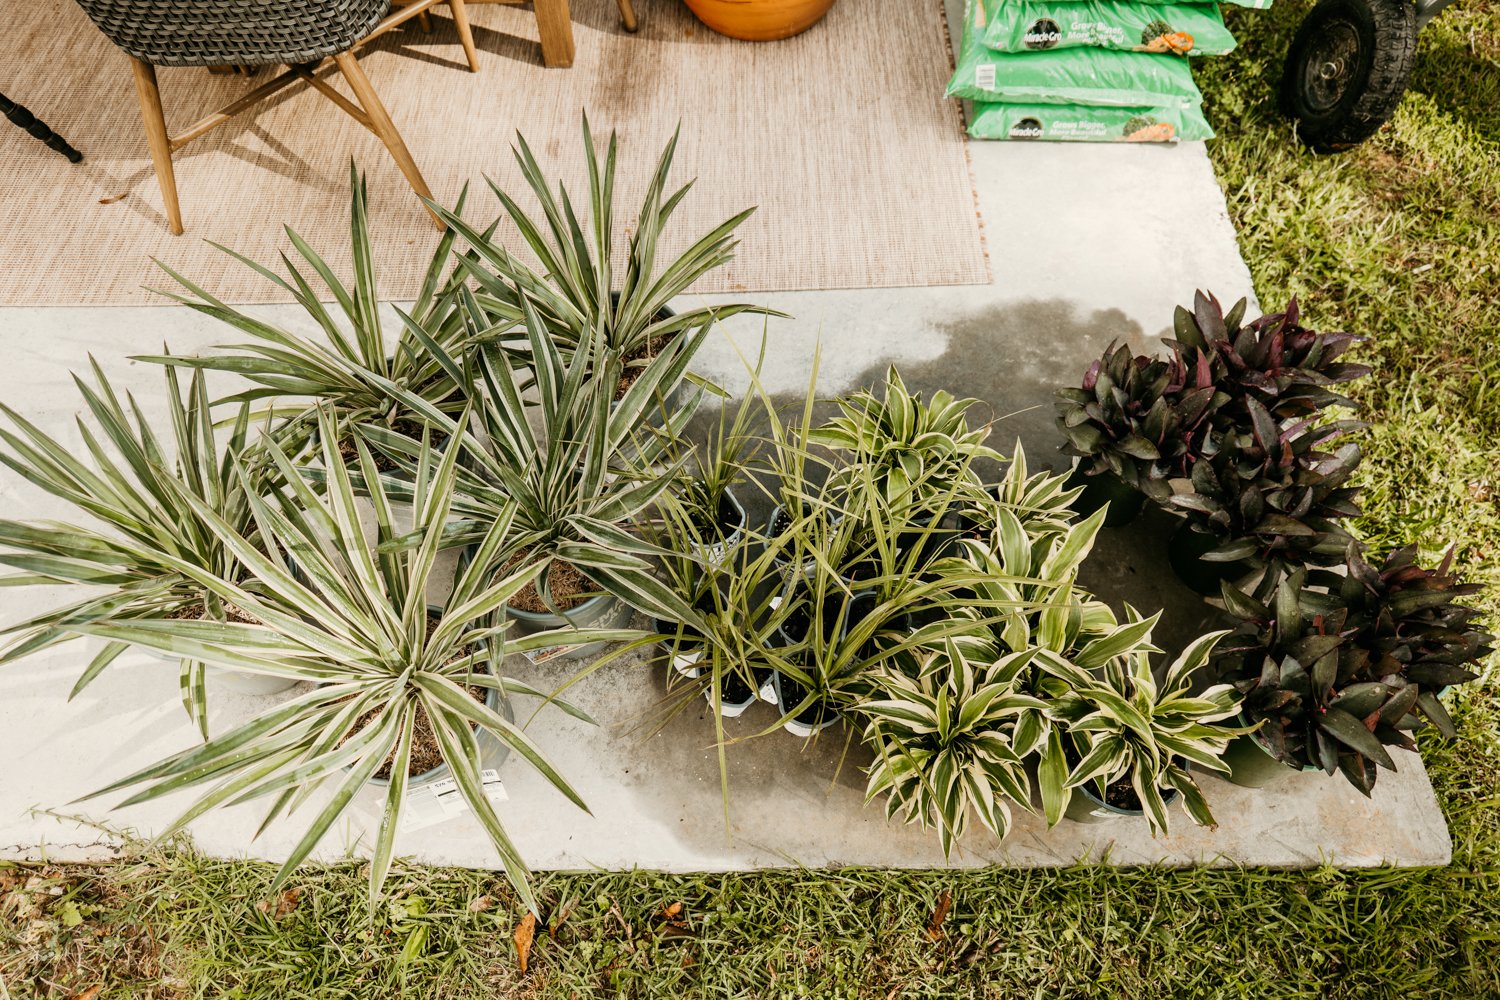
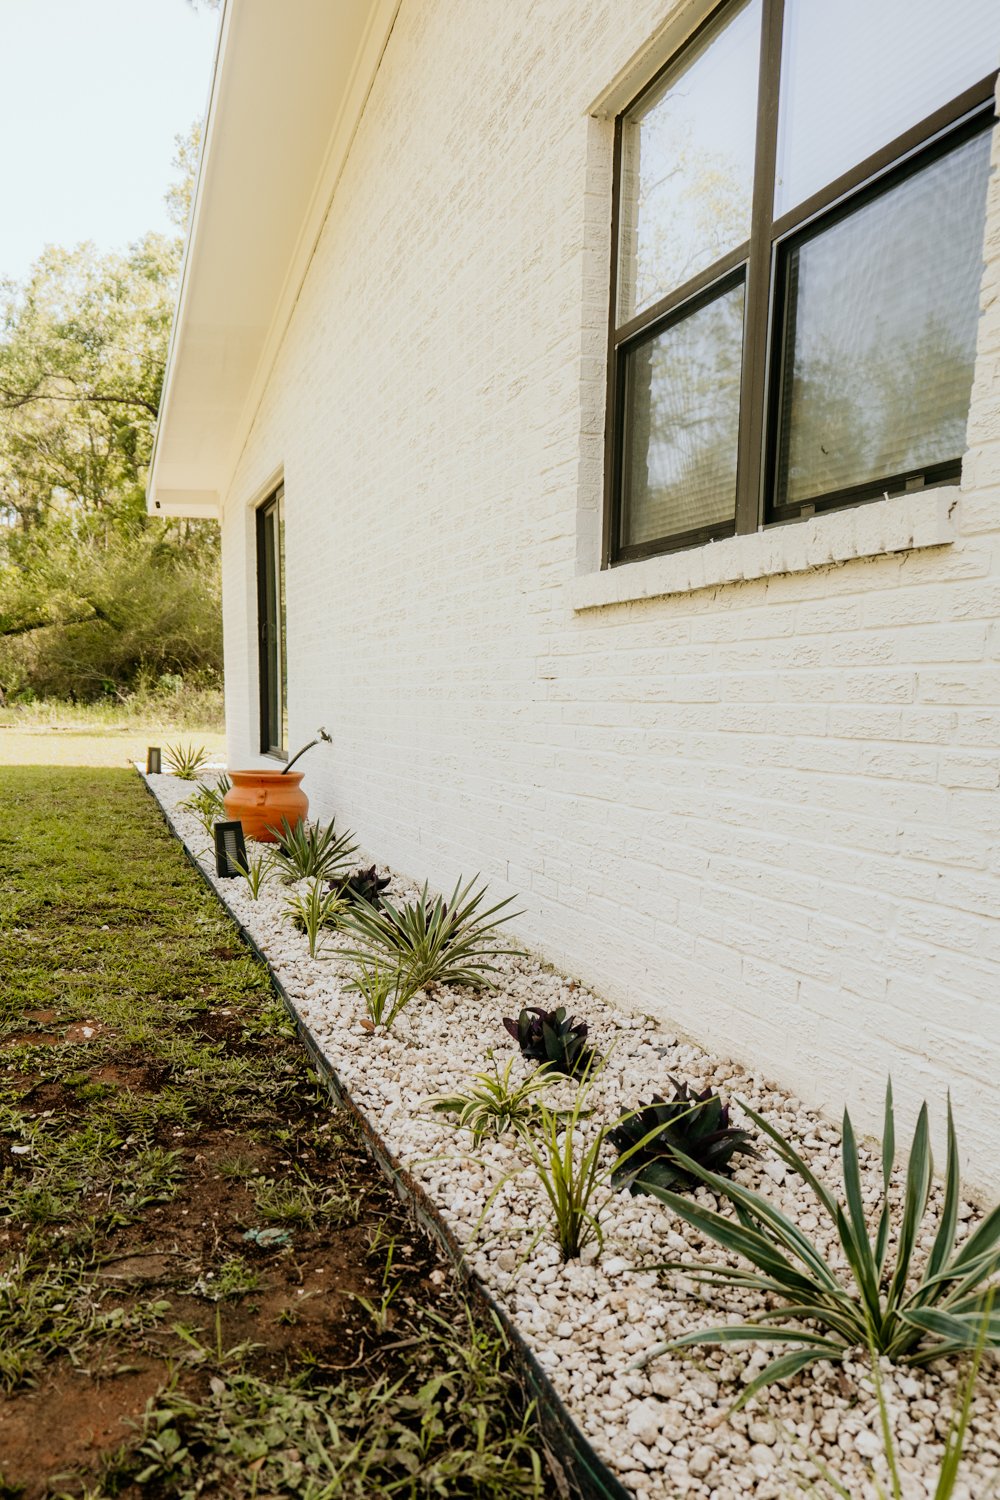
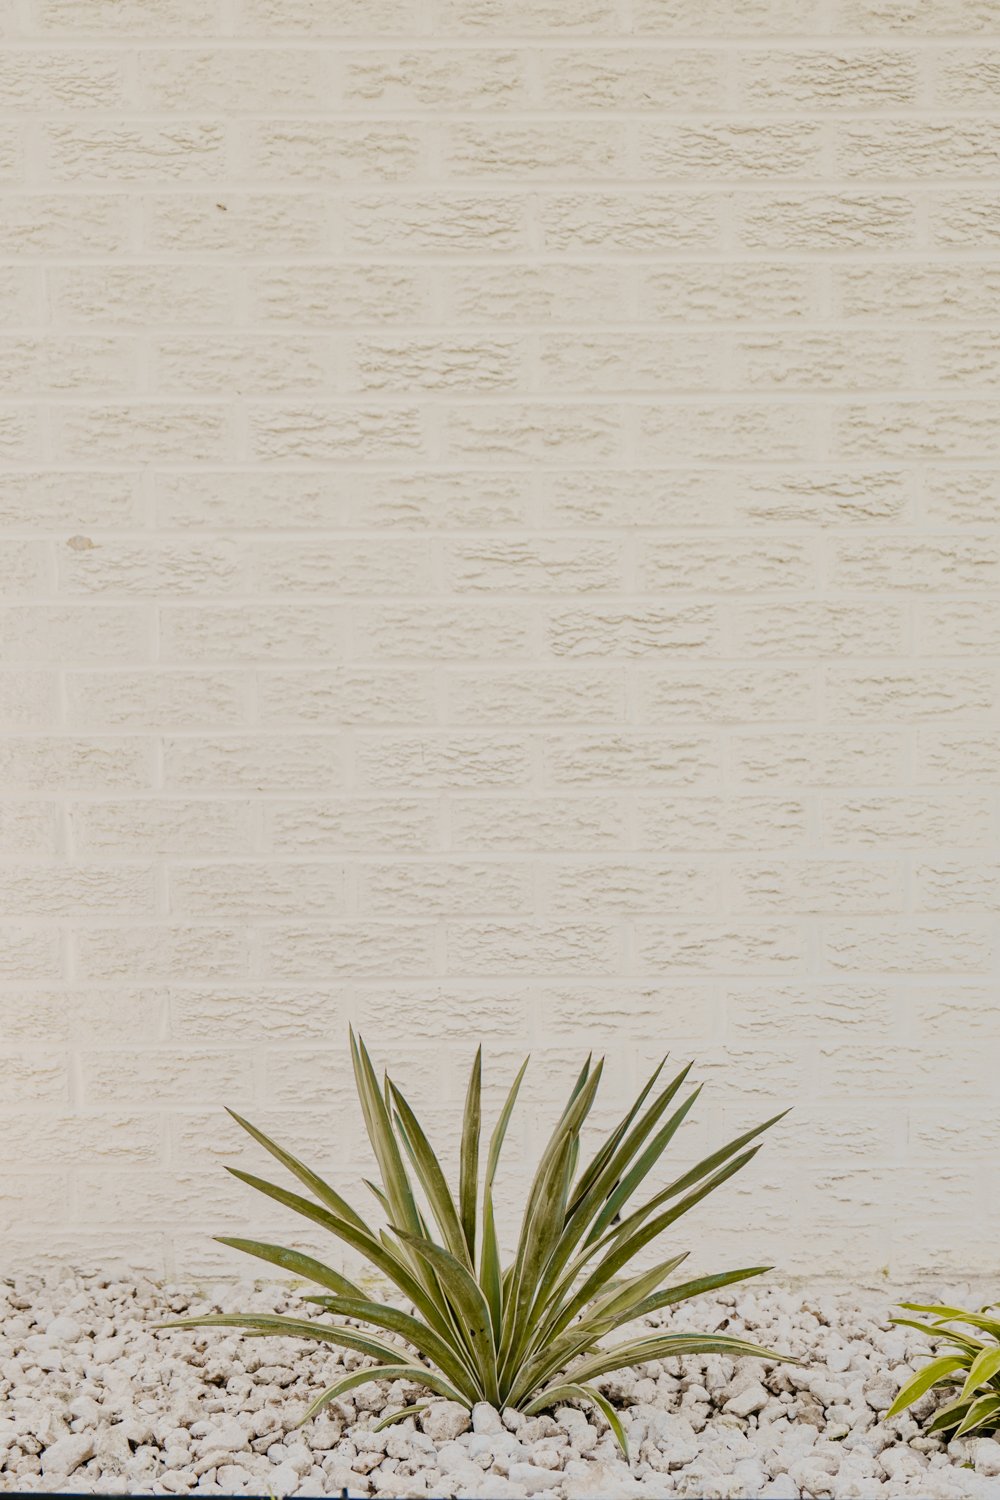
The plants are spikes, purple queens, hostas, and mound lillies.
Composite Edging: https://homedepot.sjv.io/6bR93V
Landscape Fabric: https://homedepot.sjv.io/DVMgYa
Landscape Fabric Pins: https://homedepot.sjv.io/RyDjga
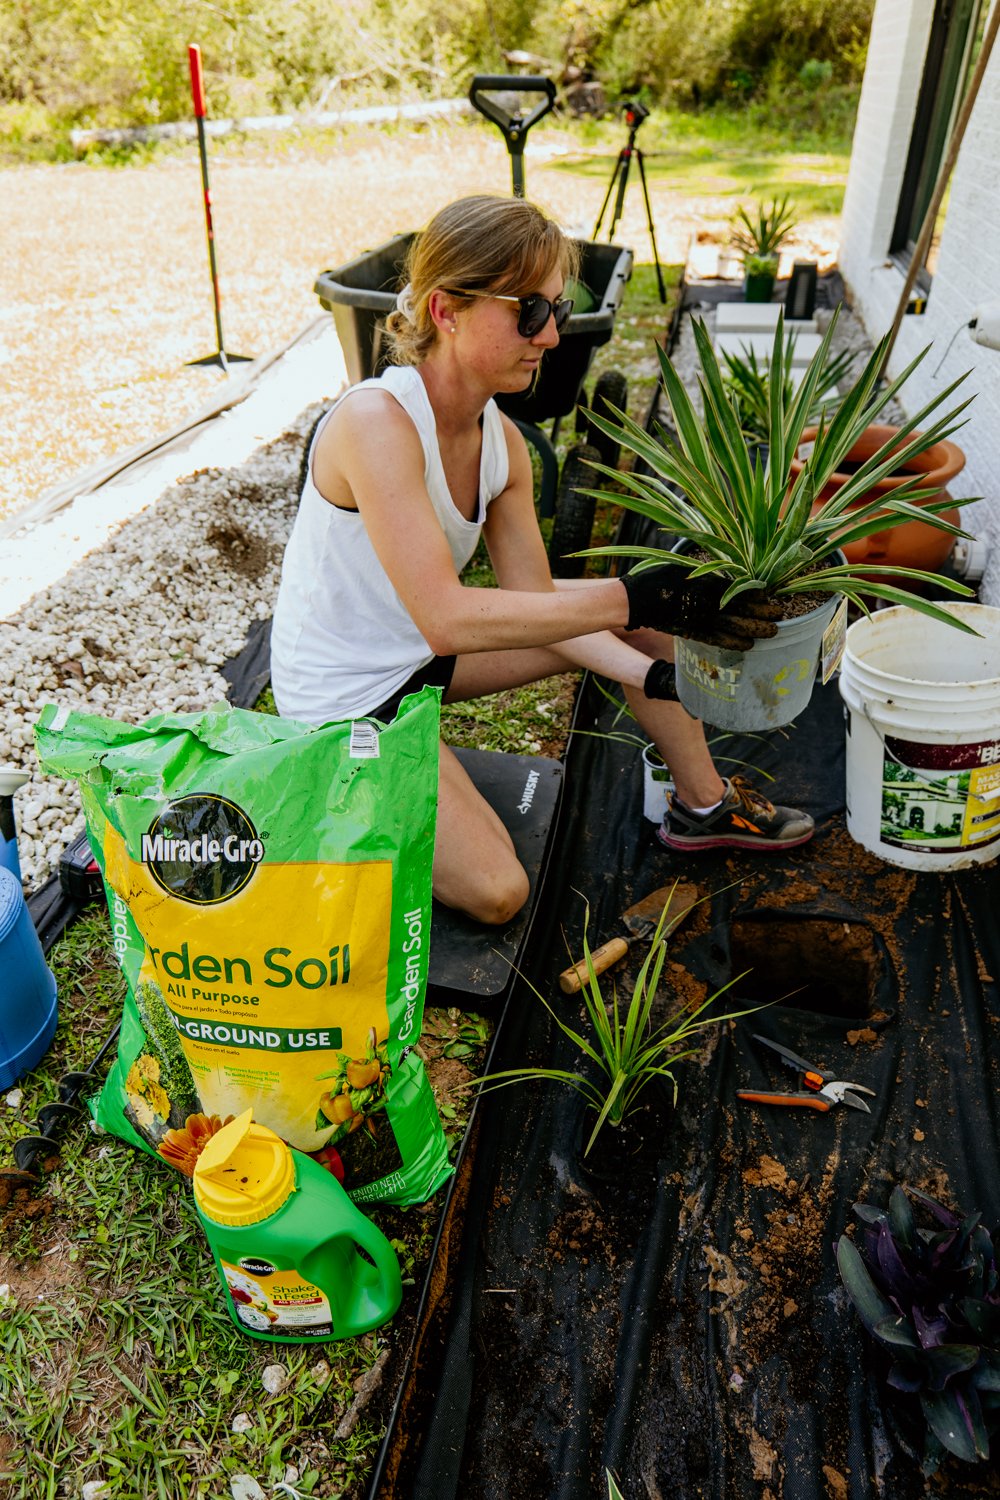
Garden Soil: https://homedepot.sjv.io/NKYD1v
Paver Base: https://homedepot.sjv.io/qnG35j
Lanterns: https://homedepot.sjv.io/a1ZmBW
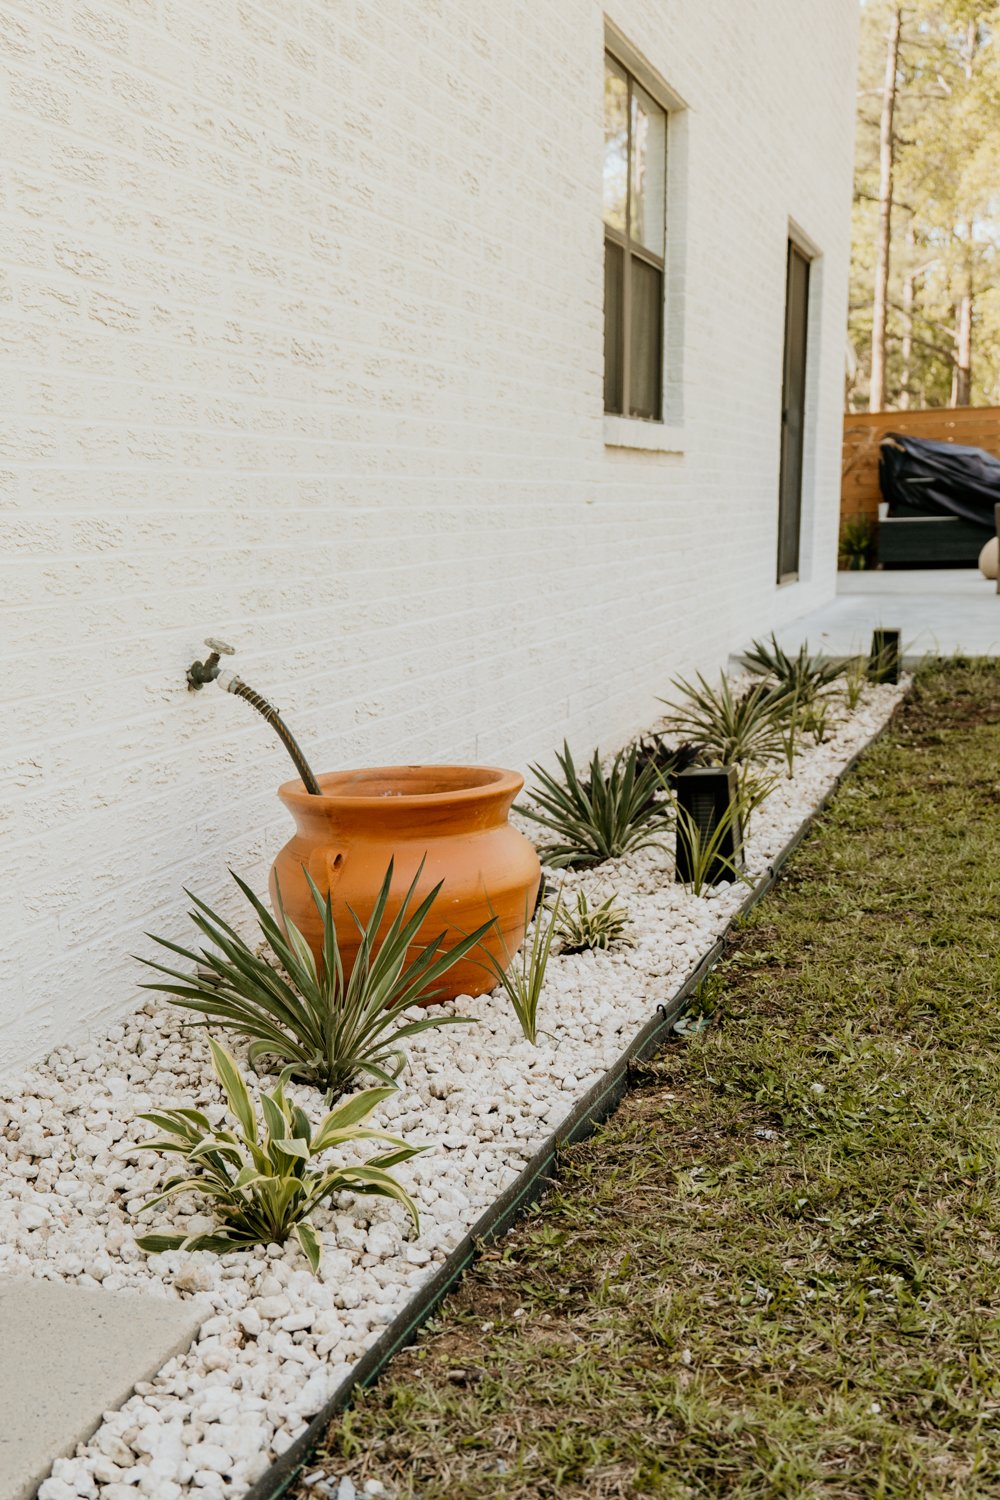
I’ll keep the rest of this post short and sweet, but we did lay all the plants out and measured the distance of each one to keep things spot on. We bought a pot for the hose because none of the hose reels were calling out to me.
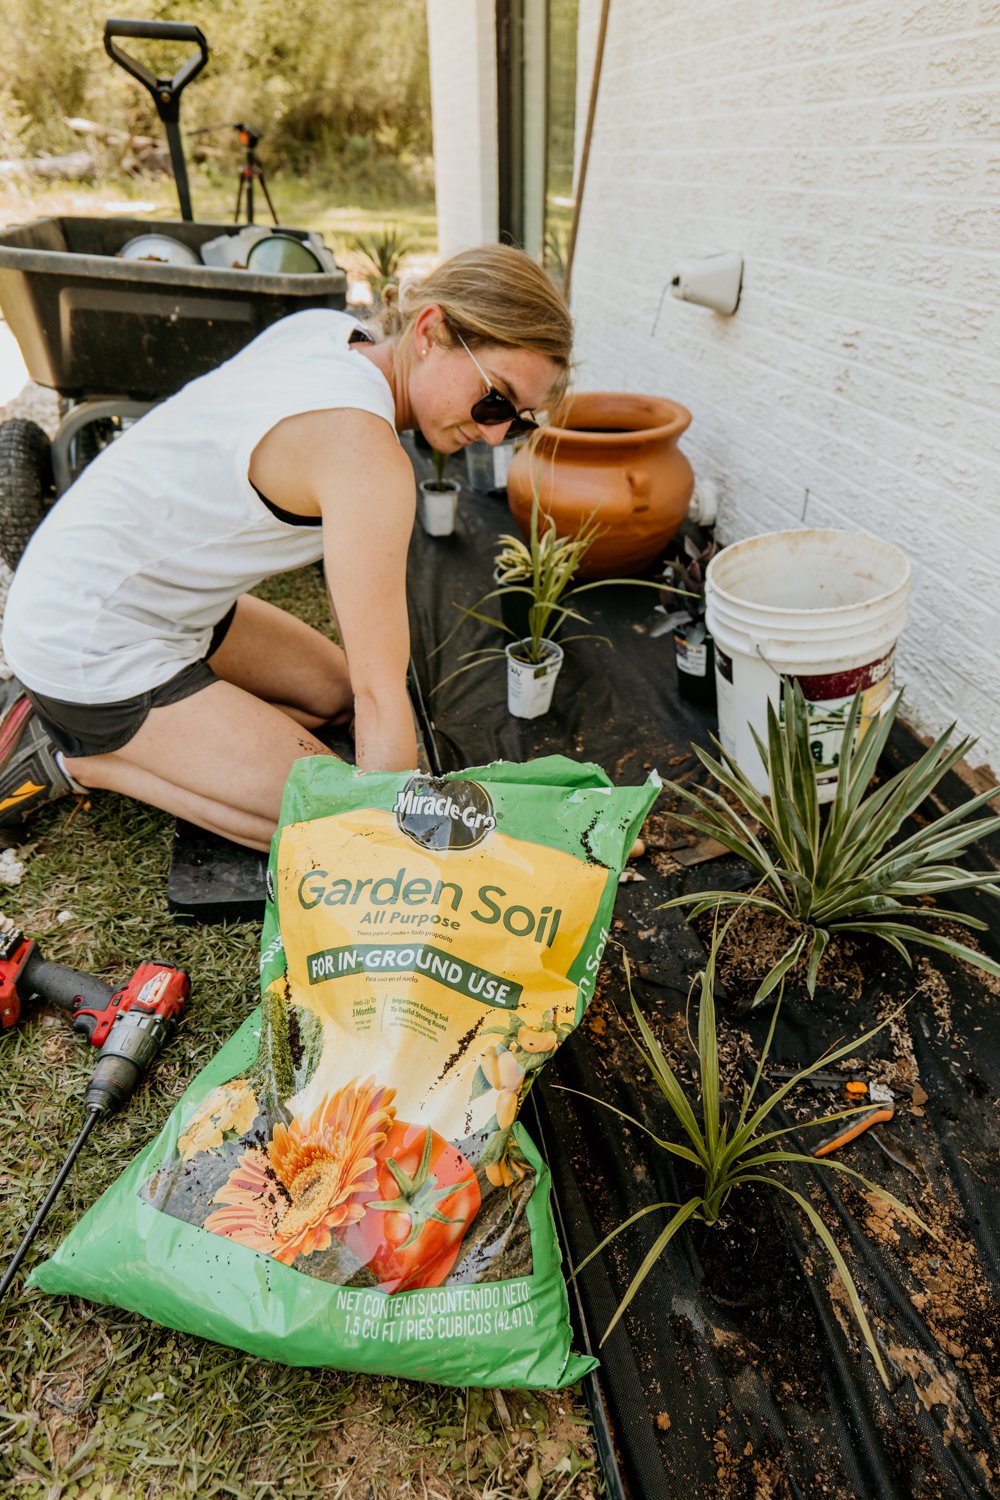
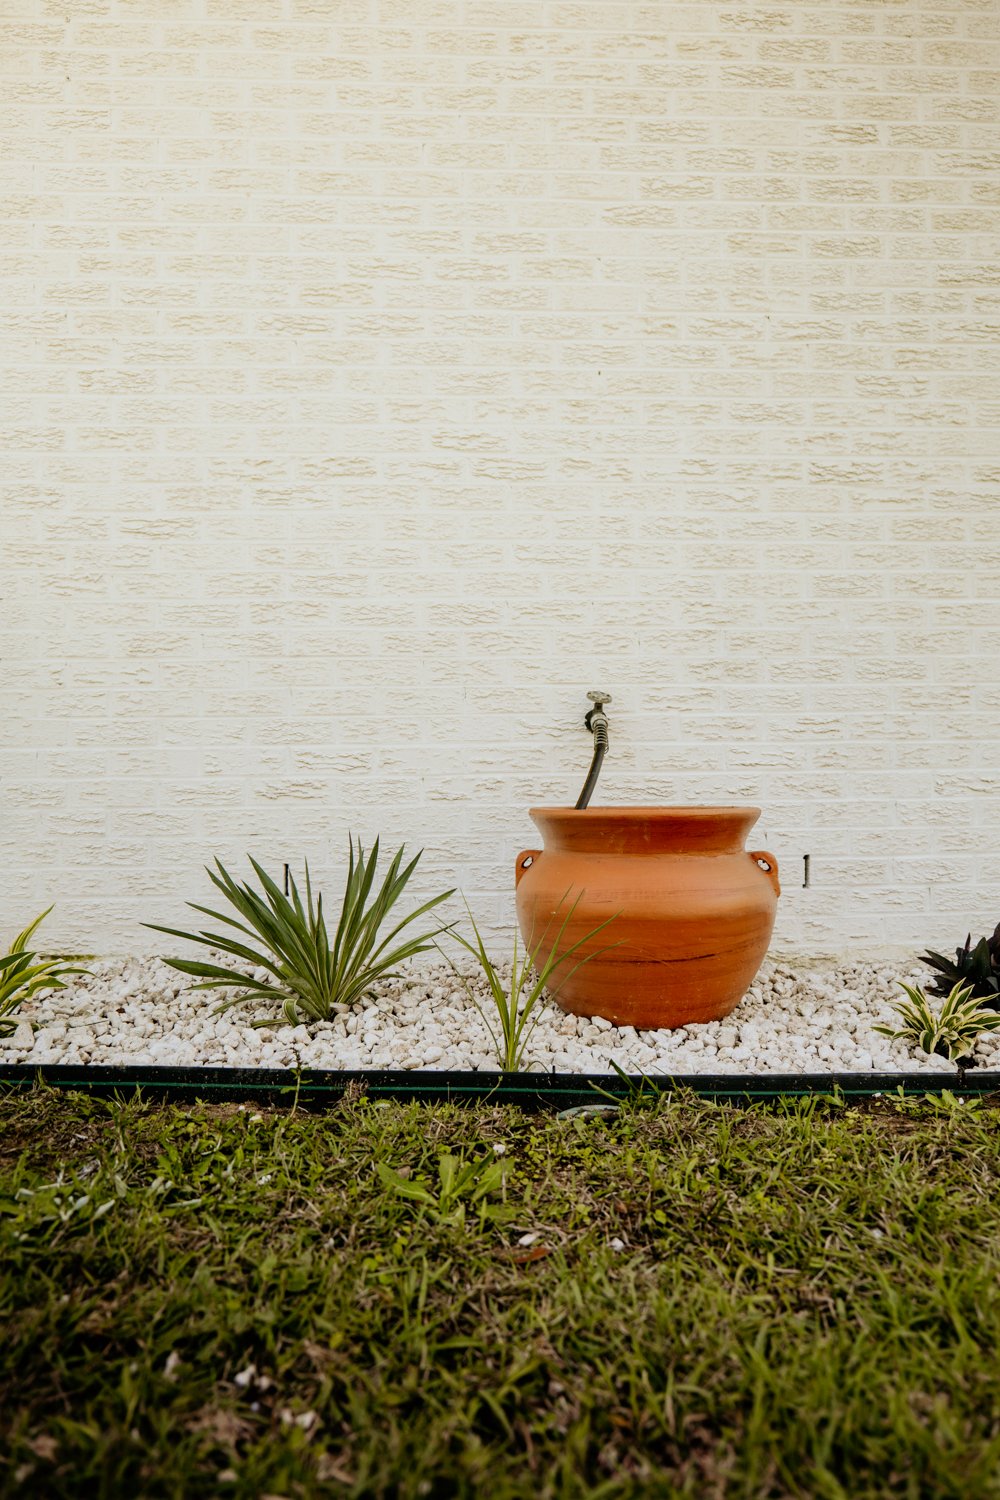
After plants were planted, we could add the gravel back in. This was no easy task. My husband, Dylan, and I kept going back and forth on what to do with the gravel. There was dirt all over them that would just contaminate the new beds with weeds, so we thought we would just rinse them off a shovel at a time. This does not work, don’t even try. The best thing we could’ve done was build a sifter. We, unfortunately, were on a deadline and didn’t go for this and threw all the gravel right back in and let the rain do its work. Here we are several months later and it’s filled with weeds, so I spend my evenings picking them out. BUY THE PLASTIC WEED BARRIER AND BUY NEW GRAVEL OR WASH YOUR CURRENT GRAVEL OFF FIRST. Other than that, we love how this weekend project turned out!