Media Center with Sliding Doors How To!
This post is sponsored by Inventables.

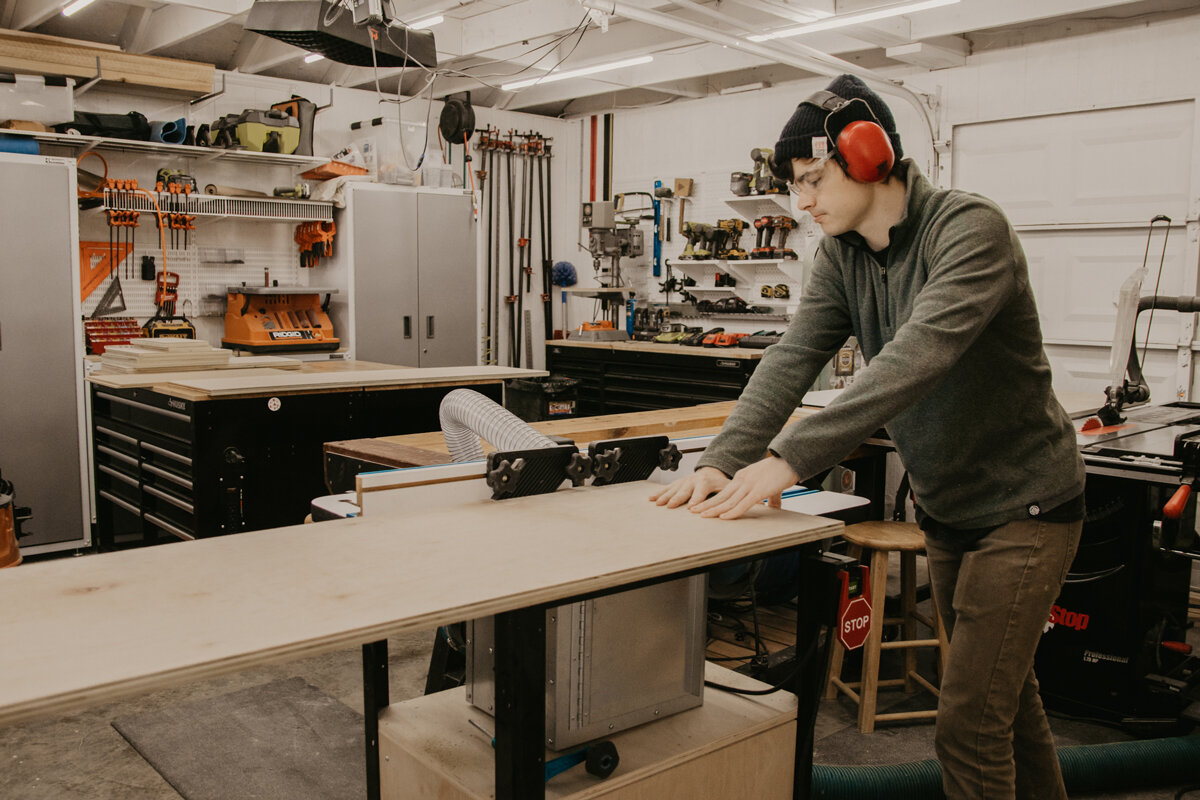
The first thing we are doing is breaking down our materials. We have 2 sheets of 4x8 maple plywood and we are ripping those down to width for the top and bottom of the media center as well as the sides, center divider and shelves. We do have a set of plans for this project available with all the measurements and how to assemble here!

Next, we can start cutting these pieces to length with the combination of the miter saw and the table saw. If you don’t have either one of these, a circular saw will work just fine.


We also have (2) 2’x4’ 1/4” MDF panels that we are going to cut down for the doors. We will set those aside for right now until we are ready for them.
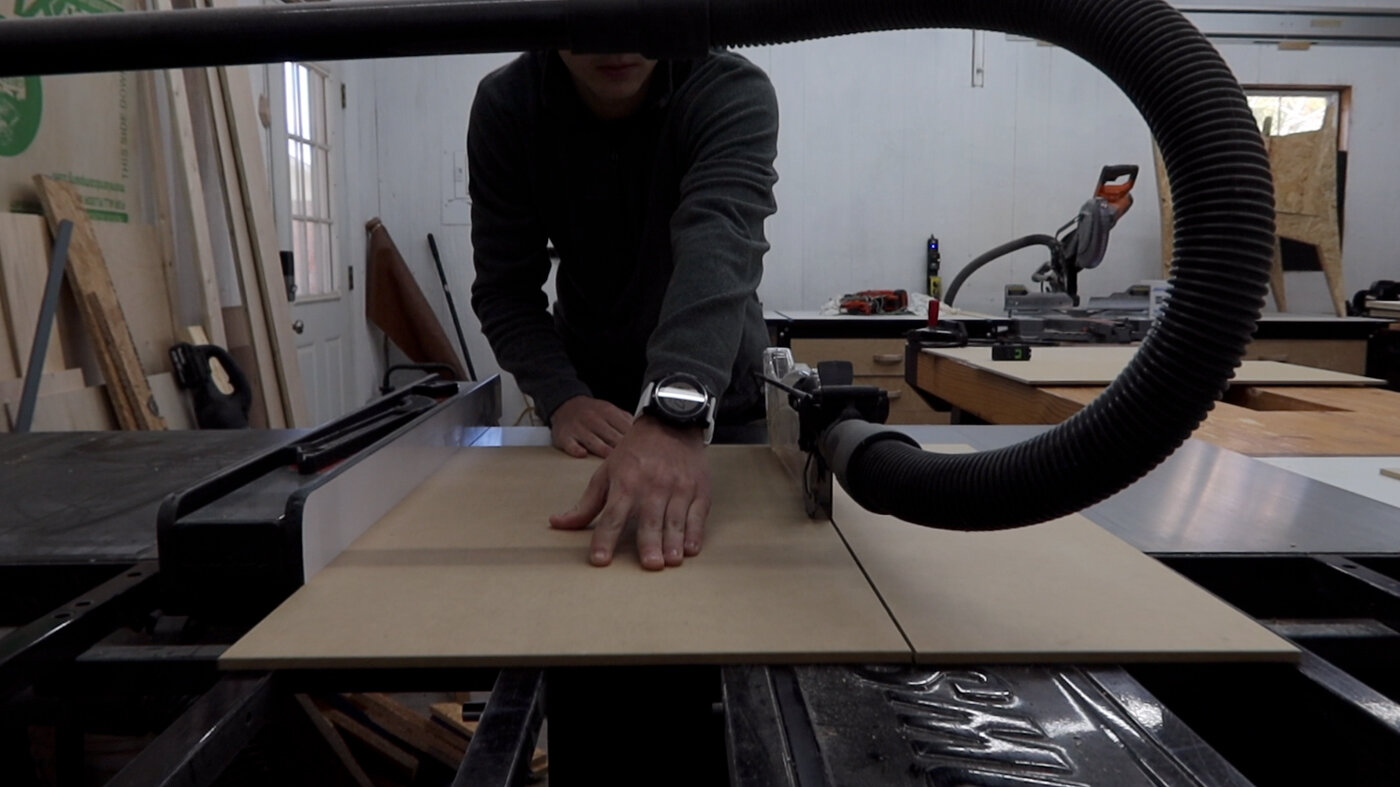
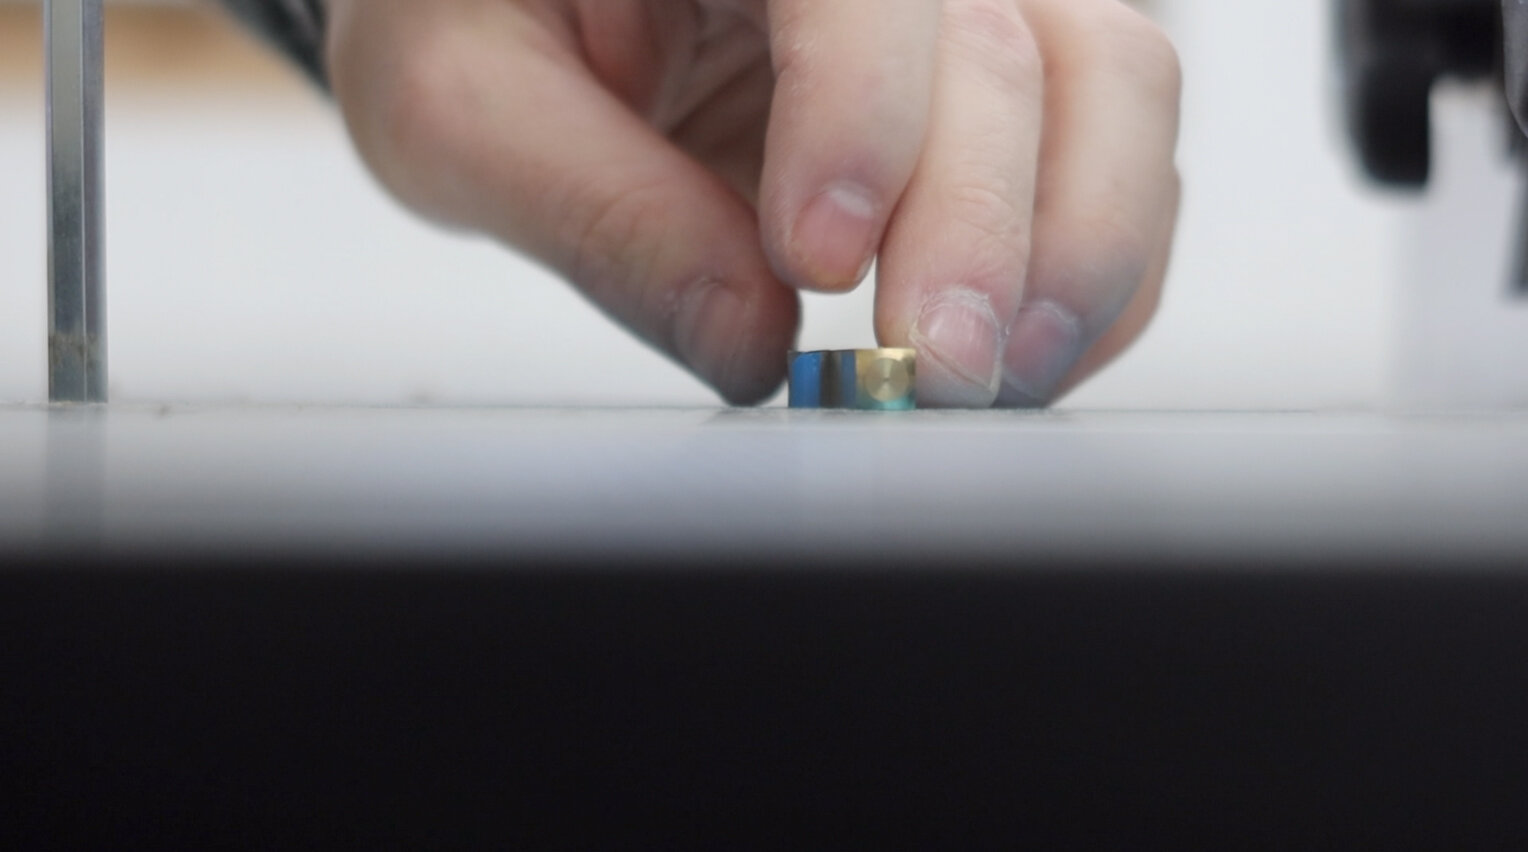
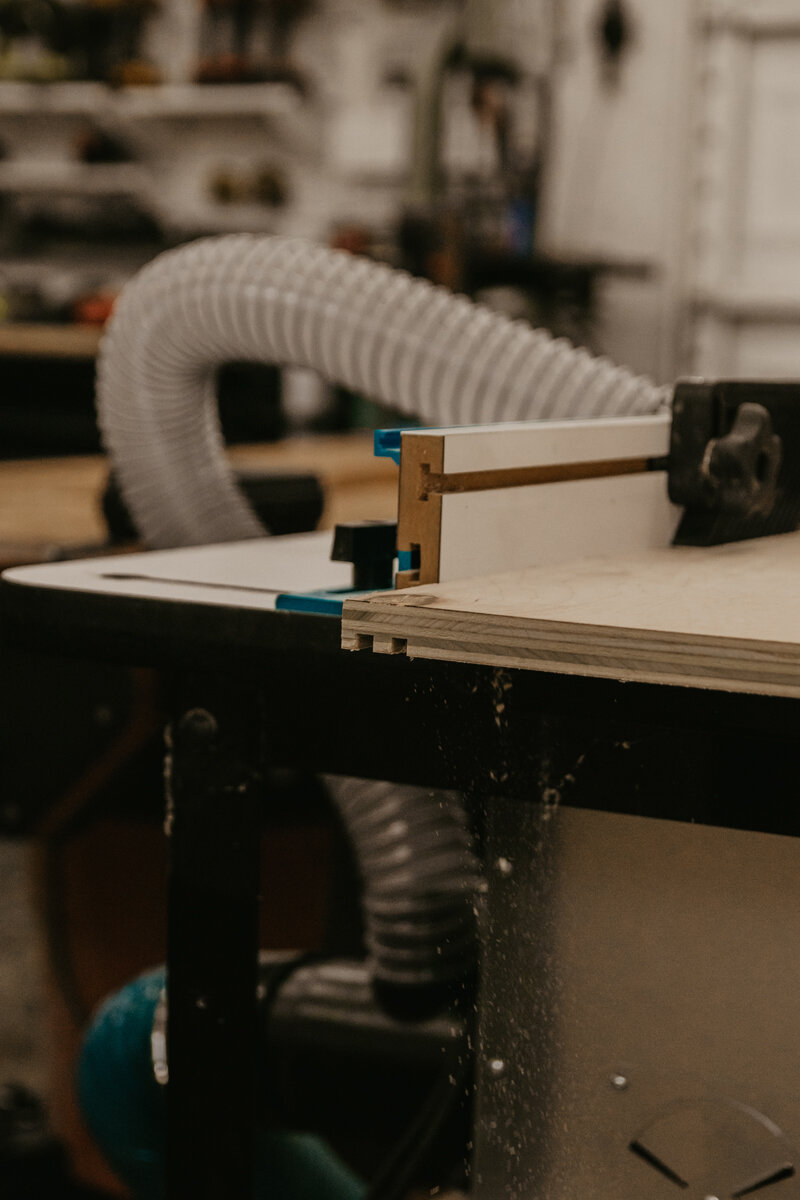
Moving over to the router table, we are going to router out 2 groves for the doors to slide in and pass each other. Pretty much like those mid-century type pieces. We used a 1/4” spacer block to get the router bit to the height and the fence the right distance. The first grove is a 1/4” in from the edge. Then, we moved the fence backwards, I mean just a hair back, to take off a little more so the MDF doors can run smoothly inside. Now, we can move on and make the second pass to create the second groove by moving the fence back another 1/4” and repeating the same process.
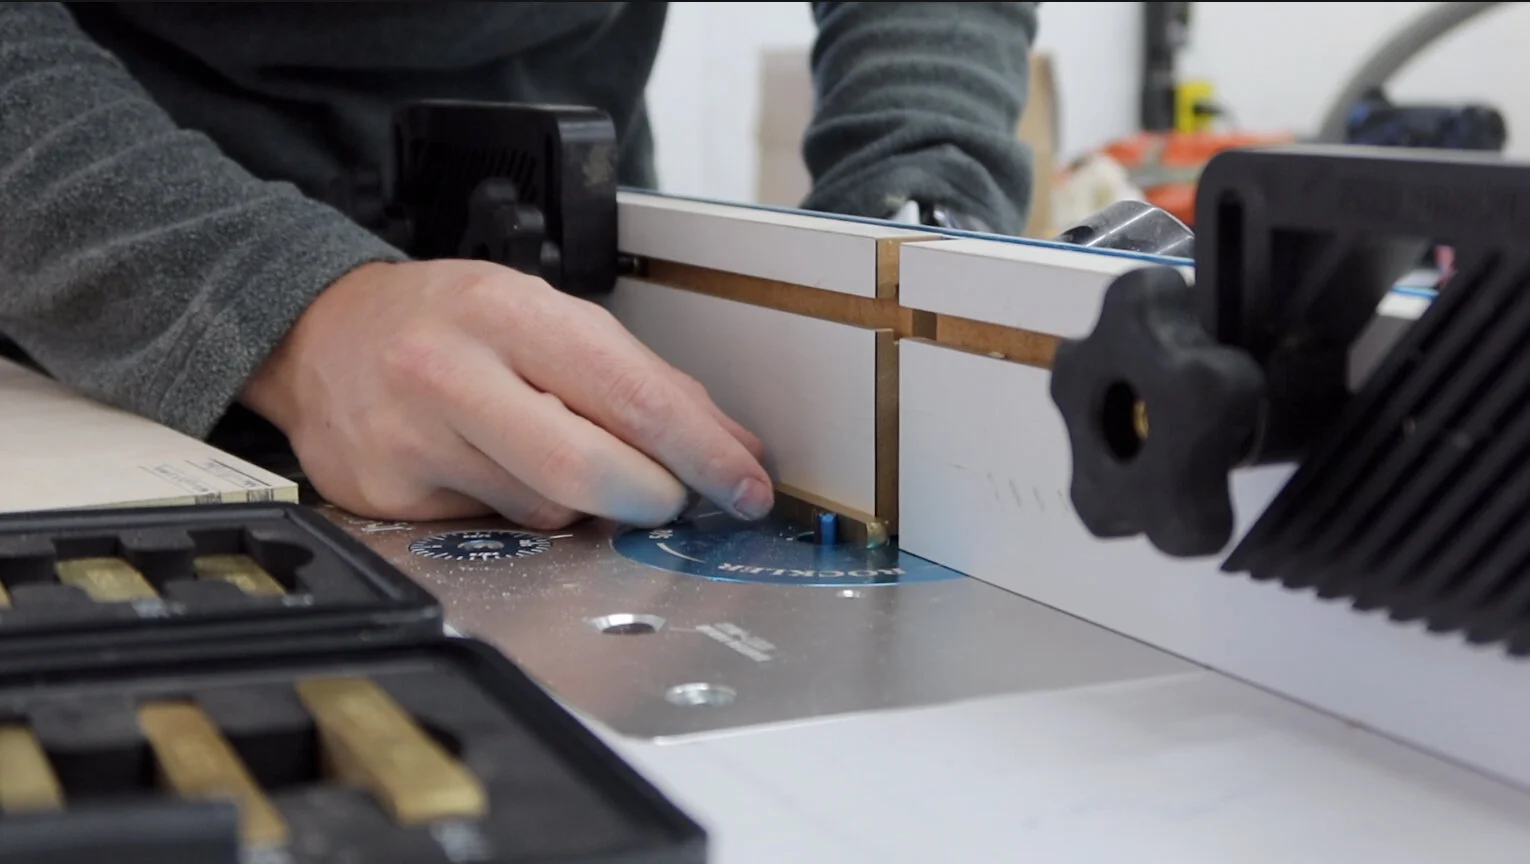
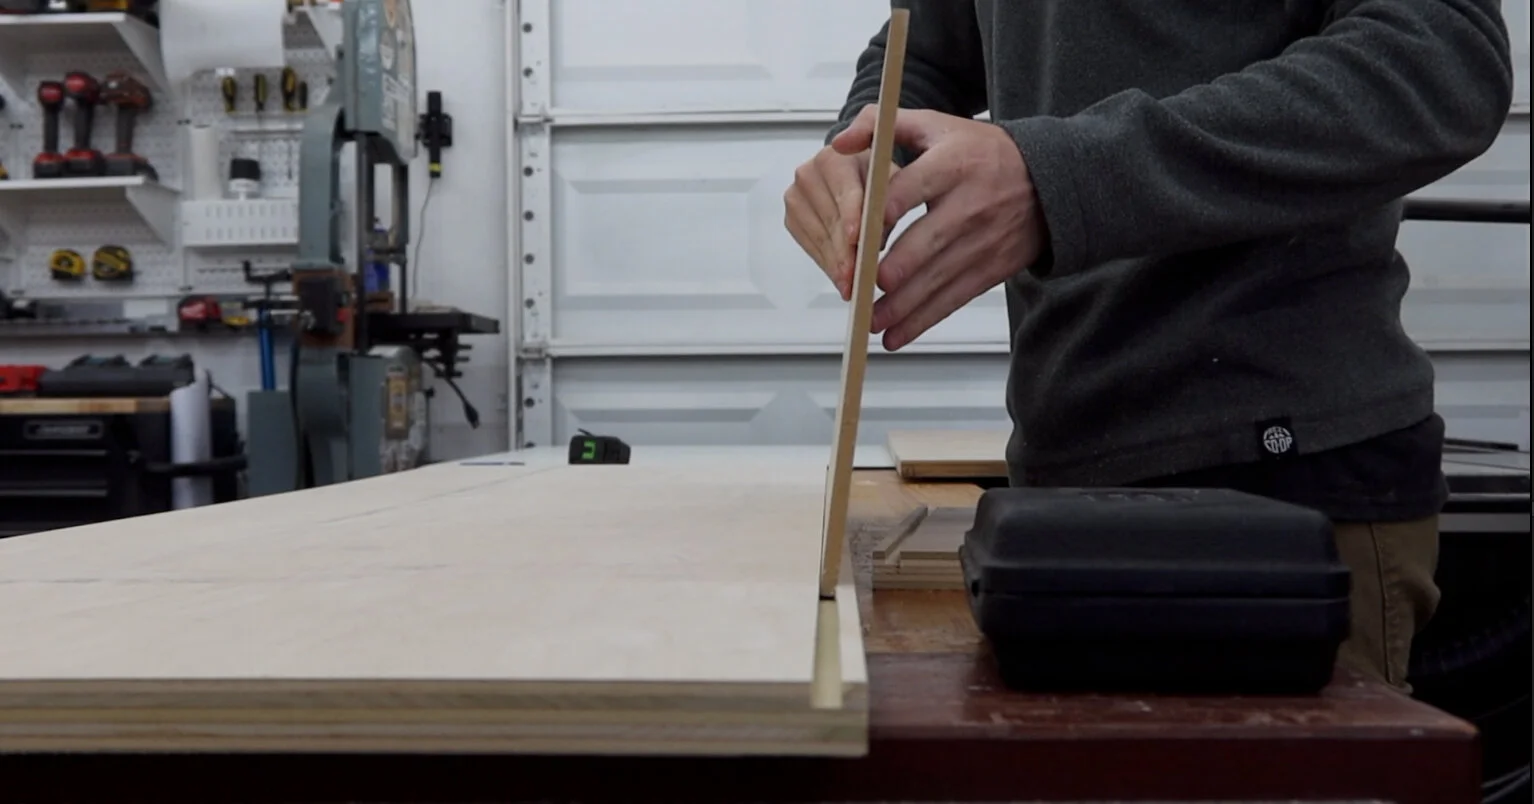
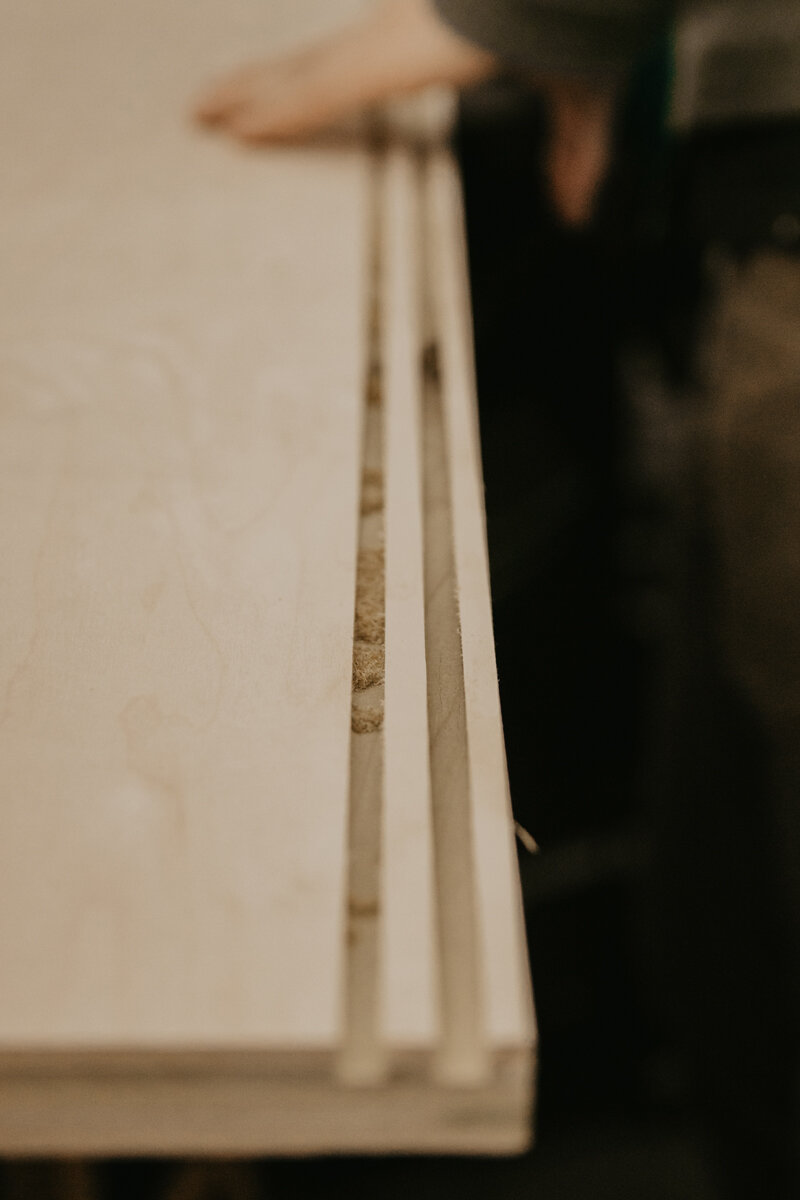
For the top piece of plywood, we need to router the groove just in the inside and not go all the across. When the top goes on the cabinet, all the edges are exposed, so we need to conceal the ends of the groove. These grooves are also deeper than the bottom ones, and that is so the doors are able to be taken in and out.

Next, we need to make some legs. We are using a select pine 2x2 board and cutting 4 of the same length pieces and 1 smaller support piece to go in the middle of the media center.

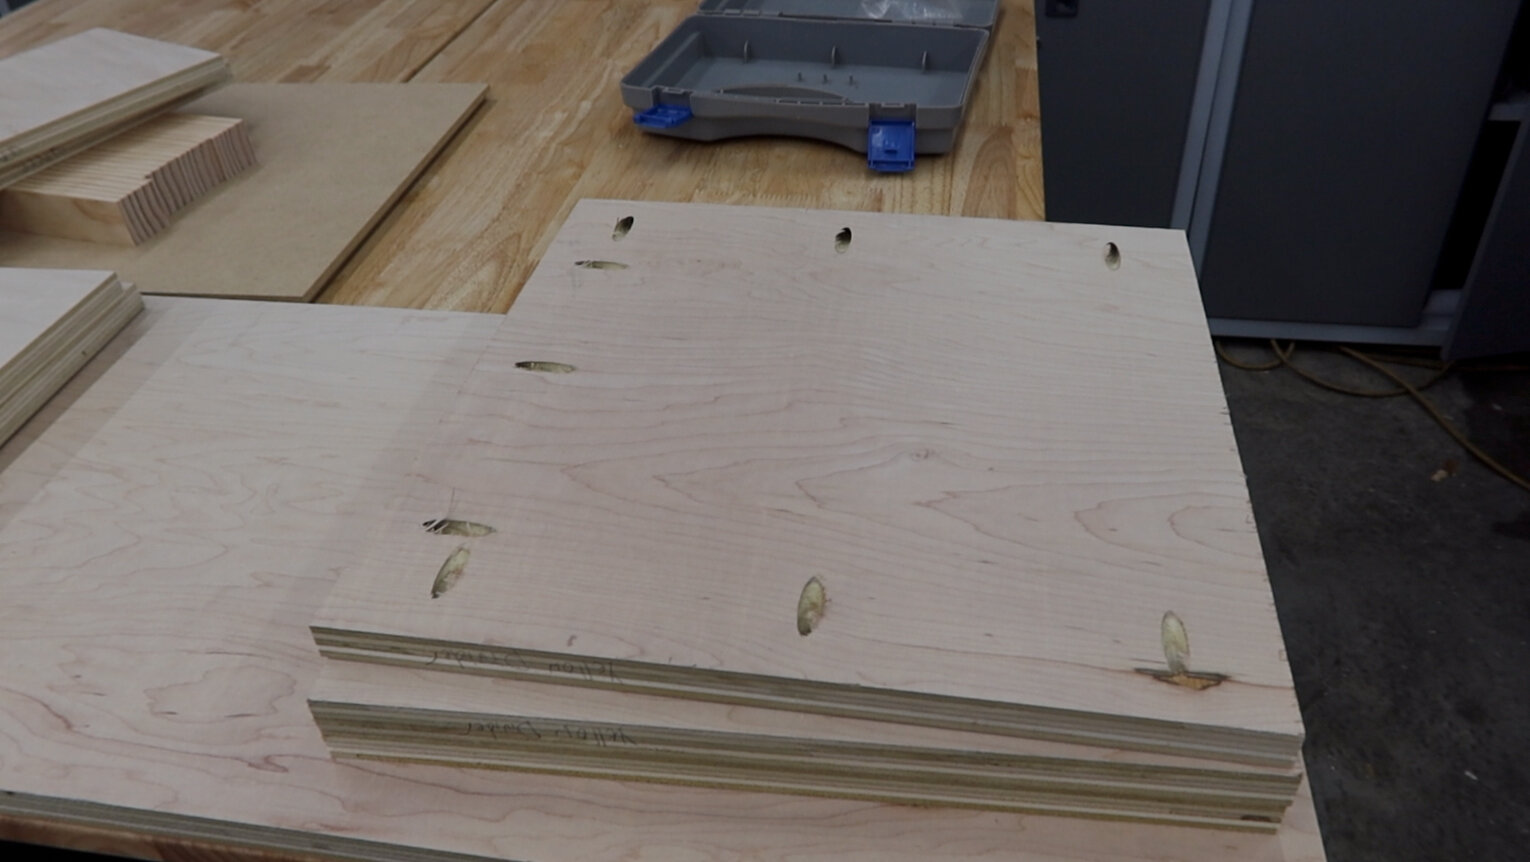
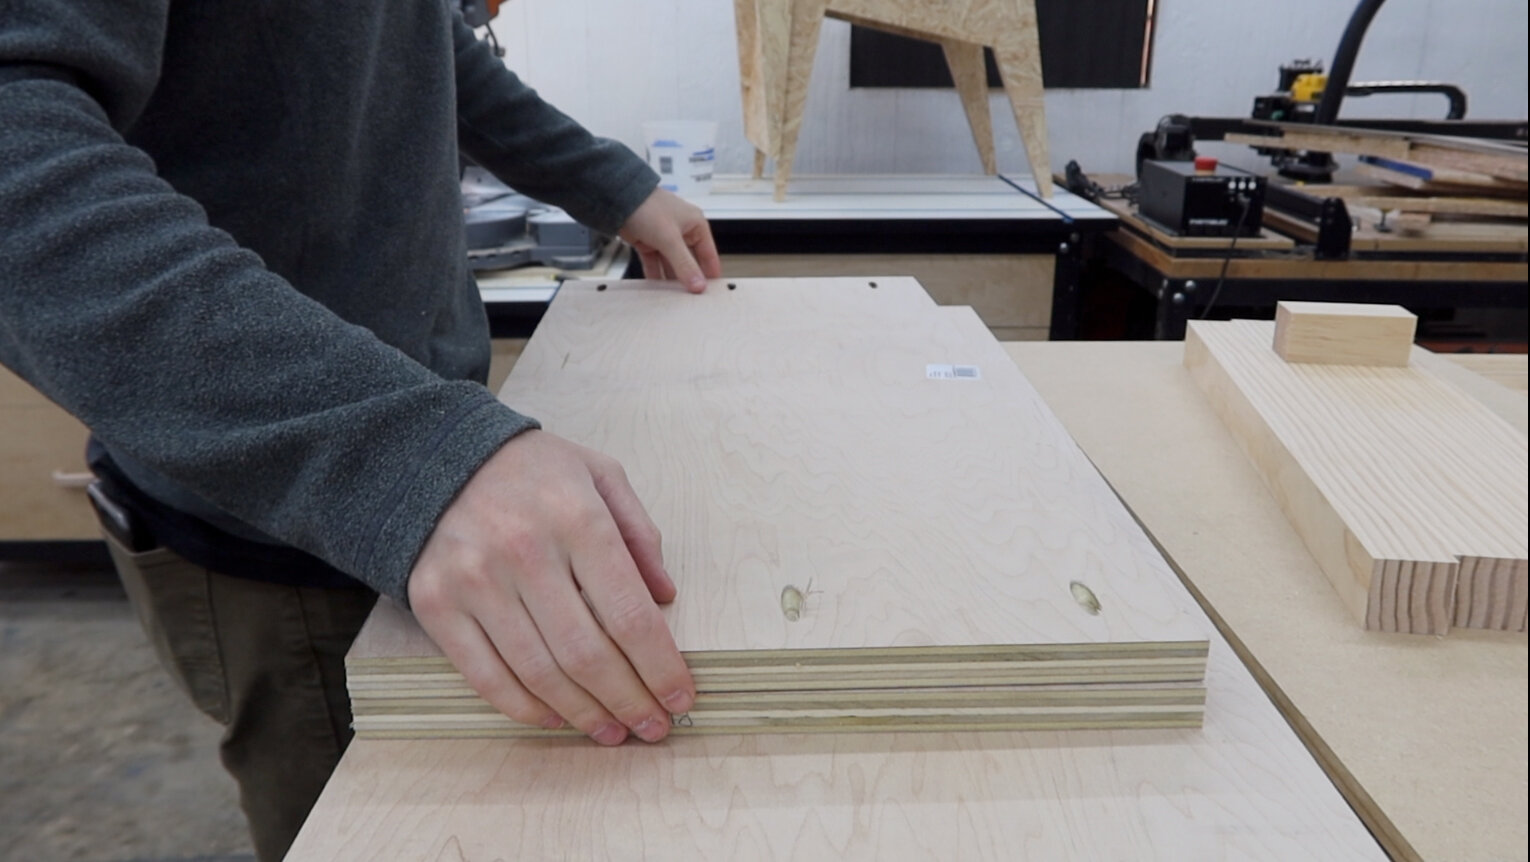
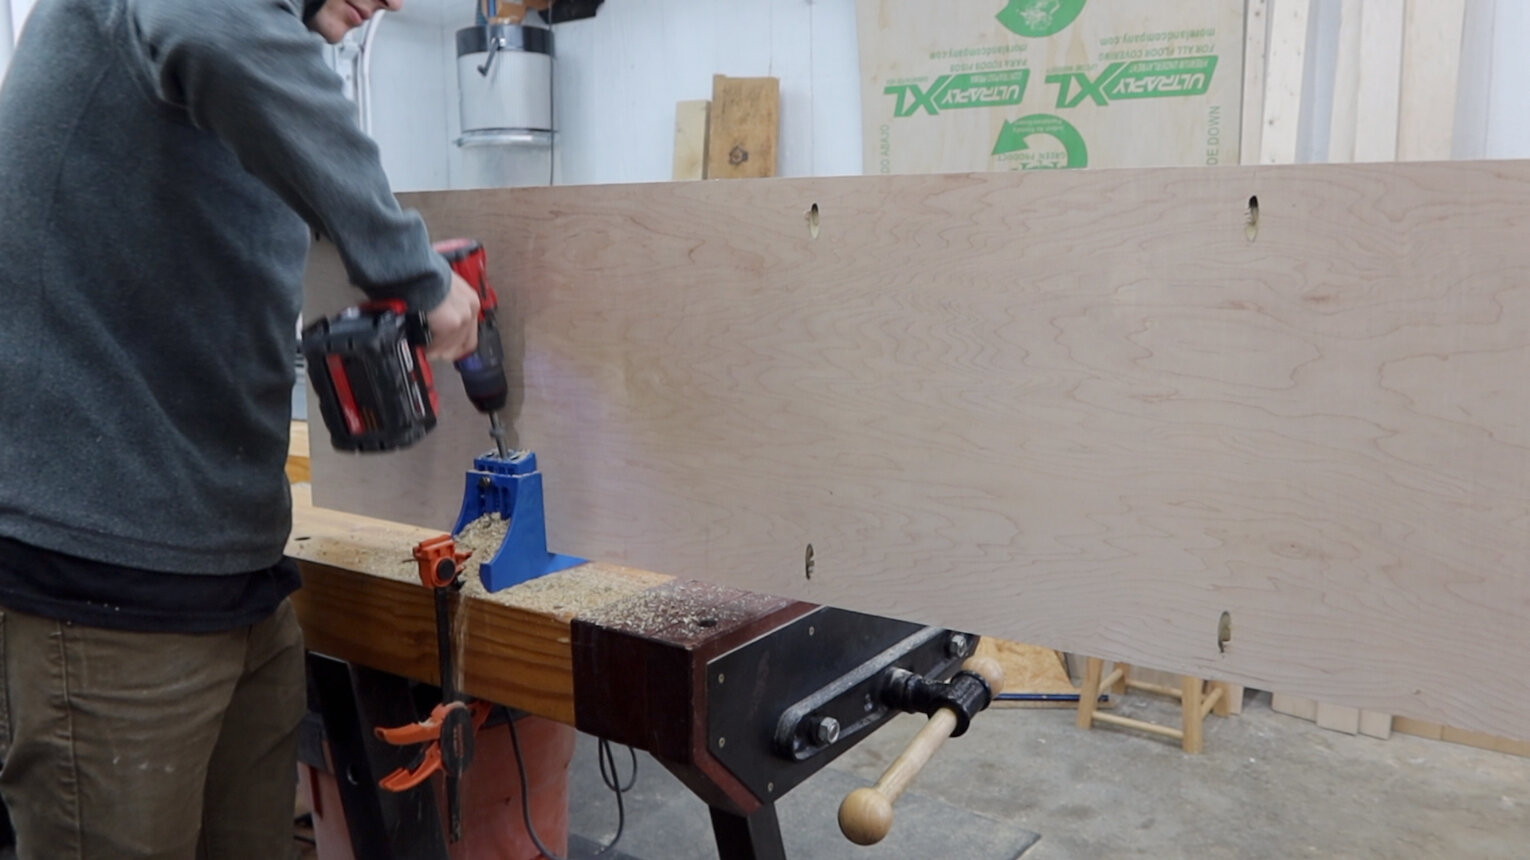
The sheet pieces need some pocket holes drilled before we can assemble. The side pieces and center divider get pocket holes on 3 sides, leaving the 4th side empty. We will be attaching the bottom piece straight from the outside, so no pocket holes there. We also need pocket holes on the shelves on the two shorter sides and on the back piece around all 4 sides.
Before we go any further, we are going to sand everything with 220 grit sandpaper.

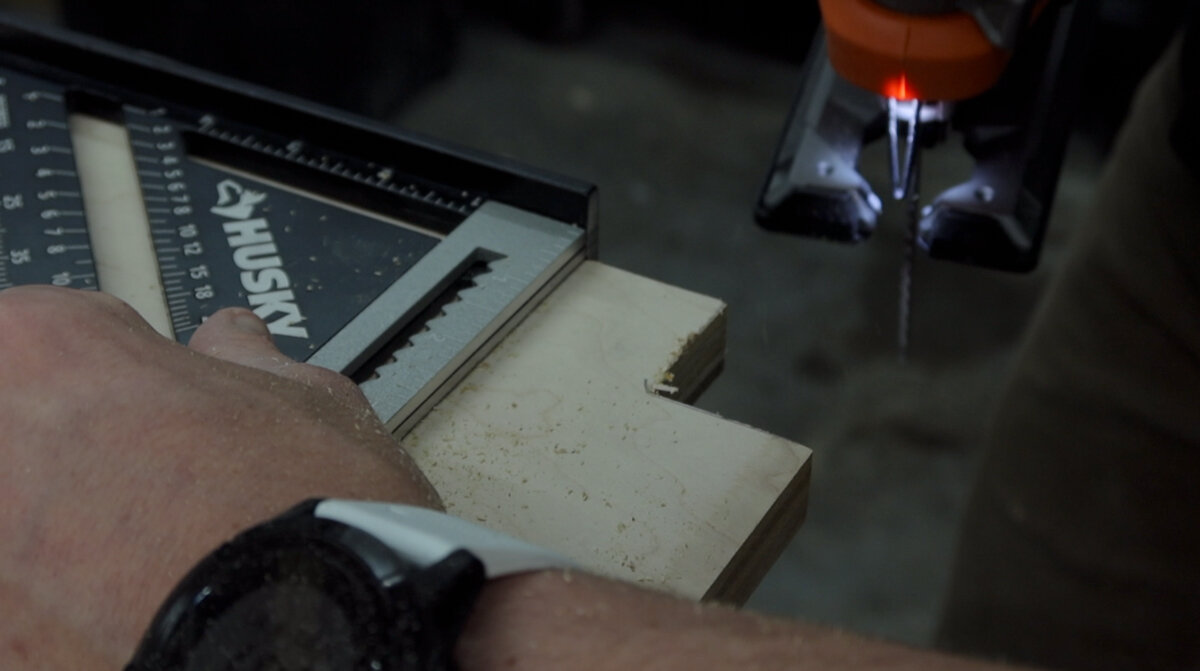
The legs are going to run down the length of the entire cabinet, so we need to make notches out of the four corners of the bottom piece to accommodate for those legs.
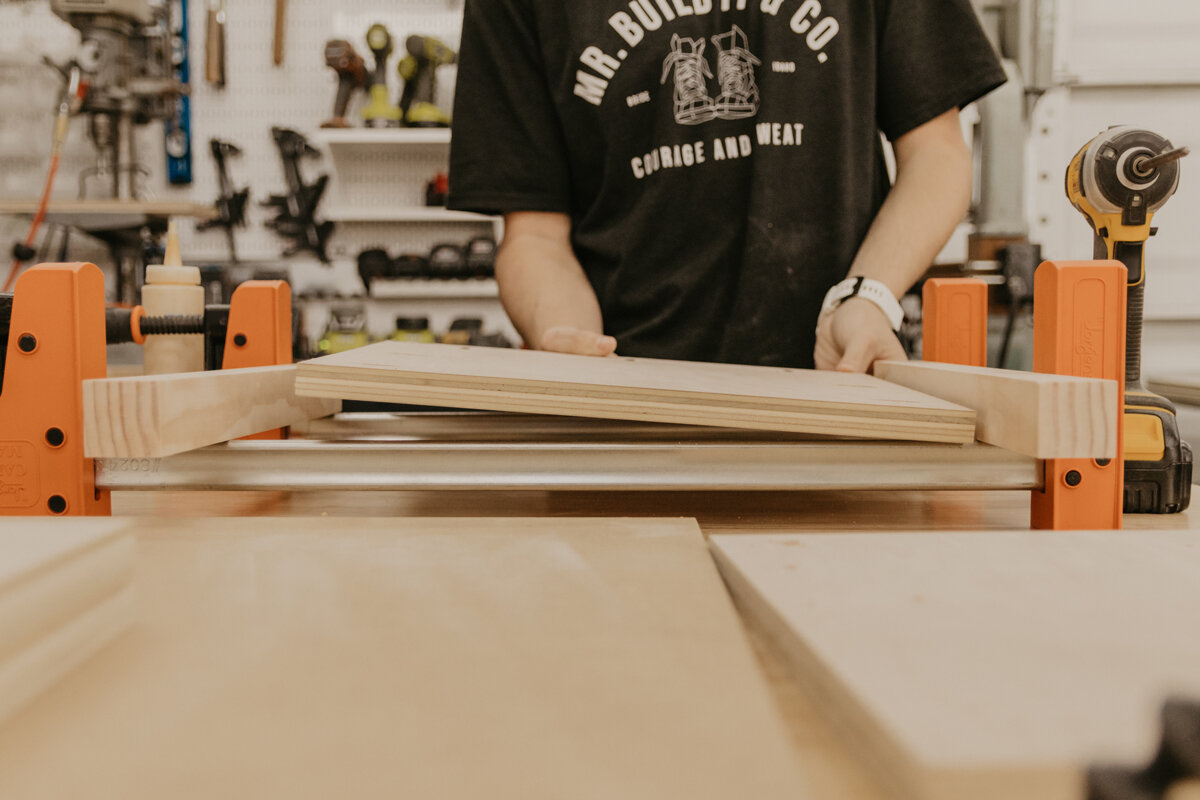
Now just for assembly of the two sides. When screwing pocket holes, it really helps to have the pieces clamped together so that they don't move apart when screwing.

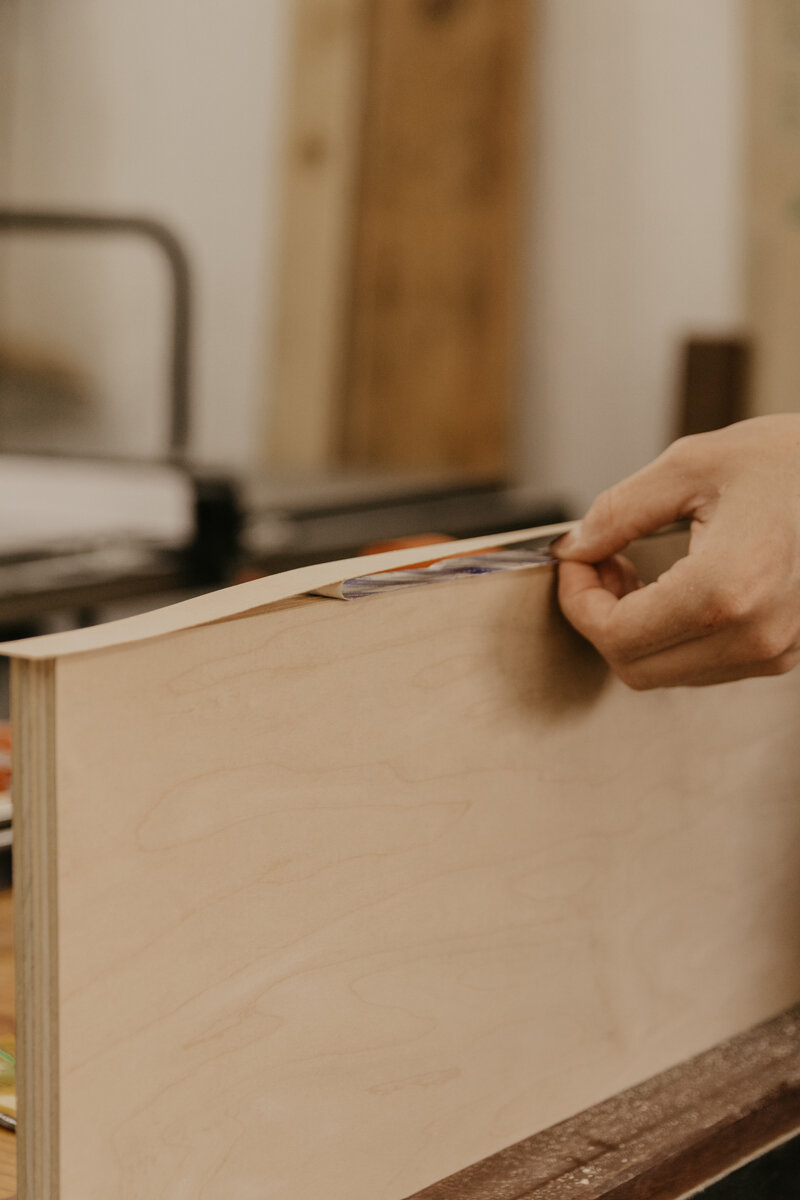
While we let the glue dry on the sides, we want to edge band every side you’ll see from the sides and front of the media center. No one ever looks at the back, so we will save that edge banding for something else.
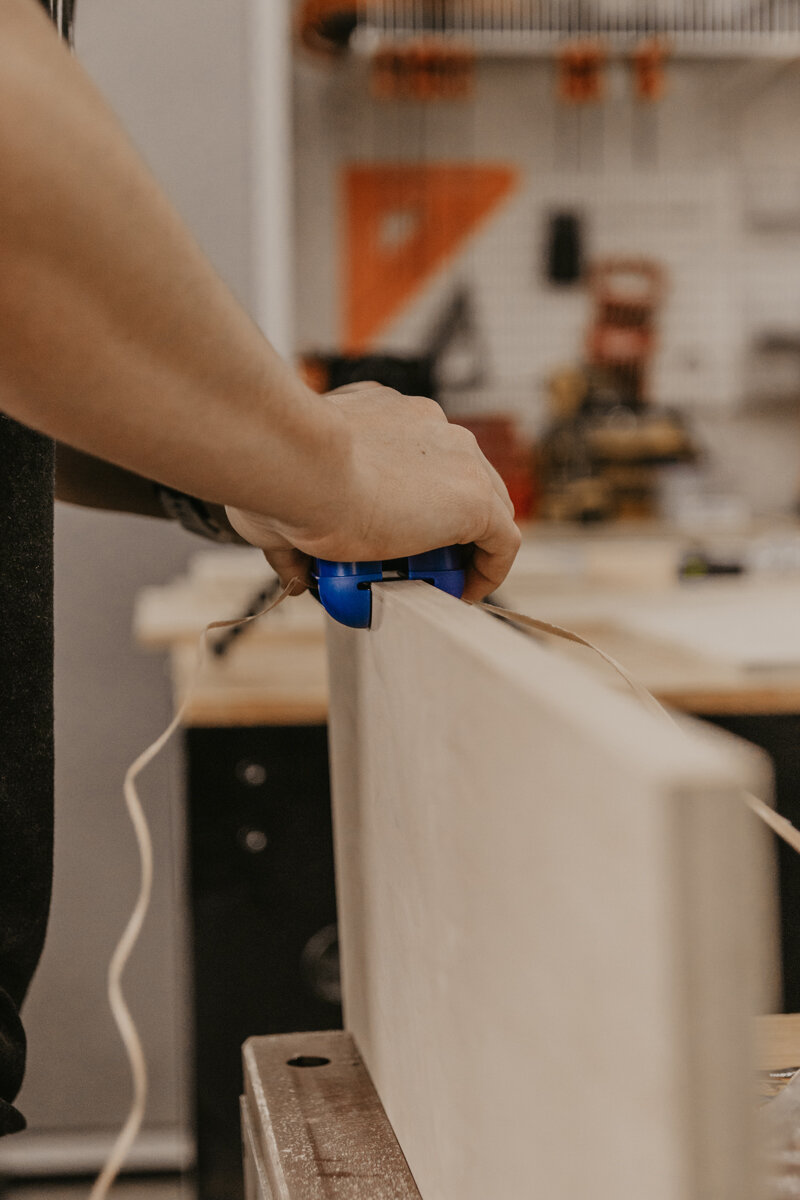
Here is a list of tools we use for edge banding. (affiliate links)
Roller: https://amzn.to/396hV0y
Flush Cut Trimmers: https://amzn.to/2saXHCp
Edge Trimmer: https://amzn.to/2PMCpDX
Sander: https://amzn.to/34QsP7s
Now time to assemble! We have the sides, bottom, and back clamped down and together first, and then we can screw it together. Next is for the center divider and shelves. Lastly, the bottom which took a few tries to get the legs fitted right.

It’s time for cutting the door design on the X-Carve (affiliate link). This is a topo map of our first ever hike together back in 2016. We went over to the midwest which was only supposed to be for a weekend but realized Colorado was only 10 hours away. It was a dream location for us to go to. We drove there and decided to climb the tallest mountain in the Rockies, which was both of our first ever 14er, Mt. Elbert. That trip was the one that kicked off our traveling bug and we have been nonstop since. So, you could say that these doors are pretty special to us. I’m assuming you wouldn't want Mt. Elbert on your media center doors, so you could also get a piece of pegboard if you don't have a CNC but want a pattern. If you do have a CNC, this is the part to get creative because the possibilities are seriously endless. Thank you Inventables for helping make this project possible.

While the first door is getting cut out, we started spraying our Halcyon finish onto the cabinet. Then when the second door was getting cut out, we sprayed a dark teal paint onto the first door and will do the same with the second door when it’s done.

A last-minute decision, but we decided to add a small natural wood piece so you can hold and slide the doors. We didn’t really want to drill out a hole for a finger pull. After that, we can put the doors into place and the project is done!

Thank you to Inventables for sponsoring this project! You can check out the X-Carve here(affiliate link). This Media Center with Sliding Doors project has seriously become our favorite. Everything about it is perfect for us. It’s a functional piece for the TV, while also holding a super significant story of ours. The natural wood tones with the dark teal paint go together so nicely and can fit any space we will have.
