
Easy Tapering and Jointing Jig for the Table Saw
We have a new jig for you to try! We made a multi-use tapering and jointing jig for the table saw! We have been working on designs for a dining table and having this jig will be so much help when it comes time to build. This jig can also do complex cross cuts, so you can use this as a cross cut sled as well.
Here’s a free set of plans to build this one yourself: https://www.woodbrew.tv/store/p/the-ultimate-tapering-jig
Materials:
(affiliate links)
Half Sheet of 3/4” plywood. Enough for a the bottom of the jig and a small rectangle on top.
1/4” T bolts, Washers, Star Knobs - Hardware Kit
Tools Needed:
(affiliate links)
Table Saw
Router Bits: UpCut Spiral Bit & Undersized plywood Dado Bit. Use code “WOODBREW15” for 15% off Bits&Bits!
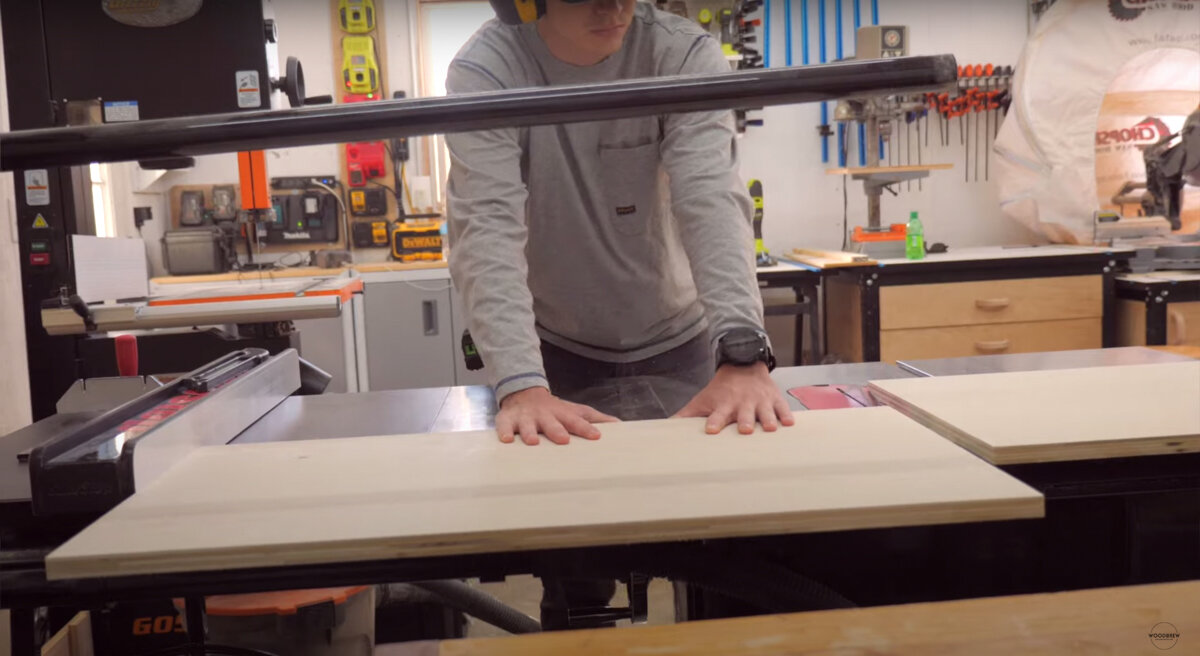
As far as cutting plywood goes it’s pretty simple. You just need to cut 2 rectangles essentially and can use any type of plywood, we had some maple plywood left over from the Platform Bed Build, so we used that. As long as you have some material that is relatively flat, that will be all you need. Again, there’s plans here for the exact dimensions, but they are just rectangles and nothing fancy here.
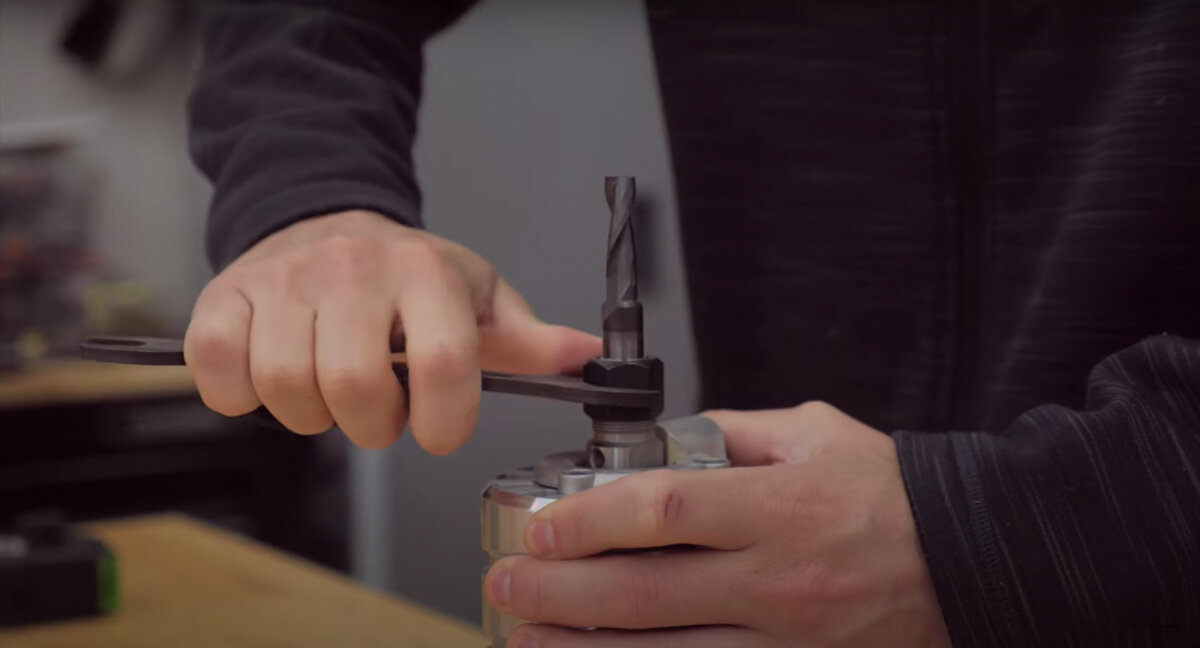
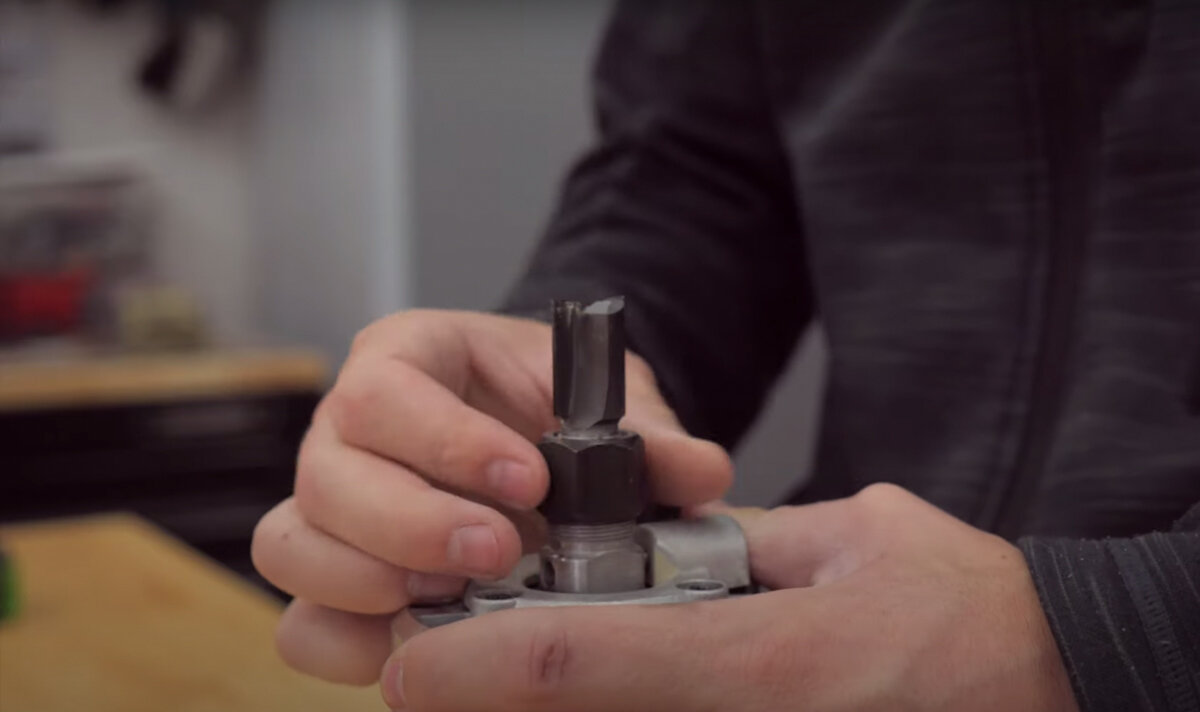
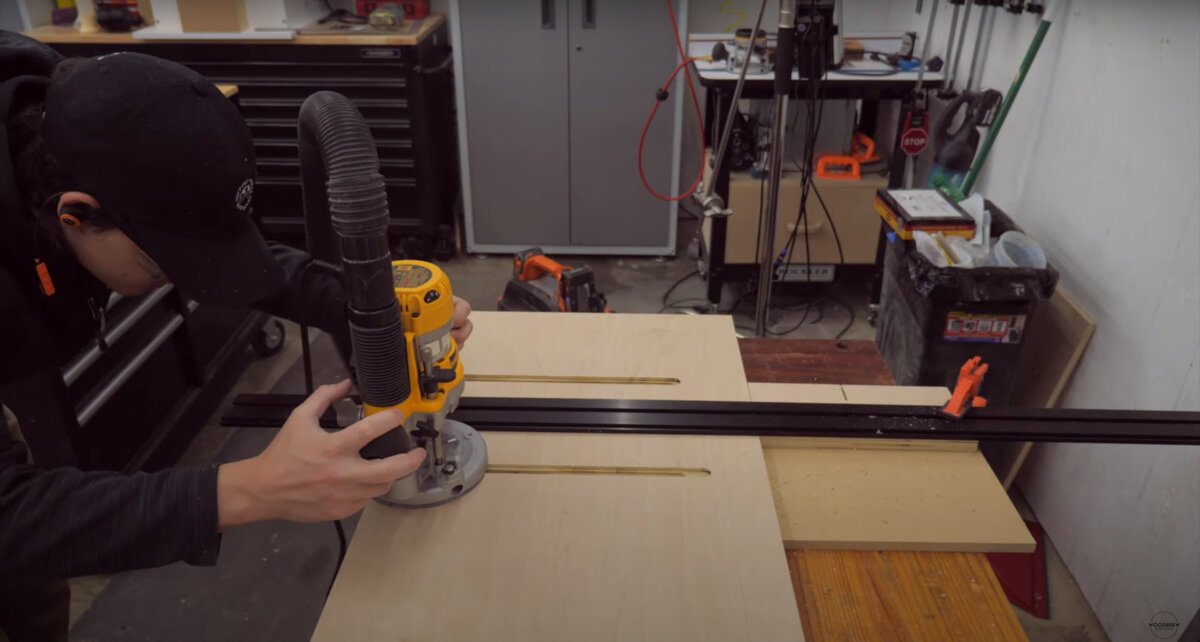
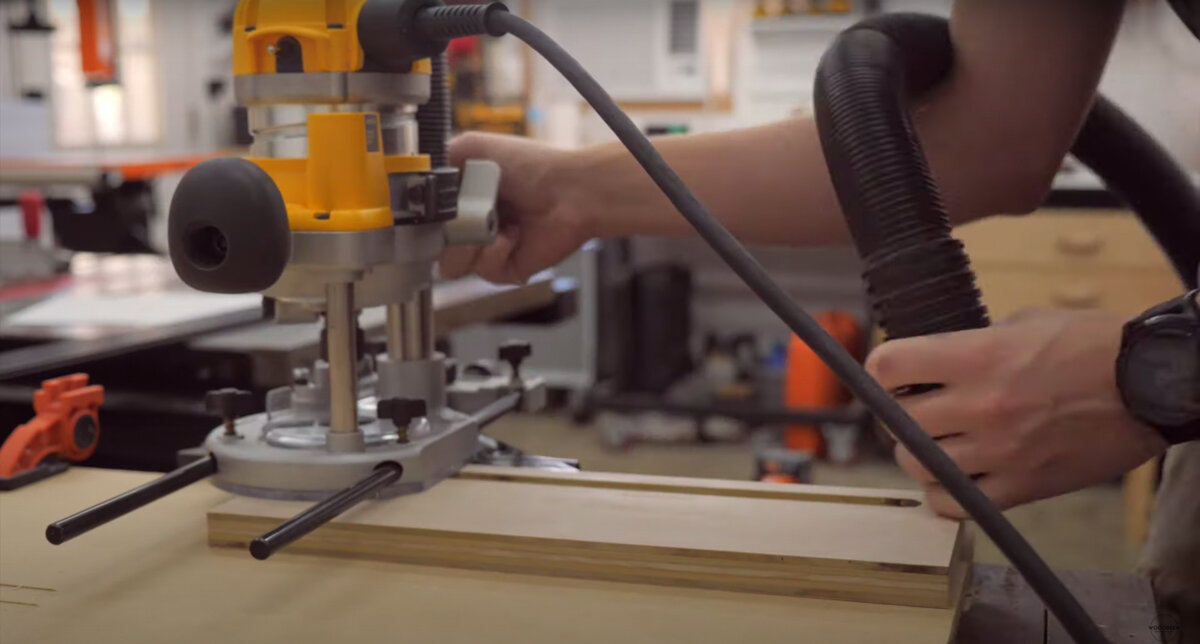
This jig has a handful of slots that we need to cut. There’s a lot of different ways to cut these, but these also need to be recessed as well for the head of the bolt to slide across, that’s the reason why the best way to cut these will be a router. We will be using a 3/8” upcut bit to cut the slots all the way through, and then a 3/4” undersized plywood dado bit to cut the recess. These bits are from Bits&Bits with their Astra Coating on them that will make them last a lot longer. Use code “WOODBREW15” for 15% off!
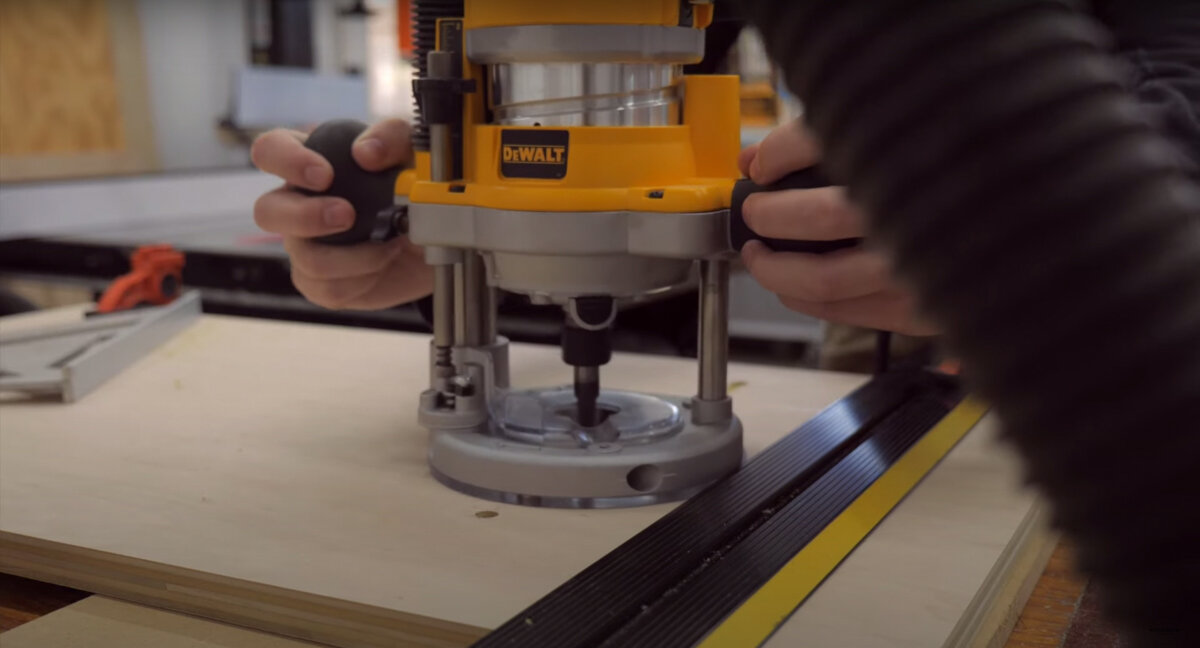
As we cut the slots with the router, make a small pass from one end of the slot to the other. We started off by making a plunge cut at each end and then sliding the router down to make the pass. So, make a small pass, move the router down a little and make another pass. Continue until you are through the plywood or material. The router we are using is great because first off, it’s a plunge router, but it also has steps built in so you can move the steps around to make 1/4” passes. Once you are through the material, grab a 3/4” bit and make a 1/4” recess inside the slots. You’ll need two slots in the big bottom plywood piece and then one slot on the smaller plywood piece.
Now we are ready for assembly. You will need to grab your runner that you’ve bought or made. Ours is from an old Rockler jig, but we did make our own on our crosscut sled out of HDPE plastic. You can check out this video to see how to attach the runner to the jig. Basically, put some nuts inside the miter slots on your table saw, lay down your runner with some super glue on top, and then place your jig on top of those pretty close to where you need it. Then, screw them into place. You actually don’t have to use the runner, you could just use your table saw fence, but we didn't want the piece we were cutting getting in the way of the fence.
Before we put this jig together with the runner and everything, we did spray lacquer on the plywood just to have a little bit of protection.
Now the center small plywood fence piece needs to have a 3/8” hole drilled in it. We used a forstner bit because that creates a really clean hole. We also added a piece of 120 grit sandpaper to the bottom of this piece to keep it stuck down to the table when it gets tightened down.
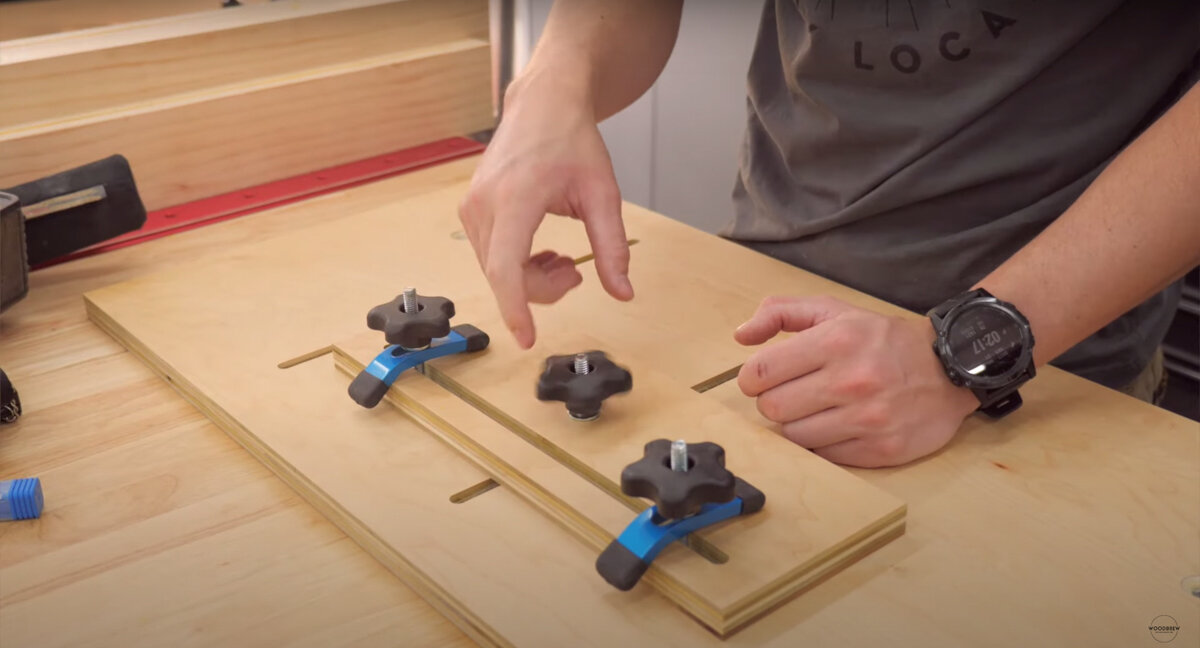
With that smaller fence piece still, take your T bolts, washers, clamps and star knobs and go ahead and put those through that piece. Then, stick a T bold through one of the slots on the bigger bottom piece and slide the bolt through the hole on the smaller fence add your washer and star knob and you are good to go.

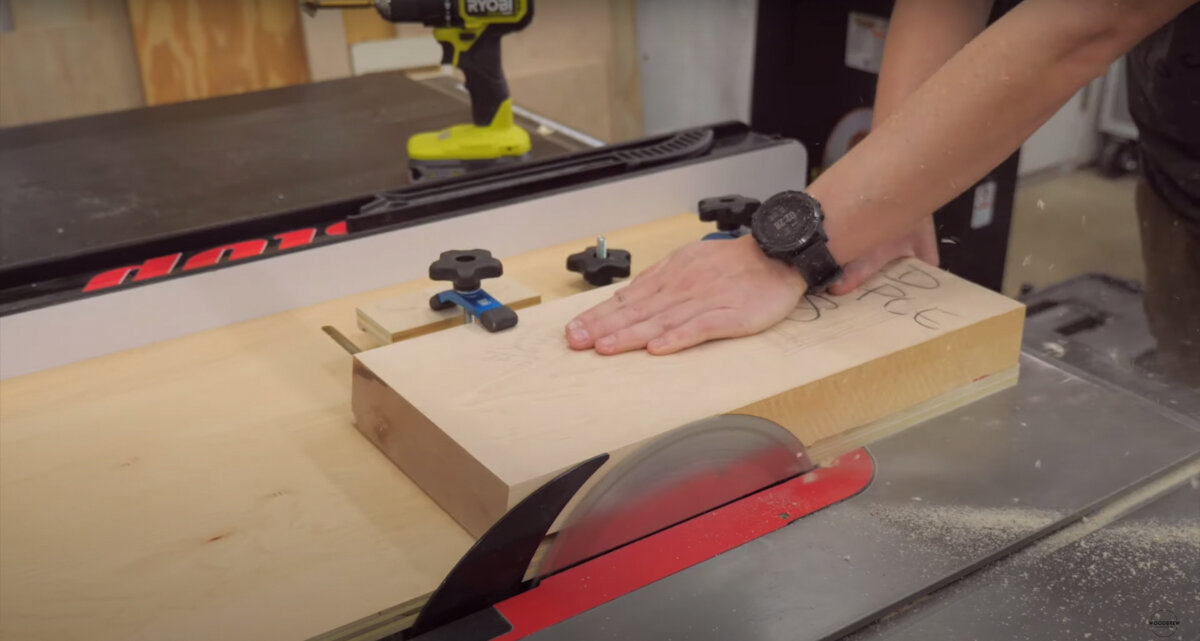
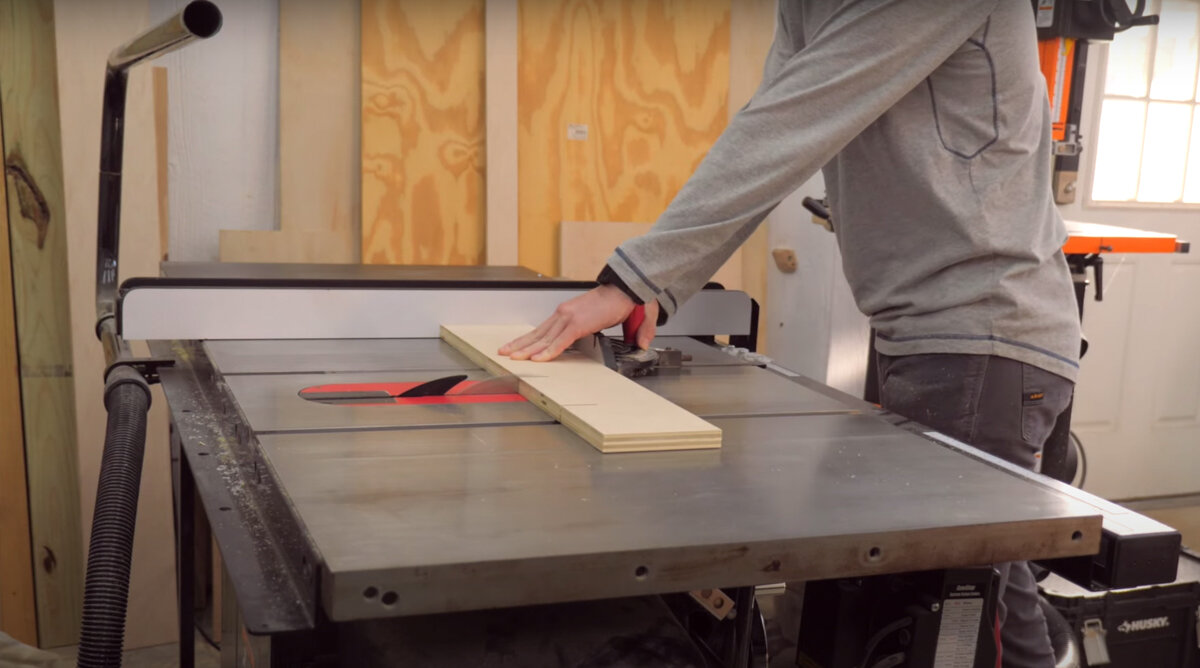
I would suggest running the jig through the table saw to get a clean edge on the blade side before you start tapering or joining boards. Ready to go!!