Rubbermaid® Shed Transformation into Bike Gear Shed
This post is sponsored by The Home Depot.
Have you ever thought about having a “she shed” or “man cave” but don’t know where to start? We were in that same boat until we came across the new Rubbermaid® 7x7 storage shed from The Home Depot, and found out how easy it would be to transform. We decided our Rubbermaid plastic shed makeover was going to turn into the ultimate cycling gear storage and workspace. Currently, all the bikes occupy the spare bedroom because we don’t have a garage. A garage that’s not our woodworking shop that is! If you don’t have a garage as well and want the ultimate storage shed, keep on reading!
Rubbermaid® does not recommend hanging anything onto the walls except Rubbermaid® shed accessories. Any modifications to the product will void Rubbermaid’s Limited Warranty. For an easier option, Rubbermaid® offers a variety of accessories, also available at The Home Depot, that you can use to hang items on the wall, from bikes to tools to supplies and more!
Building the Deck
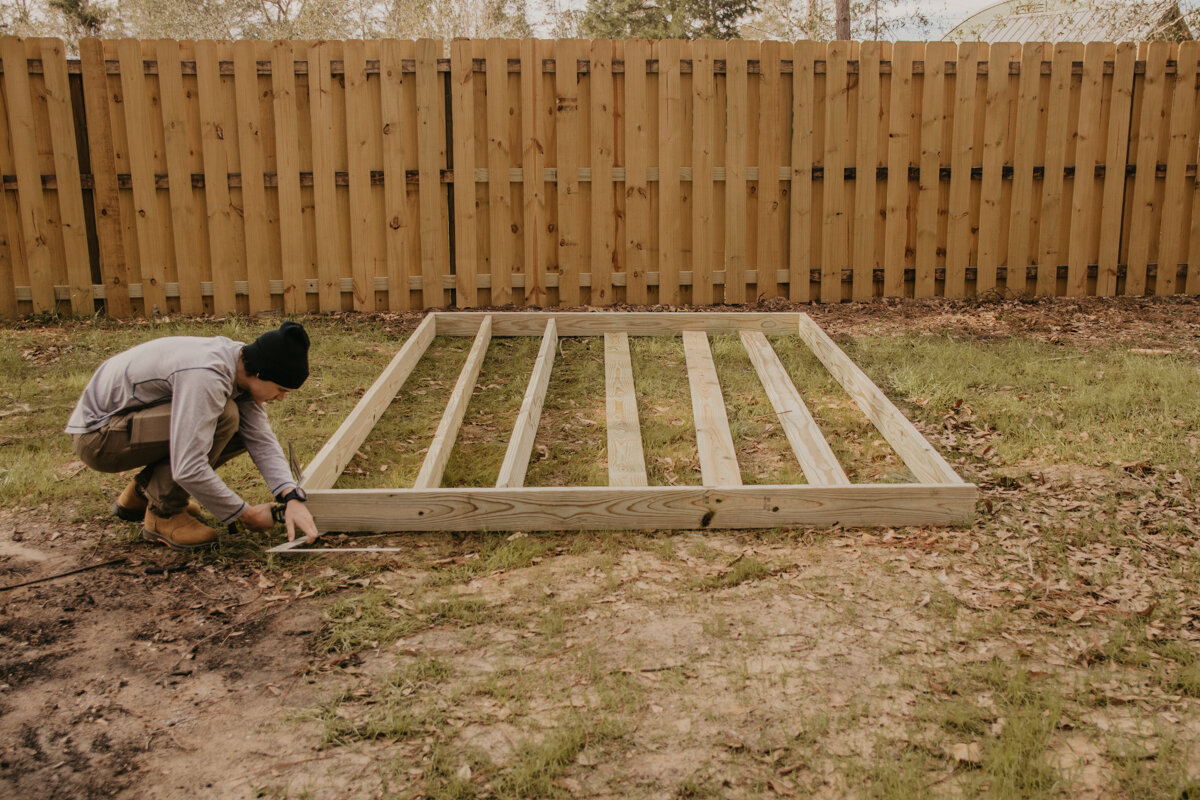
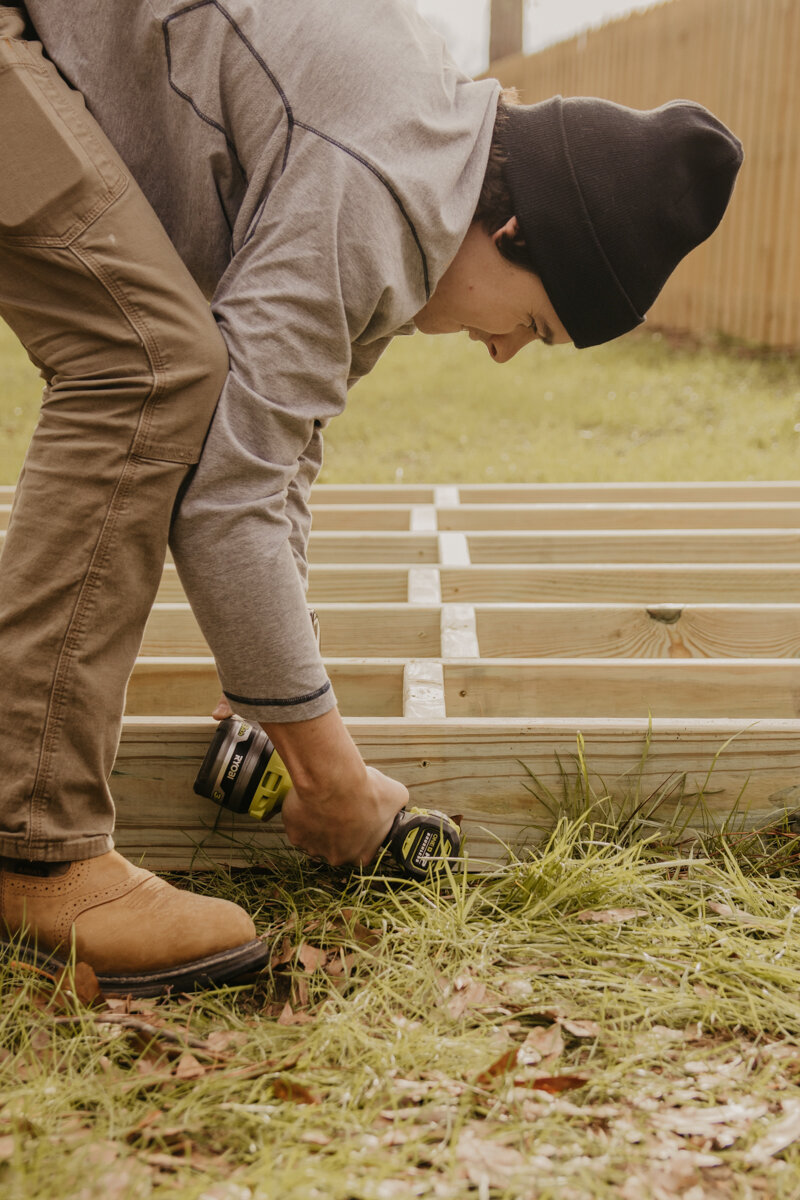

We wanted to build an oversized deck for this shed, just to have a little porch on the outside and kept off the ground. Totally unnecessary for this project, but we wanted to add a little more spice to the overall project. We used 2x6 treated lumber for the framing of the deck and 5/4 treated decking boards for the top of the deck to build an overall size of 12’x8’. We started by cutting all of the boards to the correct length using a circular saw and speed square. You can build this entire deck using just a circular saw and took me less than an hour to cut all of the boards to length. Next, I used a speed square to mark the location of each joist on one of the boards.
With all of the boards cut, we laid everything out and made sure it was square by measuring the diagonal of the frame. You want to make sure these two measurements are the same to insure the frame is square. After screwing everything together, we decided to move it to another part of the yard. With it in it's new location, we used pavers to level everything up and to allow water to run under the deck. The last thing to do was screw all the 5/4 treated deck boards down and cut them to their final length using a chalk line and circular saw.
Assembling the Shed
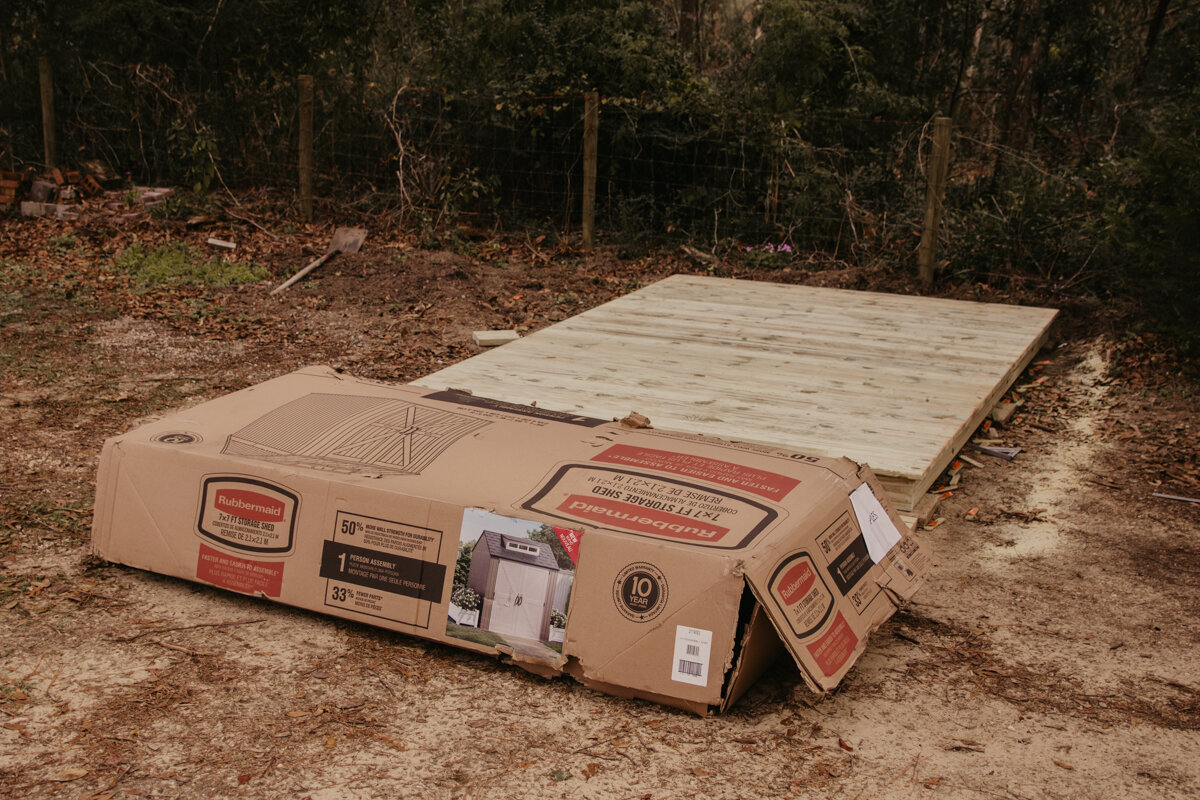

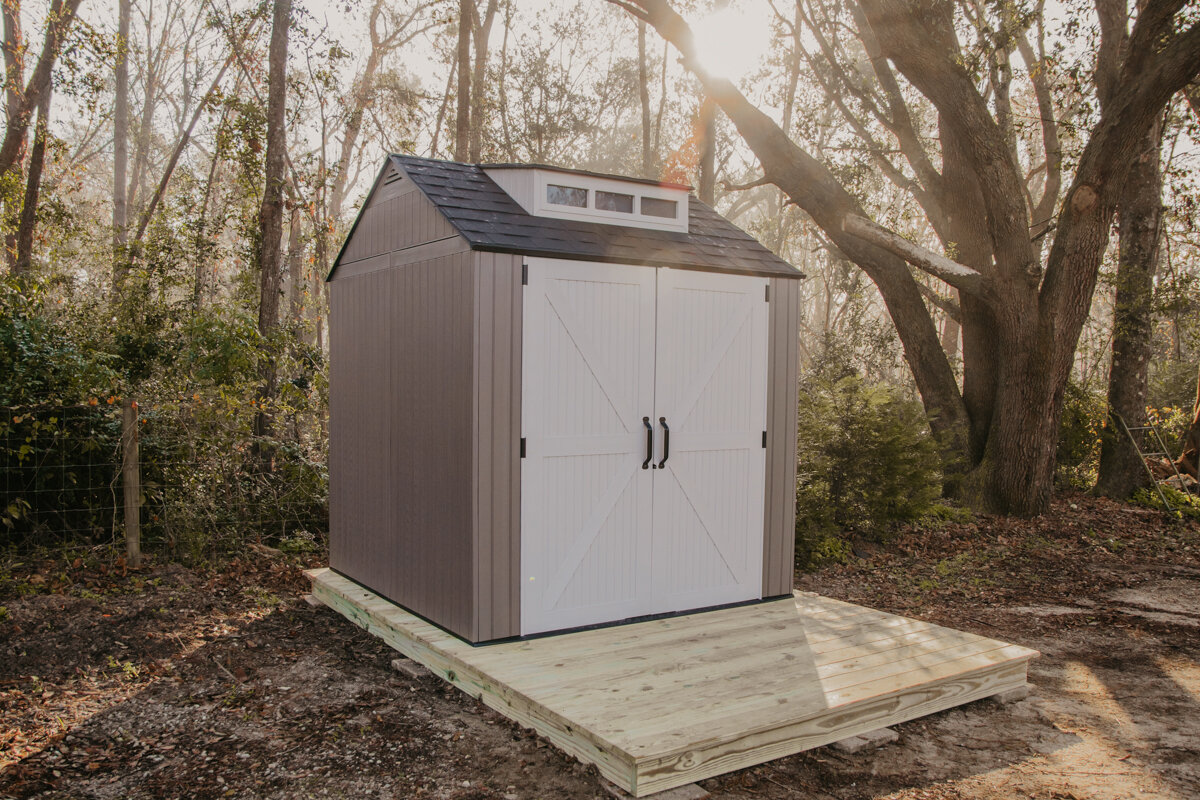
The Rubbermaid® 7x7 shed comes in a cardboard box, so you can seriously get it delivered to your front door, and doesn't require very many tools. This shed can also be put together by one person, but if you have an extra hand, you can make really quick work of assembling the shed. In total it took us two hours to assemble the shed.
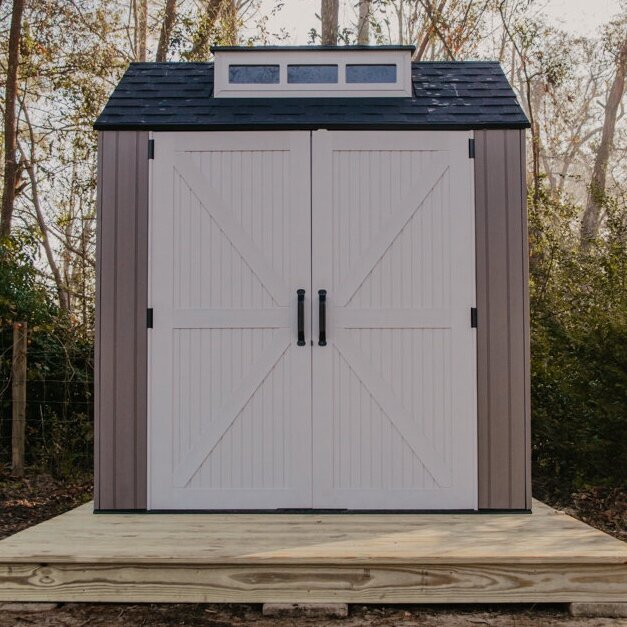
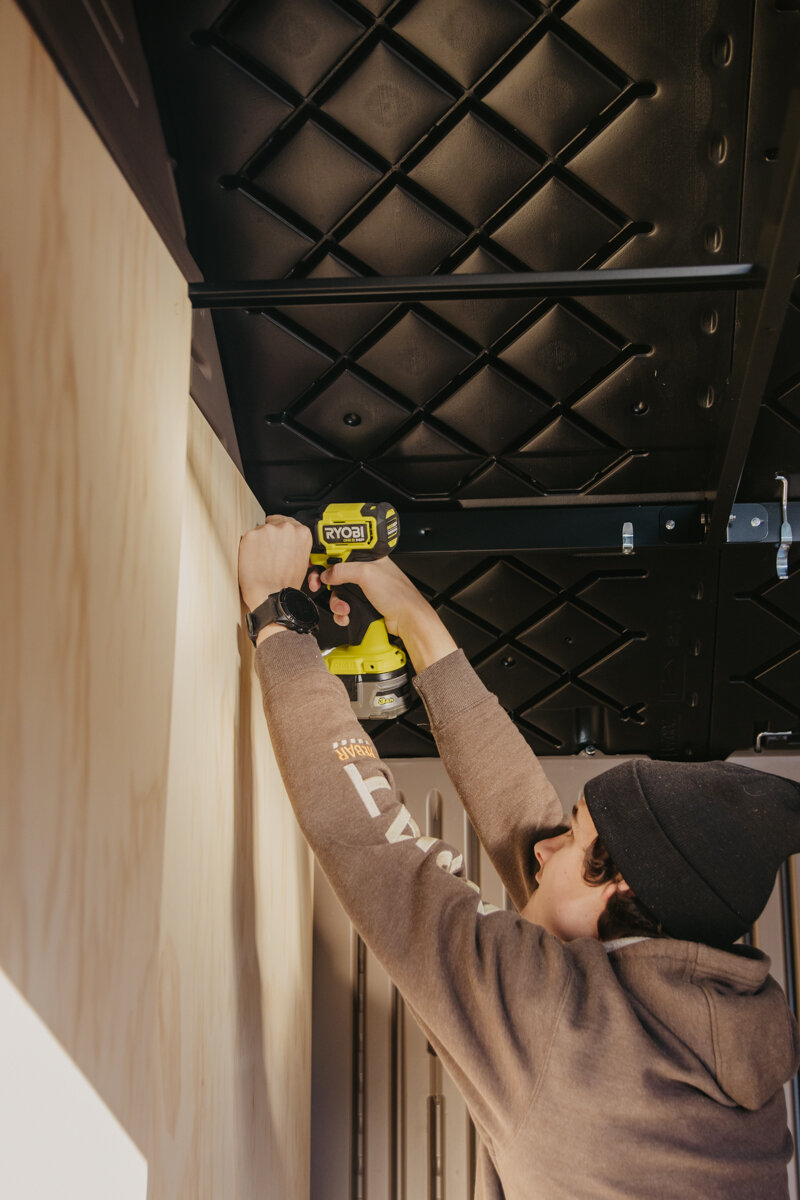
Some notable things about this shed include the 180-degree opening doors, Increased durability over prior models that can withstand 4 seasons, Increased ventilation, and the ability to lock the shed using a padlock.
This shed exceeded our expectations. There is a significant amount of metal supports throughout the shed, and the cleverness of the way it's designed creates this seamless look with all kinds of integrated rain management like the front gutter over the doors.
Fitting the Interior


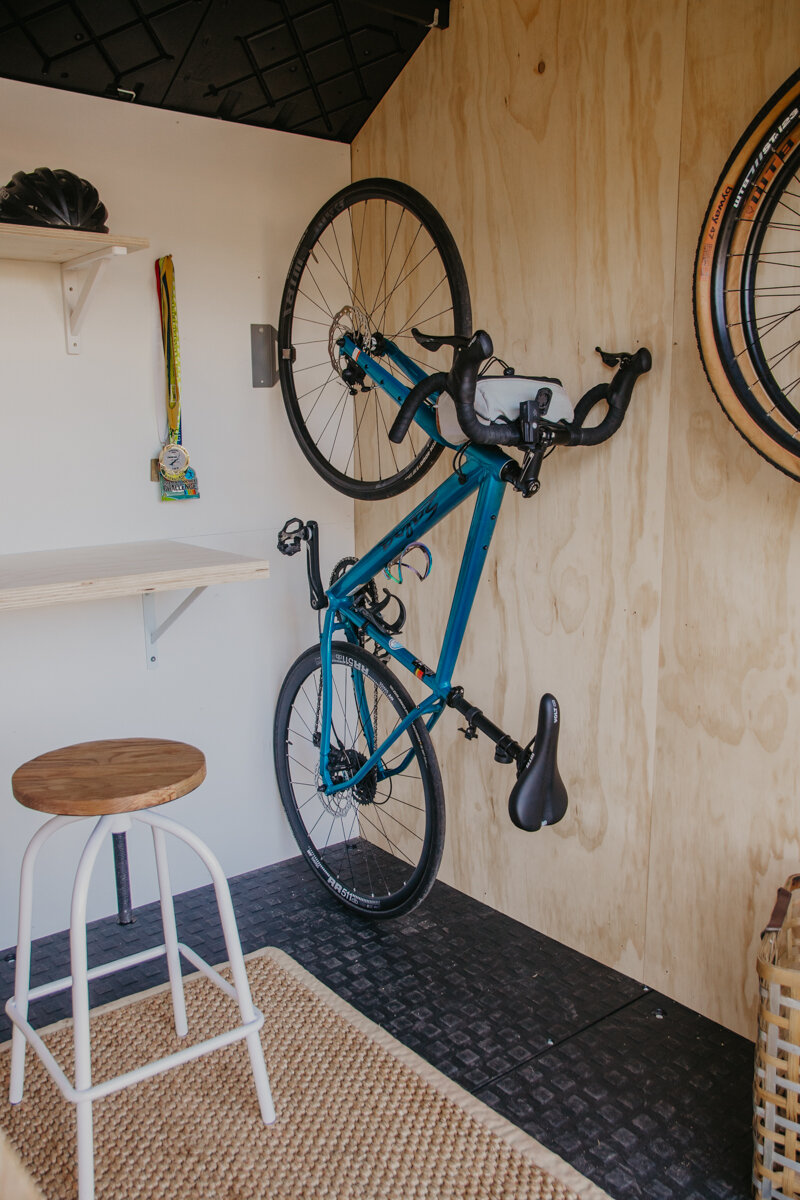
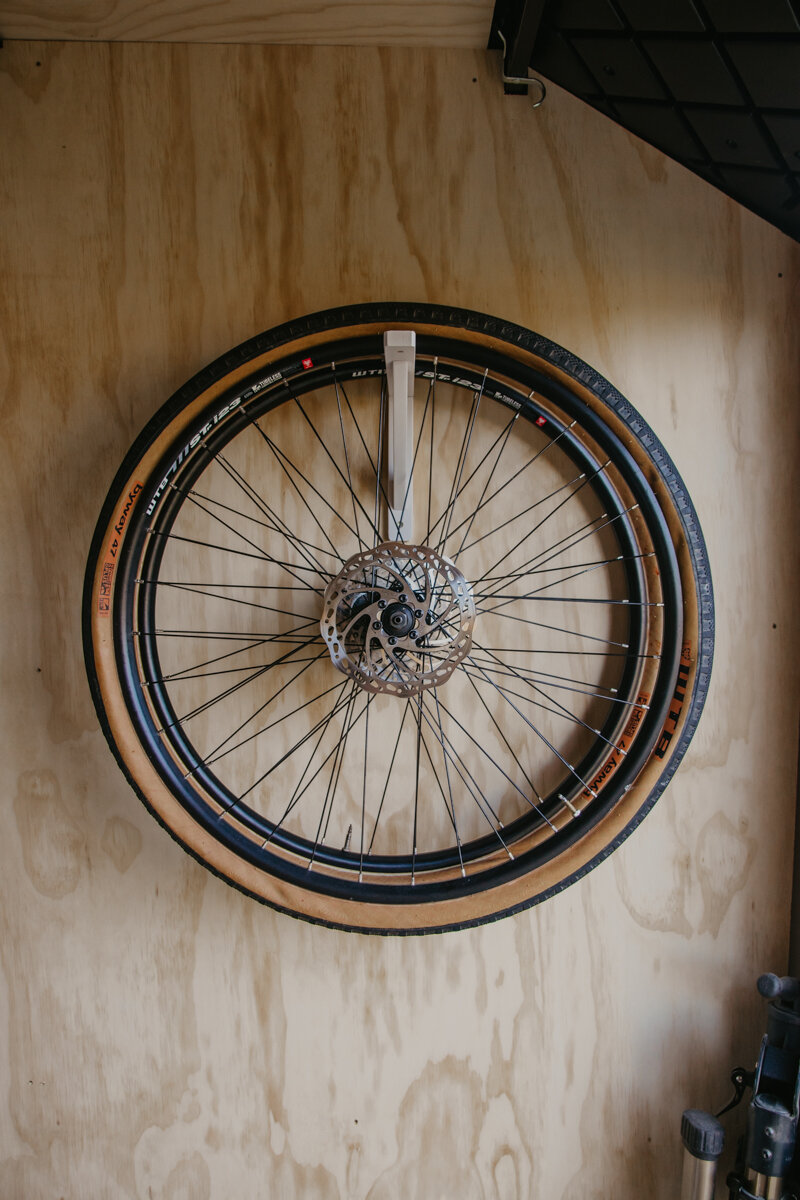
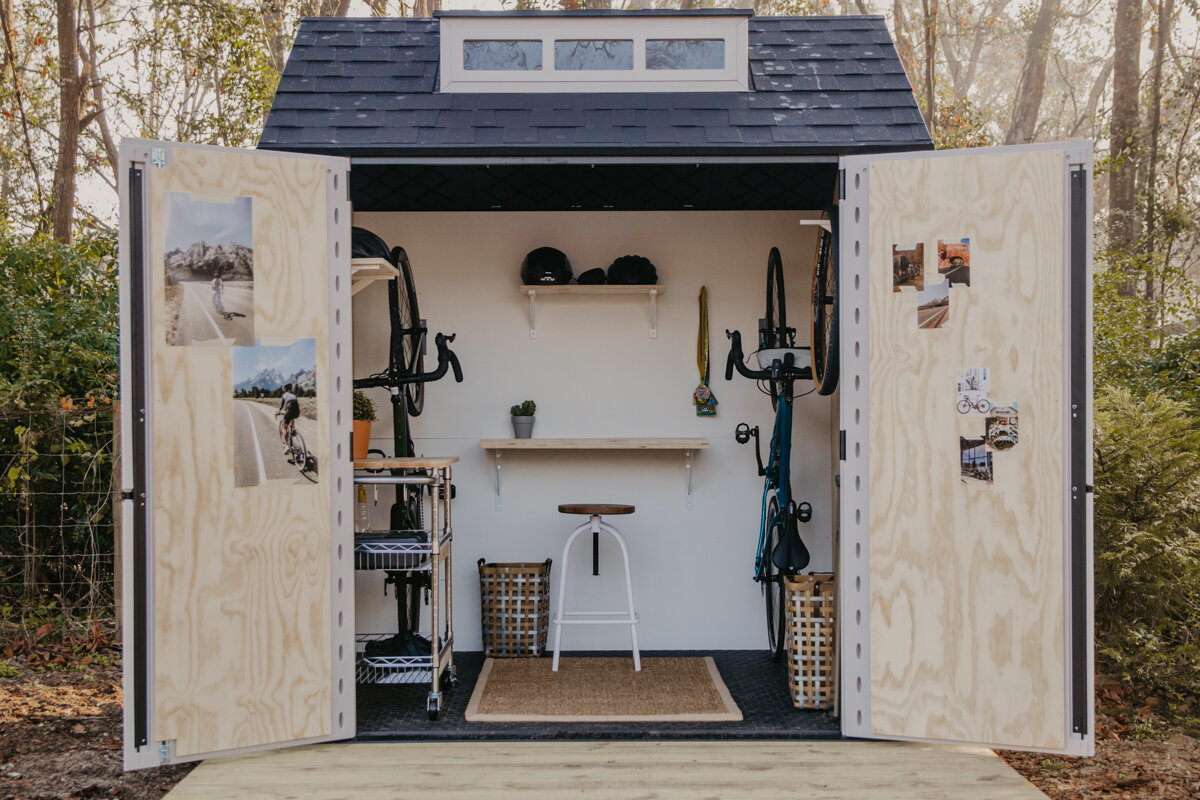
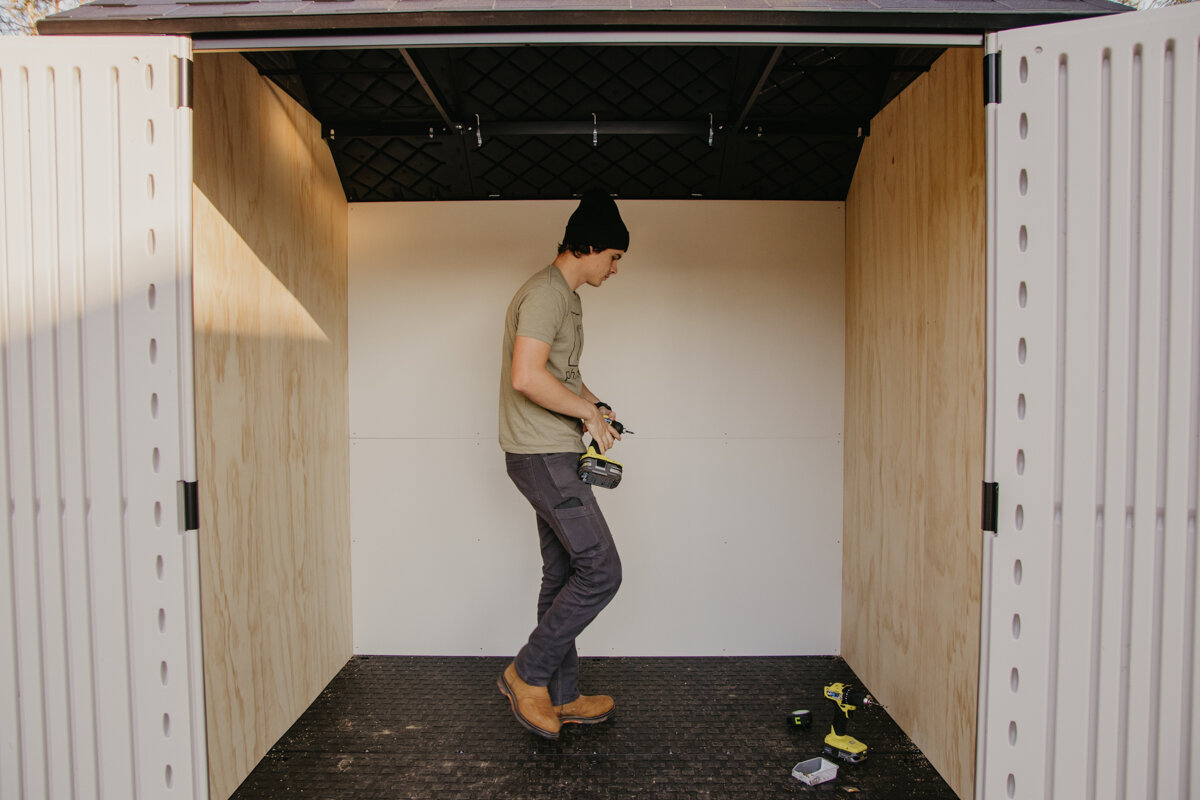
With the shed complete, we started cutting 1/2" plywood to make up interior walls to take this shed to another level. We also decided to paint the back wall a nice white. In combination with that white wall and the dormer, it allows to lots of light to come through and get the space even brighter. Rubbermaid® and ourselves do not recommend painting the shed itself. Also, hanging things to the shed effects the warranty. You can check out all Rubbermaid®’s handing accessories here.
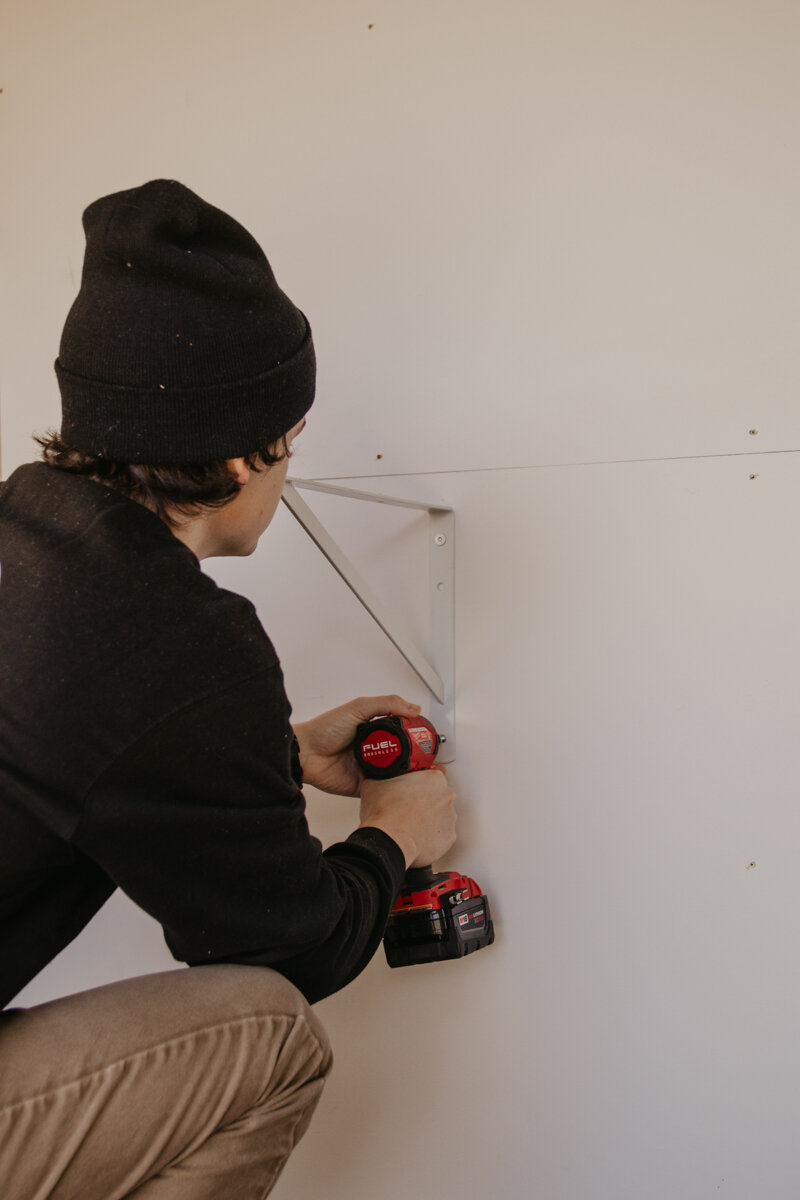
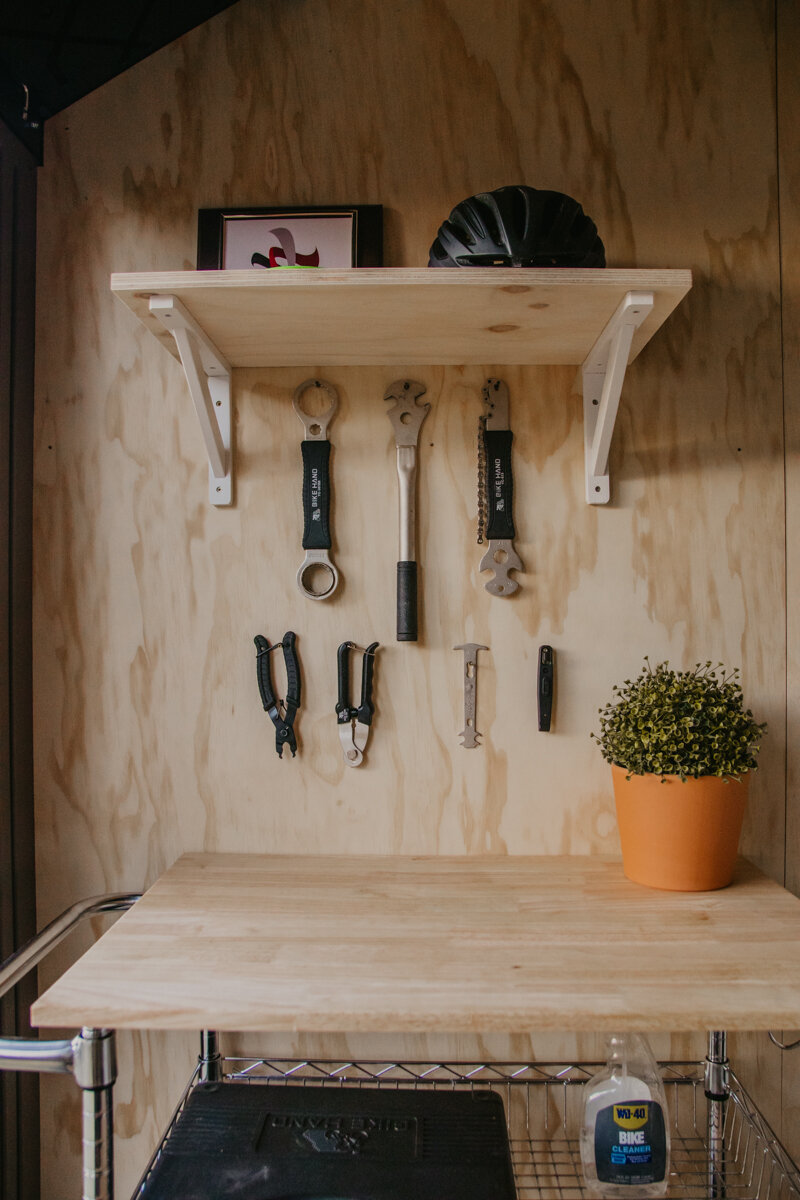
With all of the walls in place, we made a small workbench and shelves using 3/4" plywood and some wood shelving brackets made by StyleWell, also from The Home Depot.
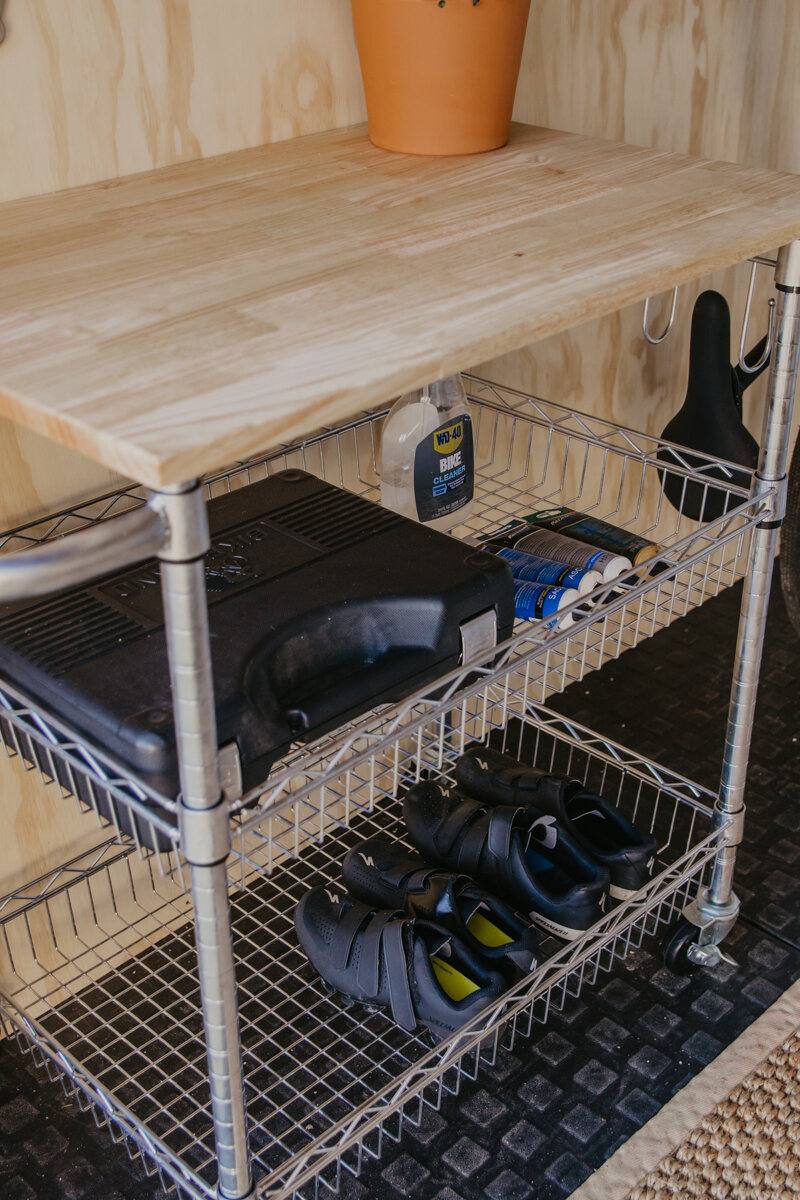
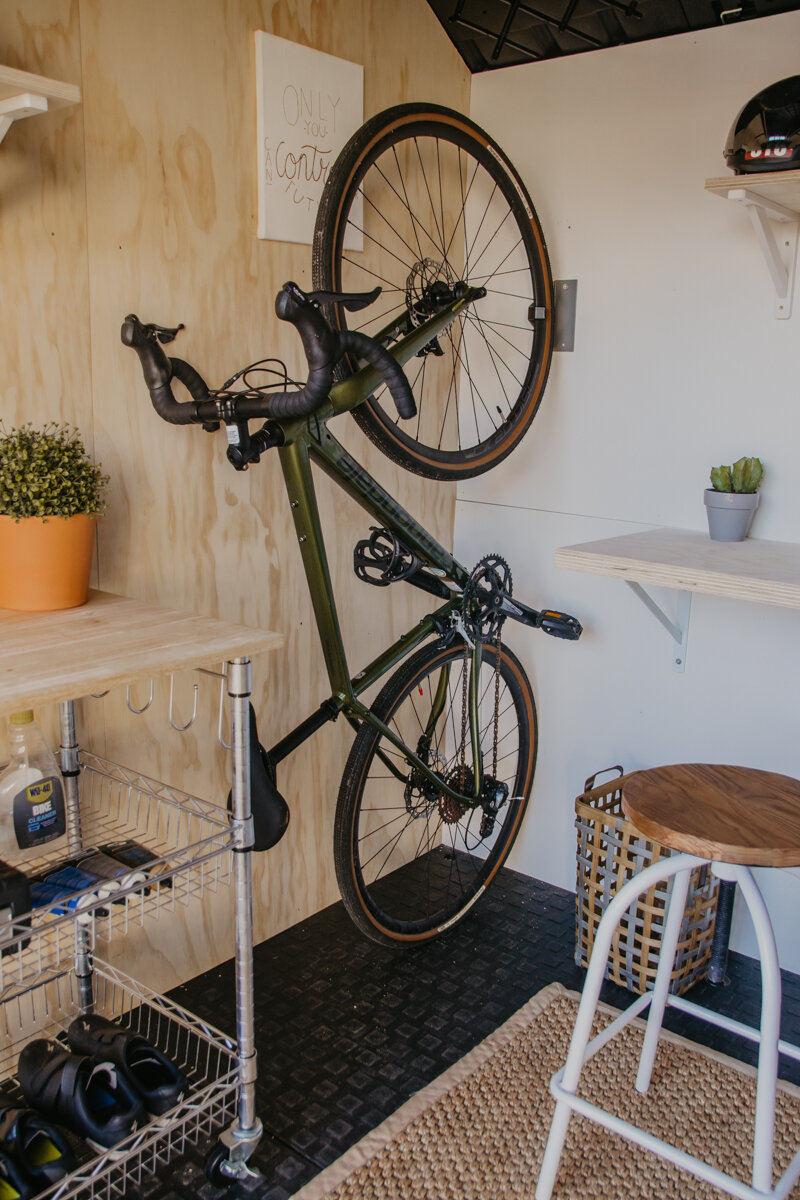
The rest of the decor like the 3x5 jute rug, floor baskets, and round baskets in the ceiling are all from Home Decorators Collection from The Home Depot. The white round stool and the metal and butcher block rolling cart are made by StyleWell, also from The Home Depot.
We added personal touches to this space with the photos taped to the doors from all the adventures our bikes have been on, along with Dylan’s triathlon metals, bike tools, and riding gear.
This space, in our opinion, is the perfect minimalist cycling gear storage space while you can also come out here to work on the desk if you wanted to get out of the house.
Everything we used in this project is linked throughout and highly recommend checking out our video on our YouTube channel up top! Now, go on and create your ultimate shed makeover!