Bar Height Dining Table

Looking For A New Dining Table? How About Build One Yourself!
In this weeks video we built a bar height dining table for a repeat client. We have plans available if you are interested in building your own table! Did you see last weeks custom wine cellar cabinet? We built this table for the same home to match!

This table is a behemoth. Here are some of the details.
Dimensions: 60" x 60"x 36"
Made from rough cut pine
Stained an antique walnut. This is what we used

General Finishes Oil Based Gel Stain (Quart, Antique Walnut) (affiliate link)
General Finishes
Seats 8 comfortably
How did we build it?
If you are interested in learning exactly how we built it, we have plans available for purchase. Check it out here. The plans are 20 pages long and go over every aspect of the build. The format of the plans is written steps followed by a visual graphic. We supply a shopping list, tools required, and every measurement needed. Here is an example photo of our plans.

Finishing Process
We used an interesting finish technique to acquire the look we were going for. We learned this the hard way and had to come up with a solution quickly for a client. Many times when you stain pine, especially the rough cut stuff, you get really splotchy areas. The way we get around this is by applying a coat of shellac first, then use a gel stain over it. The shellac seals the wood and allows for a even coat of gel stain. This technique limits the surprises you may get when staining pine. I highly recommend trying this.
Step by Step
Apply a liberal coat of clear shellac to all parts of the project using a bristle brush. Next use a combination of a bristle brush and cloth to apply your gel stain. We used the antique walnut gel stain. Work on one small area at a time when staining. Apply the stain and then wipe it off. You can use a rag to wipe off as little or as much as you’d like. Let the stain fully dry! Wait at least overnight. Finally apply your desired clear coat. We used a spray can of clear lacquer.
Hardware And Tools We Used
General Finishes Oil Based Gel Stain (Quart, Antique Walnut) (affiliate link)

Table Top Fasteners (affiliate link)
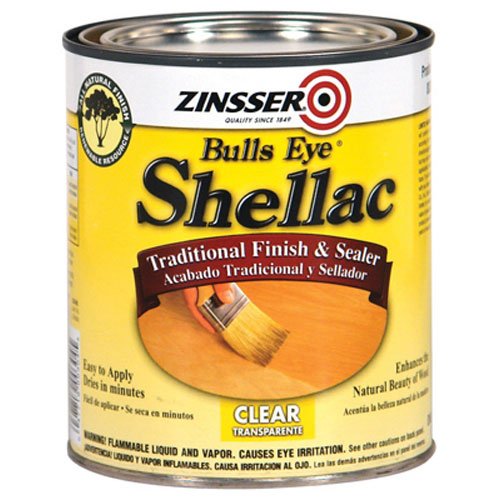
Rust-Oleum Zinsser 304H 1-Quart Bulls Eye Clear Shellac (affiliate link)

Rockler Clamp-It® Corner Clamping Jig (affiliate link)

36" Sure-Foot® Aluminum Bar Clamp (affiliate link)