How to Build a DIY Outdoor Chair

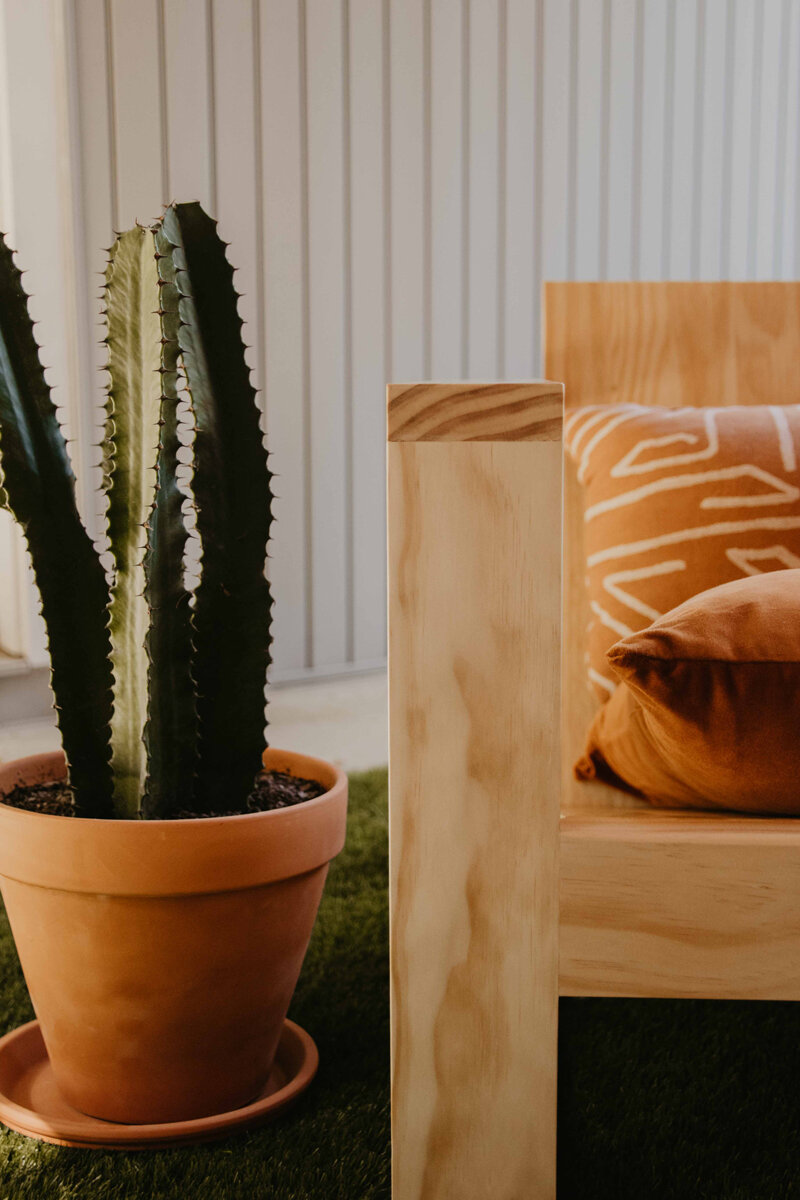
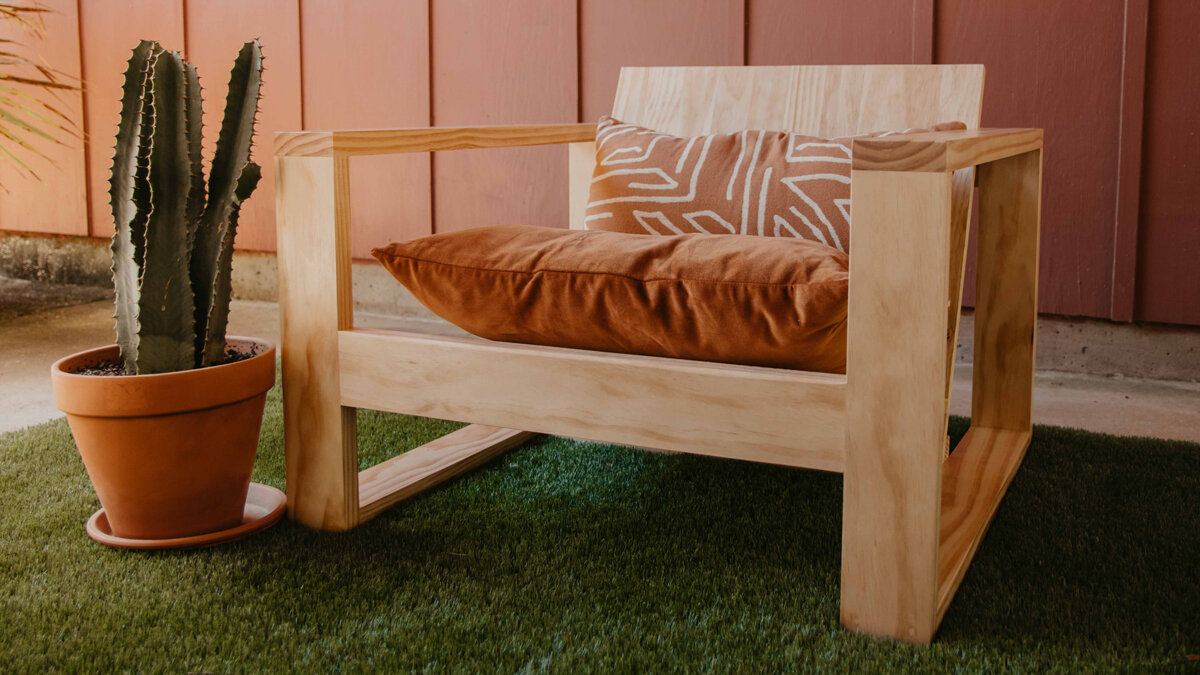
We are continuing on with our DIY outdoor furniture series! This post is all about how we built our cute little DIY outdoor chair!
Project plans: https://www.woodbrew.tv/store/p/outdoor-lounge-chair-plans
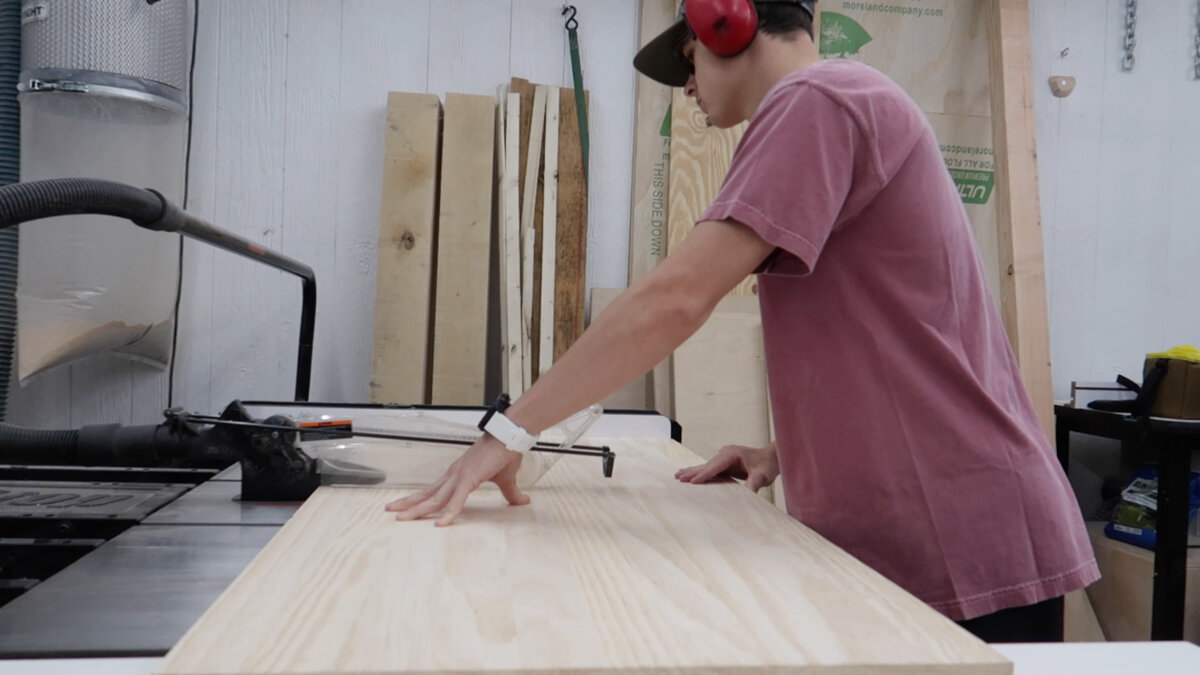
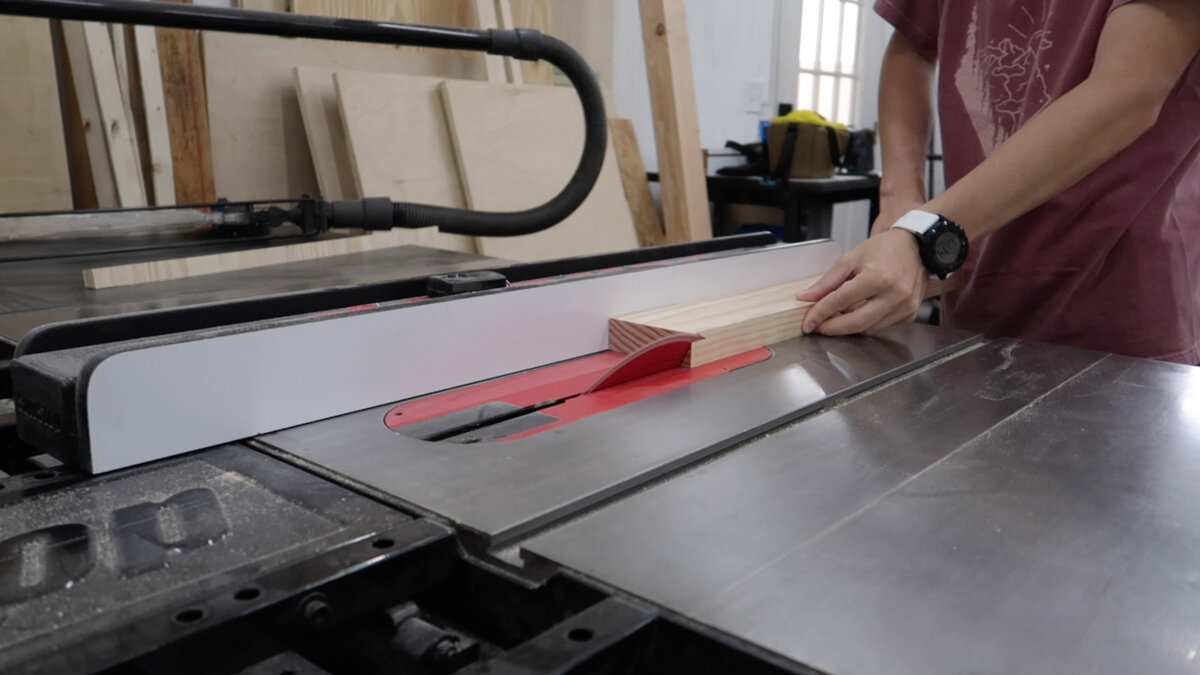
First thing is cutting down our 1 1/8 x 3 1/2 boards to length for the legs of the chair.

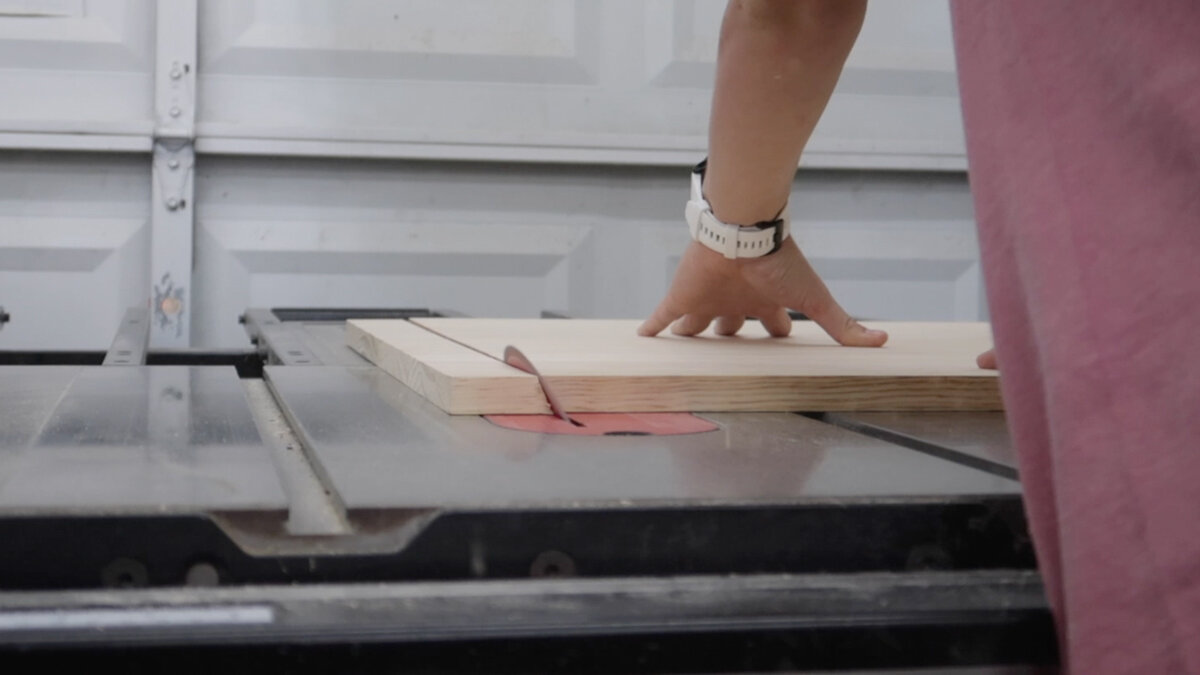
Now, we can cut down our project panel for the seat. We had just enough for both the bottom and back of the seat, so no screw ups here. We need to make angled cuts along the edges for a comfortable seating position. All of these angles and measurements are in the set of plans we have available HERE. Lots and lots of geometry went into this build lol.
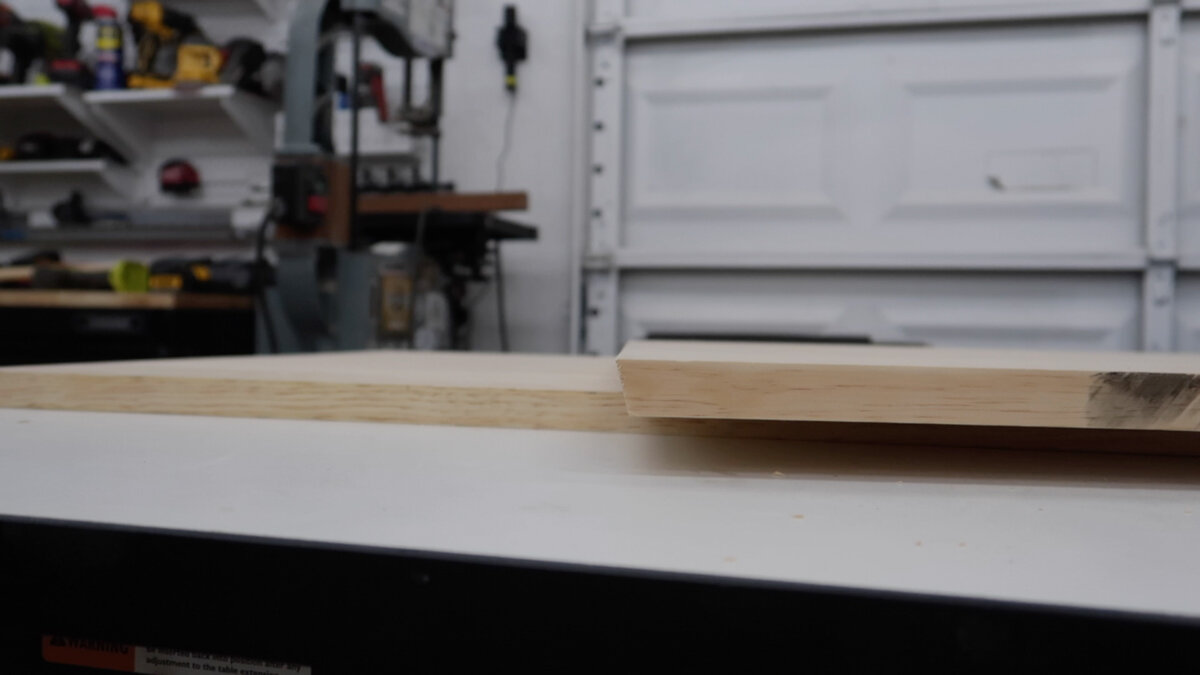
Now with the same 1 1/8 x 3 1/2 material as we used for the legs, we need to cut these boards at the same angles as the back, so we can sandwich the back of the seat panel in-between to keep it in place. We also need another piece so the bottom of the seat can sit flush with the front and be screwed into. I know it’s a lot right now, it’ll make sense when we start assembling I promise!

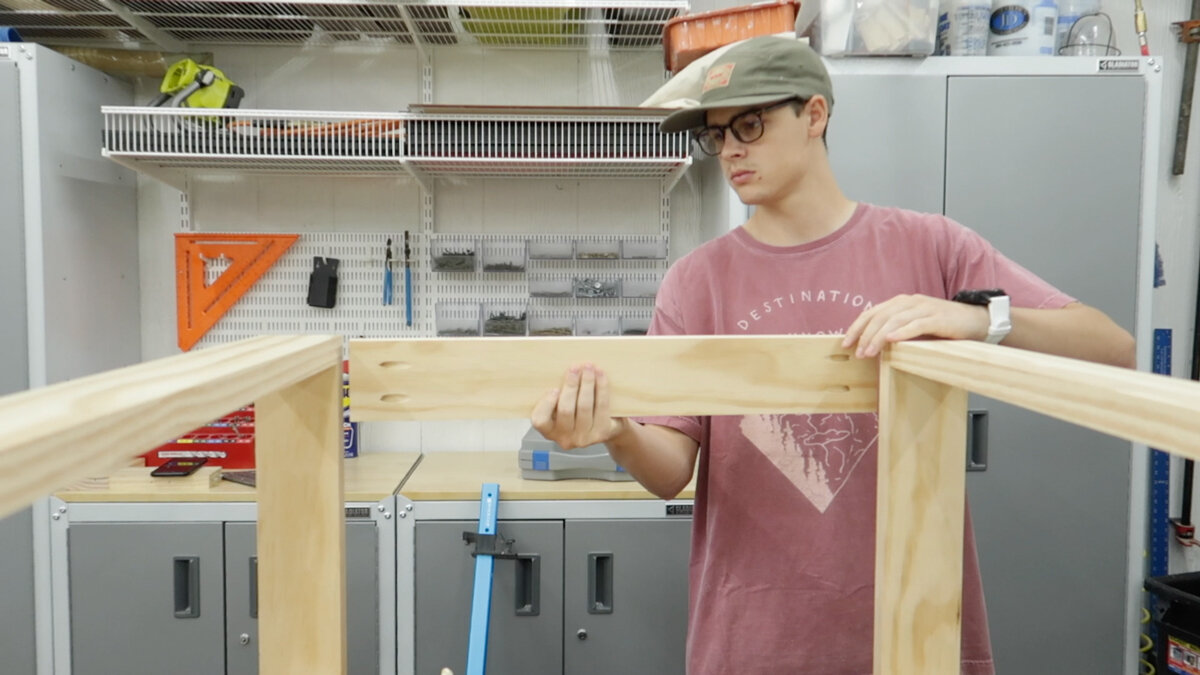
Now it’s time to put together the legs. They are in this rectangle shape and then we will tie the 2 of them together.

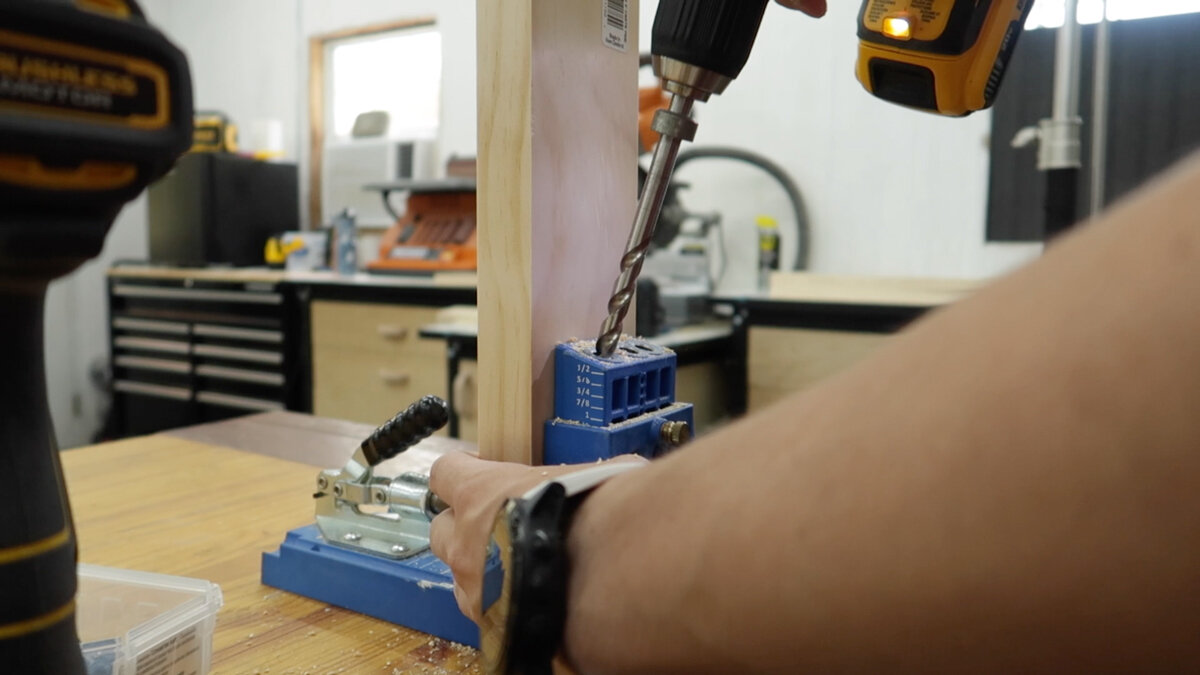
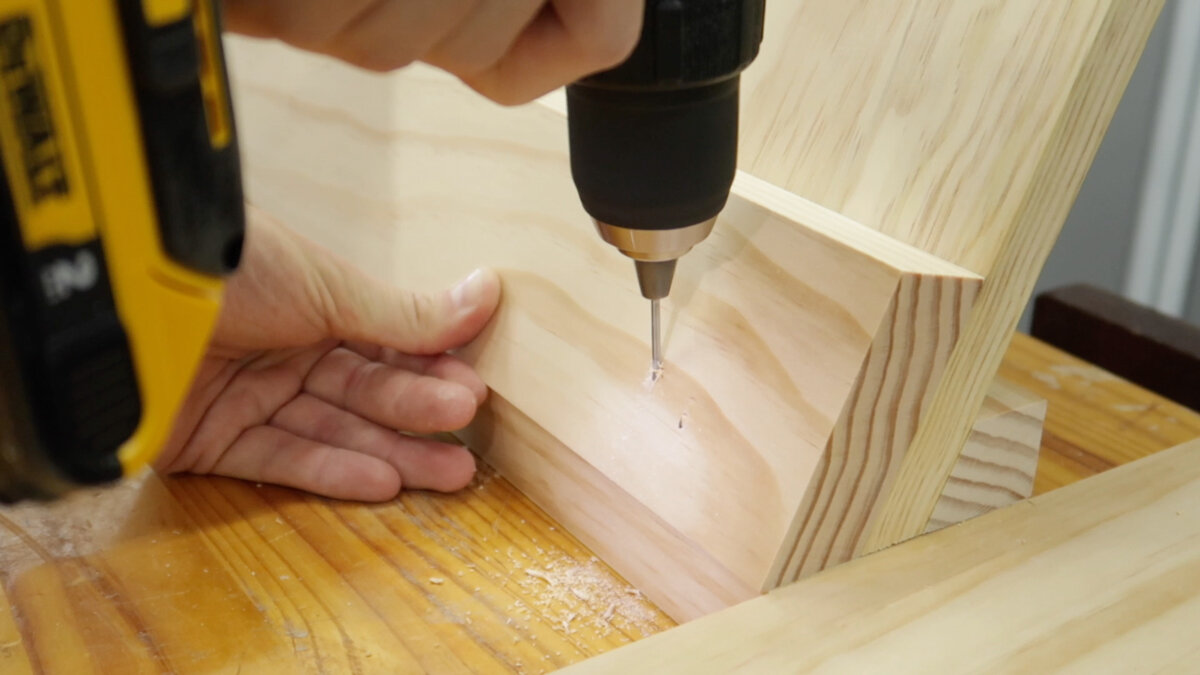
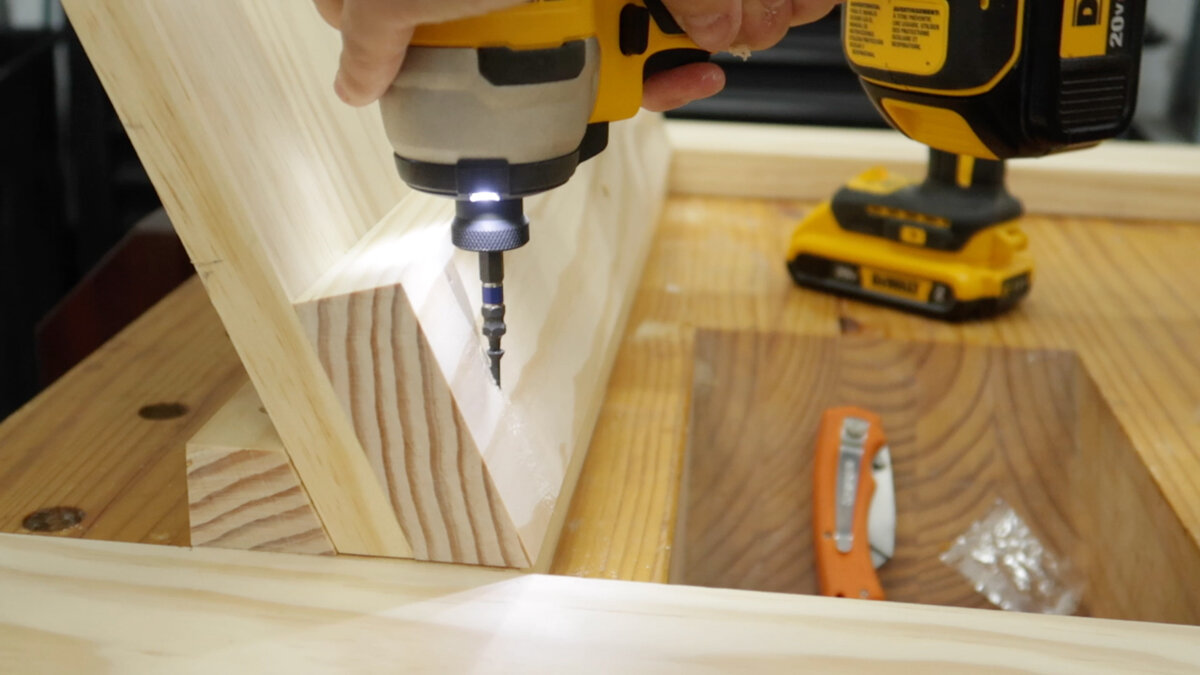
To do that, we are taking the same material as the legs and drilling pocket holes in both ends in 3 boards. One board for the back, one board for the front, and then one on the bottom, it’s just flipped upside down so we can reach it.
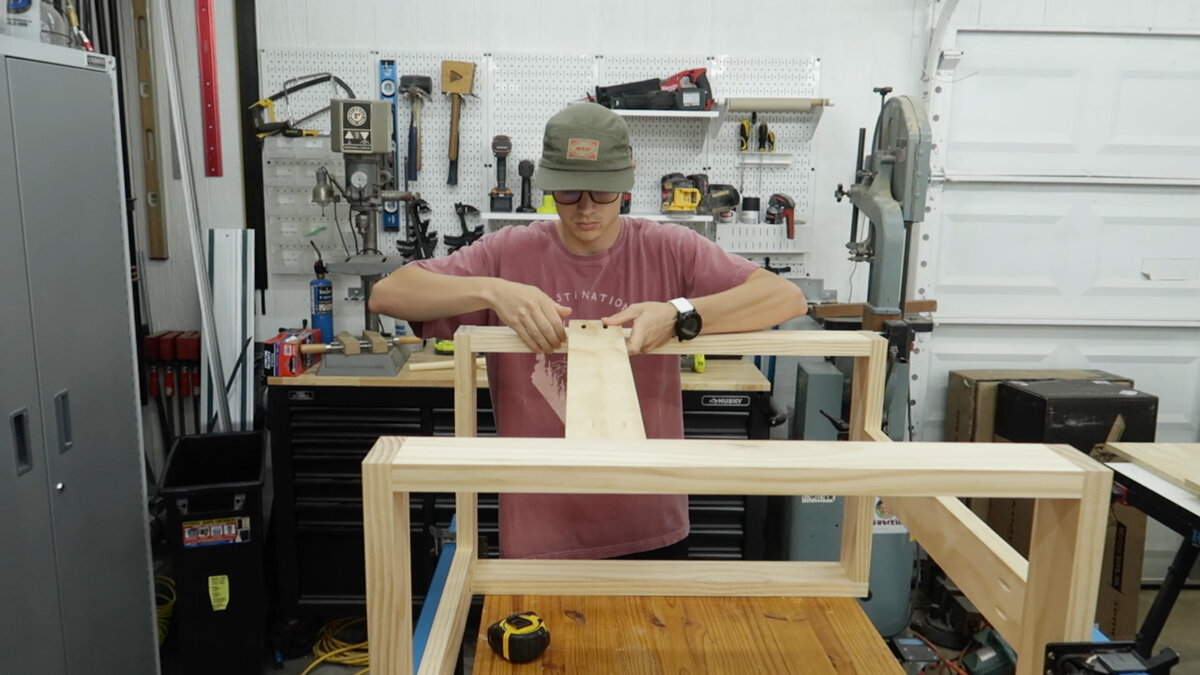
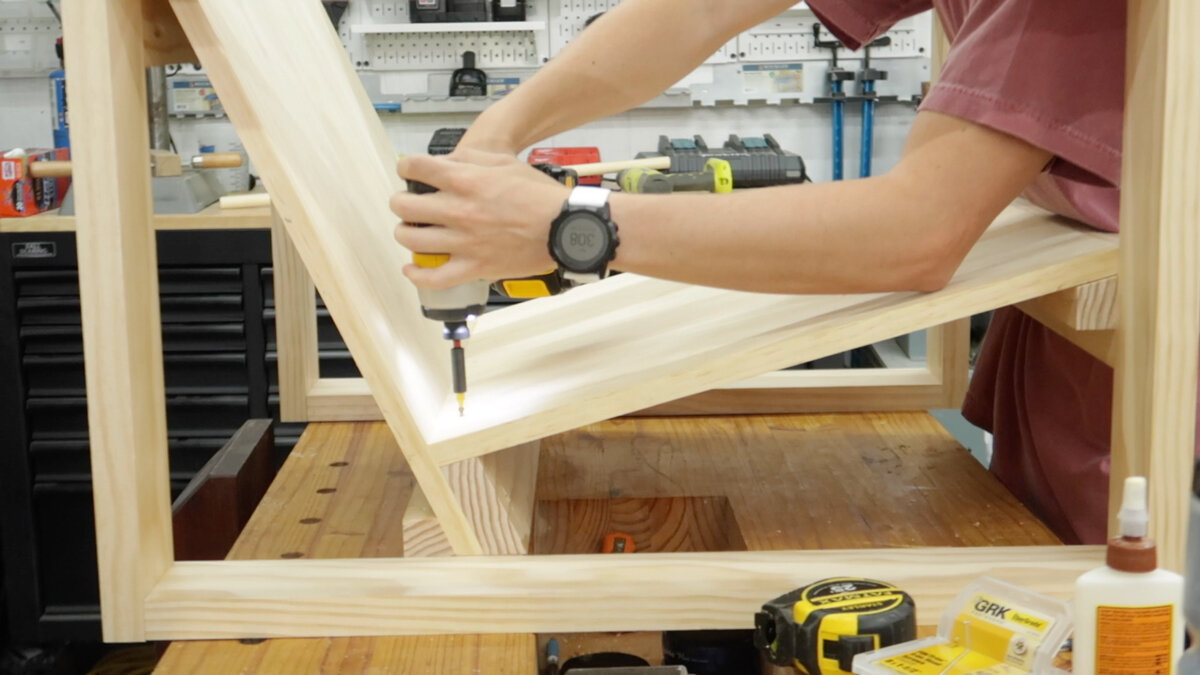
Remember the sandwich idea? Here’s how we are doing that. The bigger of the 3 angled pieces we cut, gets screwed onto the front of the back piece of the seat. Then, the other strip that matches the same angle for the back gets screwed down to the bottom stretcher of the chair, flush to the back. Then, slide the back piece into place, and drill straight down into the board we screwed to the front to the bottom stretcher. Screw down. Screws we used: https://amzn.to/2Ks (affiliate link)
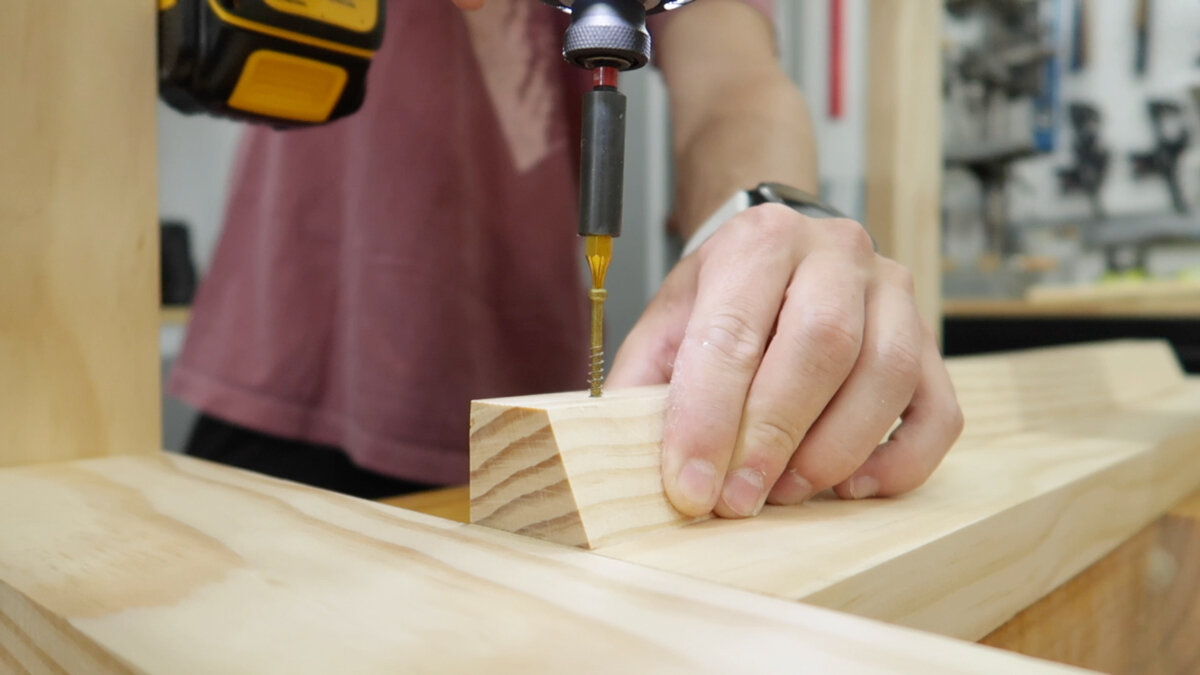
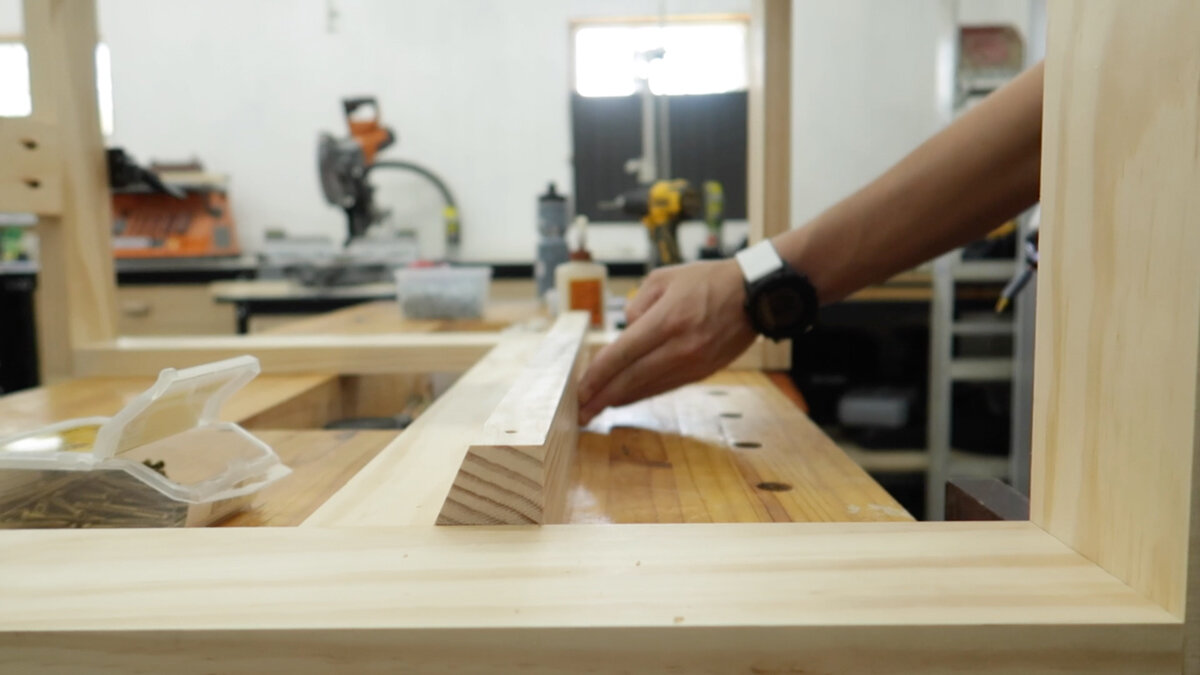
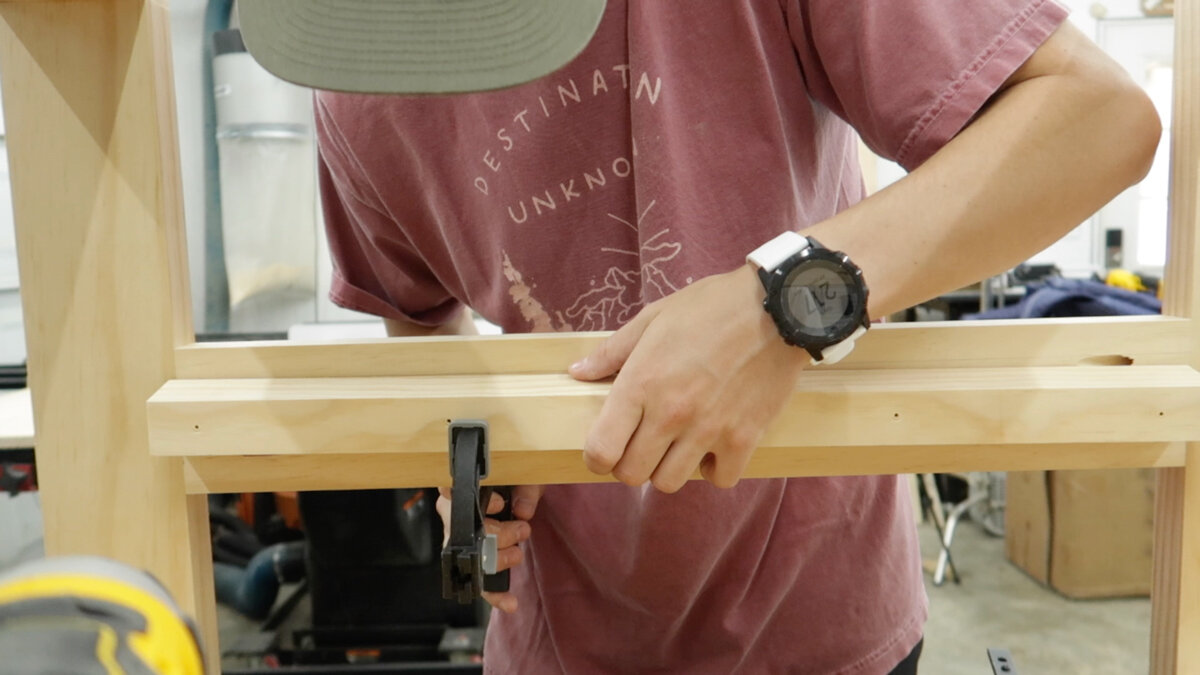
We need the bottom of the seat to be flush with the front, so we measured and marked a line where this strip needs to be to make all that happen. We lined it up, clamped it down and screwed it in.
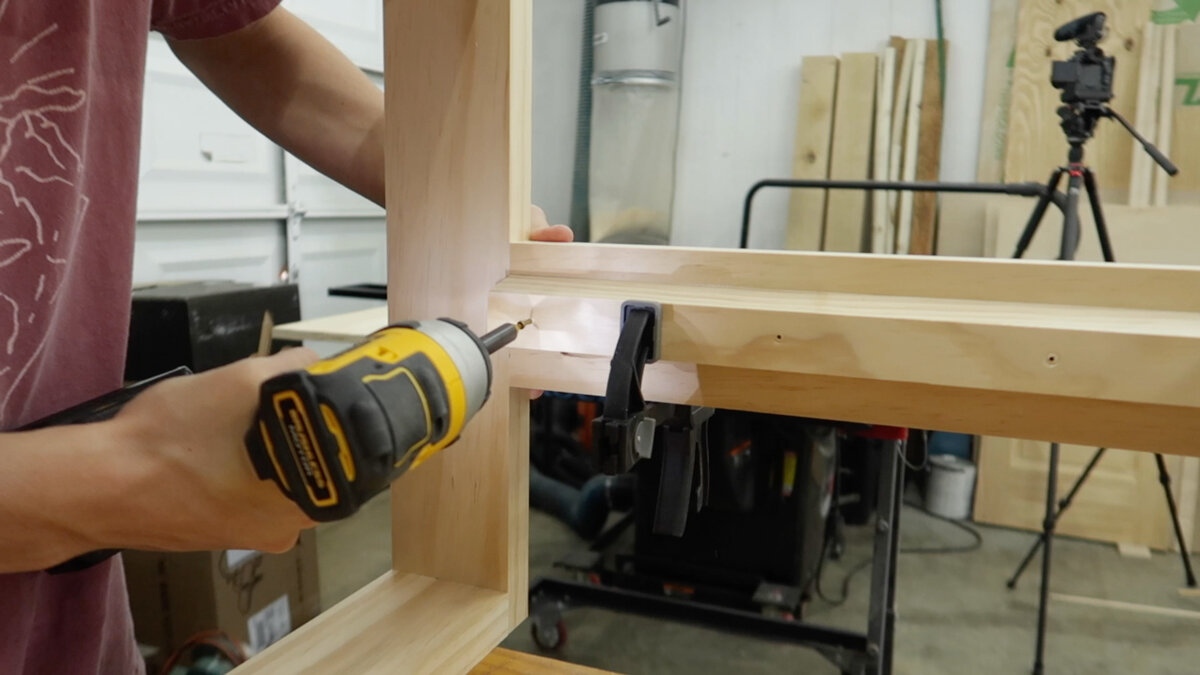
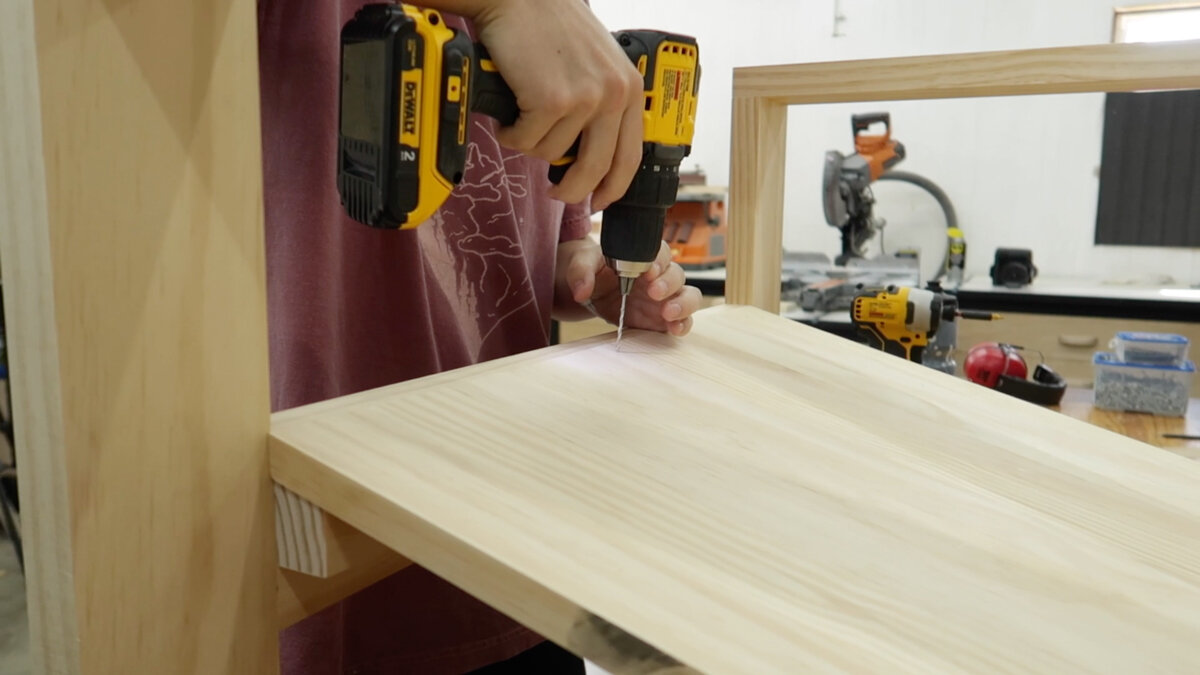
The back also gets screwed down to the back stretcher. The bottom piece is super simple, just by a few screws into the board attached to the back piece and into the piece up at the front underneath the bottom.
Just a few more things, filling in all the holes with wood filler, sanding them down, and finish. Here's a link to the finish we used: https://www.totalboat.com/products/halcyon-water-based-varnish?variant=43199624708320&sca_ref=3441955.CvWkTwgJnC
We also added feet to the bottom, so water won’t be an issue.

This little outdoor space is coming together, slowly, but surely! We are loving this DIY outdoor chair here! If you would like to check out more DIY outdoor furniture, here are our other projects:
https://www.woodbrew.tv/category/all-projects/outdoor-projects/