DIY Outdoor Sofa!

This post is sponsored by Total Boat.
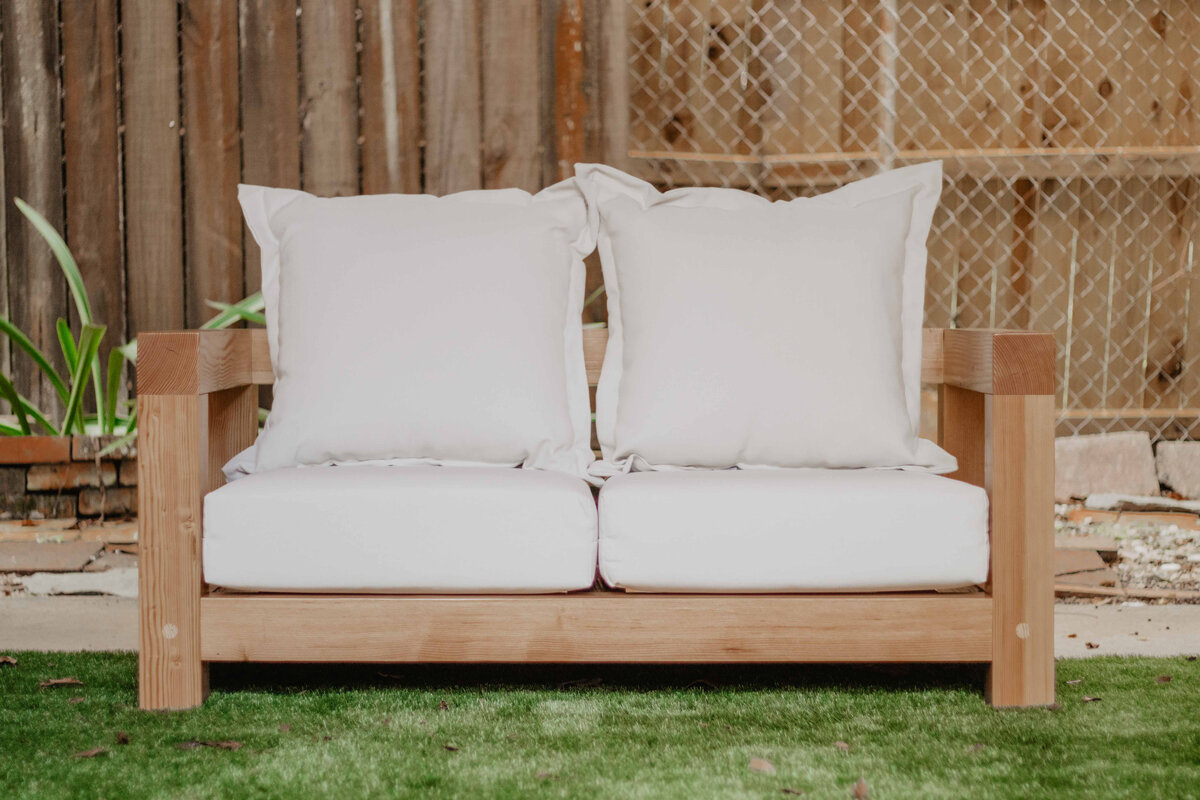
Our first addition to the outdoor living space is the DIY Outdoor Sofa! Love how it turned out! We get the question of where we got the cushion a lot, so we got them at Target. They are a seasonal item and are only available during the summer.
We have a set of plans for this project that gives you all the measurement and detailed instructions: https://www.woodbrew.tv/product/outdoor-sofa-plans/
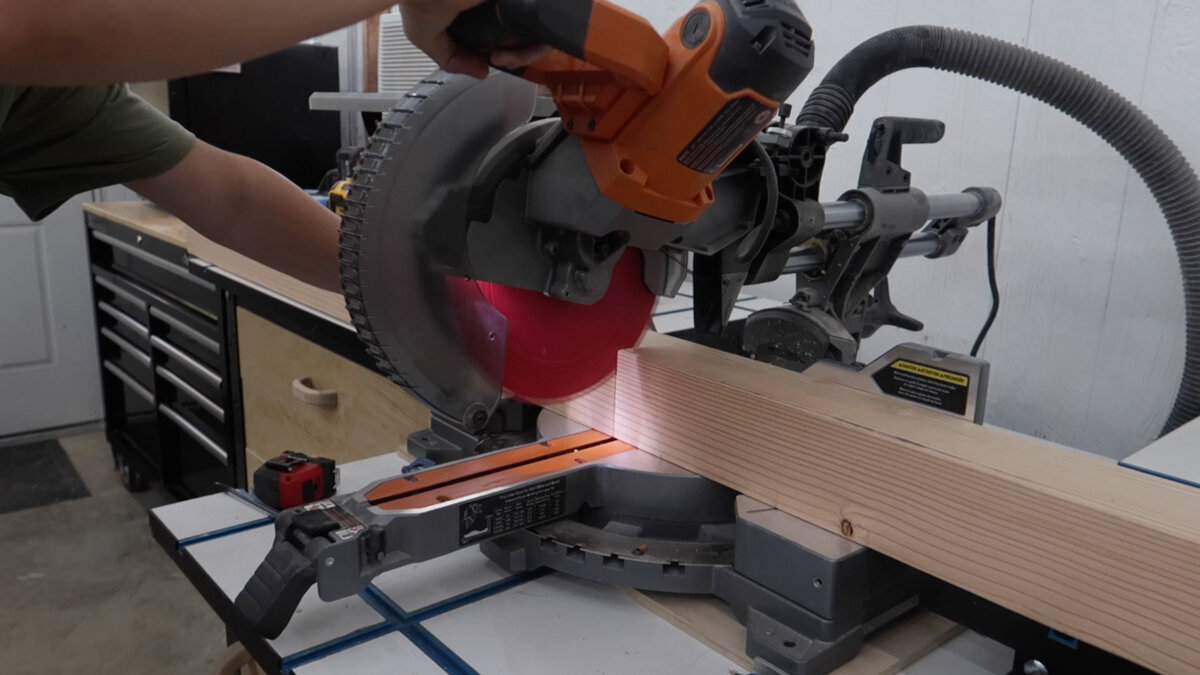
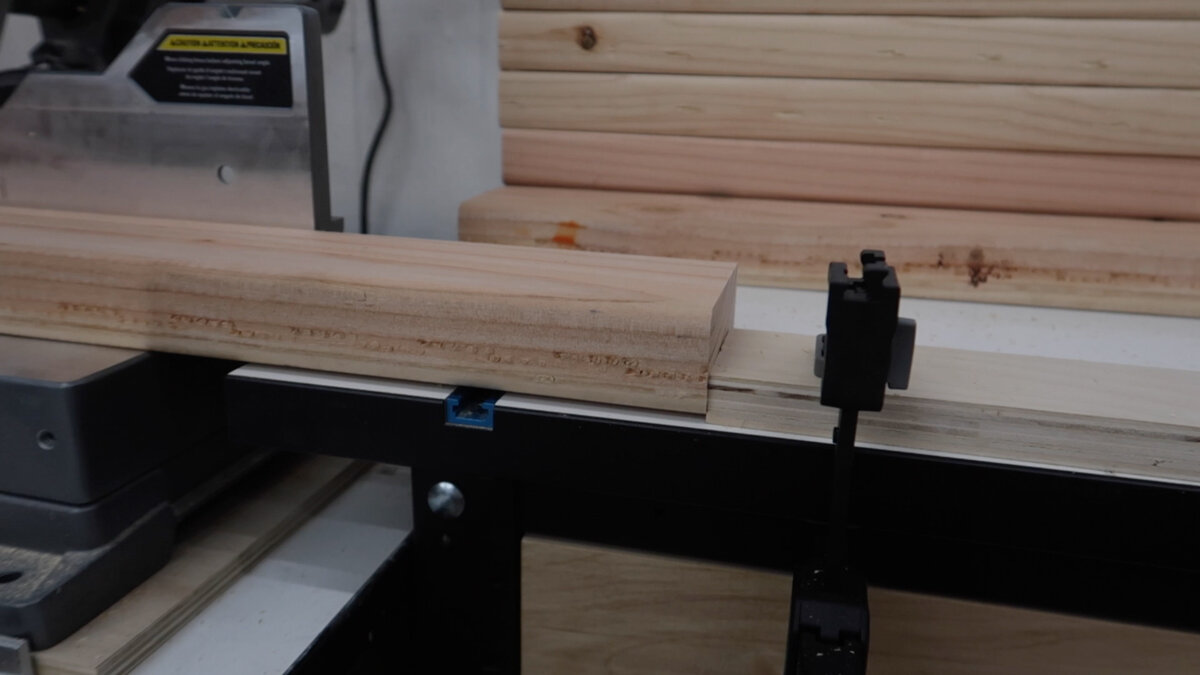
This DIY Outdoor Sofa is super simple when it comes to materials. All we need is a couple 4x4s, about (4) 2x4s and handle full of 6” wood screws , pocket hole screws , bottom cushions, and back cushions. First thing, always, is cutting down materials to length. The 4x4s are for the 4 legs, front and back stretchers, and the side stretchers. The 2x4s are going across the bottom like slats for our cushions to sit on. We just put up a make shift stop block real quick so we can easily make the same cut repeatedly. So this is going outside and no this isn't treated wood, we will talk about this in a second. We have a plan.
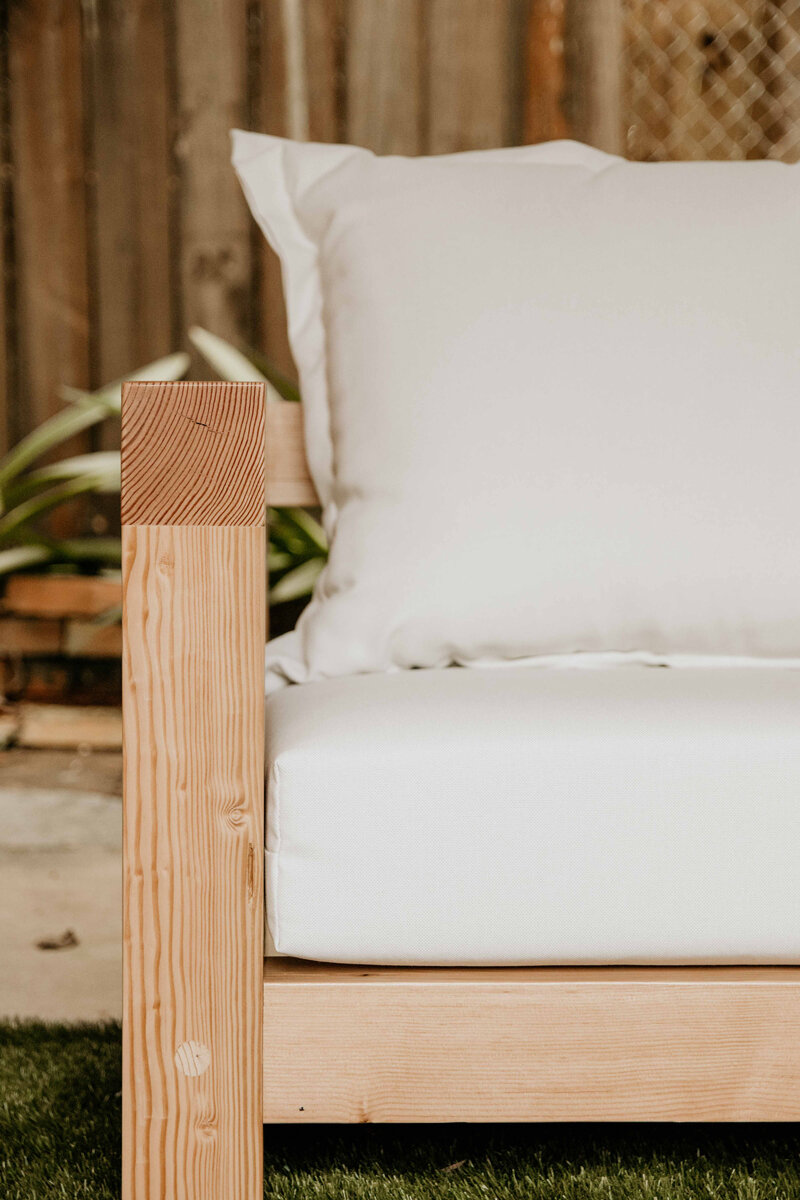
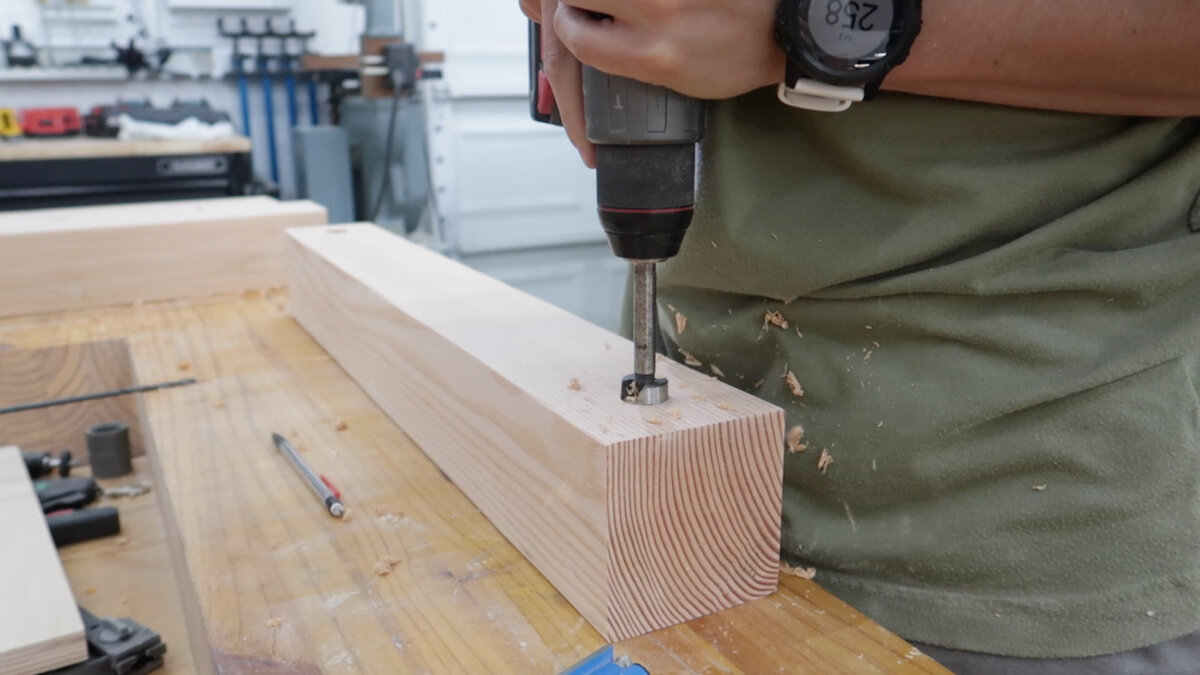
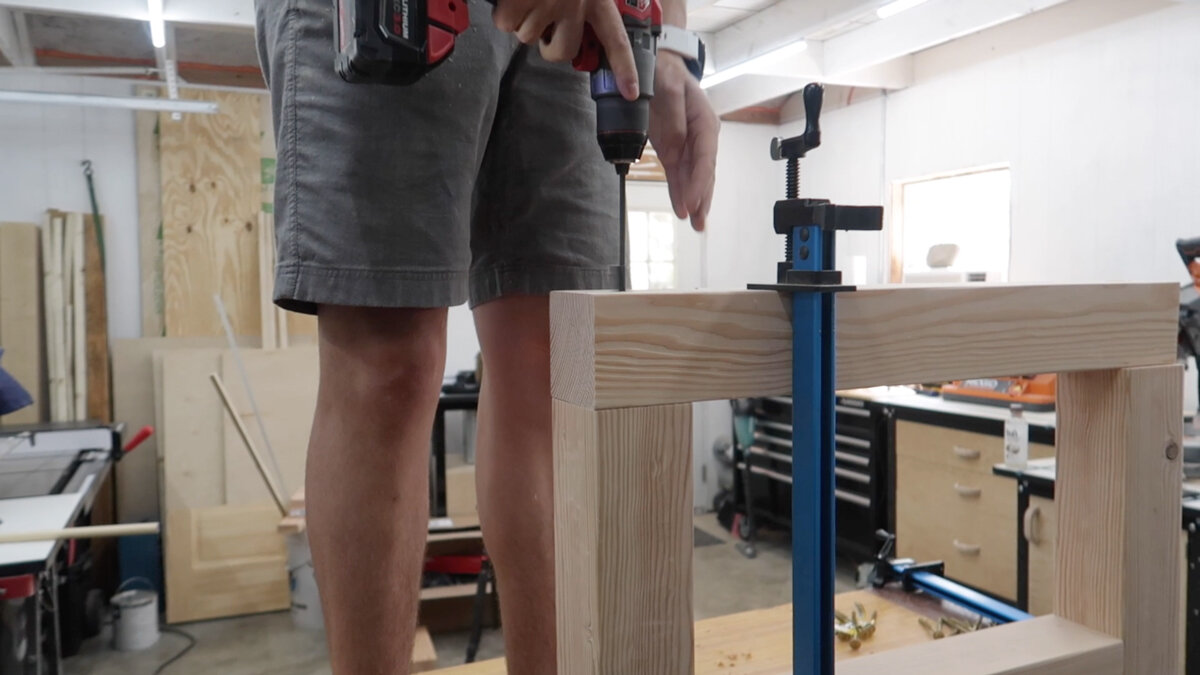
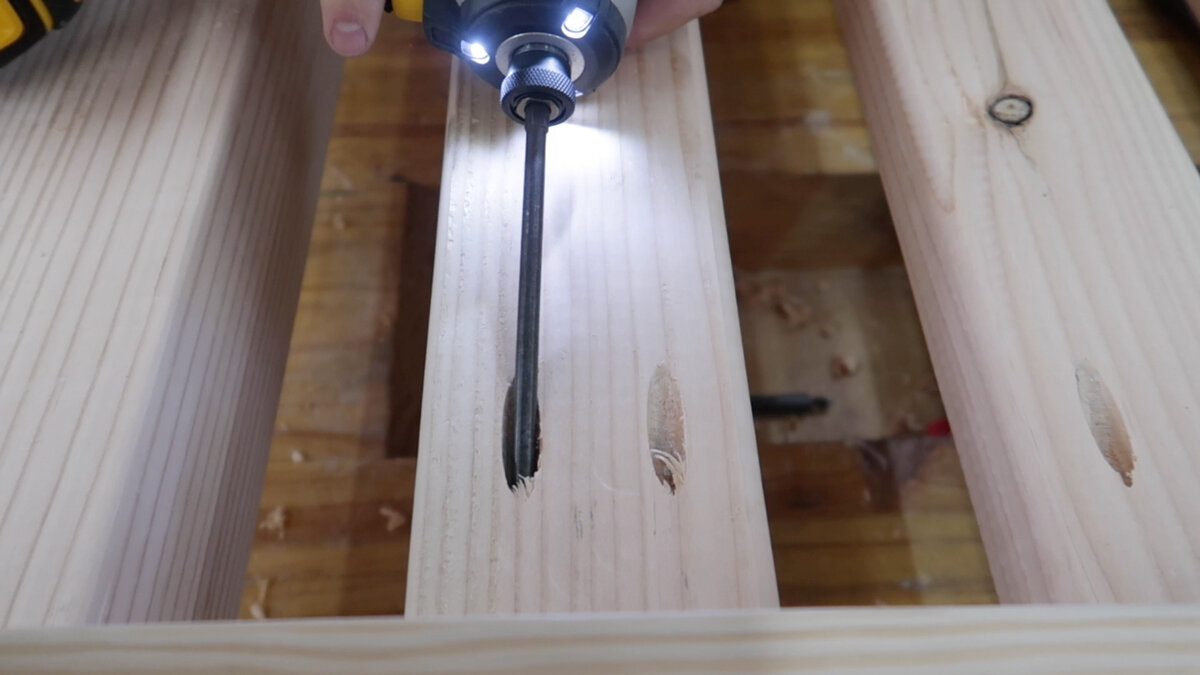
Before we get to assembling, we are going to do a quick sand (sander (affiliate link)) and round off the corners and pre drill for our screws. We want the screws to be inset so we can plug them later, so for that we used a forestner bit and then a regular drill bit for the pilot hole past the inset. A good way to mark how deep you need to drill for a screw is just to tape off the drill bit to how long the screw is. Easy peasy.
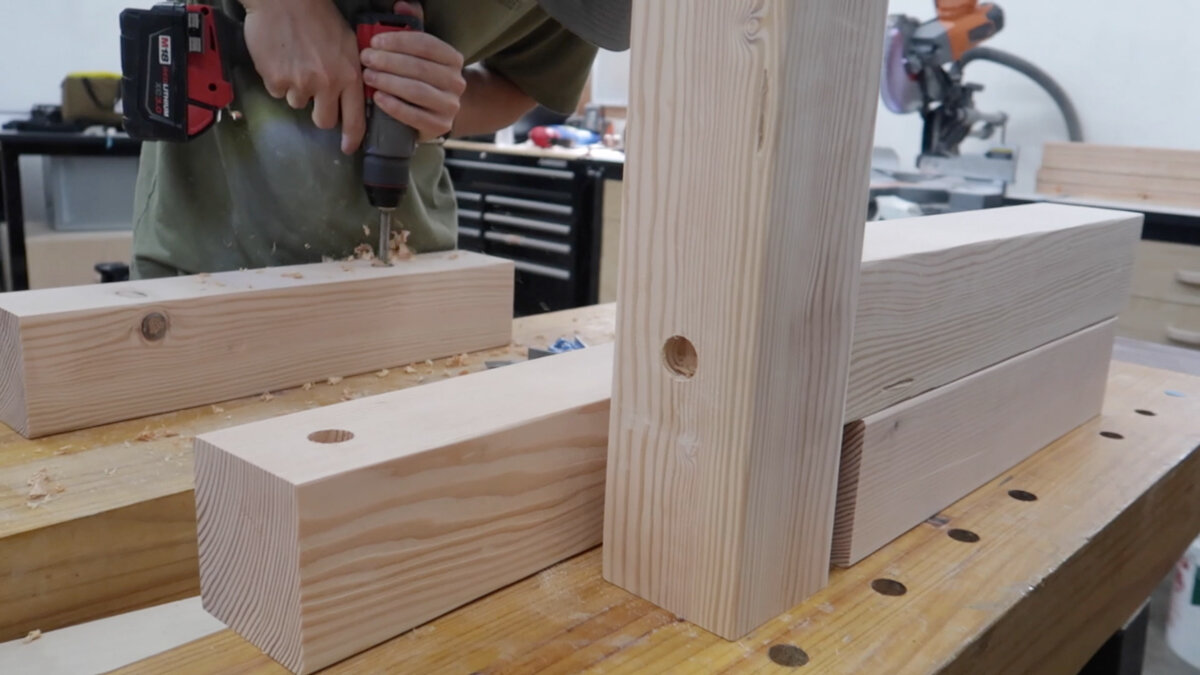
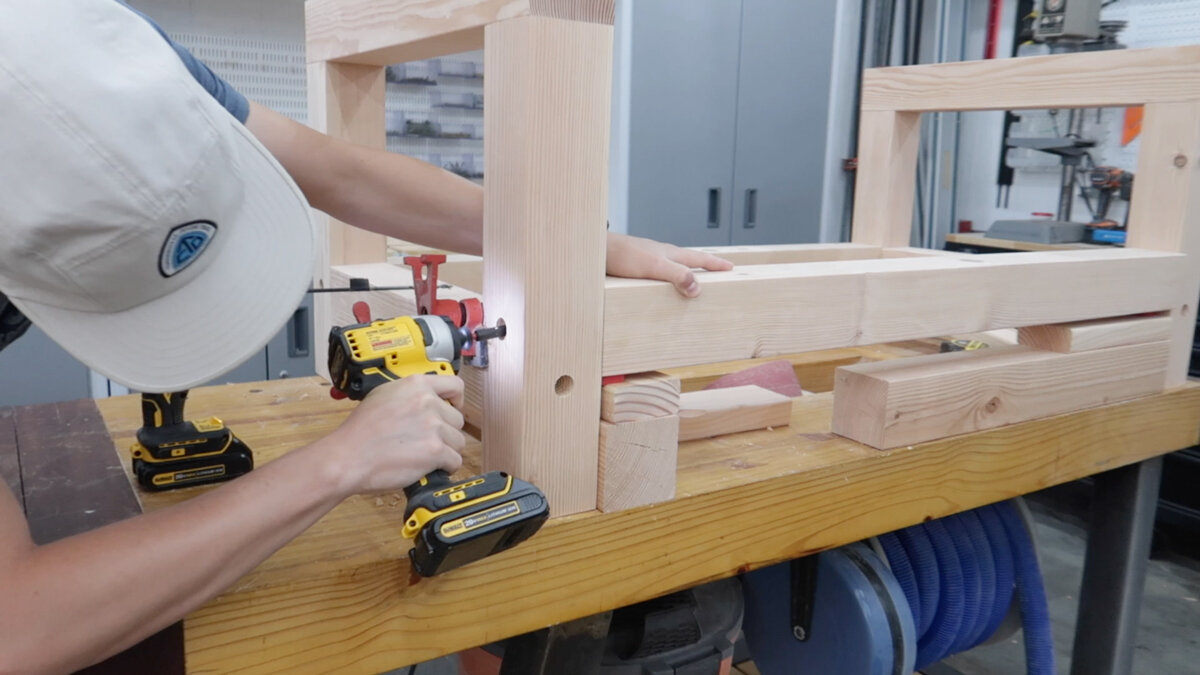
After the two sides are assembled we can attach the front and back stretchers. For the back stretcher, we put it up a little bit higher than the front one. This way the bottom cushions wouldn't slide out the back.
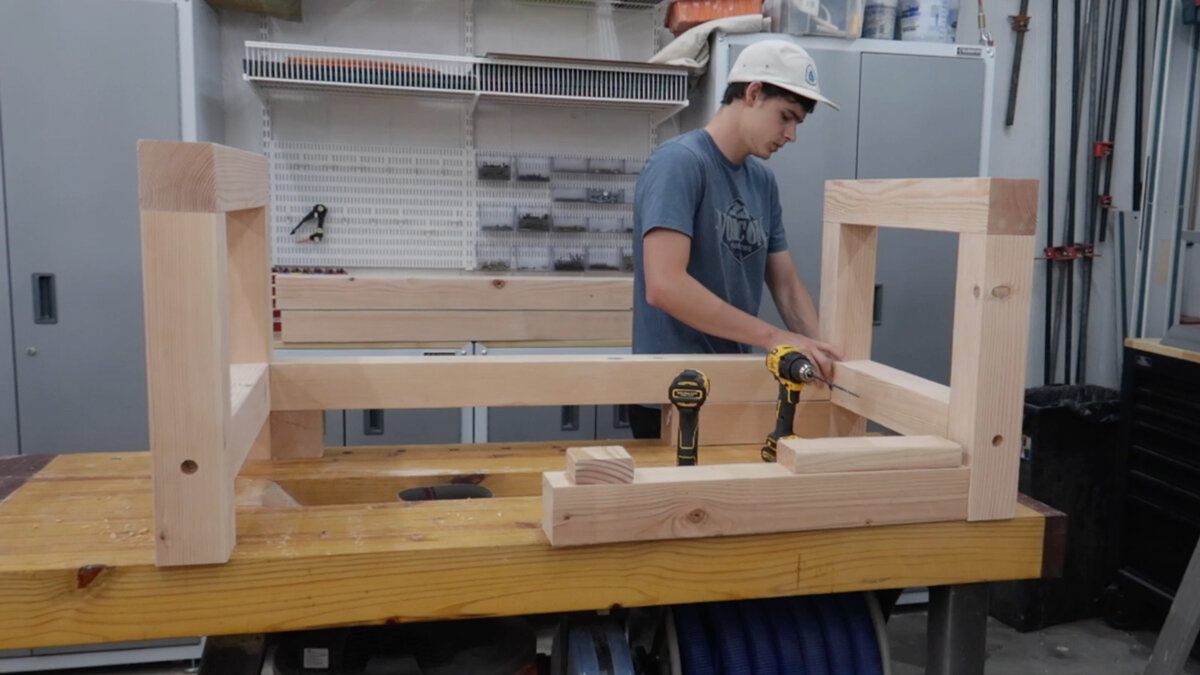
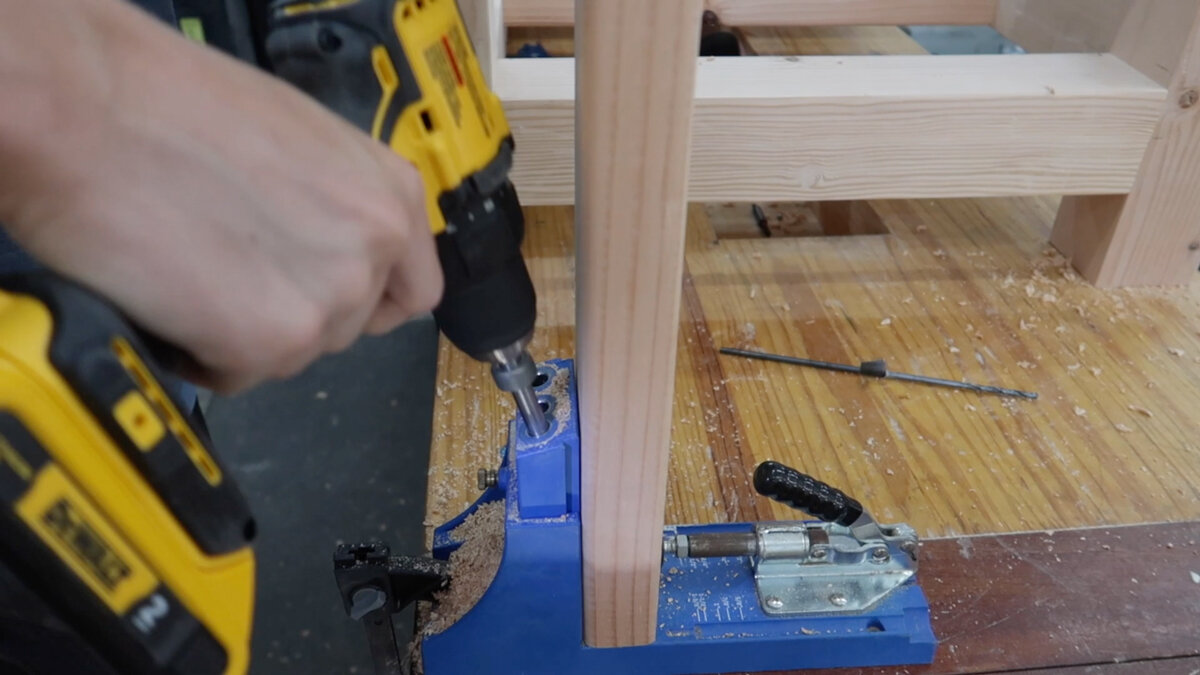
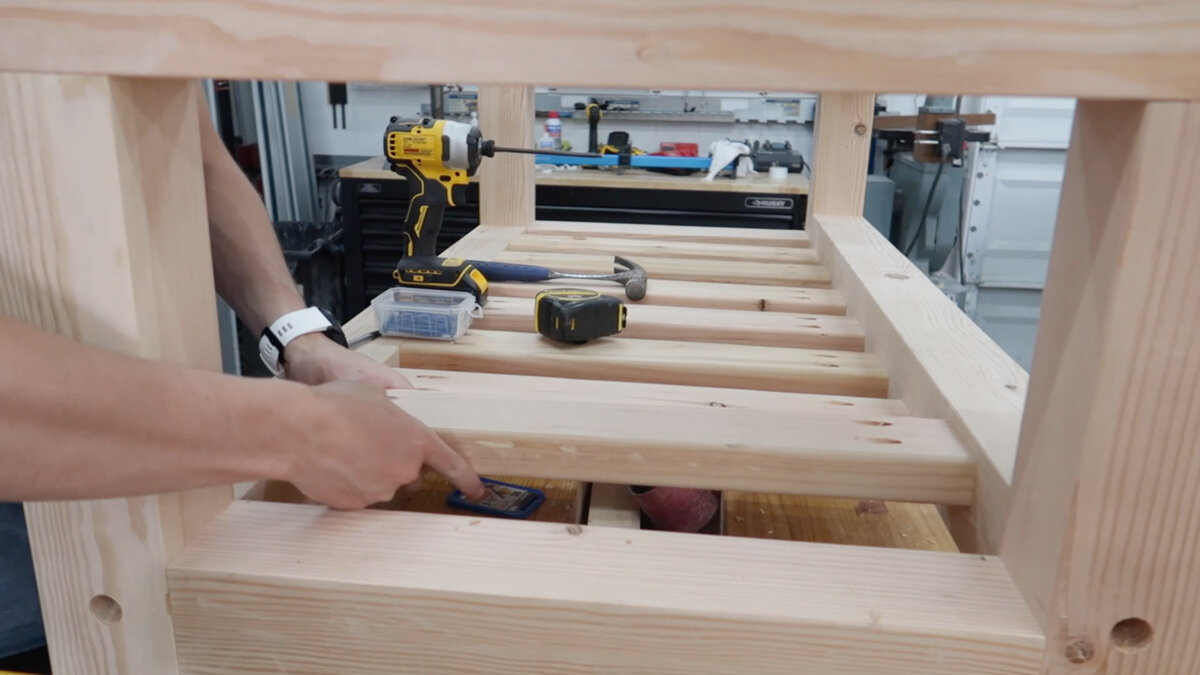
Now time to add in the 2x4 slats to the bottom. We for sure don't want to screw them in from the front where you would see all the holes. Instead, we drilled for pocket holes and then could attach them right in.
After everything is assembled, we went back in and plugged all the holes with a dowel. Just by adding some glue and tapping the dowel in really well we can saw off the excess and then come back in and do a final sanding.

For finish, we are using a clear gloss varnish from Total Boat. You can click here to learn all about this product and all about the rest of their awesome products. You can use the code "WOODBREW15" to get 15% off your order! This stuff is legit. It’s water based, so that makes the clean process super easy, and you can apply it with pretty much anything. It’s meant to be put on pretty thick and it’ll dry in an hour and it’s ready for another coat. Best part, you don't have to sand in between coats. Best part is, no need for sanding in between coats! This is how we are going to seal up the untreated wood and it will last a very long time with the varnish being ultra durable and UV resistant. Total Boat is a company that specializes in boat finishes, so you know this is the real deal. We did a total of 3 coats and I’m hoping we were careful enough to get every single spot.

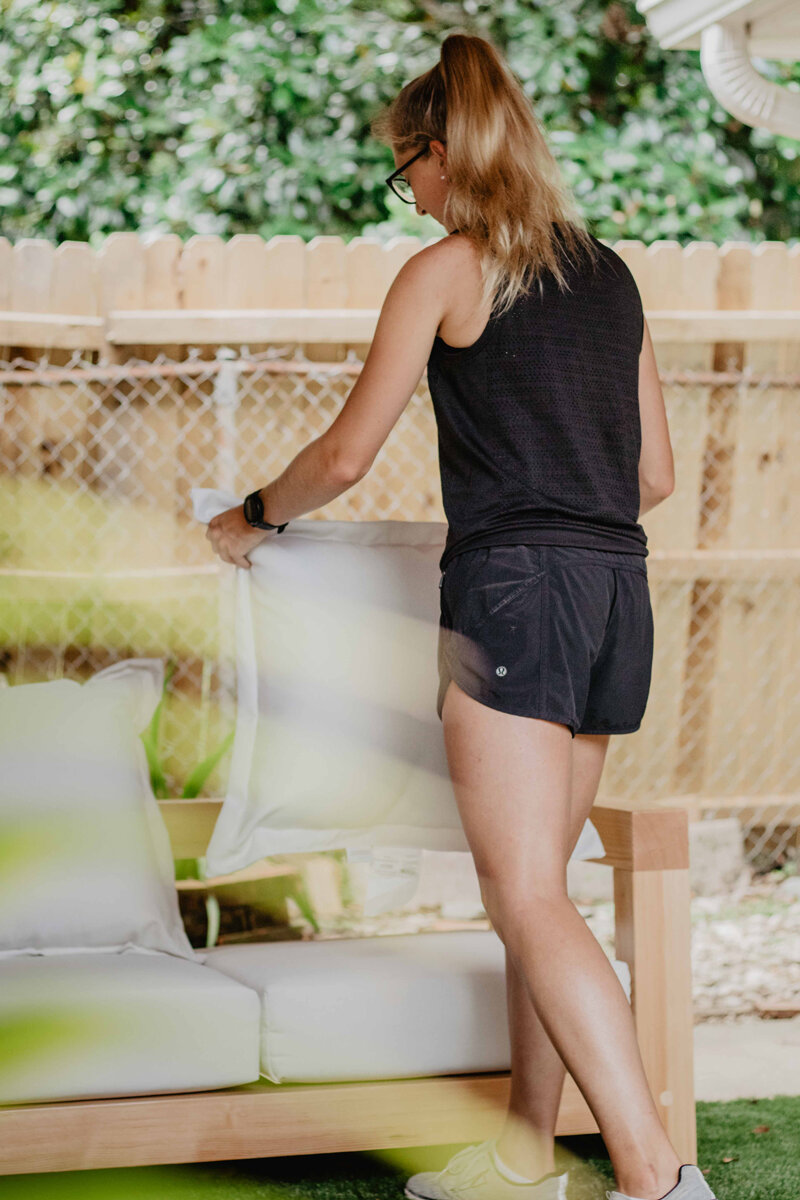
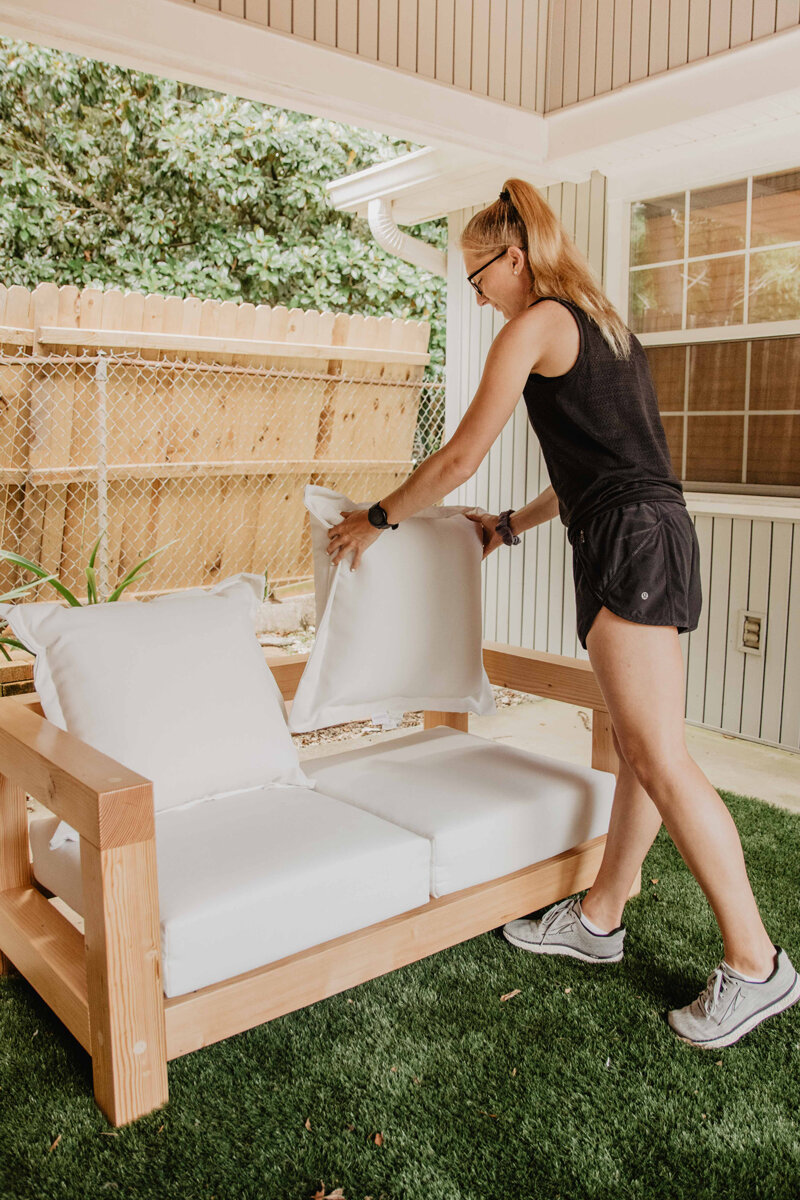
Now just to add in the cushions and final touches around the sofa and we can relax. This DIY outdoor sofa is low to the ground because we wanted it to be super relaxed and loungy to lay outside. We love how this project turned out. f you want to check out more outdoor projects click below!
https://www.woodbrew.tv/category/all-projects/outdoor-projects/