DIY Shelving Unit
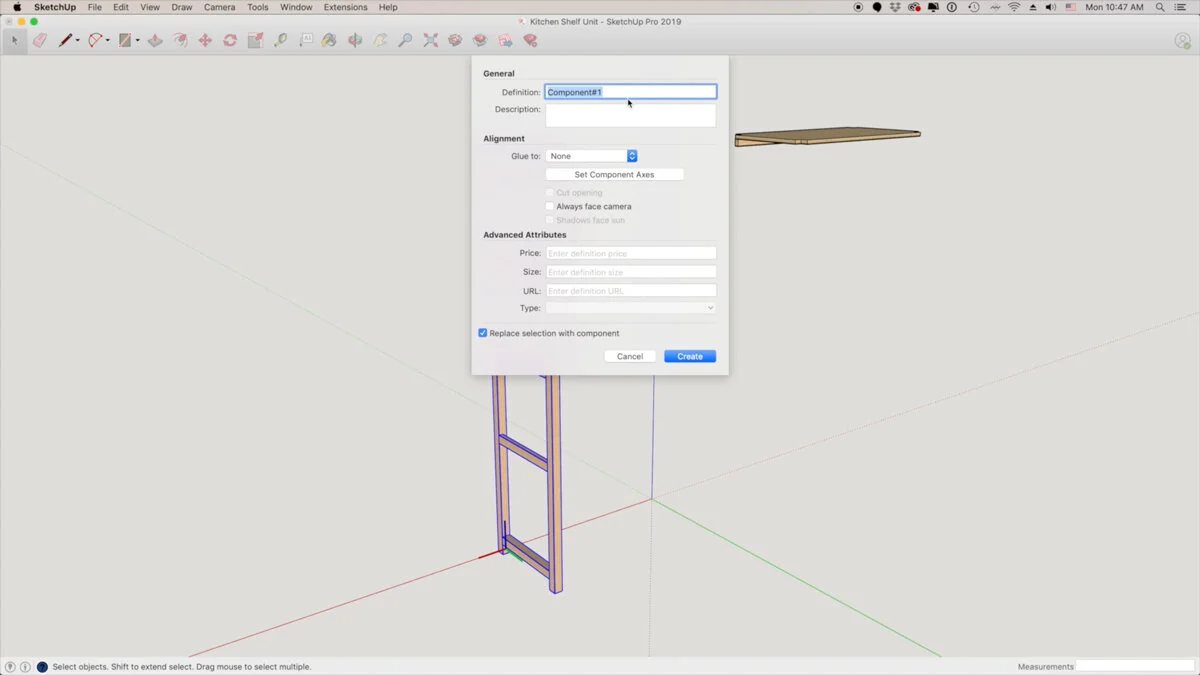
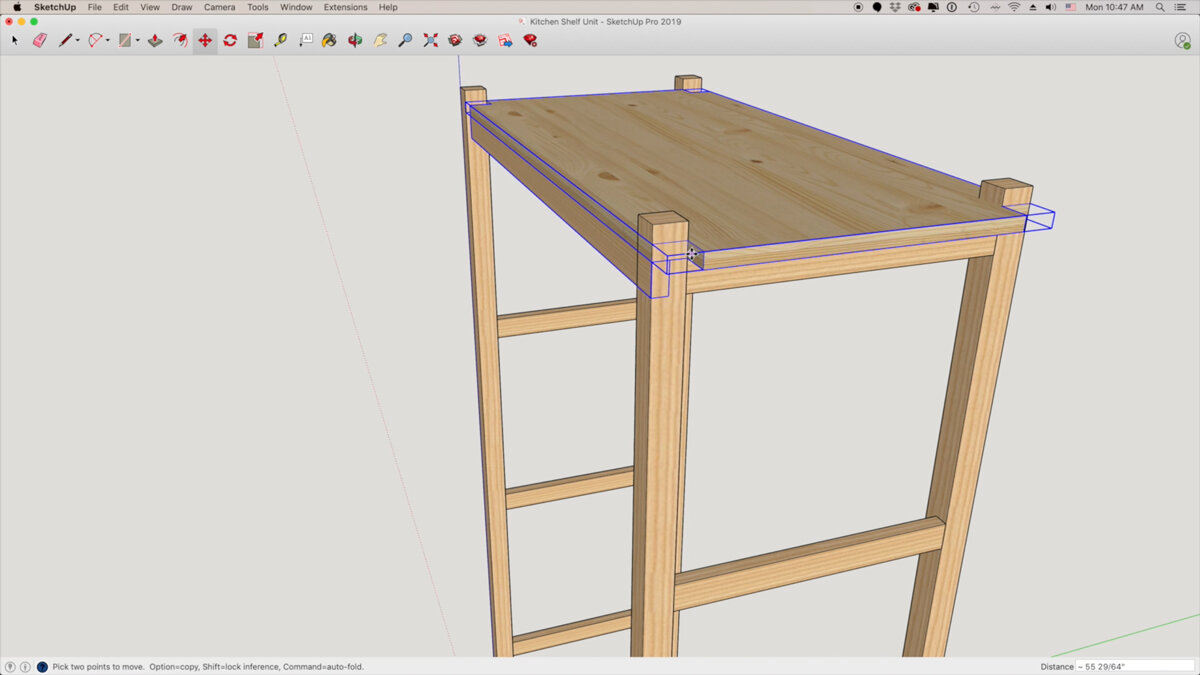
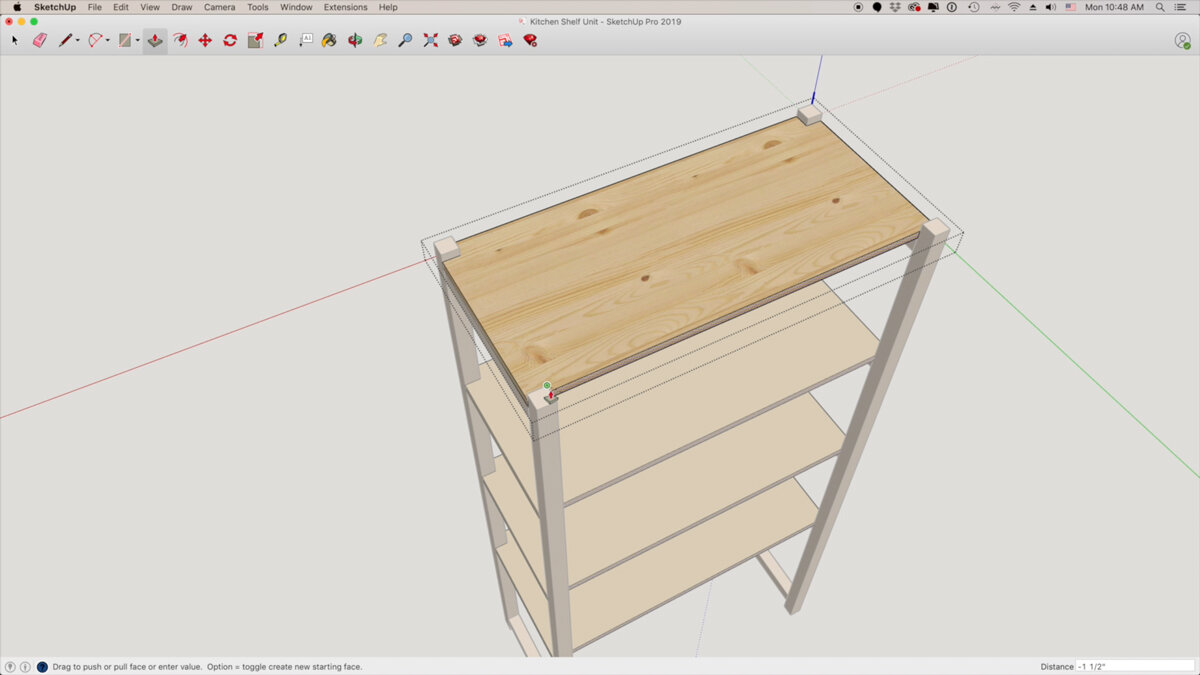
This project is sponsored by SketchUp, you can watch this video about to see how we design all of our projects before we ever get started in the shop!
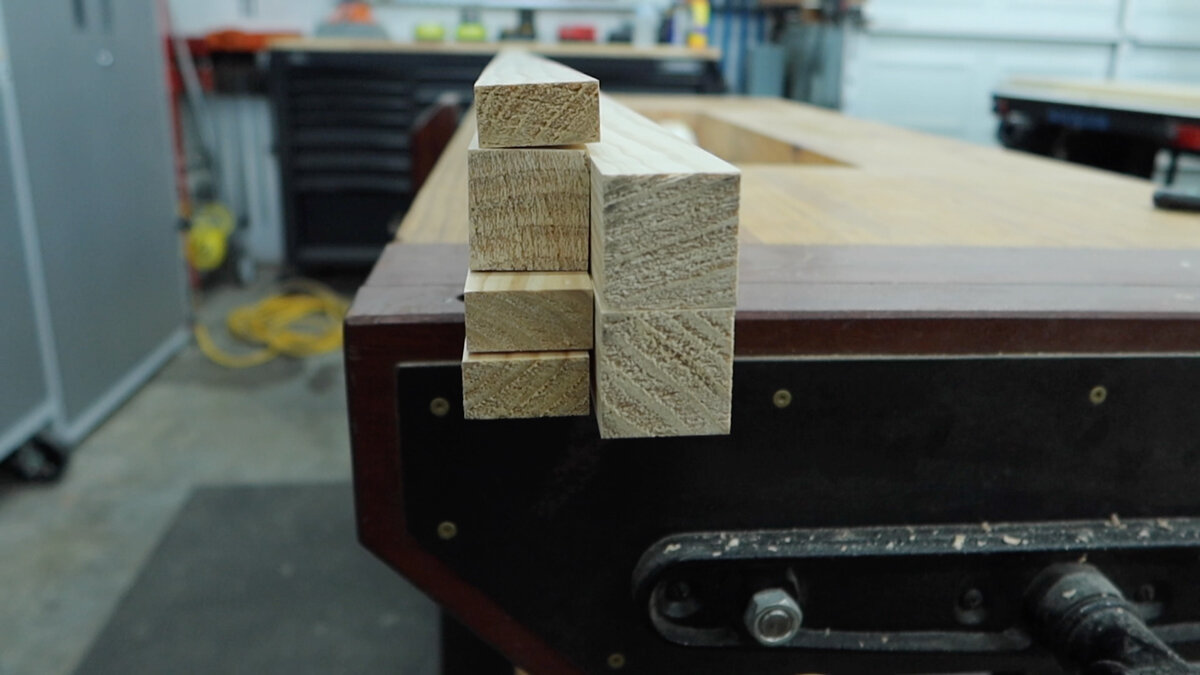
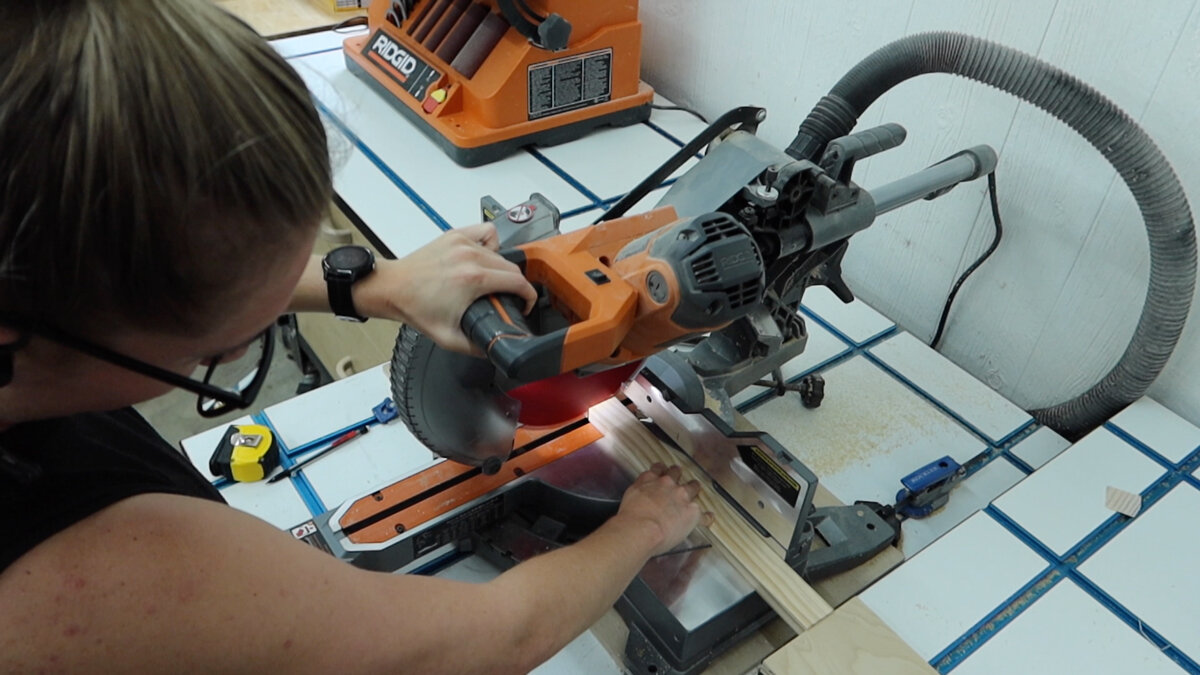
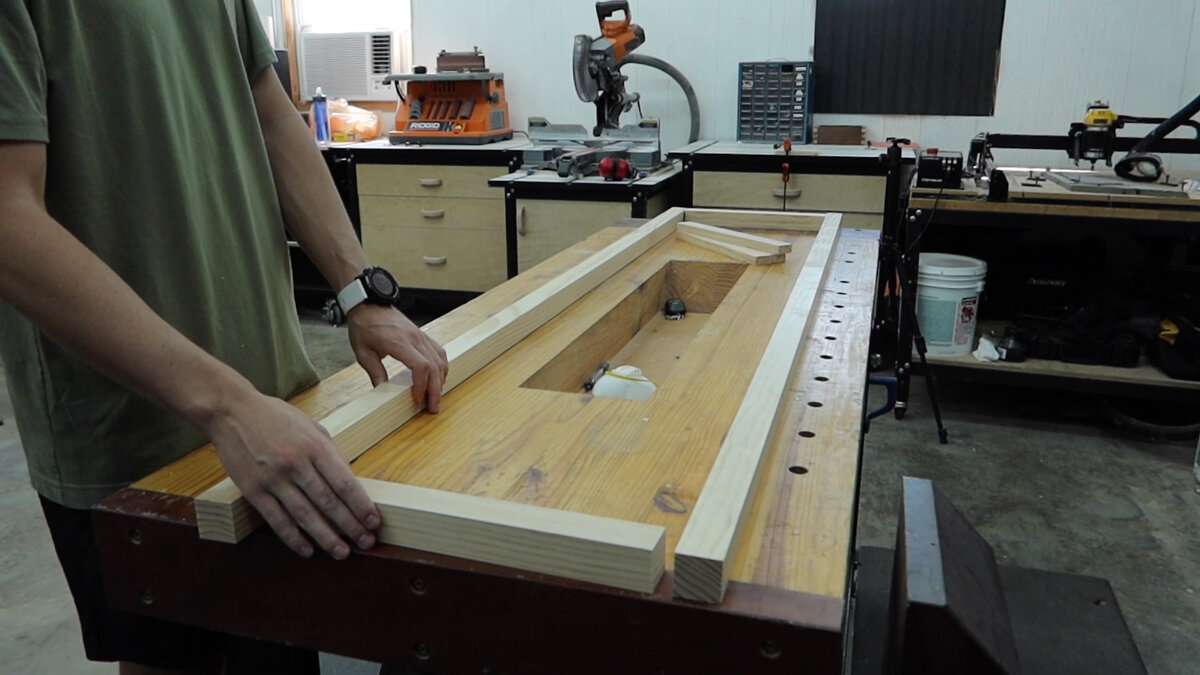
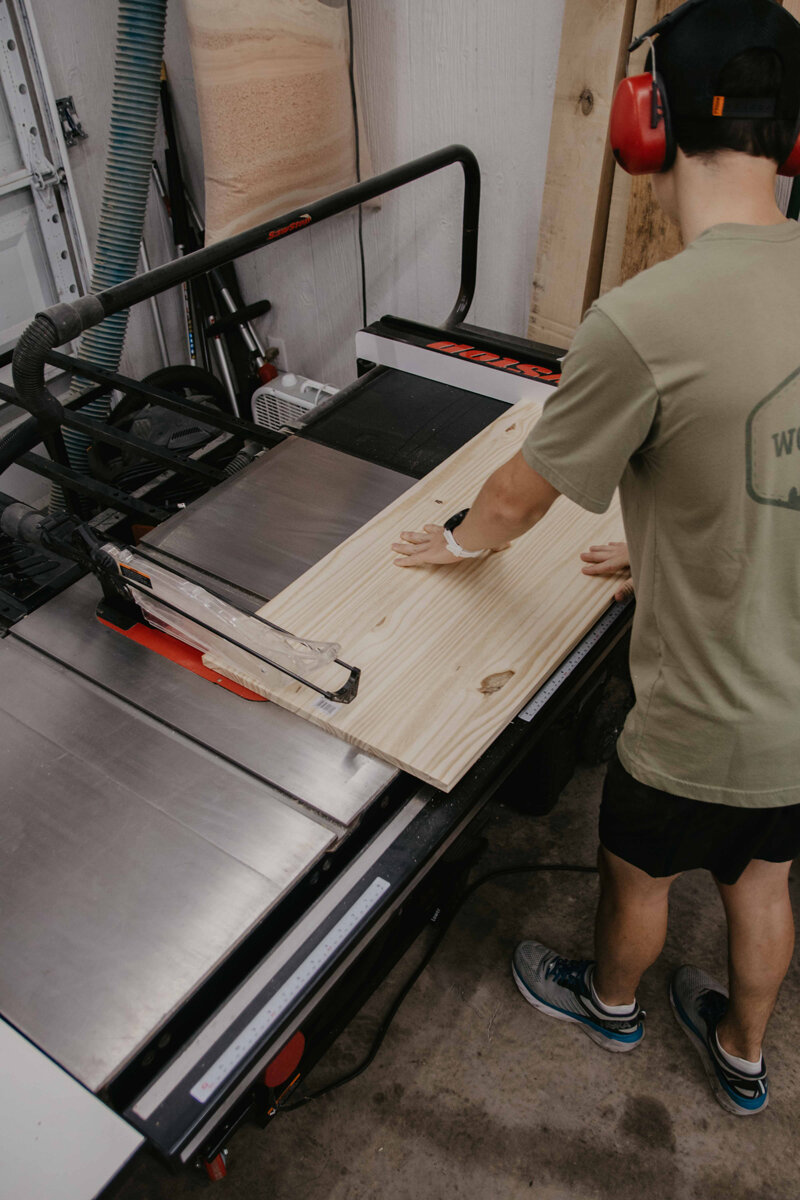
First off, we are going to cut down our materials to length, which are going to be 4 legs from 2x2s and then the stretchers for the shelves to sit on from 1x2s.

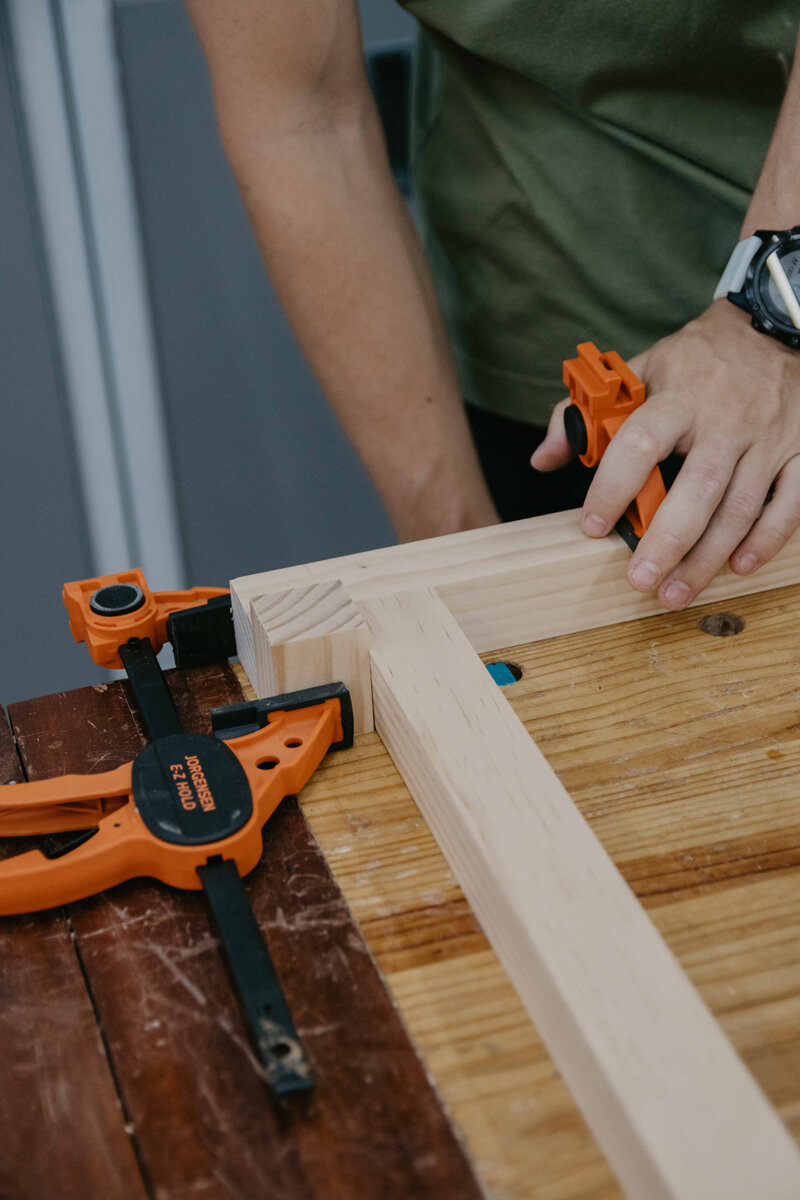
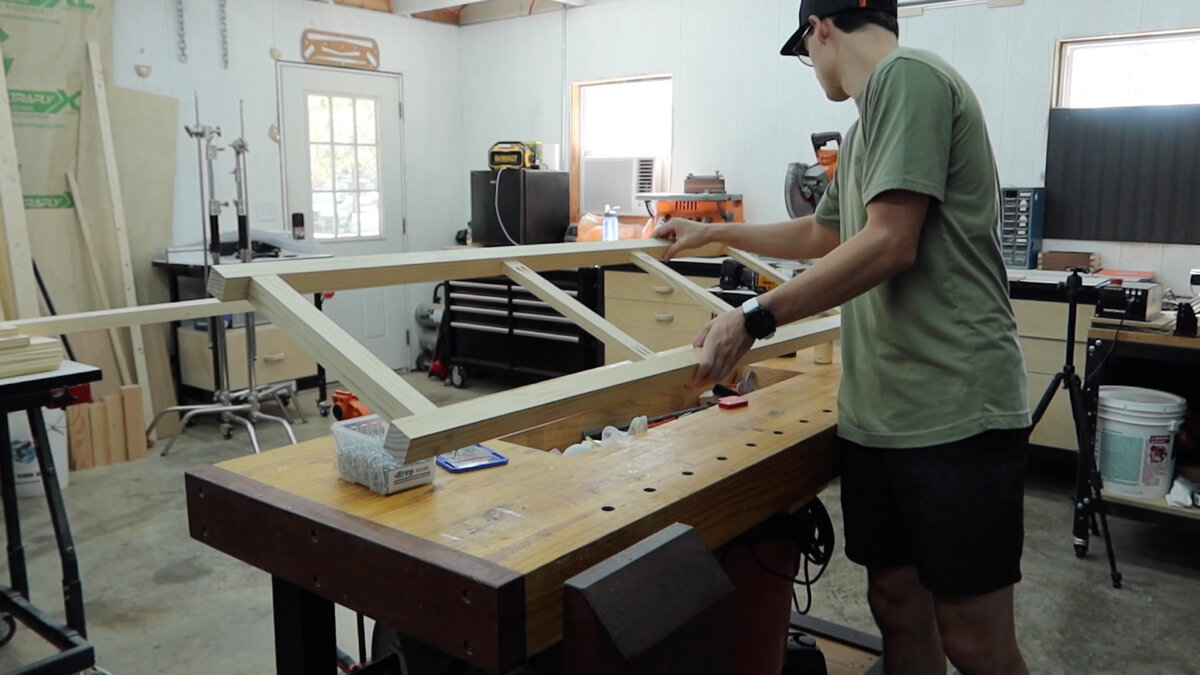
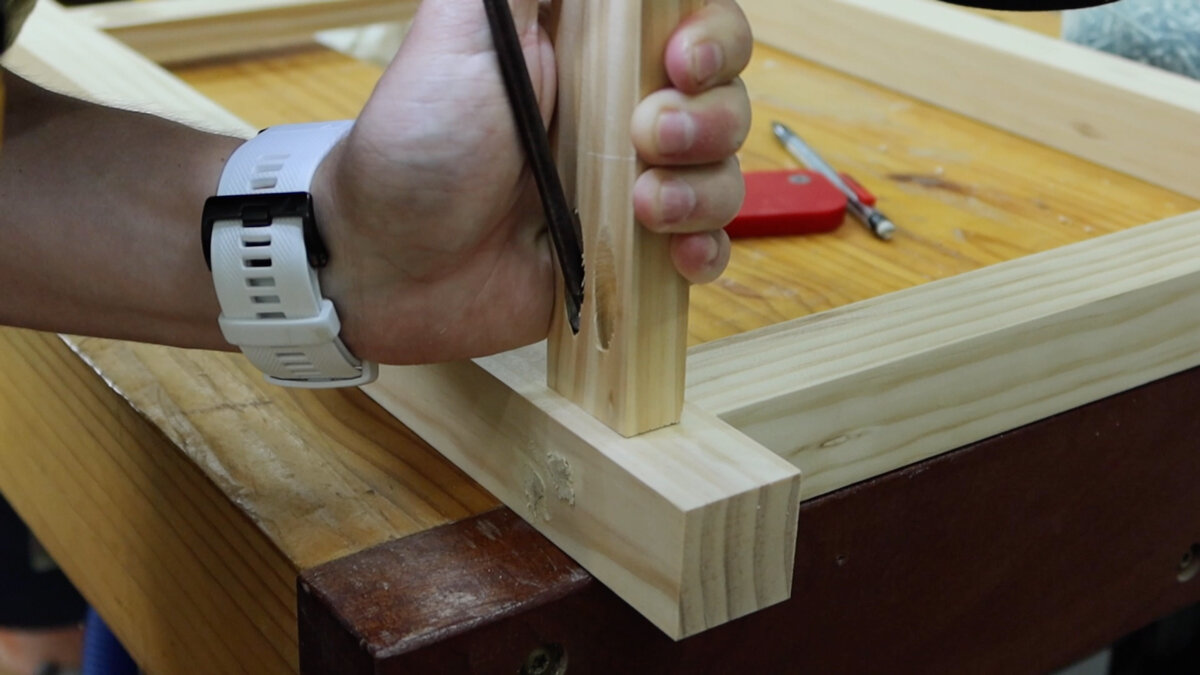
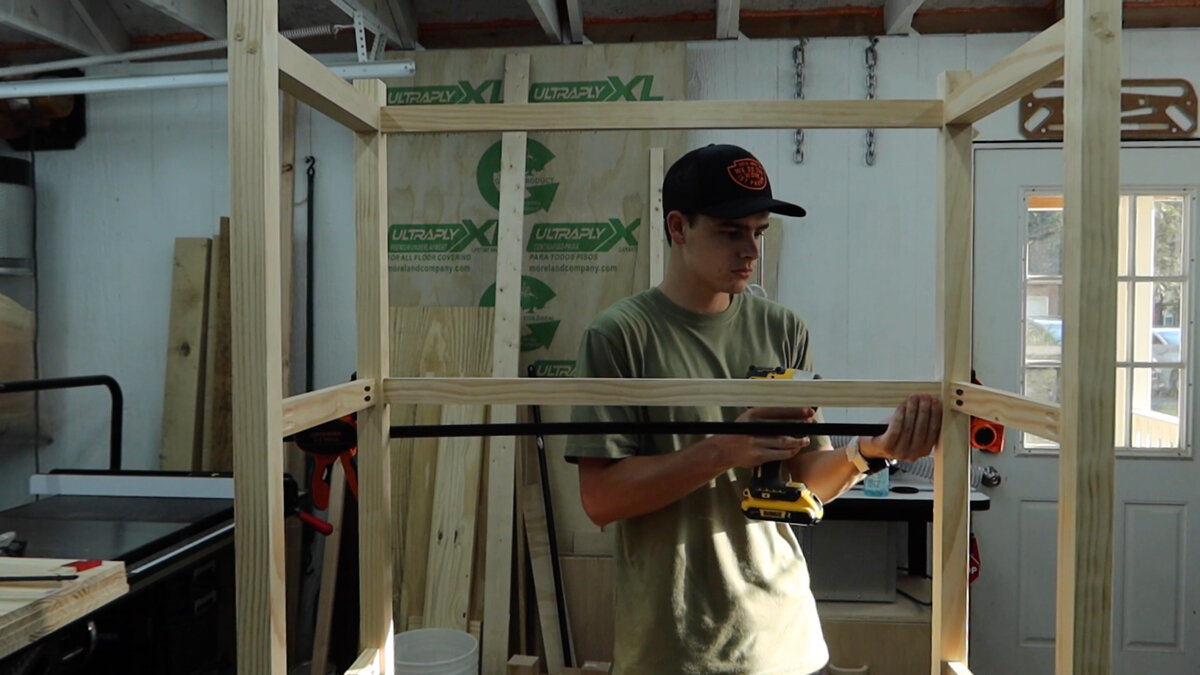
For assembly, we are going to assemble one side at a time. Using a scrap piece of 2x2 we can raise the bottom stretcher up the leg and clamp it down so it won't move when we screw it together. We did the exact same thing to the opposite side for the top.
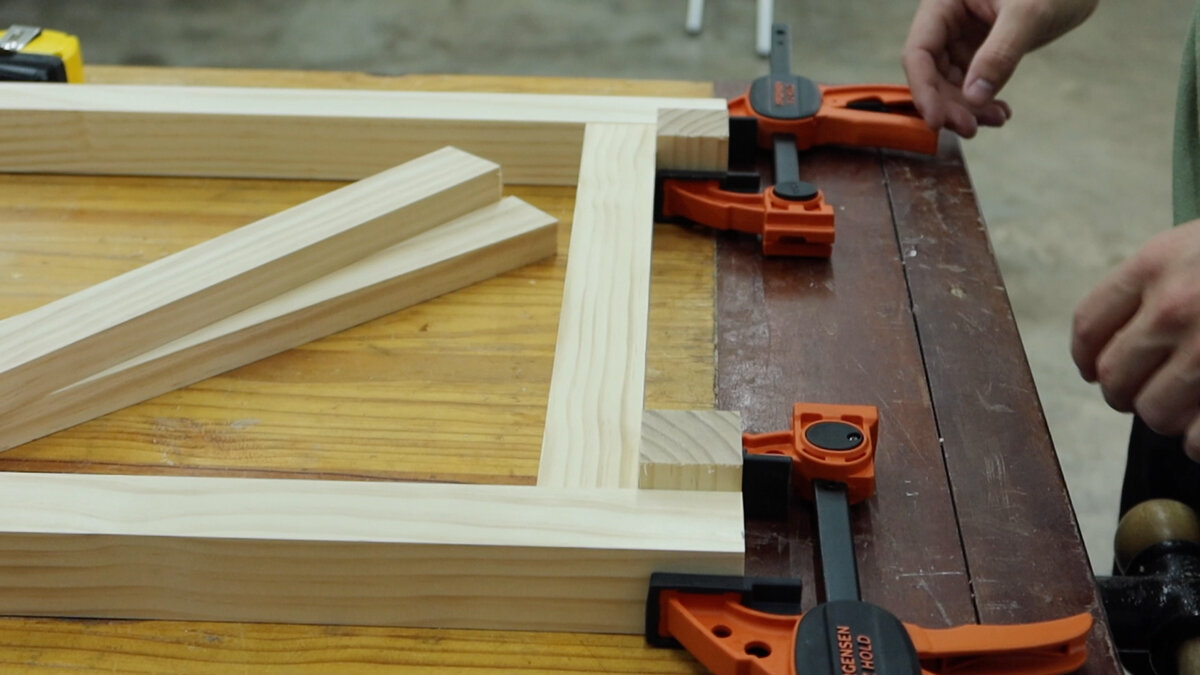
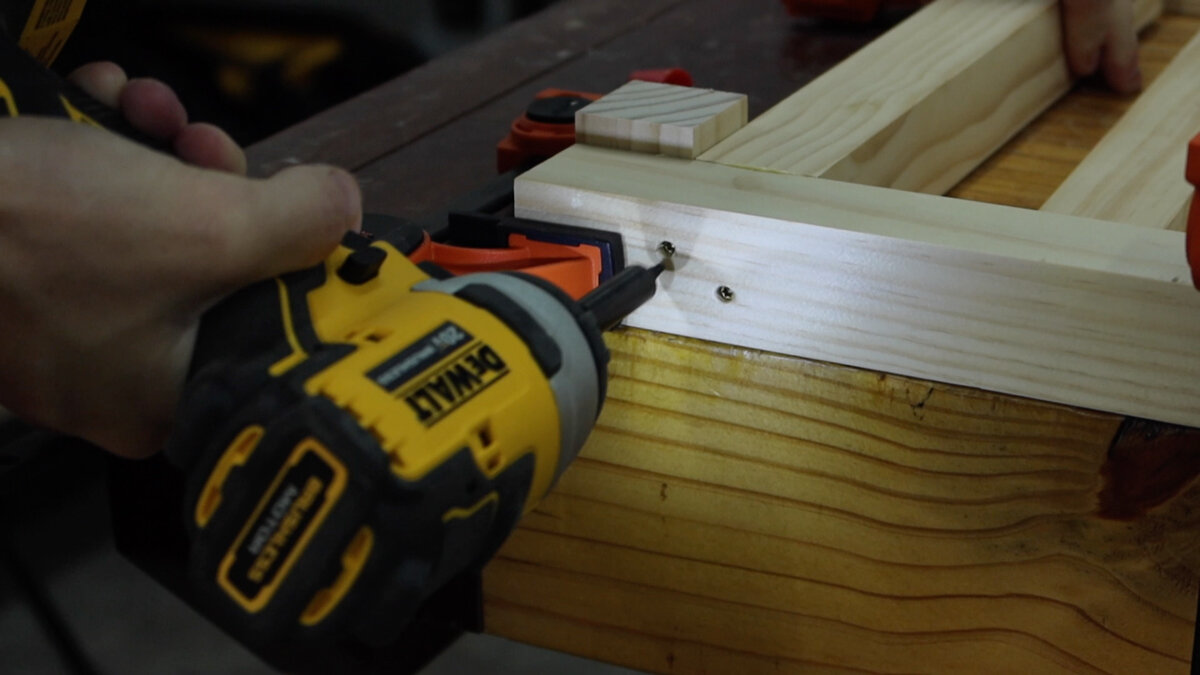
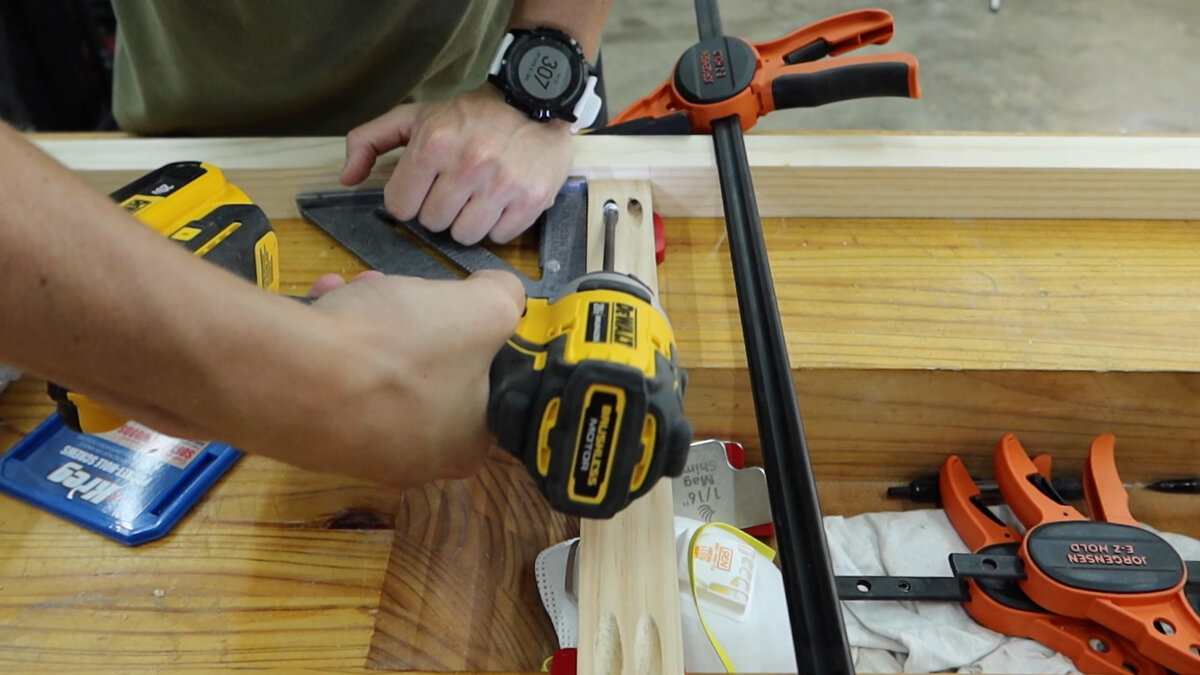
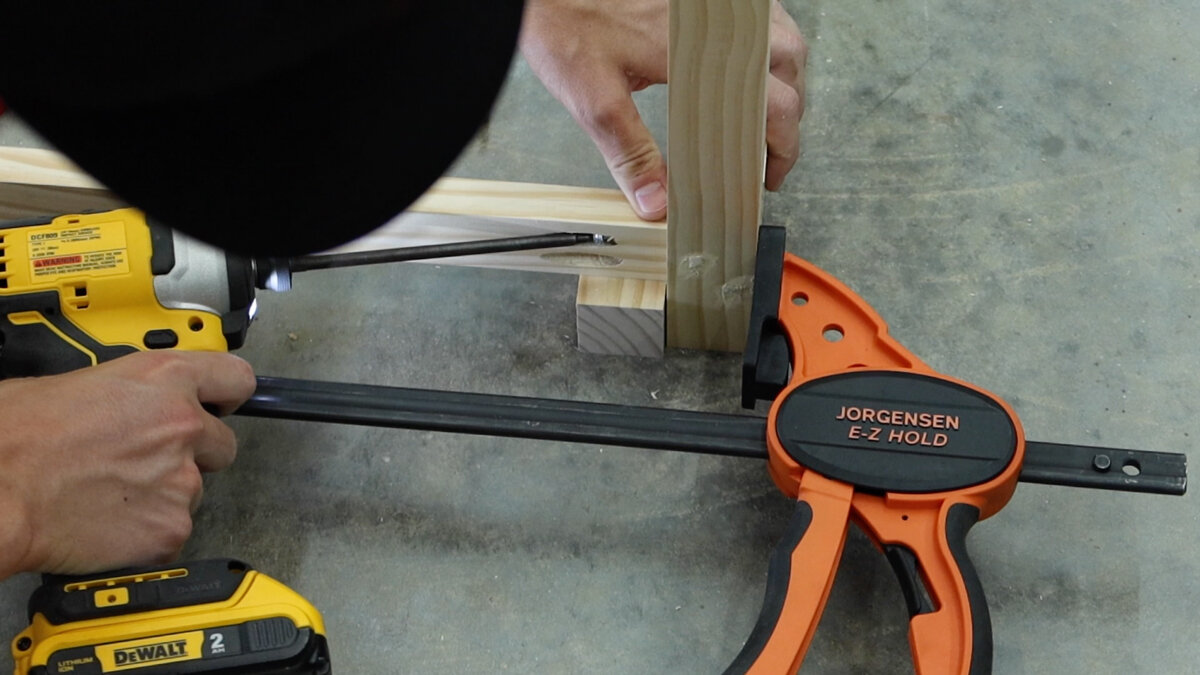
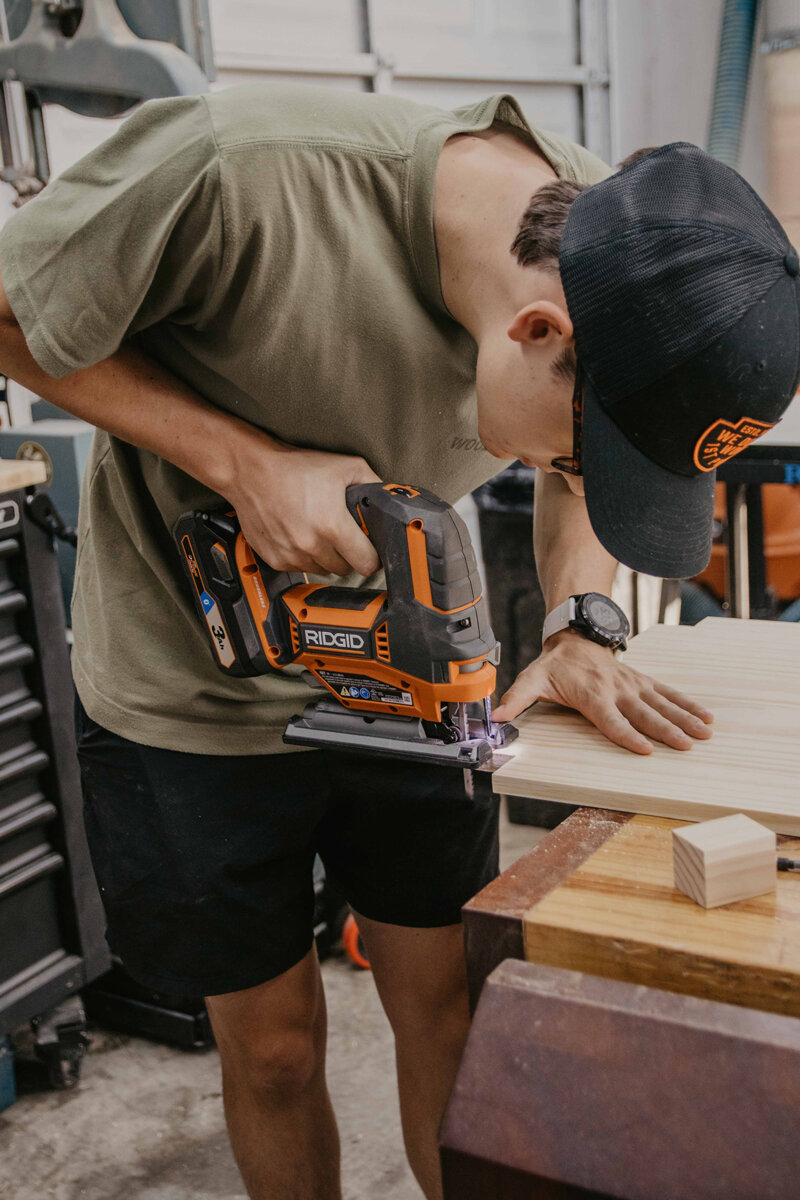
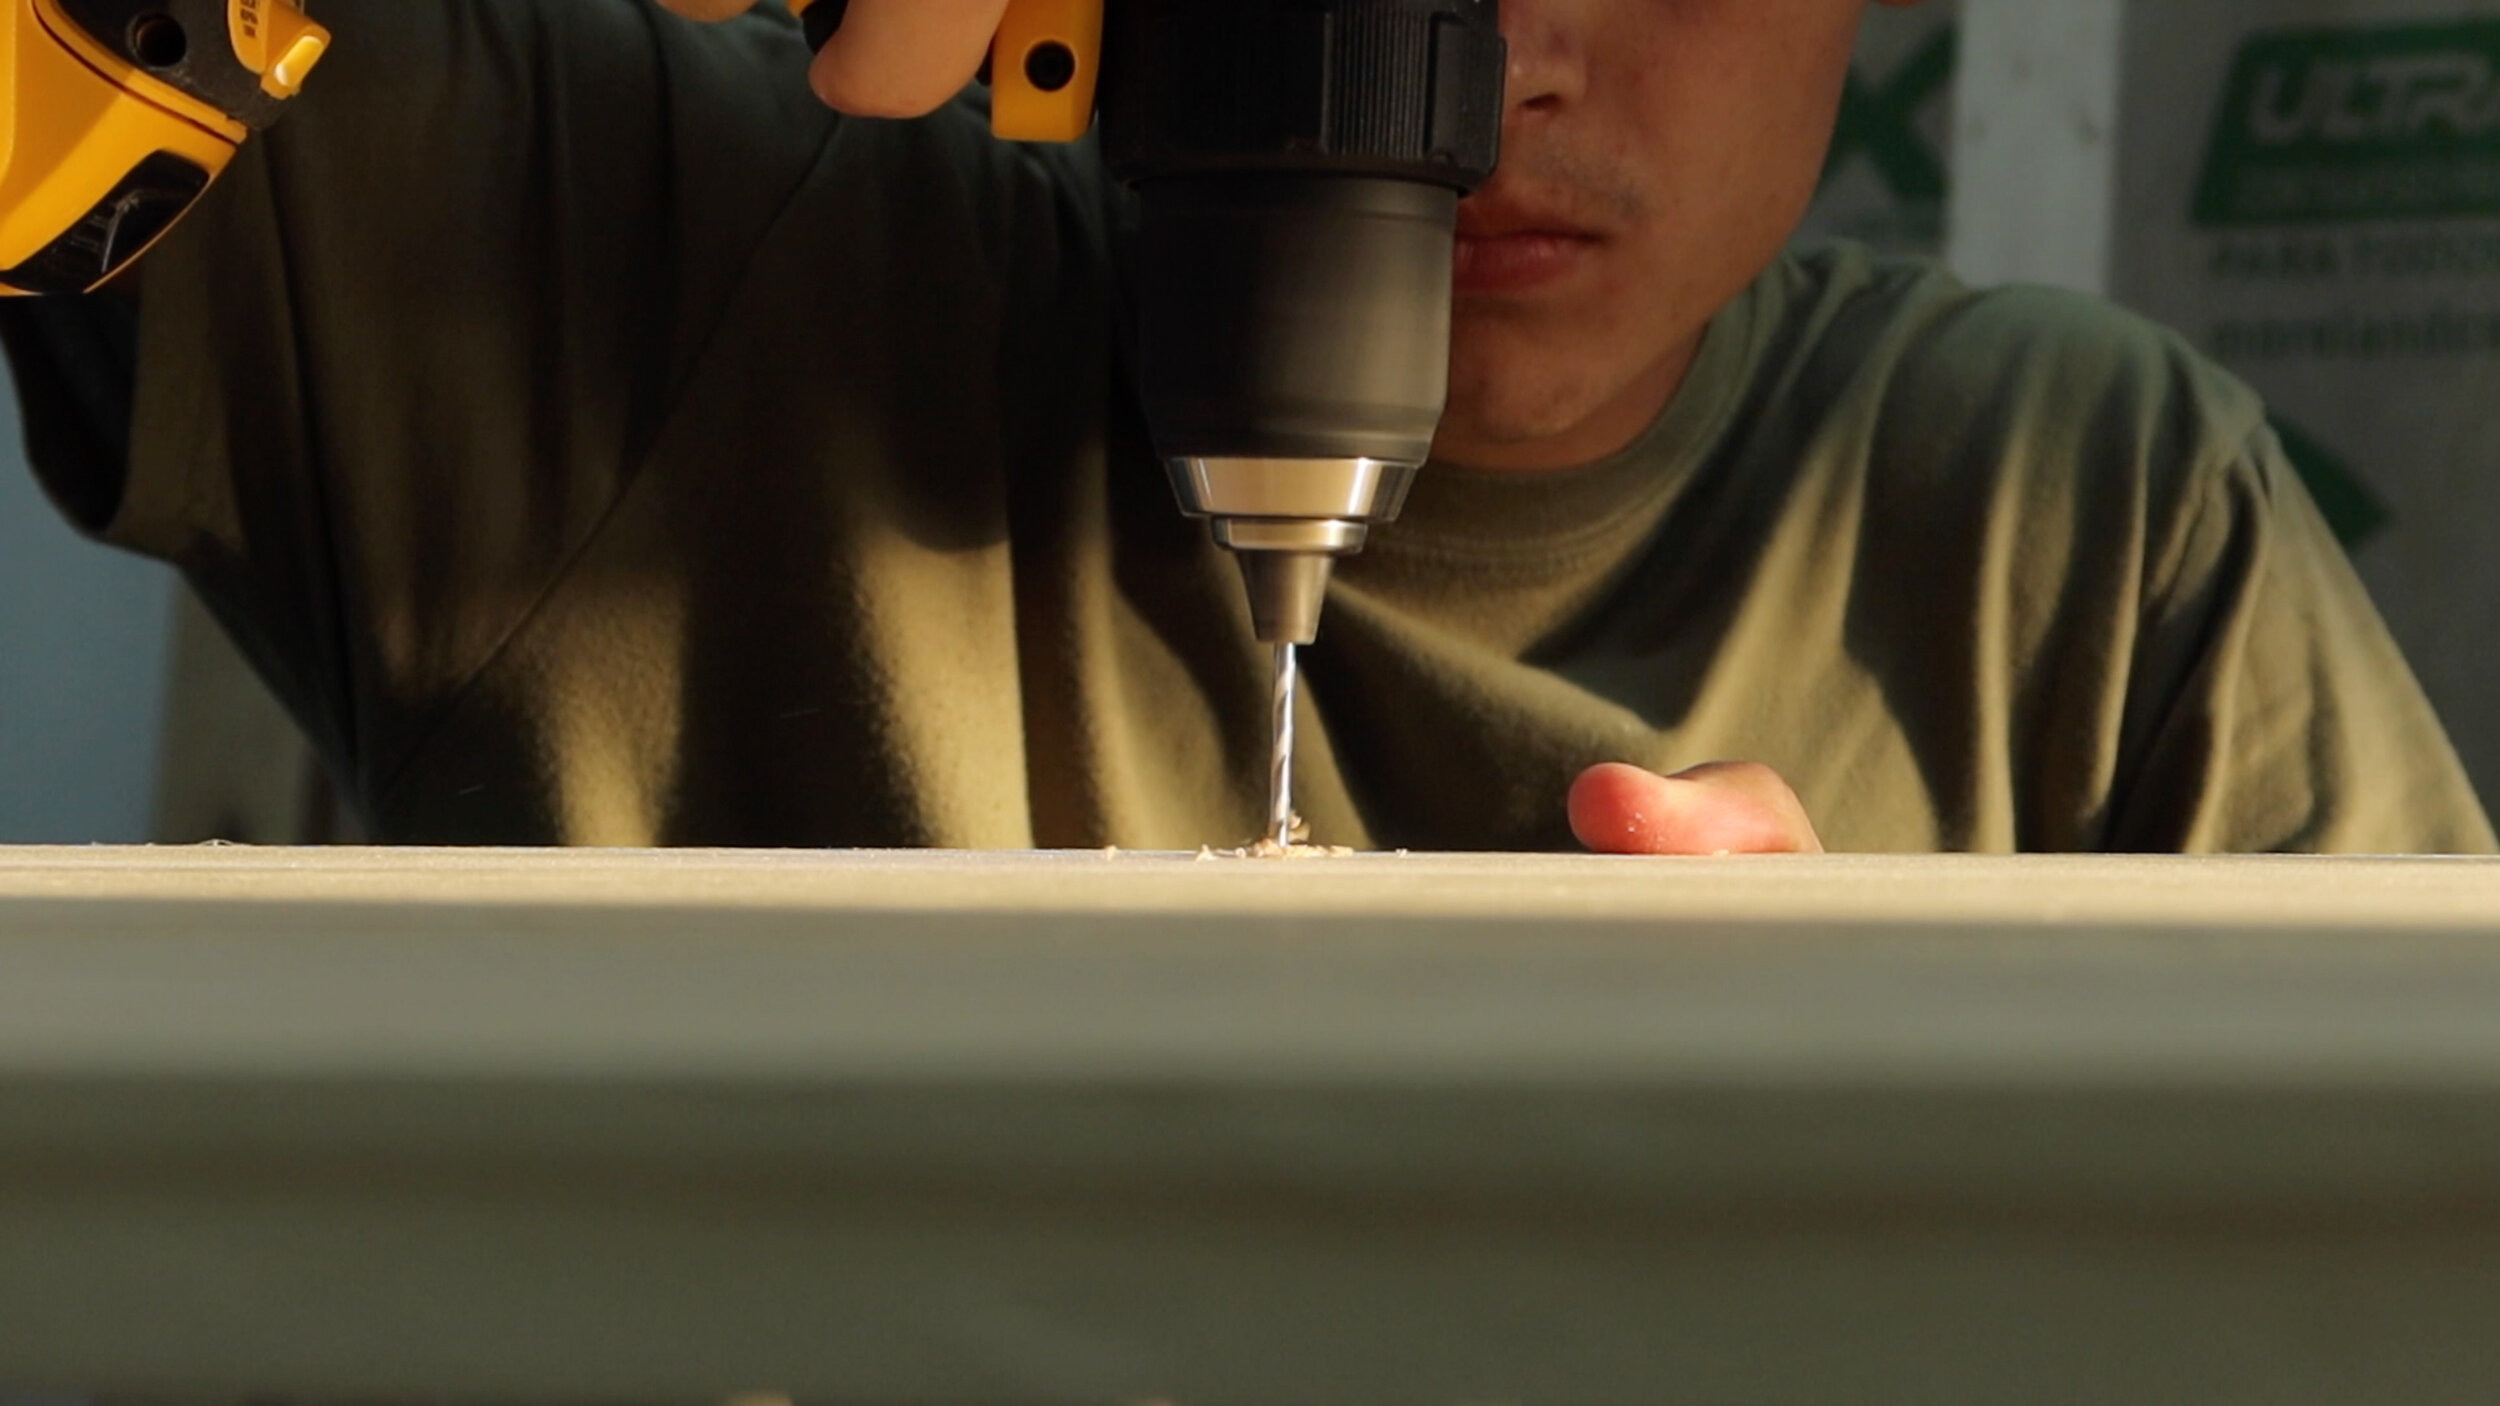
Now for all the other 1x2 stretcher pieces, we are going to pocket hole those, so we need to go ahead and drill those into the rest of the boards.

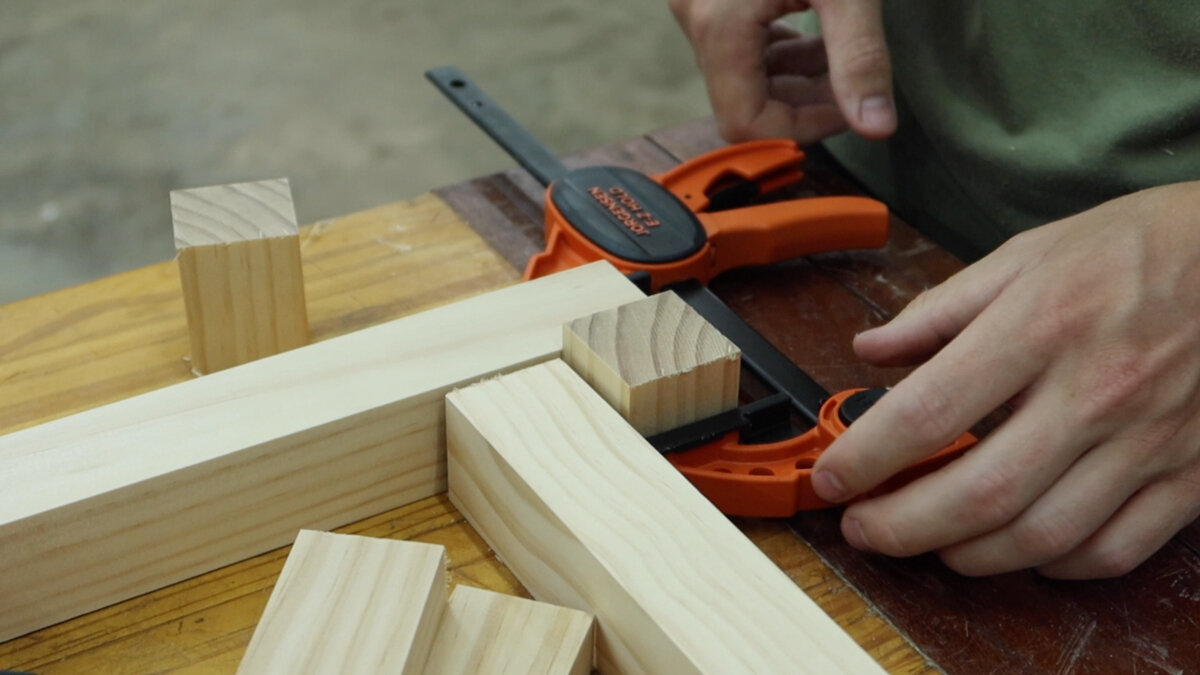
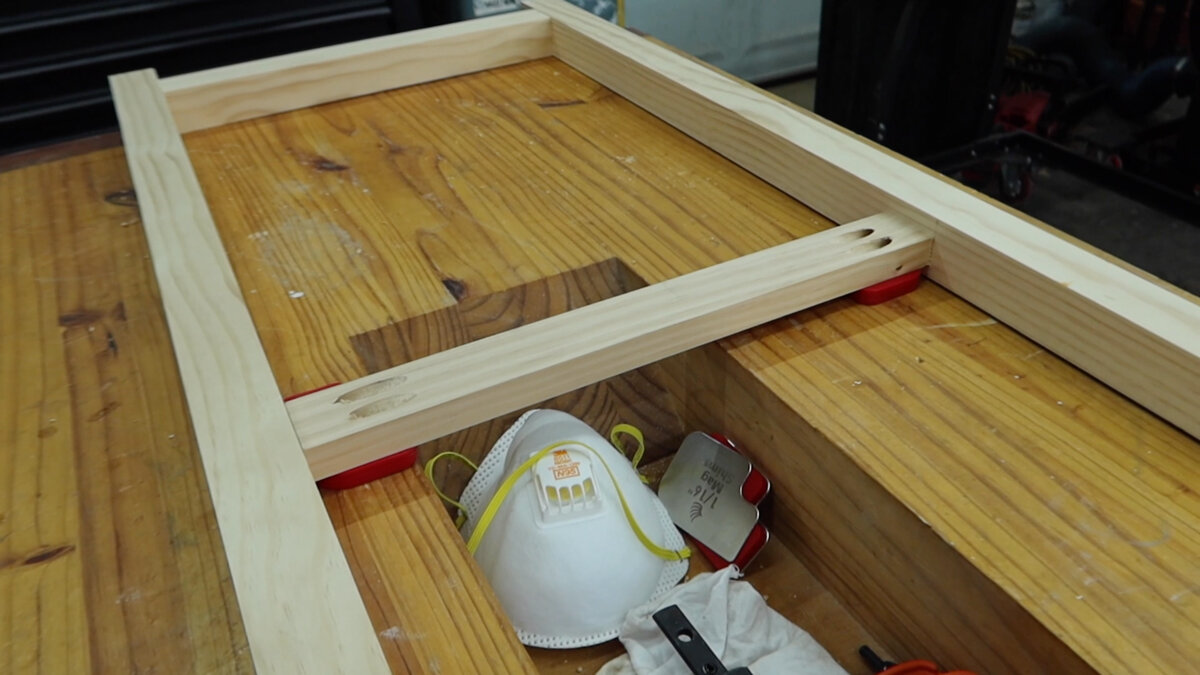
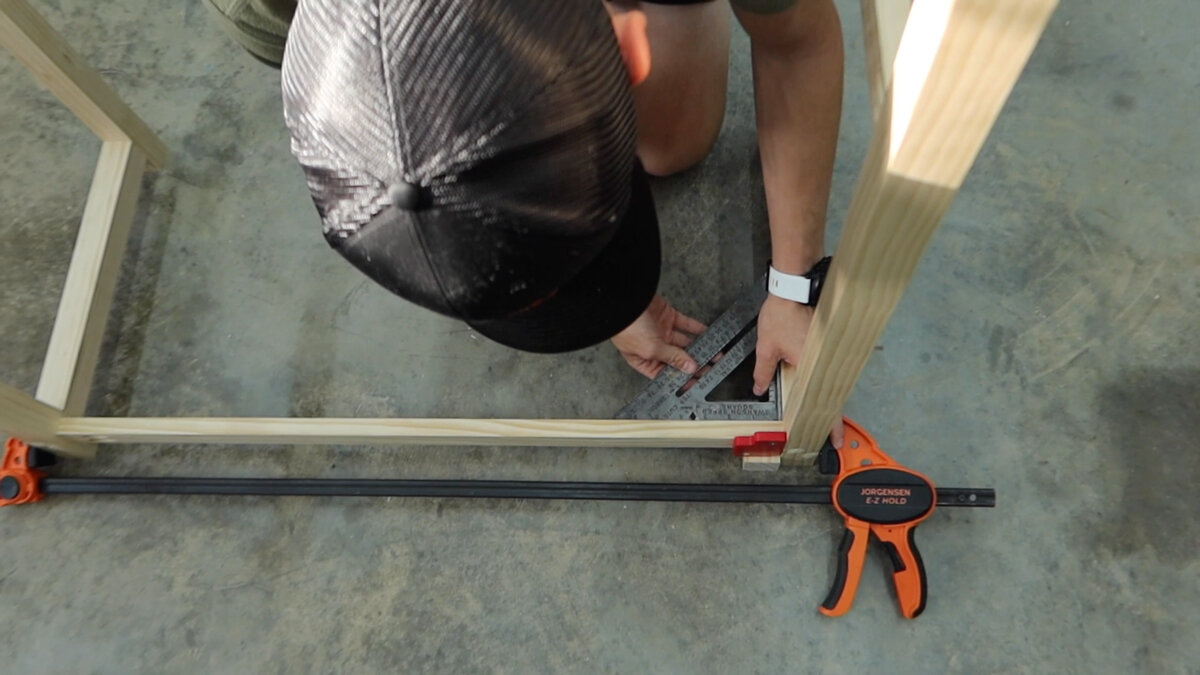
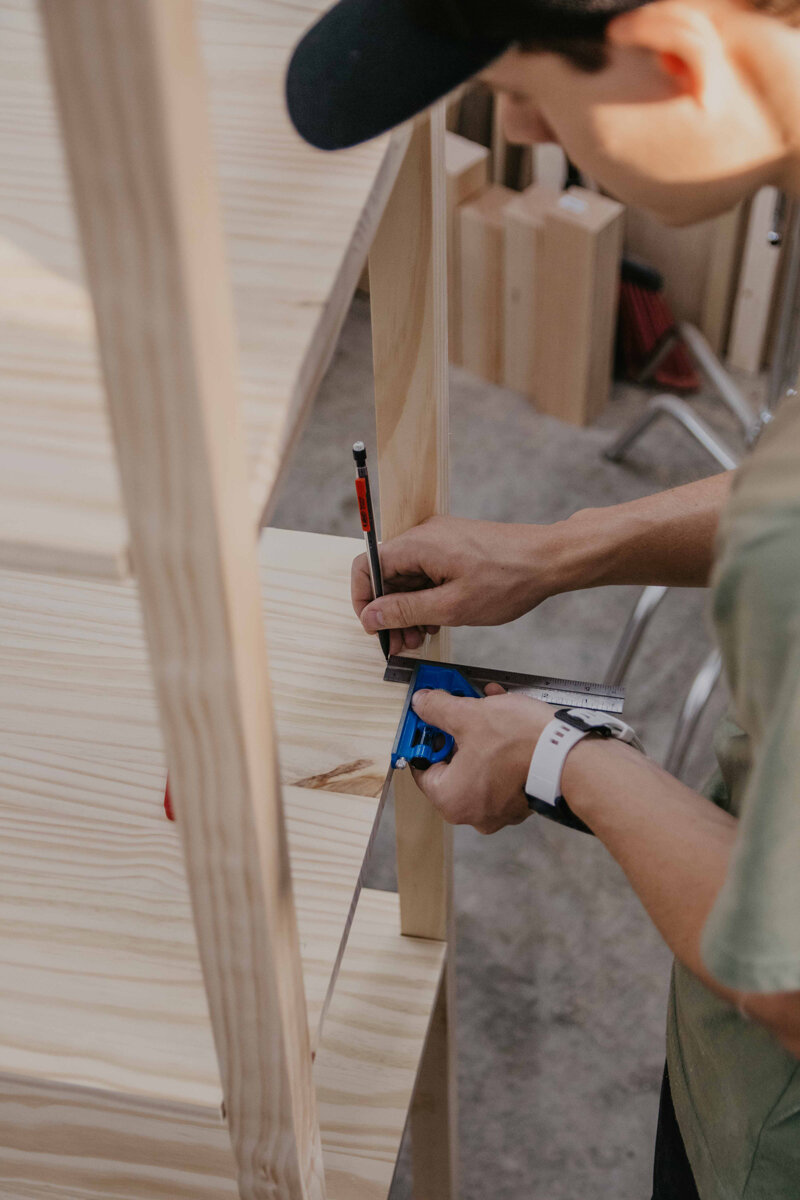
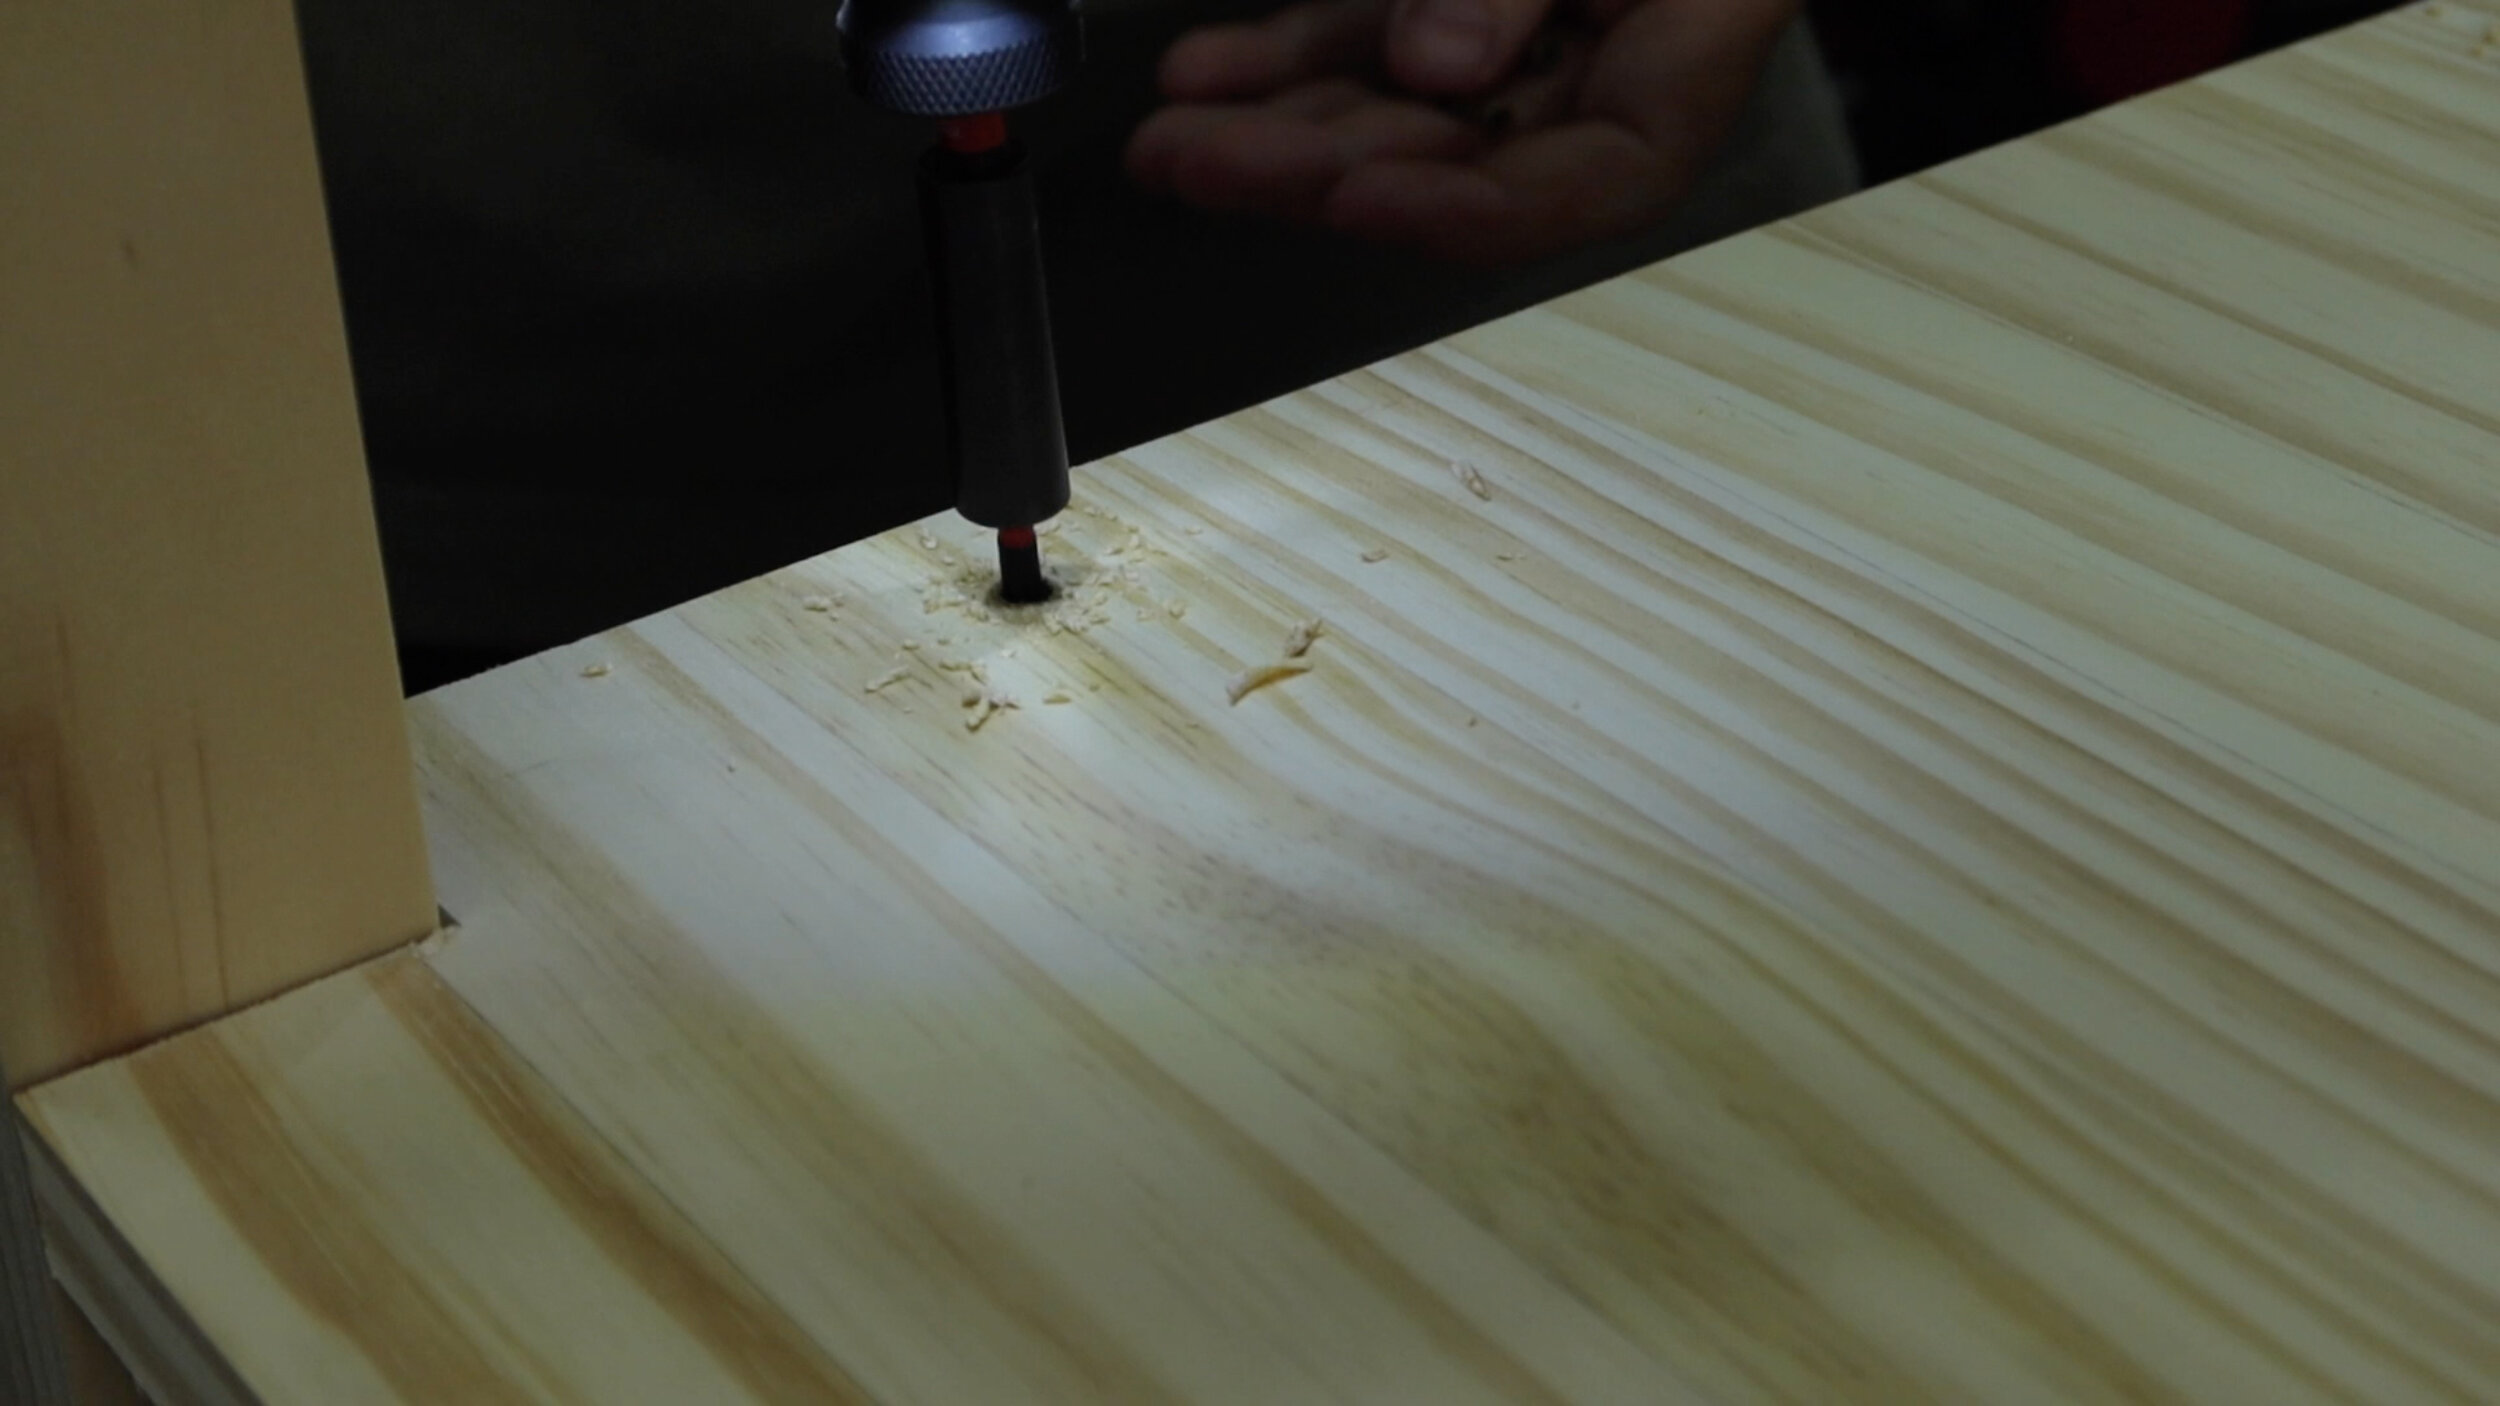
We want to bring in the short stretcher pieces in a little bit, so we put 3/8” spacers underneath to do so. The rest is pretty simple, square up the piece, clamp it down, and screw it in. We did the same thing for the other 3 pieces.
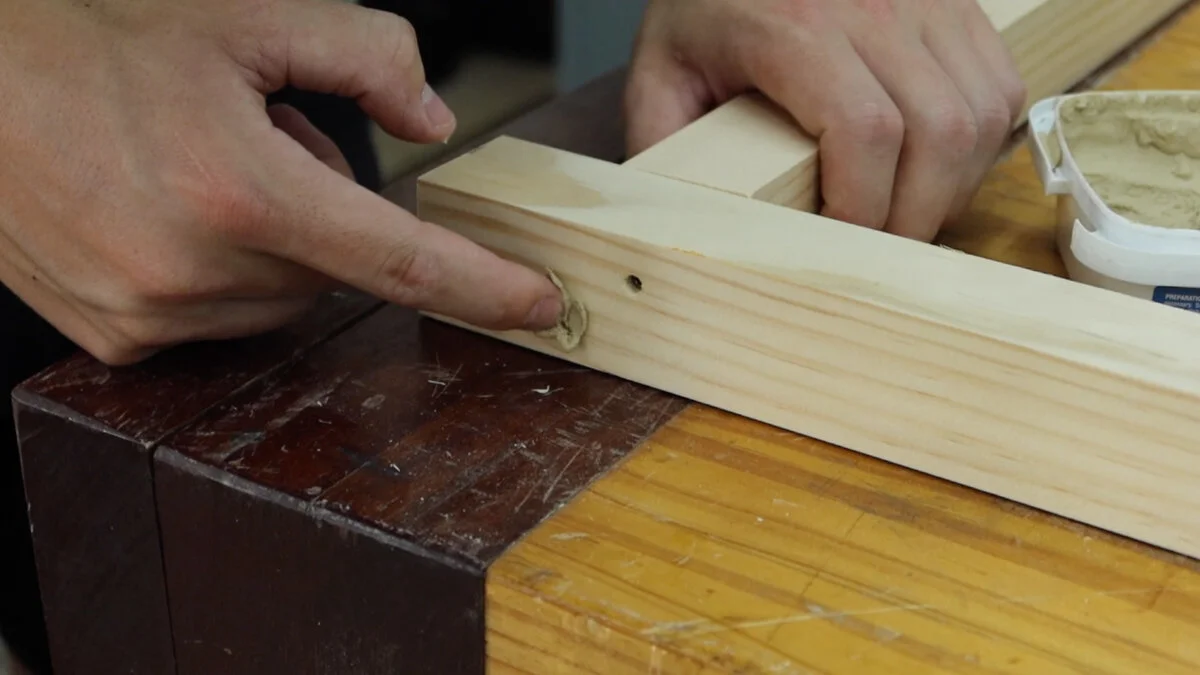
For those top and bottom pieces, we did put wood filler in and left it for a few hours to dry.
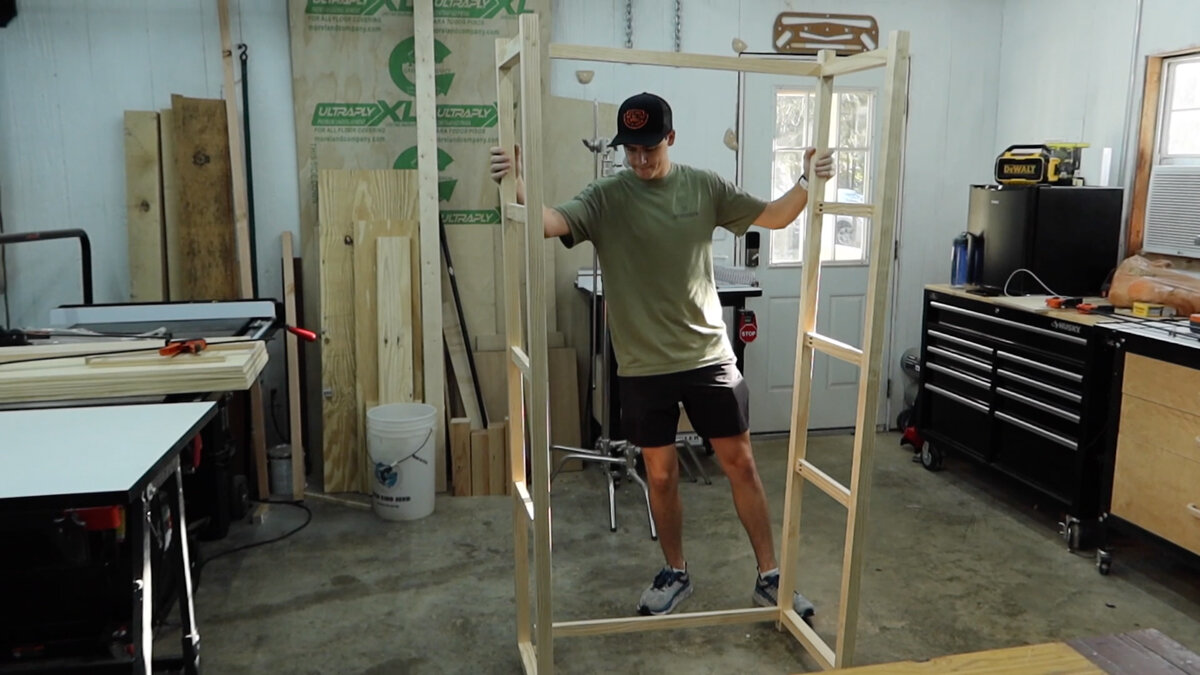
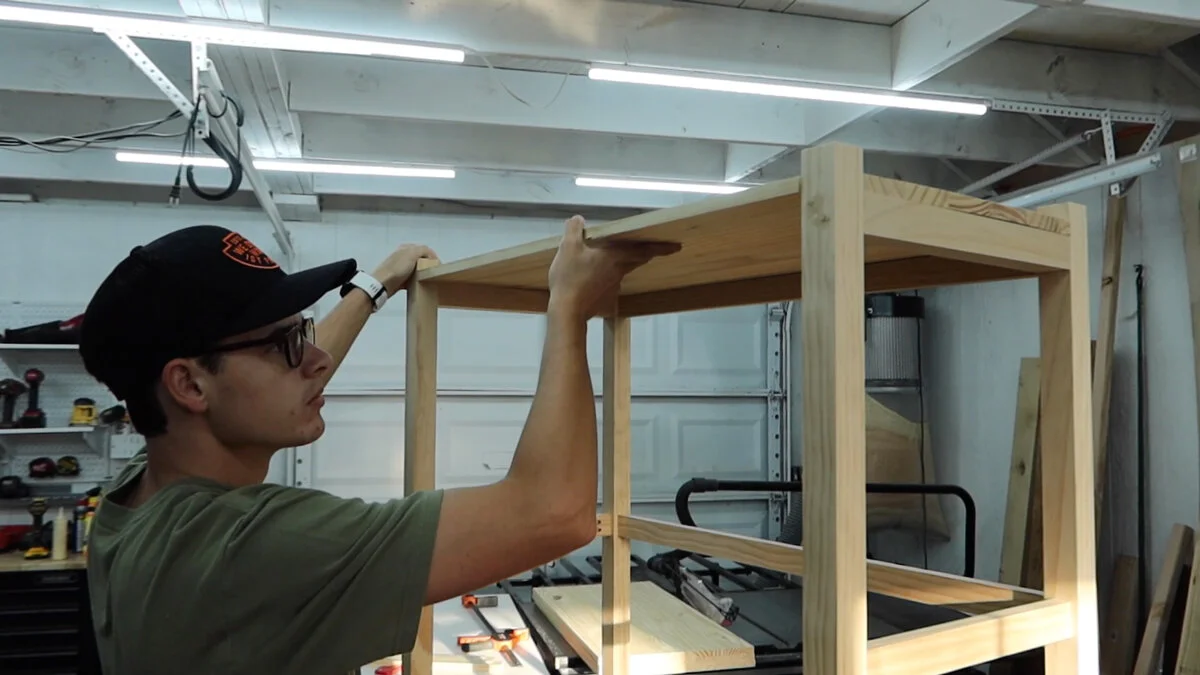
Now onto the other side by doing the exact same thing, but we did go ahead and add the top and bottom stretcher here on the workbench, so we could attach the two sides together.
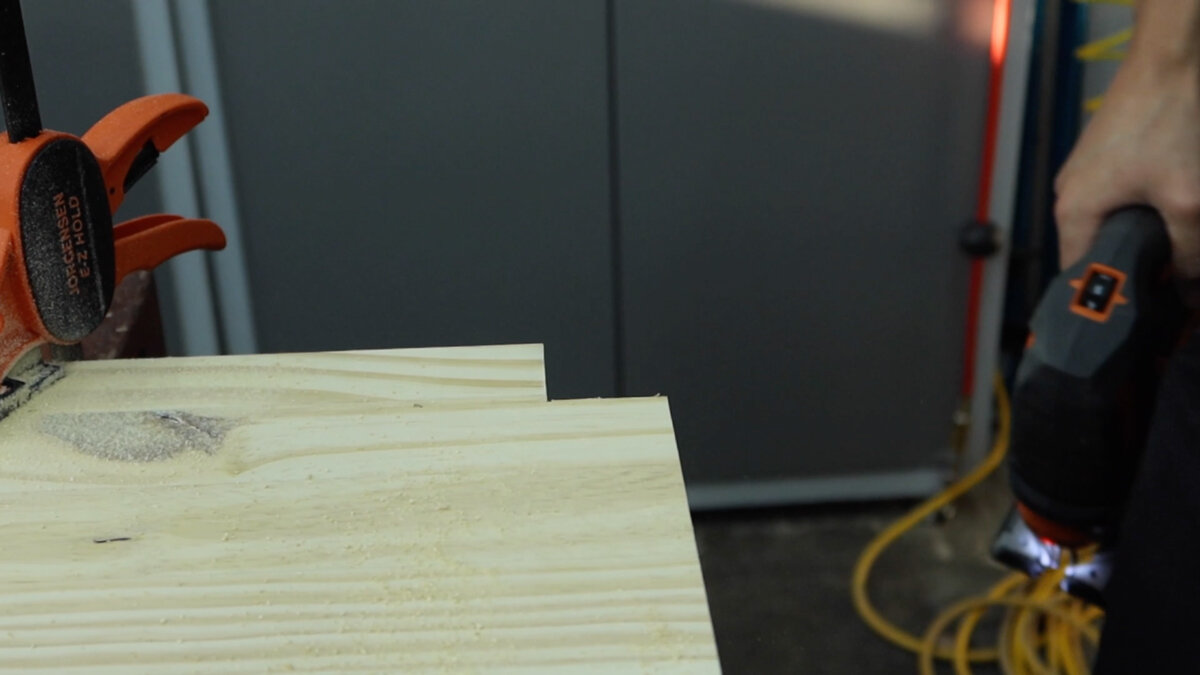
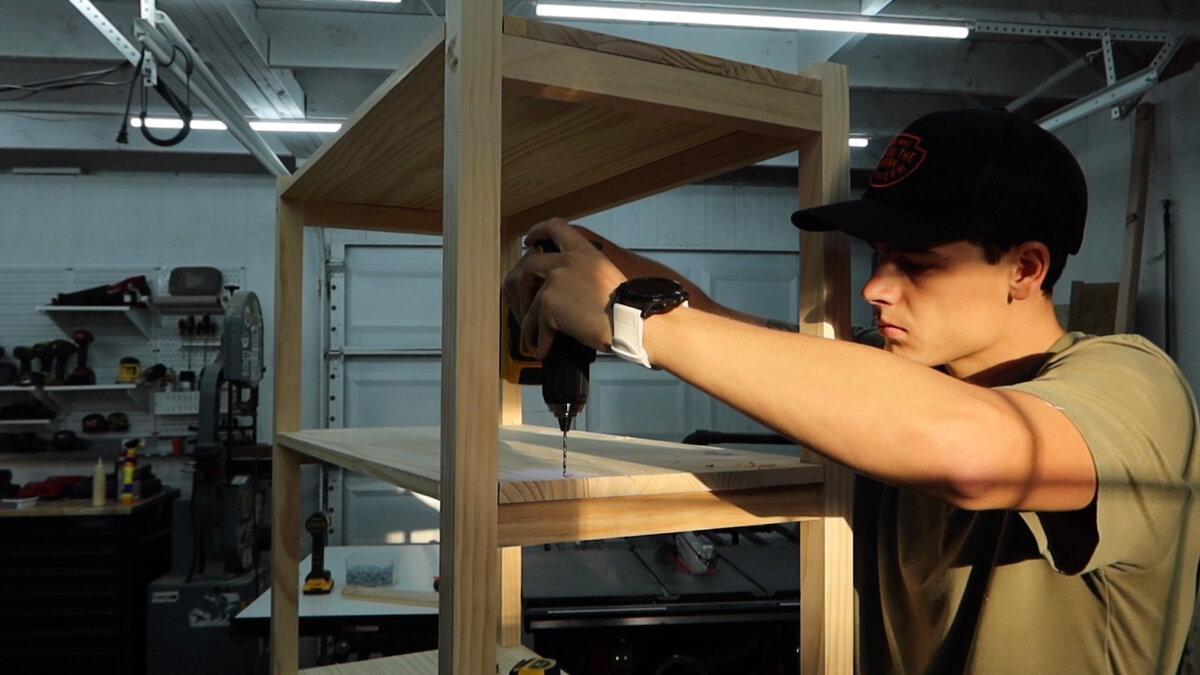
All that is left for assembly is cutting out the shelves. We got 2 project panels and cut them in half for the 4 shelves. We need to cut a notch out so they will sit flush with the outside of all the legs. Then, put them into place and screw them down.
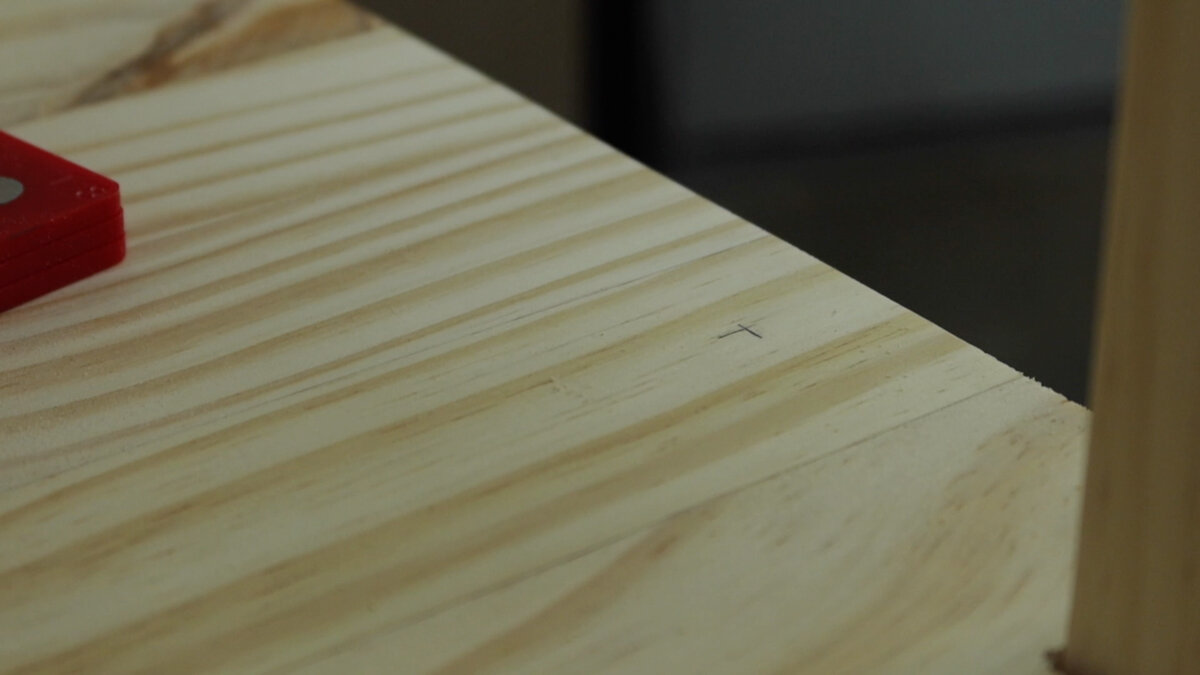
We went around and marked where each screw needs to go so we don't miss the stretcher underneath.
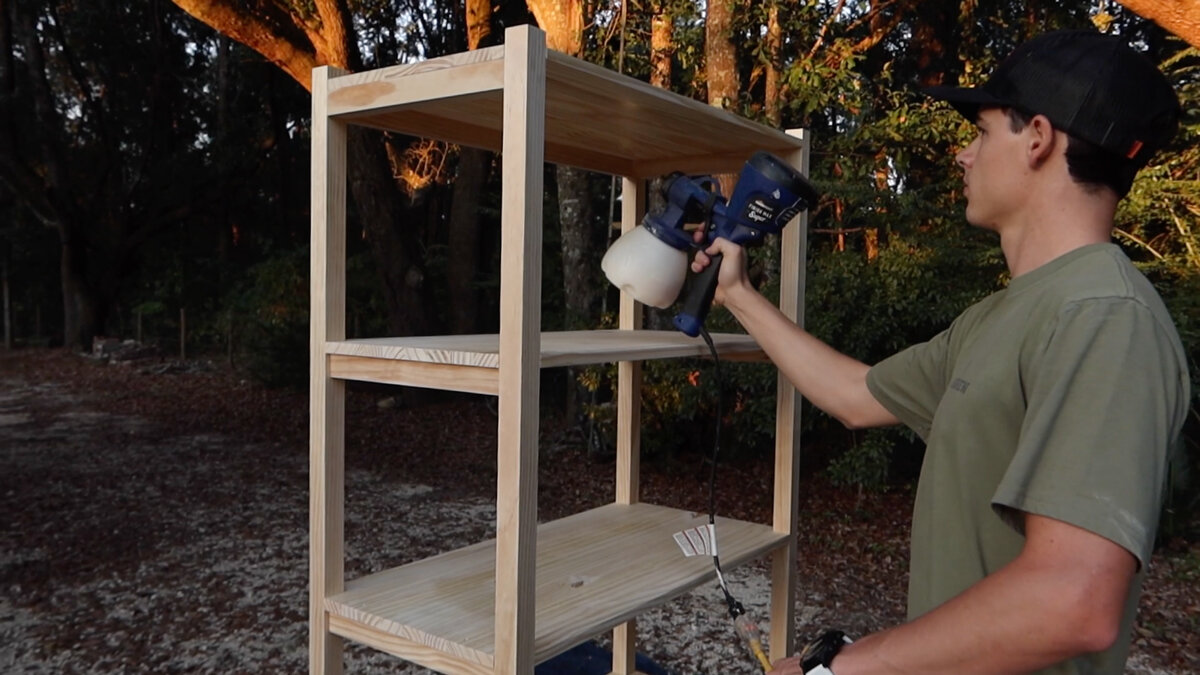
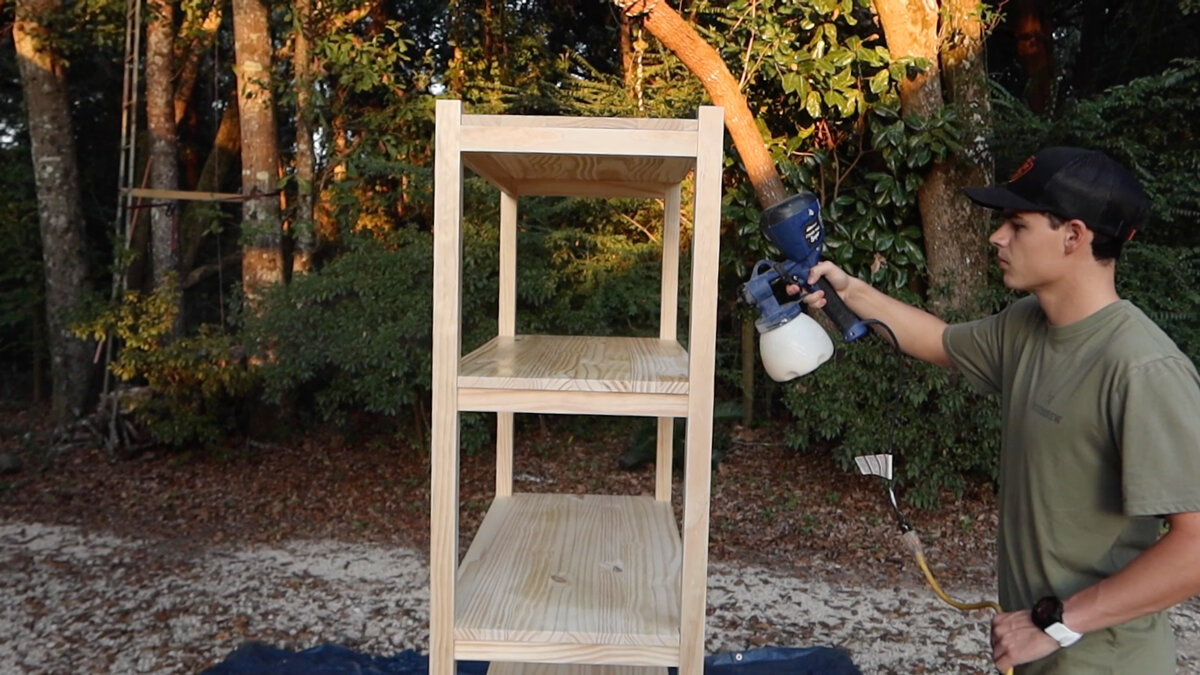
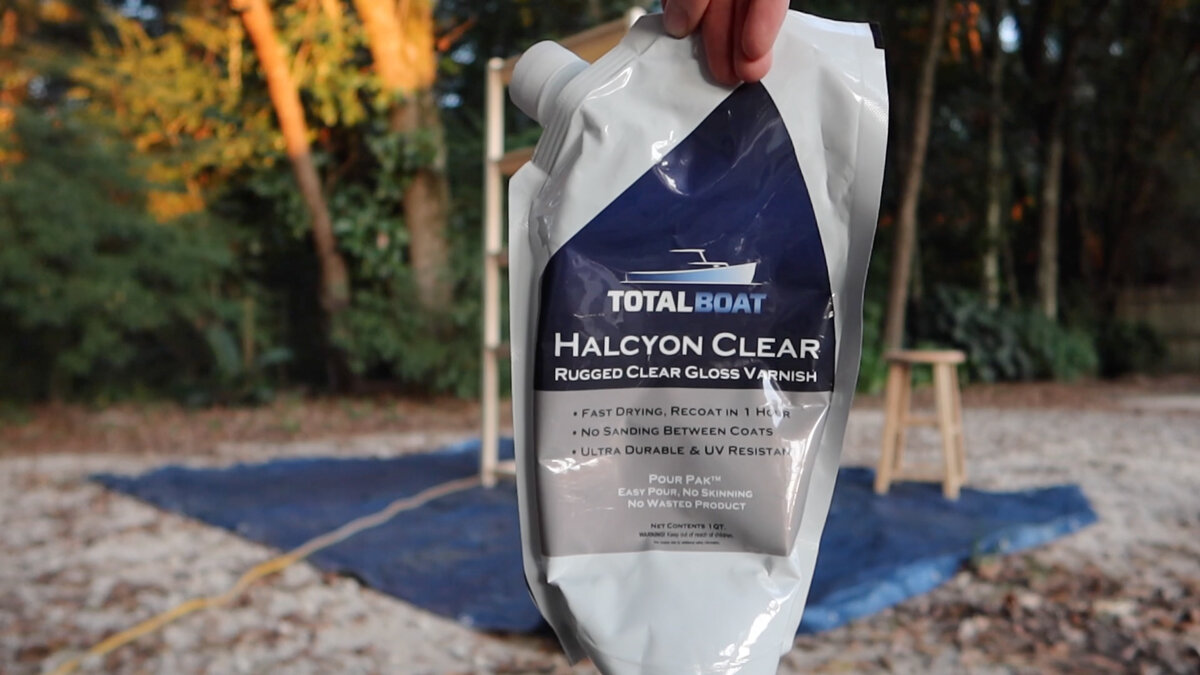
Last step, spray, or brush on the finish. We used Total Boat’s Halcyon Clear Gloss Varnish. This is the sprayer we use: https://amzn.to/2mr6DAO .
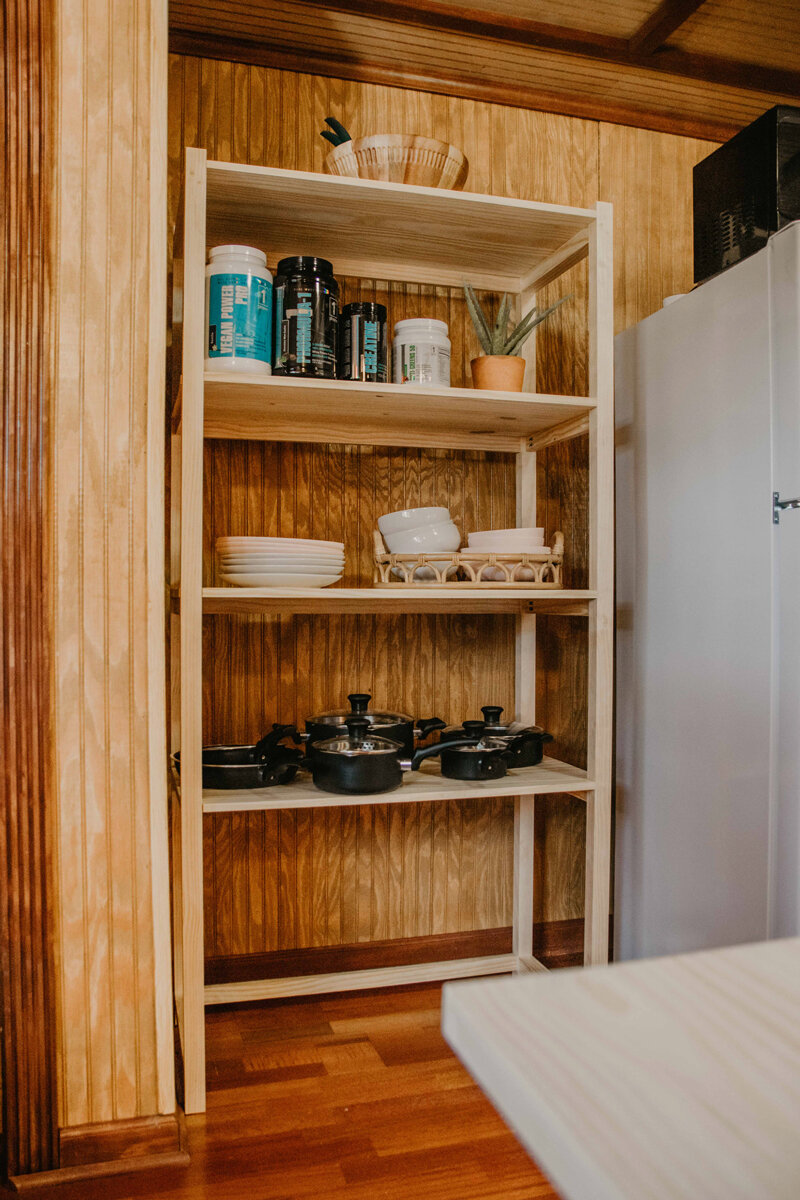
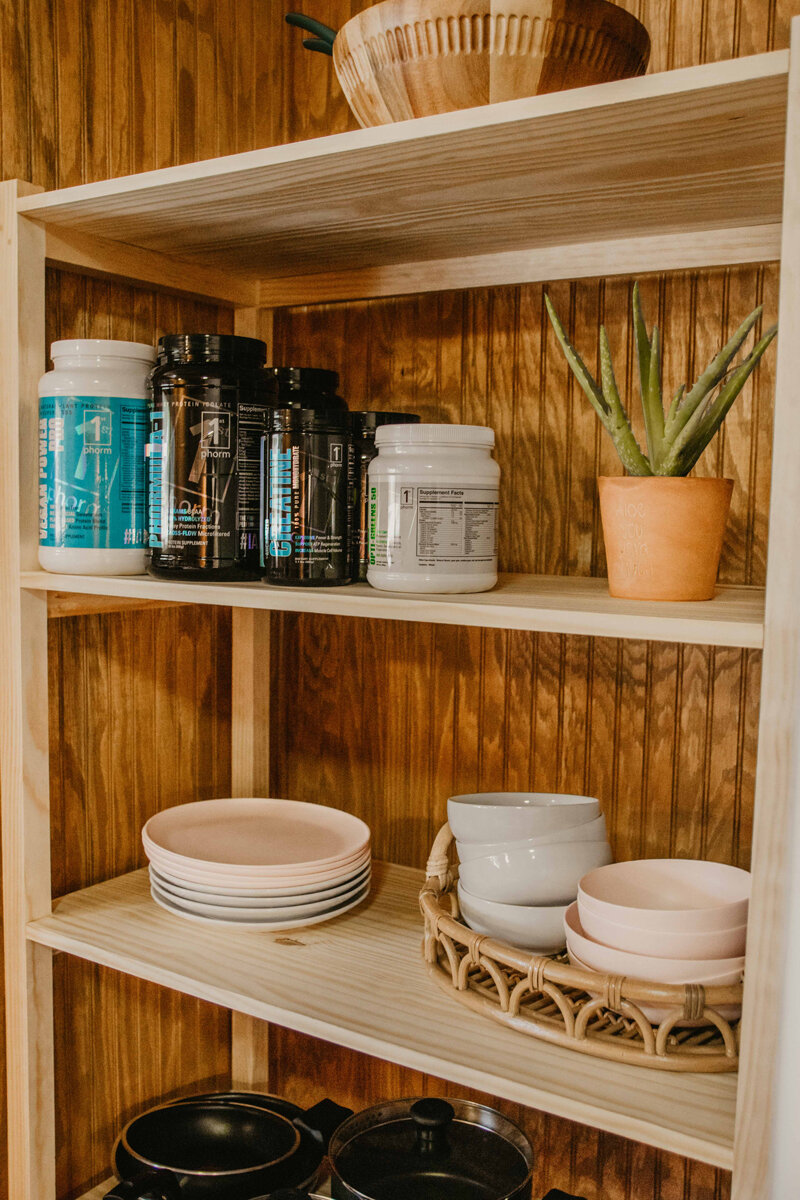
That is going to wrap up this week’s project! If you could see this in person, it actually brightens up the space A LOT compared to the black metal unit we had before. I can’t wait for when we have more space and to put another one right next to it!