DIY Homemade Drum Sander

We actually made it and it works! A drum sander has been on our need/want list for a very long time and we are thrilled that we DIY'd it! This homemade drum sander is going to help out so much and make sanding less awful. You can watch the video below or read and watch, too!
I want to start off saying that we do have a set of plans available here:
https://www.etsy.com/listing/851762604/drum-sander-build-plans?ref=shop_home_active_11
so we won't be giving exact dimensions out here. This detailed set of plans will give you the dimensions for this 18" drum sander, a SketchUp file, and templates.
Things We Used: (affiliate links)
Pulley: https://amzn.to/30123tV
Belt: https://amzn.to/3eVIKGI
Pillow Block Bearings: https://amzn.to/2CIfWVc
Key Stock: https://amzn.to/3f3n8rM
Shaft: https://amzn.to/39s15Kr
Hinge: https://amzn.to/2WVfFVu
Power Switch: https://amzn.to/3eXliIZ
Cut Out The Drum Rounds and Glue Together

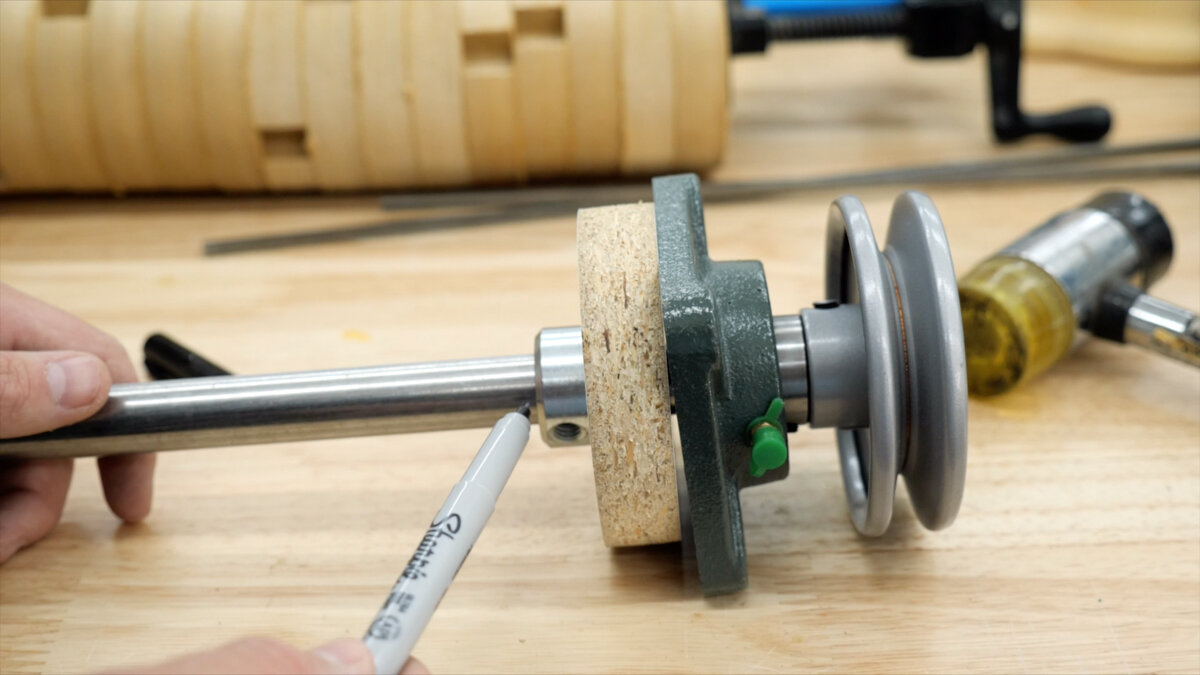
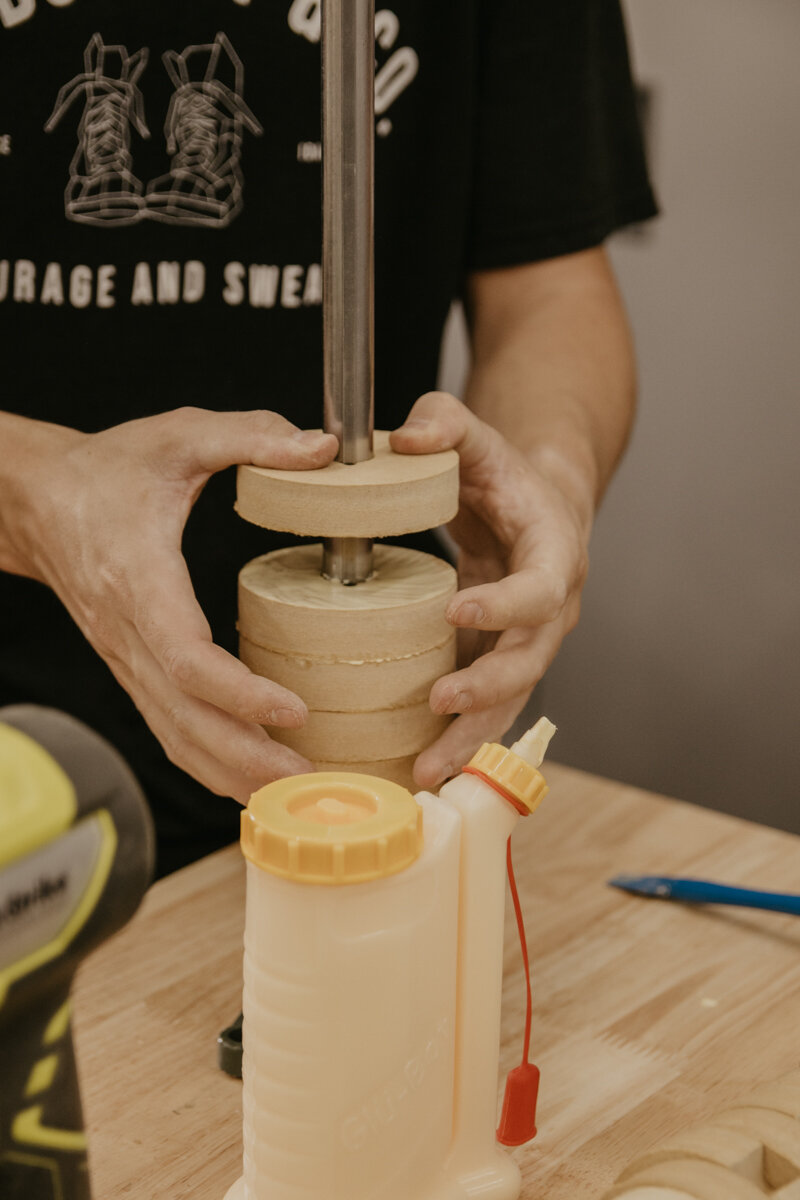
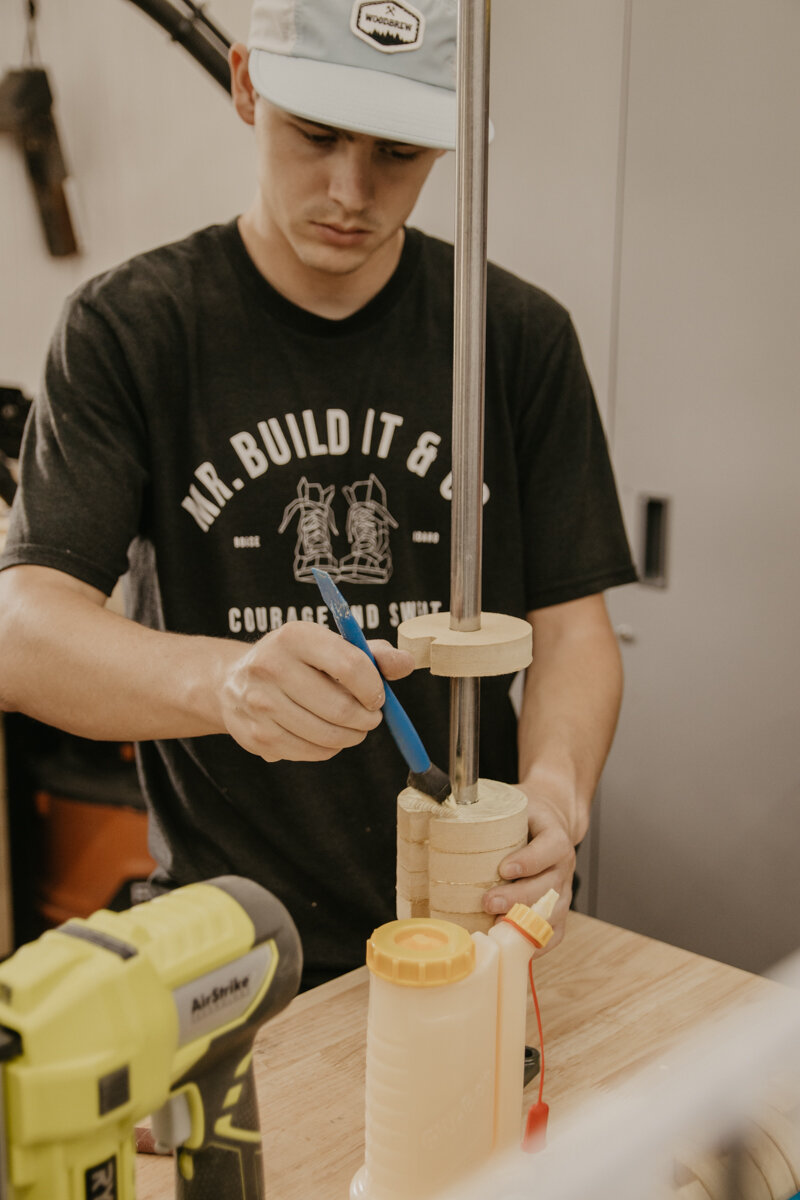
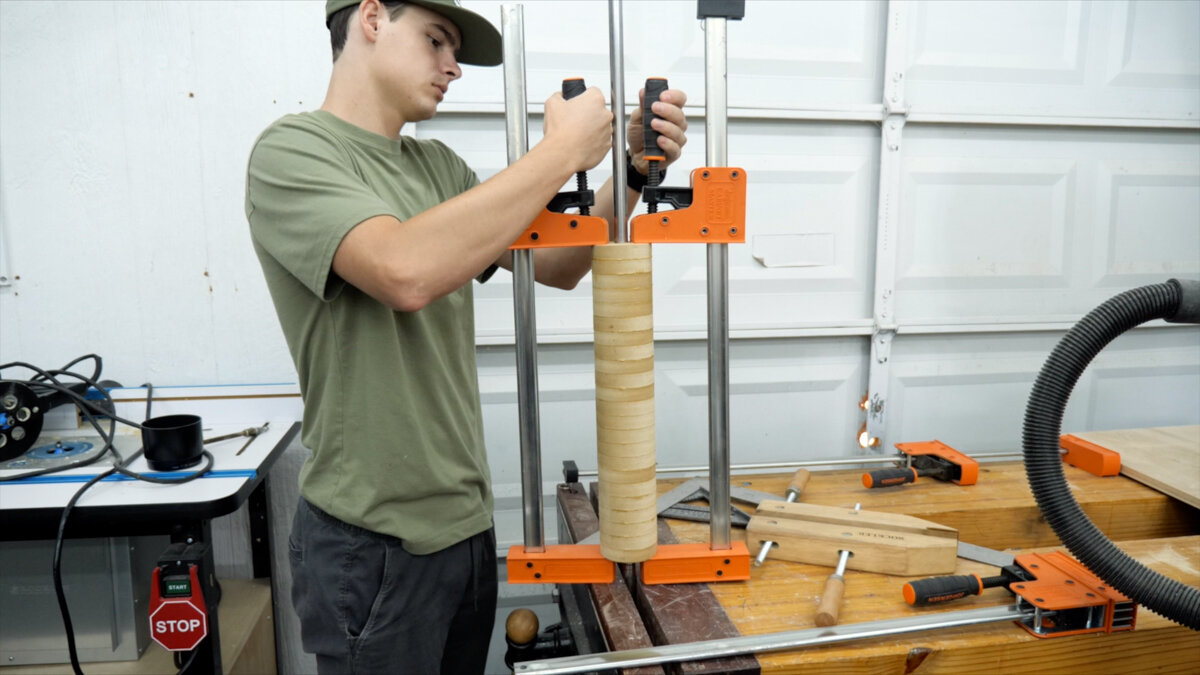
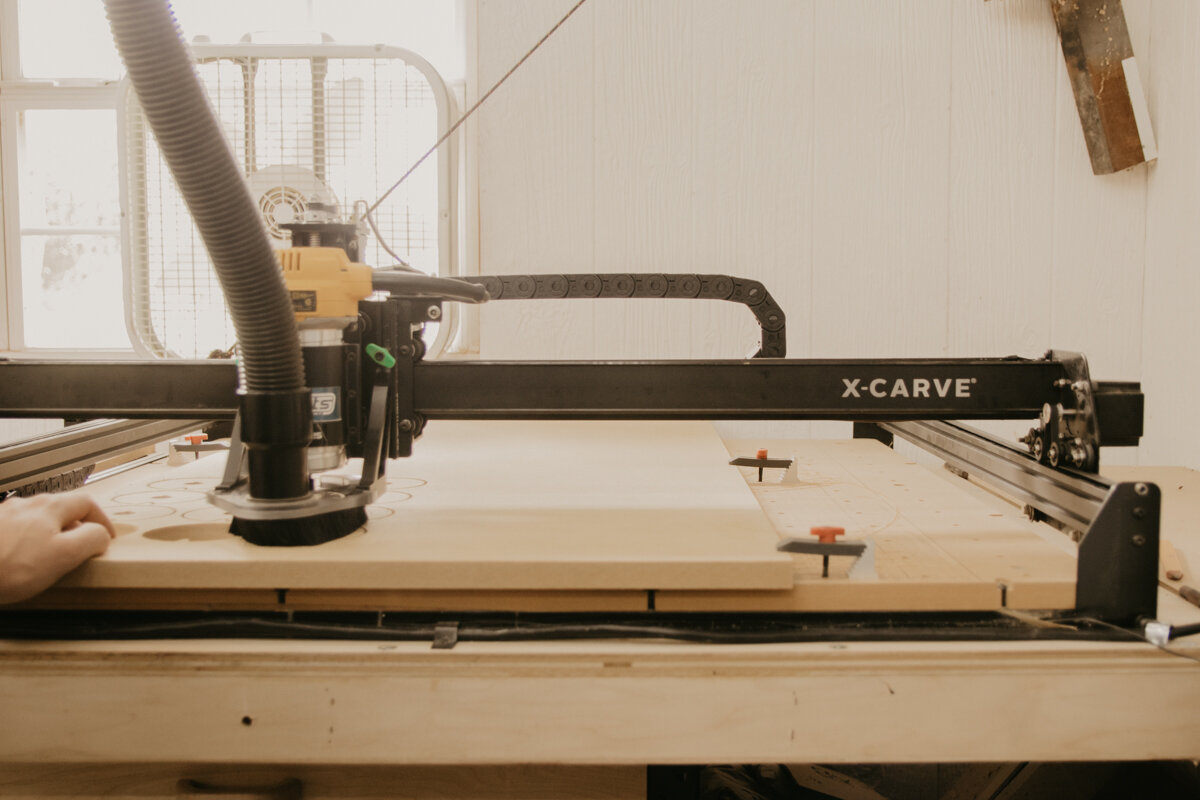
We used the Inventables X-Carve (http://bit.ly/2NtYwQm (affiliate link)) to cut out each round to make up the drum. You don't have to have an X-Carve to do this, it just makes it way easier. In the plans we have available, there are templates for this. By all means, take on this engineering challenge and create your very own with the dimensions of your liking. Make sure you create these rounds with the inner circle big enough for your shaft and key. We also used 3/4" MDF for these! Once you have all those cut out, it's time to glue them together! We started by putting on the collar, melamine board, pillow block, the other collar, and pulley onto the shaft and key in that order. We made a mark where that lined up and then took everything off to now start sliding on the rounds while adding glue in between them. We pin nailed these together as well as we went to make sure they stayed straight. We glued these up in halves, so glued up the first half, clamped it together, let it sit for about an hour and then came back to do the other half.
Cut Melamine Boards to Length
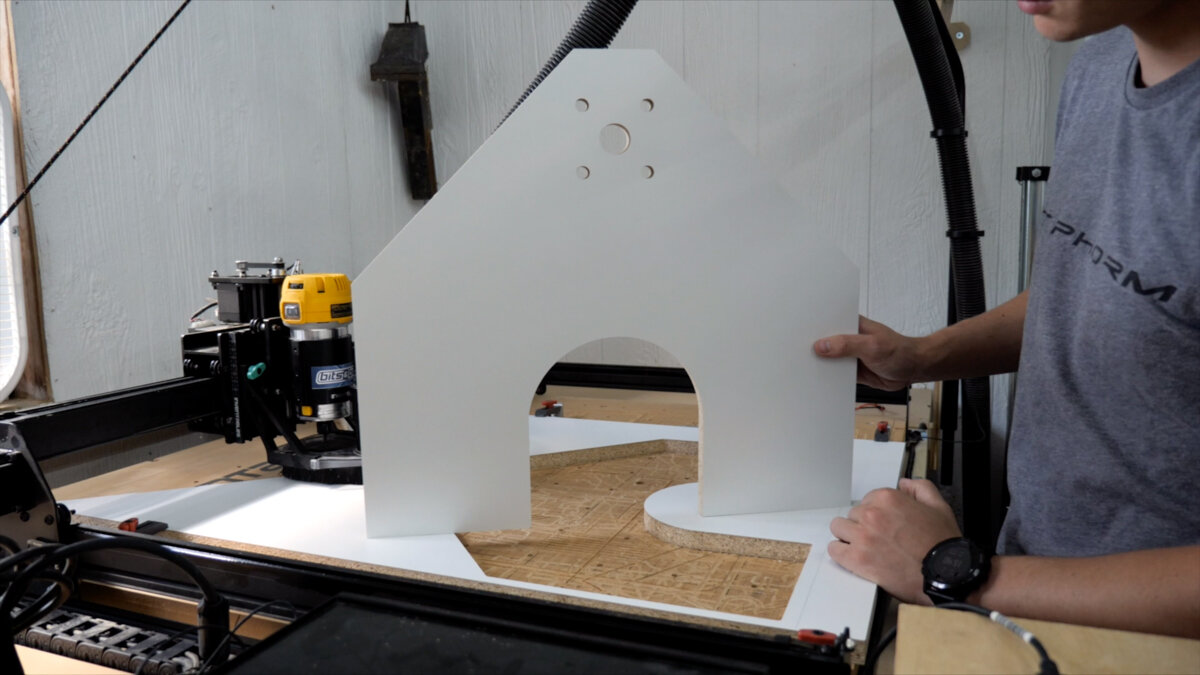
We used melamine for the drum sander itself. This will make up all the sides, bottom, and the sanding table (2). We cut these on our table saw, but you can always use a circular saw. We chose melamine because the table needs to be slick and durable, and this is about the most affordable way to do that. Two of those sides, however, are going to be getting cut on the X-Carve to perfectly fit the bolts that will hold on the pillow blocks.
Assembly
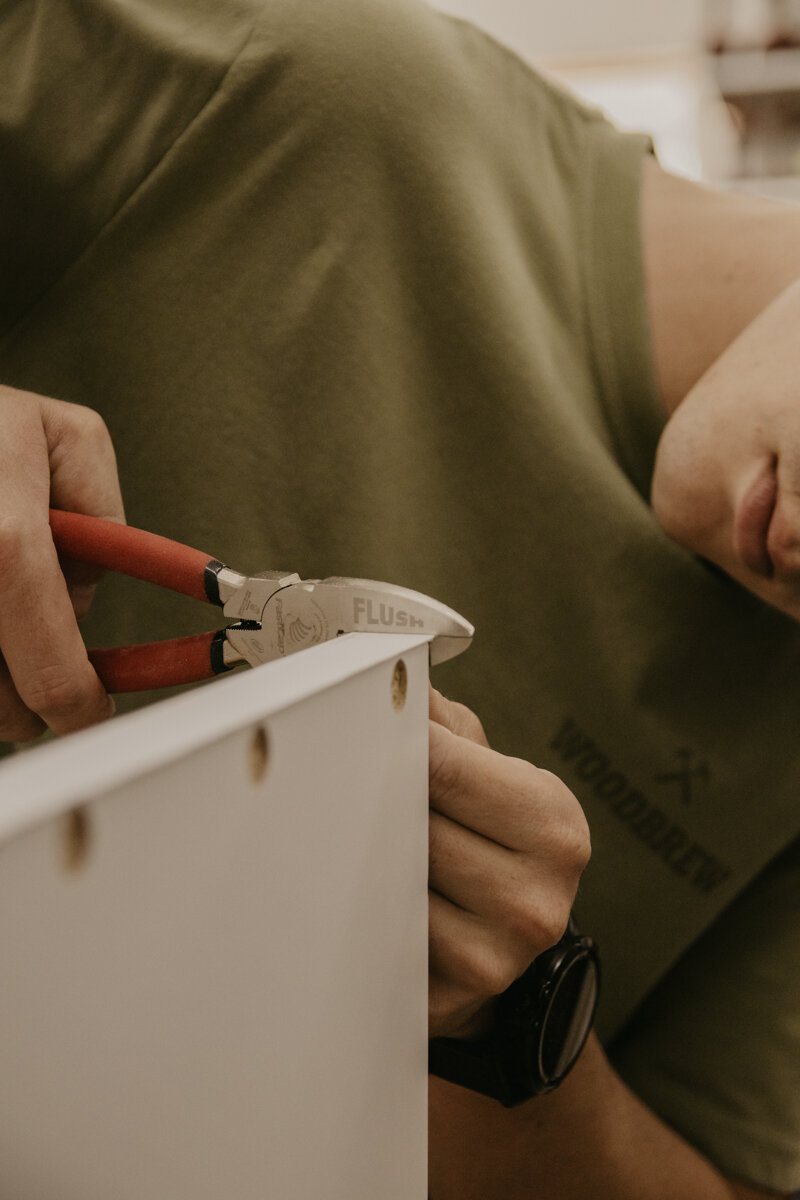
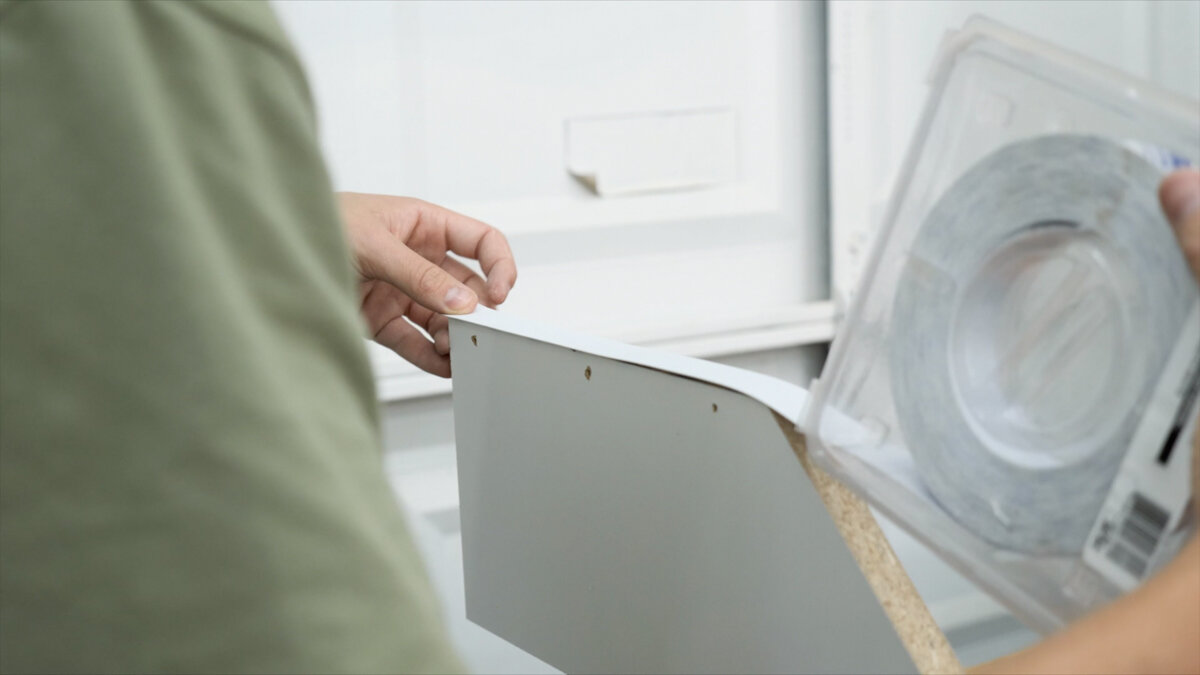
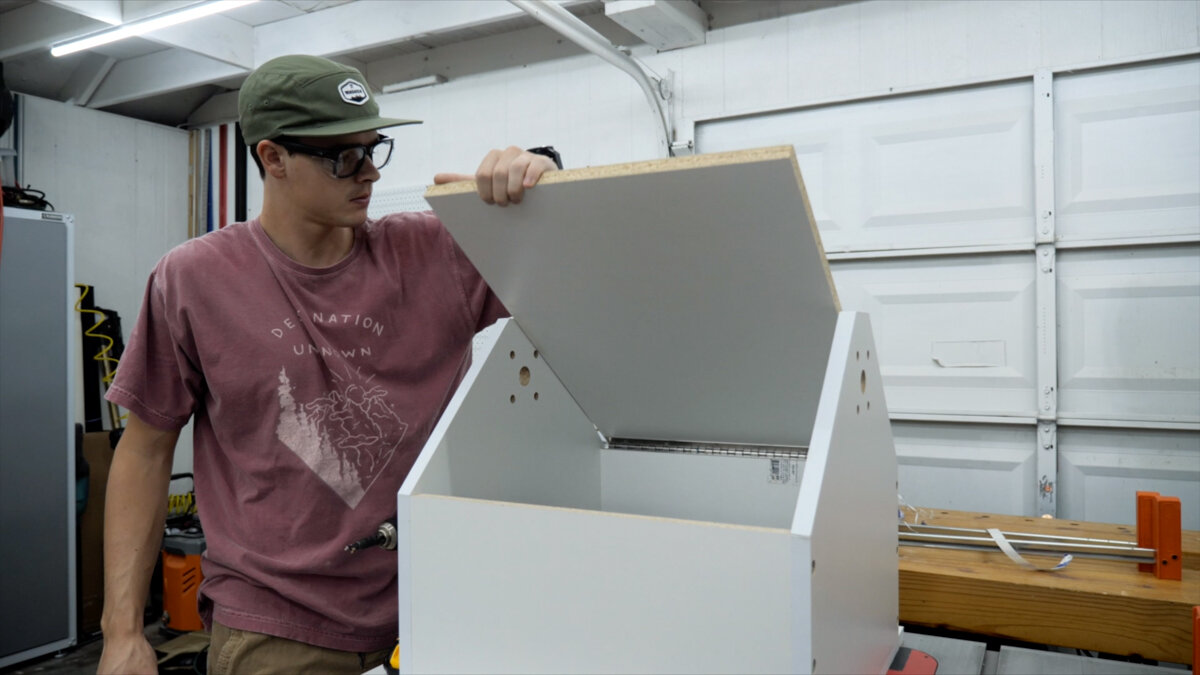
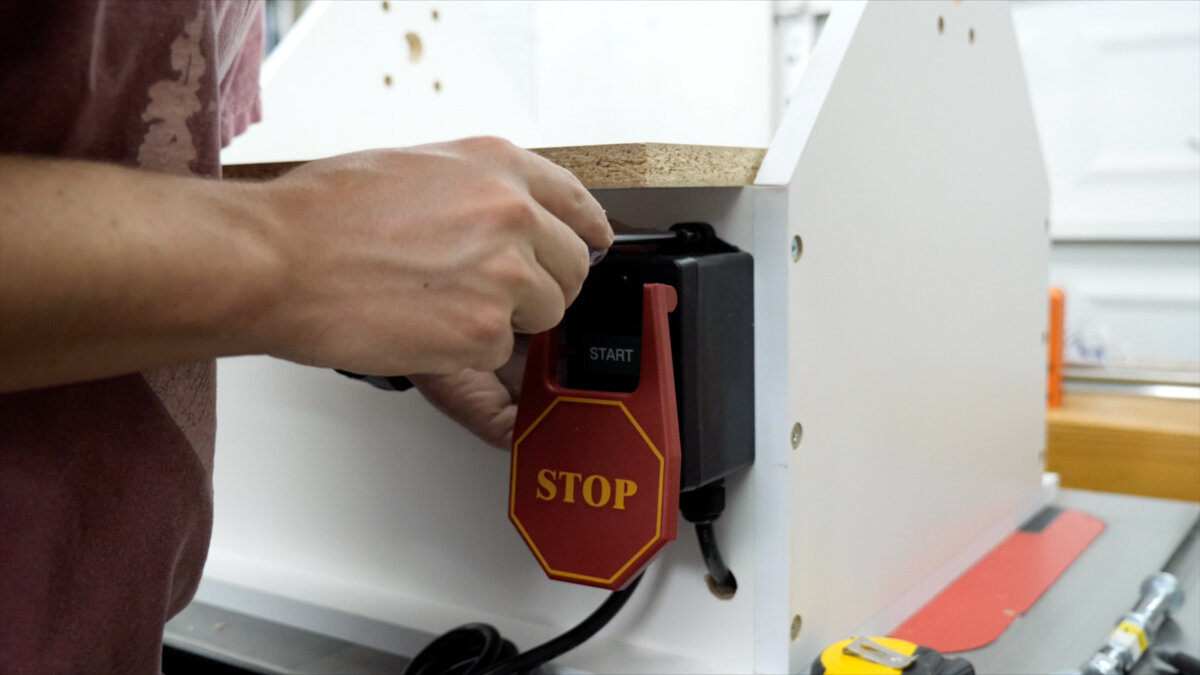
Surprisingly, it's already time to assemble. We predrilled for our screws and also added PVC edge banding to all the sides on the melamine boards that will be showing. Once those boards are screwed together, we are going to add a piano hinge to the back and to the tabletop. This is so the table can adjust up and down depending on the thickness of your board you are wanting to put through to sand. Next, is adding on the switch. We drilled a hole in the front so the wire going to the motor can fit through and screwed the switch right on the front. You are going to have to take off a side to be able to get the drum on, so you can put it on now to get your screws right, or just leave it off until the drum to put into place.
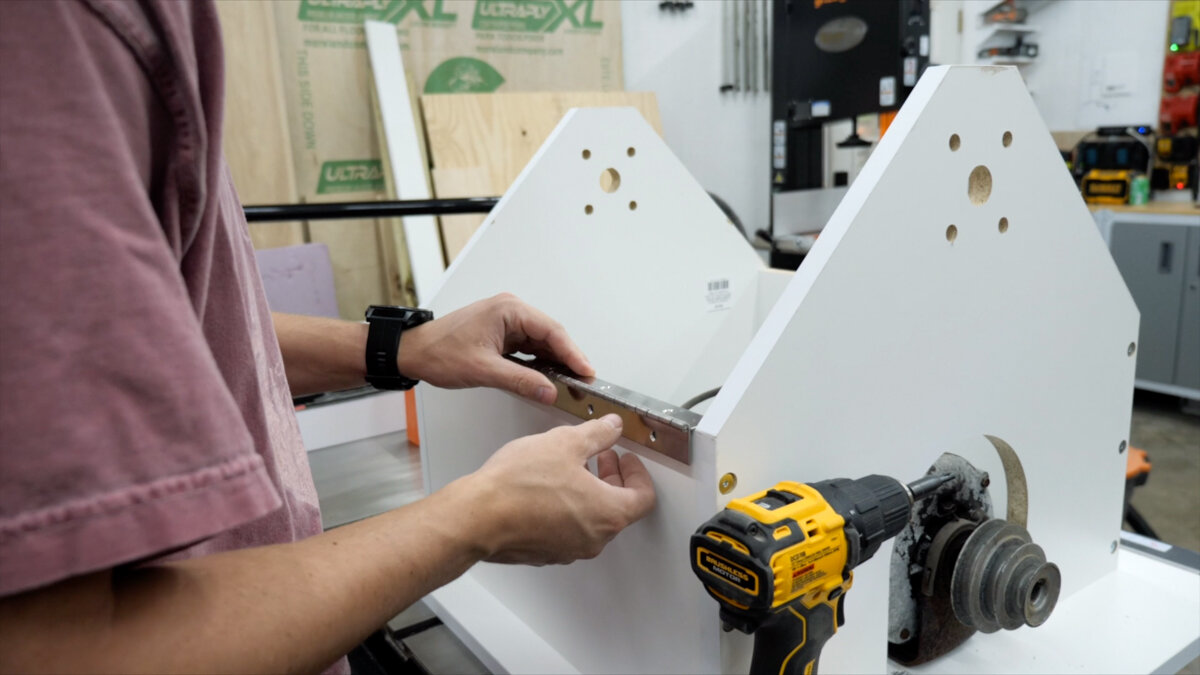
Adding The Drum

Now before adding the drum, we need to attach the pillow blocks to the sides. Pillow blocks go on the outside and we need our bolts and 5/8" wrenches to tighten them up. Grab your drum and slide it into place! Probably the first exciting part of the build! Now that that is in, you can screw the side back into place and add and tighten the collar. Now, grab the rest of the key you didn't need and cut a piece to length for the shaft coming out the side that the motor is on. Now you can slide the pulley on and tap it until it's against the collar. Make sure to lock the pulley.
The Belt

The motor should be already inside the box and the pulley side poking out the hole. We put the motor on a scrap piece of board that is attached to the box with a hinge. This way some of the weight of the motor can pull down on the belt and makes it a bit easier to put on the belt. We used a blower motor, just an old one we had laying around, and it's a 1/2 hp, which is plenty powerful enough for this setup.
Cut off the Access Shaft
Now that the drum is all done and put into place, you can cut off the access shaft. Only do what we did in the video if you are super comfortable, we turned on the machine and used a metal cutting hand saw to slowly cut off the access. On the opposite side, you might have a bit left too, we had enough room to use our portable band saw for that side. Whatever works best!
Lift Mechanism
I don't know how well I can explain how the table lift works, so I will tell you to refer to the video for this part. This starts at 7:40.
Make and Install Drum and Belt Covers
We made the MDF drum cover so that it sits on the pillow block bolts and will never touch the sandpaper. We also drilled out a little slot in the side opposite of the motor, so a bolt could move up and down inside when the knob on the outside is loosened. This is so you can adjust to material thickness when sanding and keep dust collection A1. The cover for the belt is made out of MDF as well, and we added just one hinge so you can open and close this when you need to get inside to fix the belt or change it, etc.
Sandpaper
We put on both 80 grit and 120 grit sandpaper on the drum. We don't plan on ever putting a full 18" board through here, so we can go back and forth between 80 and 120 grit sandpaper easily without having to take paper on and off again. The sandpaper is put into the grove in the drum, then a small beveled piece of wood get screwed down to hold both end of the paper in place.

Dylan feeding a board into the drum sander for the first time.
And that is it! Honestly, quite surprised how well this homemade drum sander works. We can't wait to start on more projects and really get this thing going.