Reception Desk Build

This project is sponsored by Total Boat. Use code "WOODBREW1" to get 15% off your order!
This reception desk is a custom piece for our local gym! We haven't done a commission build in such a long time, that this was so fun. We have a set of plans available so you can build this yourself here! https://www.woodbrew.tv/store/p/diy-reception-desk-plans
Cut Materials to Length
We are using MDF for the walls or panels of the desk as well as for the slats around the entire thing. So first we are going to cut a full 4x8 sheets down to size for the panels. Then cut down the slats to an inch and a half.

Moving onto the plywood, we are using birch plywood and this will be for desk top and for the framing that the desk top will sit on. The desk top is good to go from the table saw, but we need to cut down the framing pieces to length at the miter saw.

Next up, we need to cut down all the trim pieces to length. For this we are using all select pine boards. These trim pieces range from a 1x4, 1x6, and 1x8. The 1x6 are mainly for the front and sides panels of the desk, and the 1x8s are for the little shelf the comes up from the main desk area.
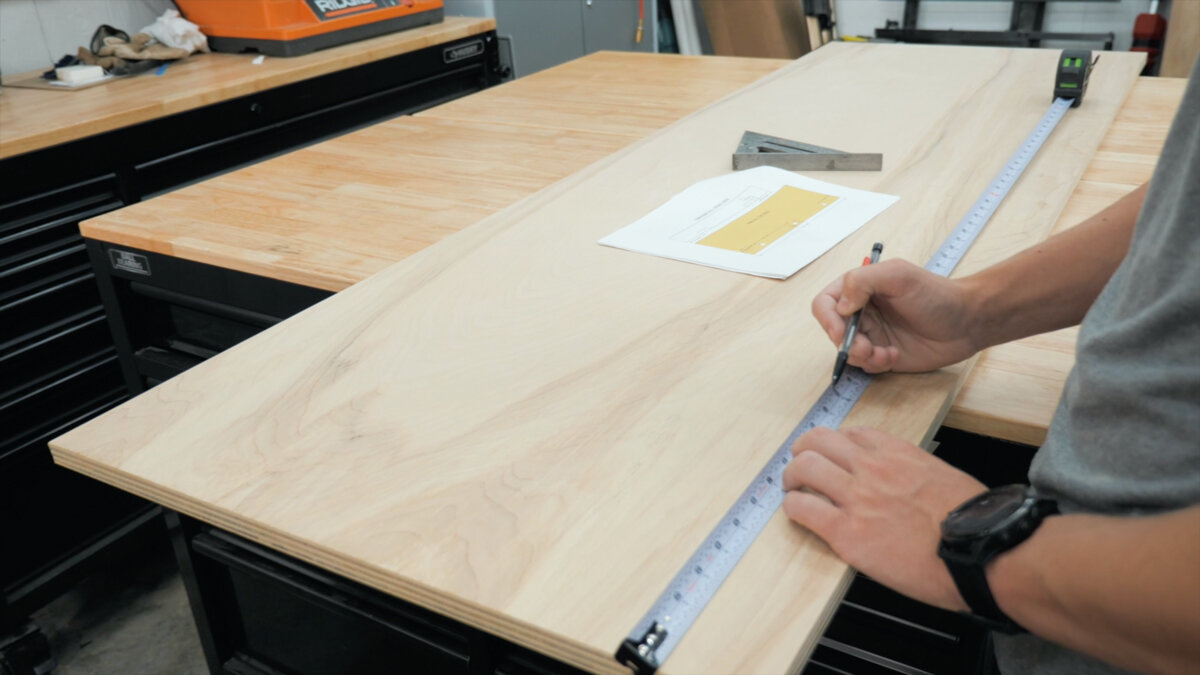
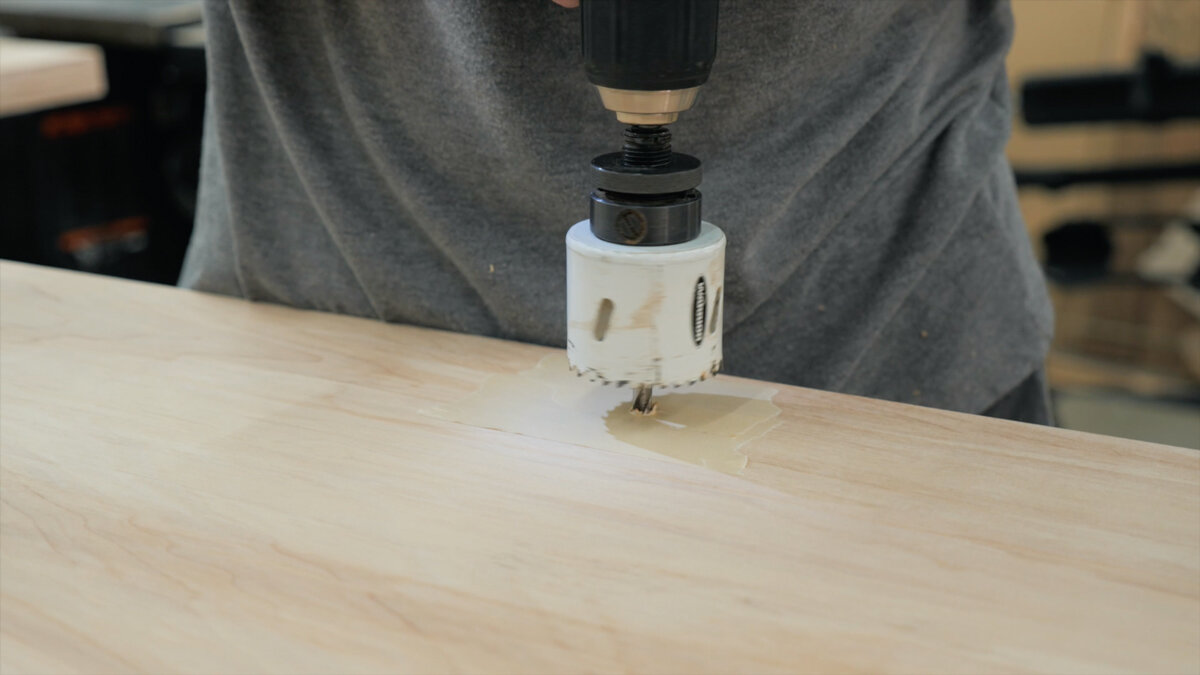
Cut and Drill Cord Holes
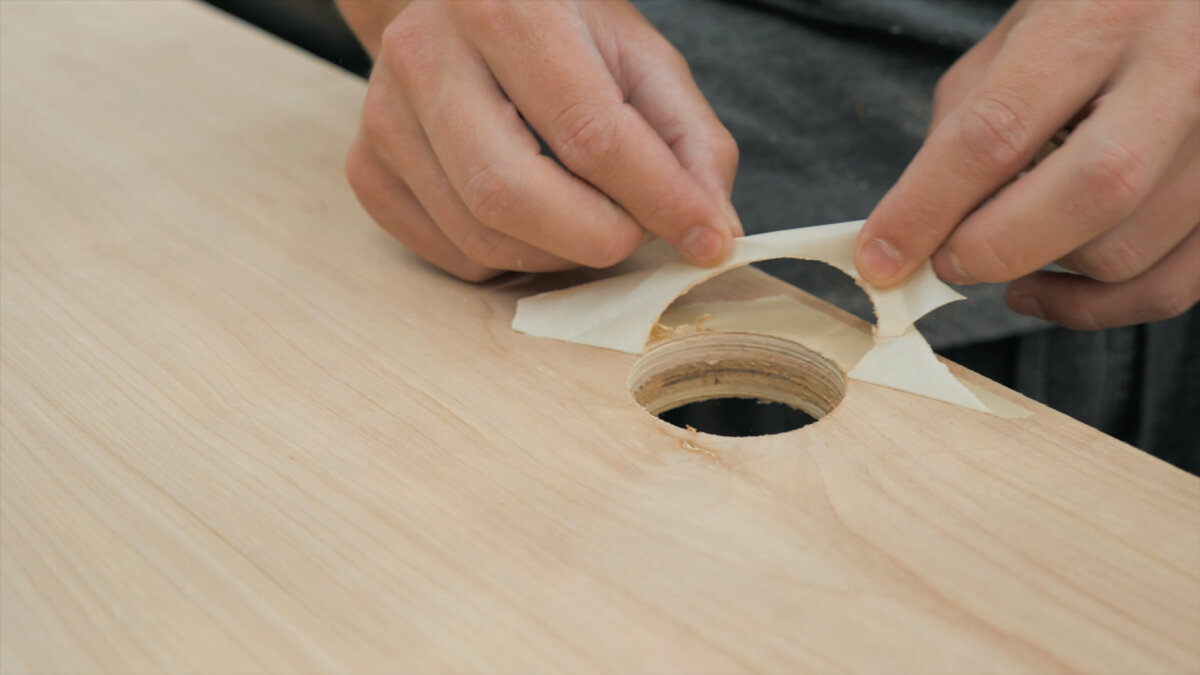
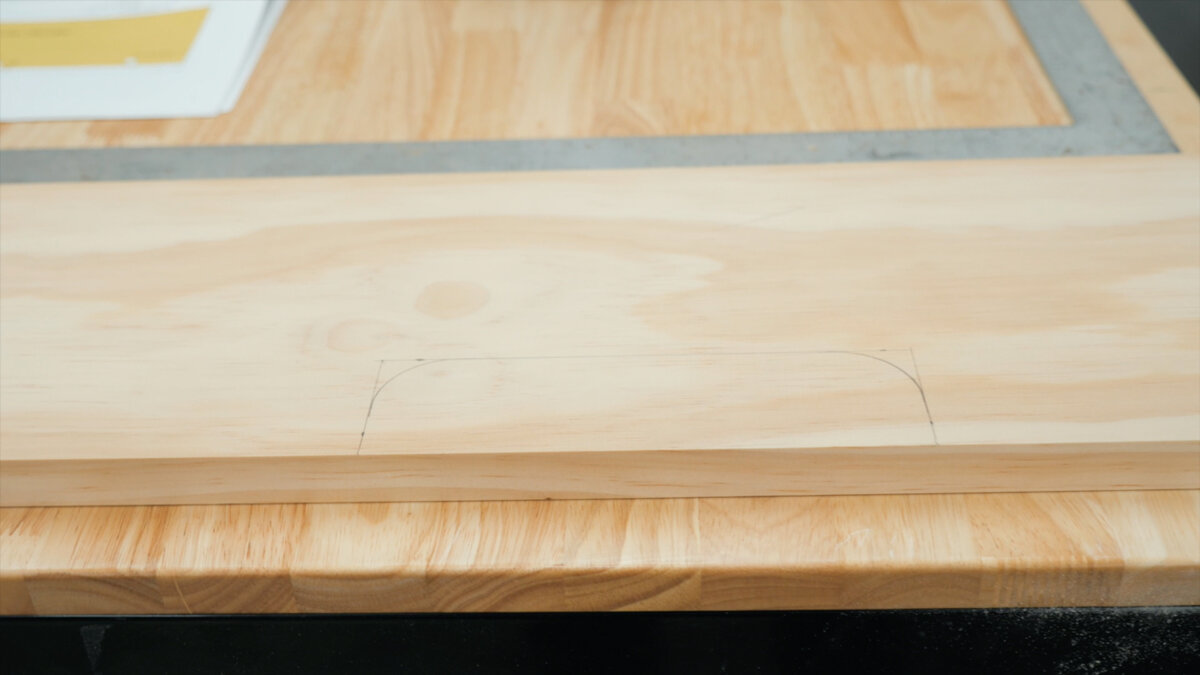
Everything is now cut to size, we are now needing to go ahead and make the custom bits of the desk. In the top of the desk, we are putting in 3 holes for computer and other miscellaneous cords. The first thing is to make your marks and drill out your pilot hole. A little trick to keep the plywood from tearing out is adding painters tape or masking tape first, and then using either a hole saw or Forstner bit to make a hole. We drilled out the 3 holes halfway on the top side and then flipped it over to finish it out. Then peel it off a wala.
One thing we love to do is take a round over bit and go over all the edges. This one is a 1/16” astra coated round over bit from Bits&Bits. This is much faster than sanding the edges and looks so much better. We basically use this bit on everything to make those crisp looking edges. You can use the promo code “WOODBREW15” to get 15% off your order if you are interested. https://bitsbits.com/ref/6206/

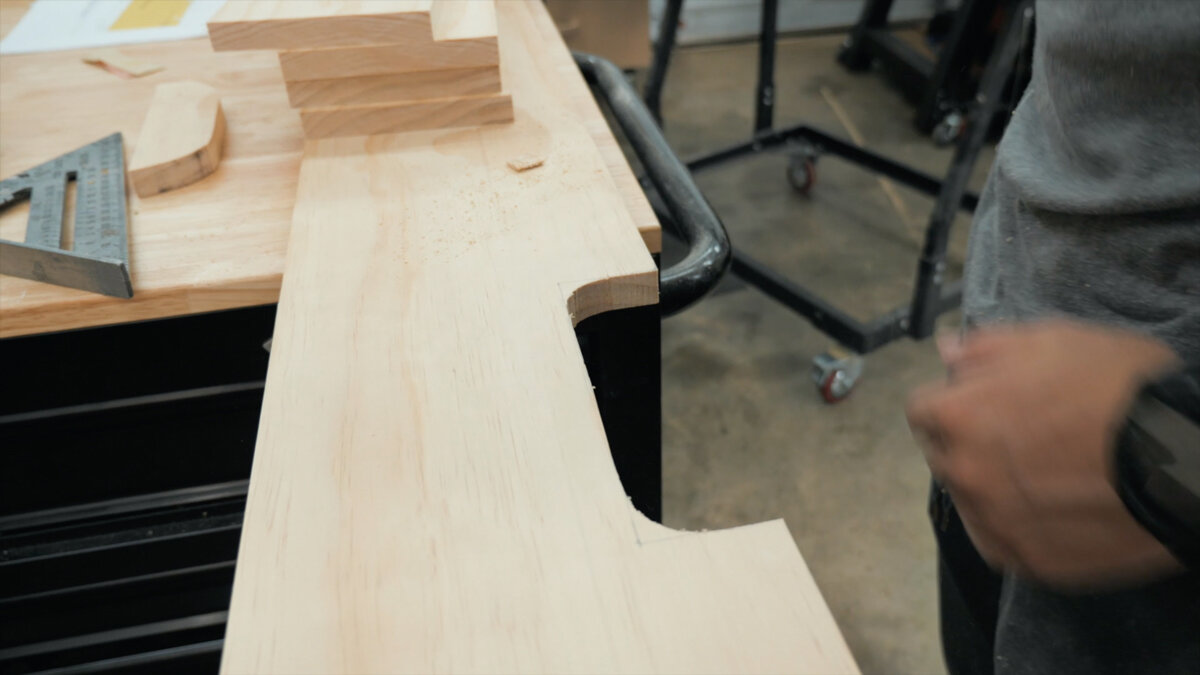
Next, grabbing that 1x8, we need to cut out holes for cords to come through. This is a trim piece going on top of the desk and will hide all the cord running behind it. The slots are big enough to slide in a power strip and keep it tucked away and out of sight.
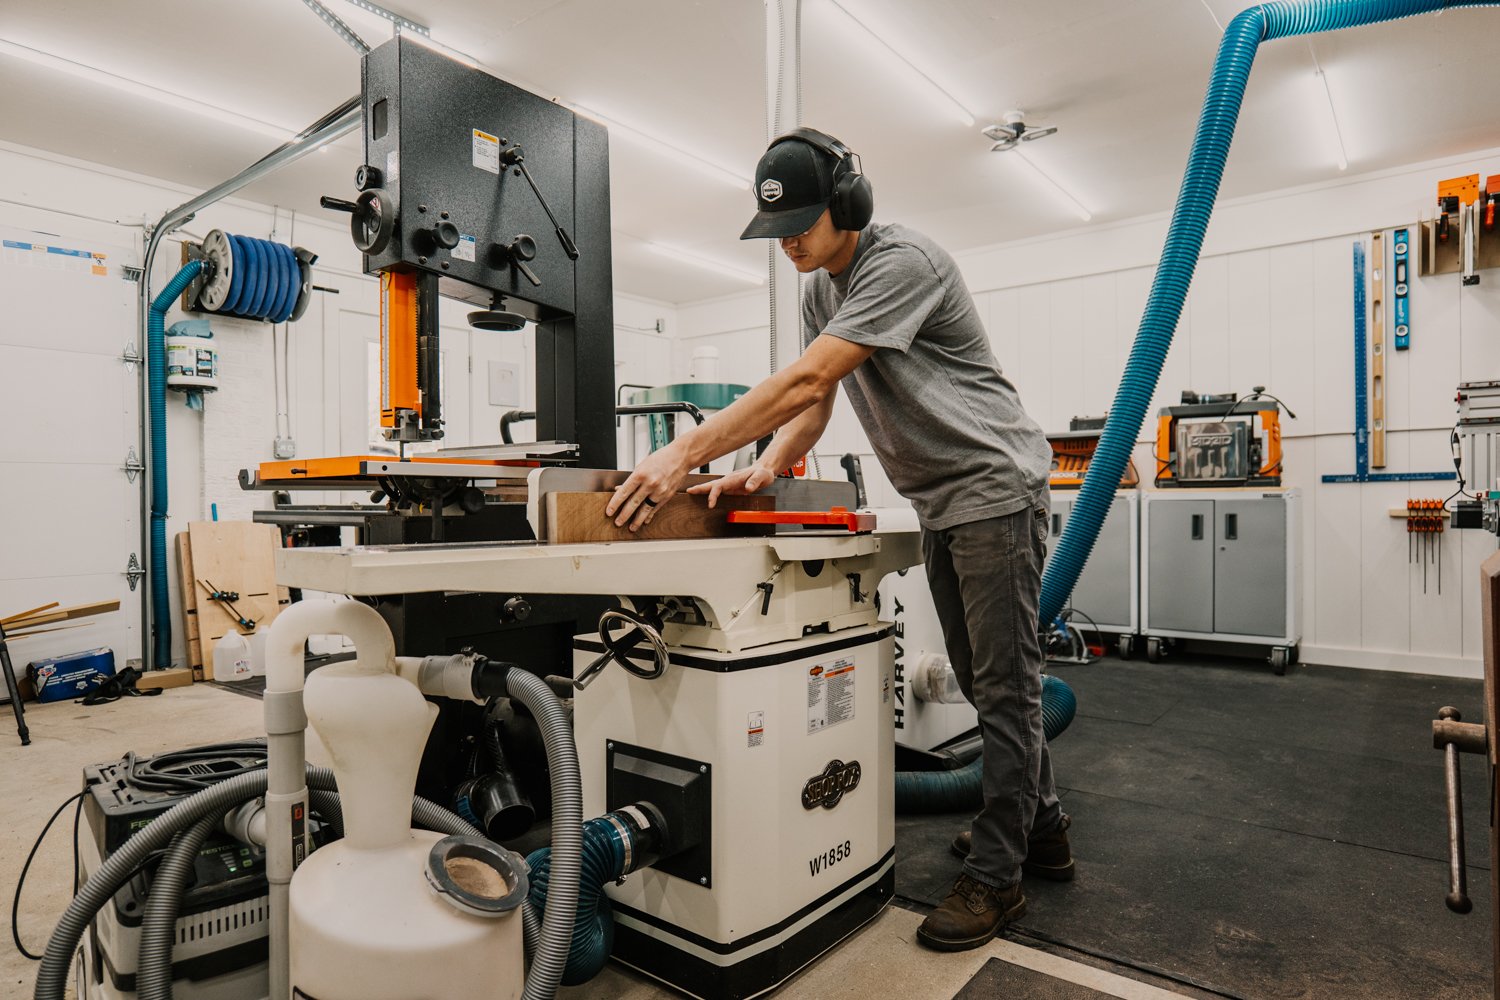
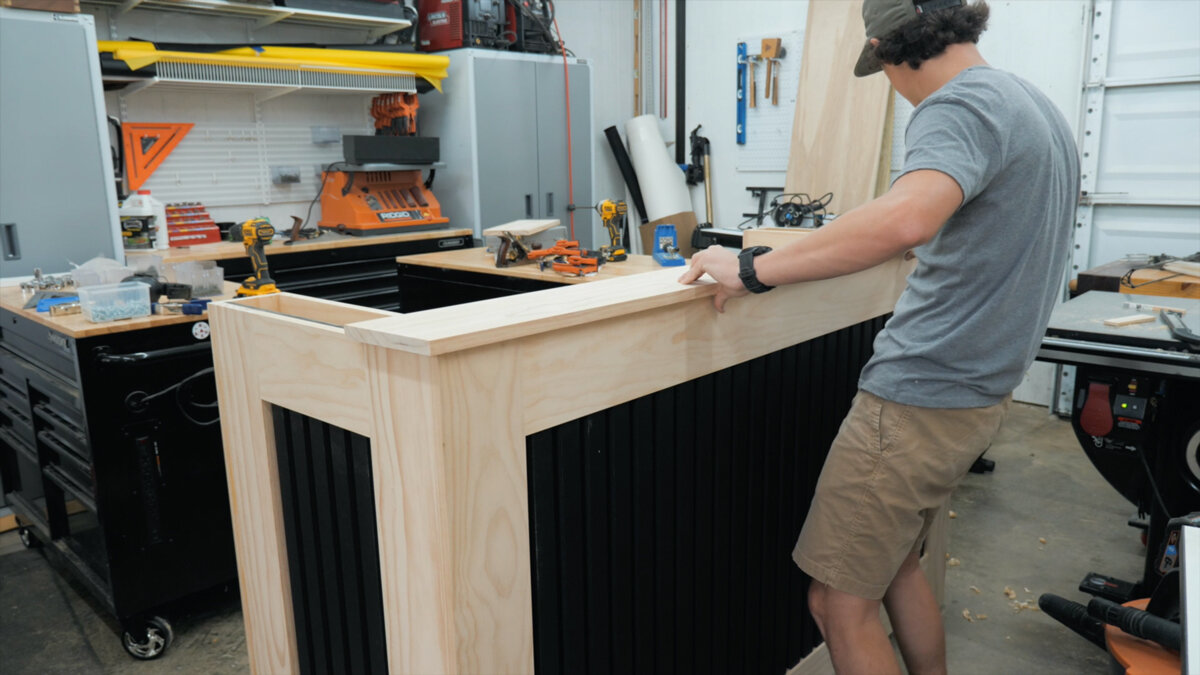
Assembly
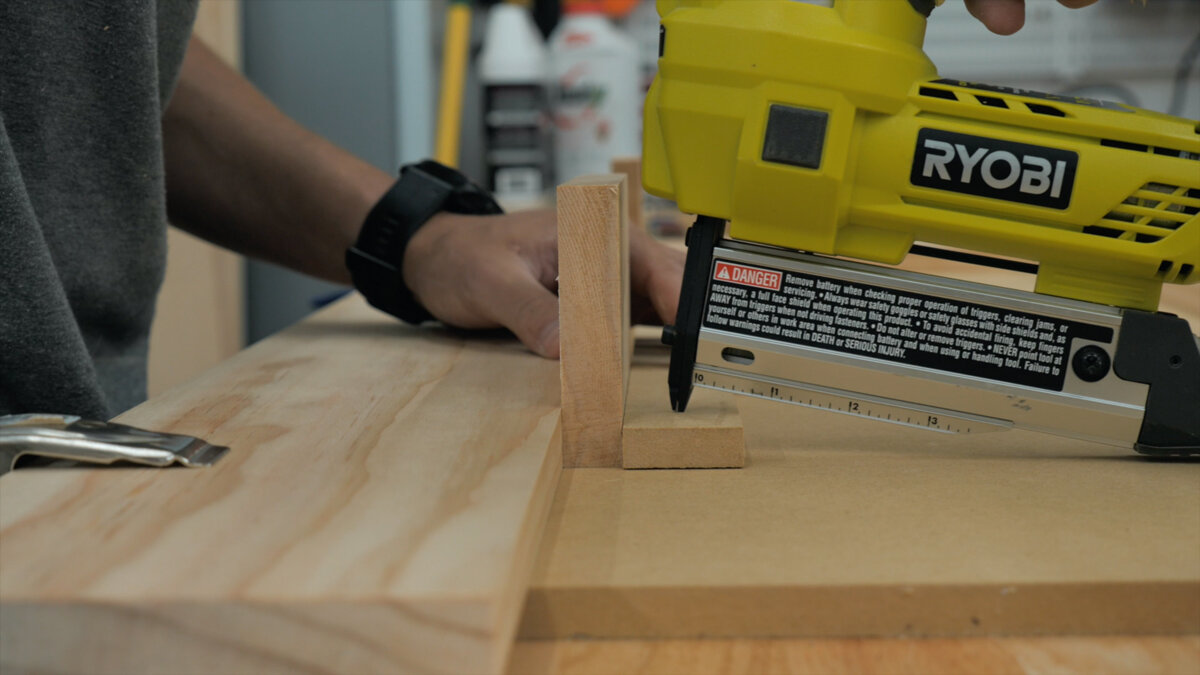
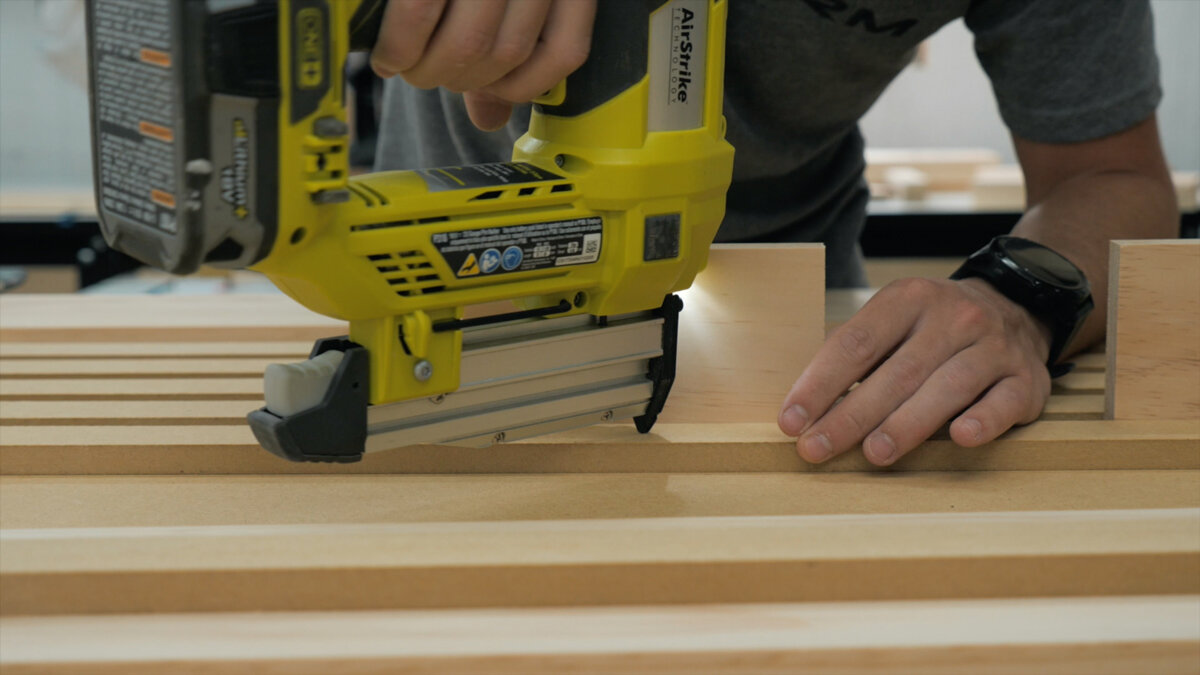
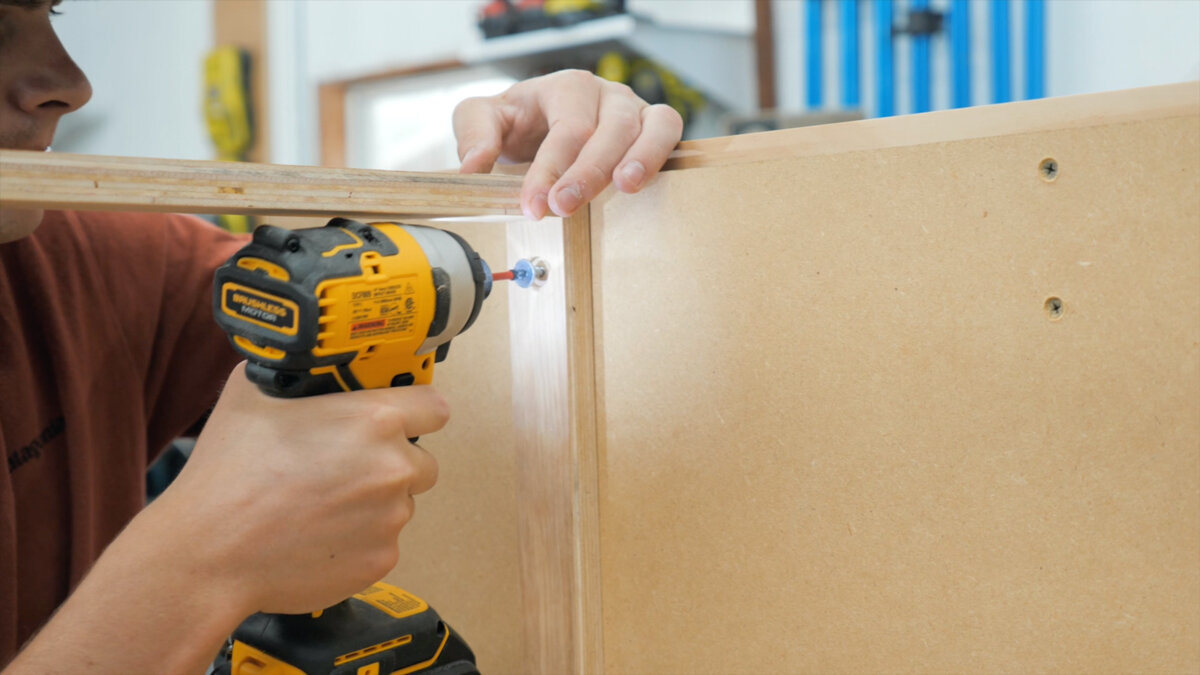
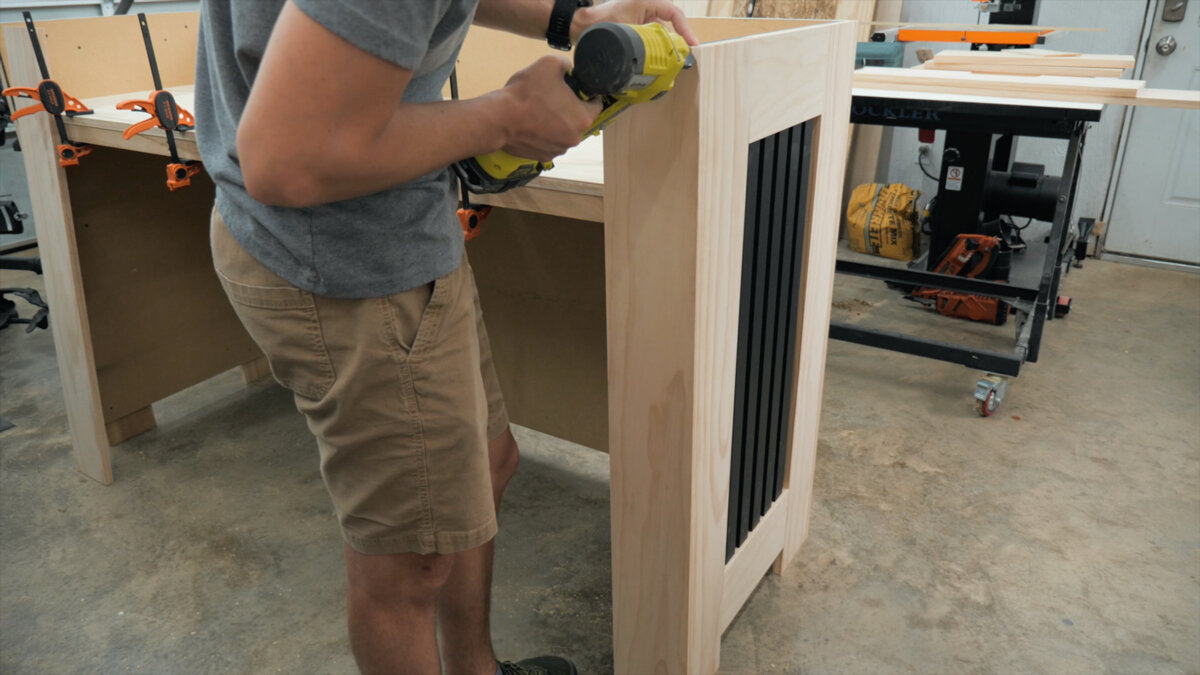
Now it’s go time to start assembling. Starting with one of the side panels, we have clamped down the trim boards to the MDF panel, and using a scrap piece of that select pine as a spacer, we can glue and pin nail all the slats. Moving right along, the same thing to the front panel, only this time, we started on one side and worked our way in just a little bit. Then, switched to the other side, added some more slats. Once we got to the middle we could attach the last few slats accordingly depending on the space given.
We are going to go ahead and pre-paint the panels before assembly to make the process much easier.

With the front panel, the side trim pieces have a little overhang so the sides can come in right behind it and you’ll only see those front trim boards. Once those were attached, we flipped the whole panel over and screws in those trim boards from the back. And then repeat all those steps to the two side panels.

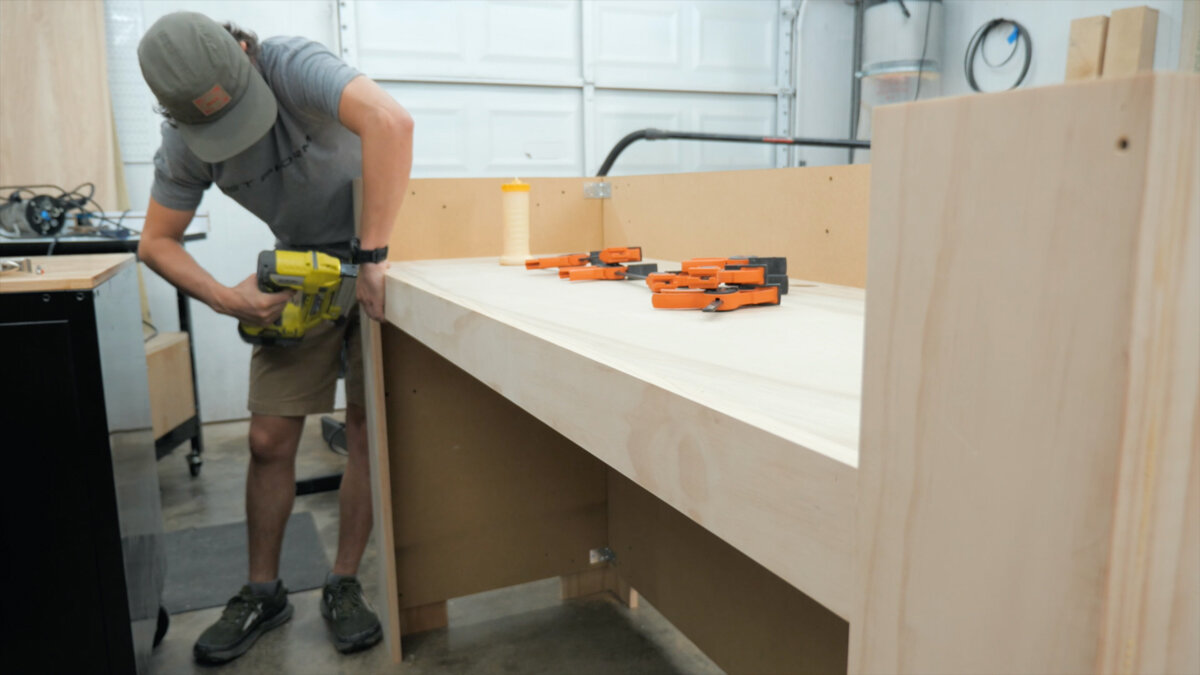
Set those aside and let’s make our desk frame. After everything is screwed and support pieces are in place, we can bring up a side panel on lay it on its side and attach the frame.


After the second side is attached, we moved the entire pieces to the floor and moved the front panel around to get it assembled into place.
For a little more support, we added in corner bracket to the top and bottom on each joint from the inside.

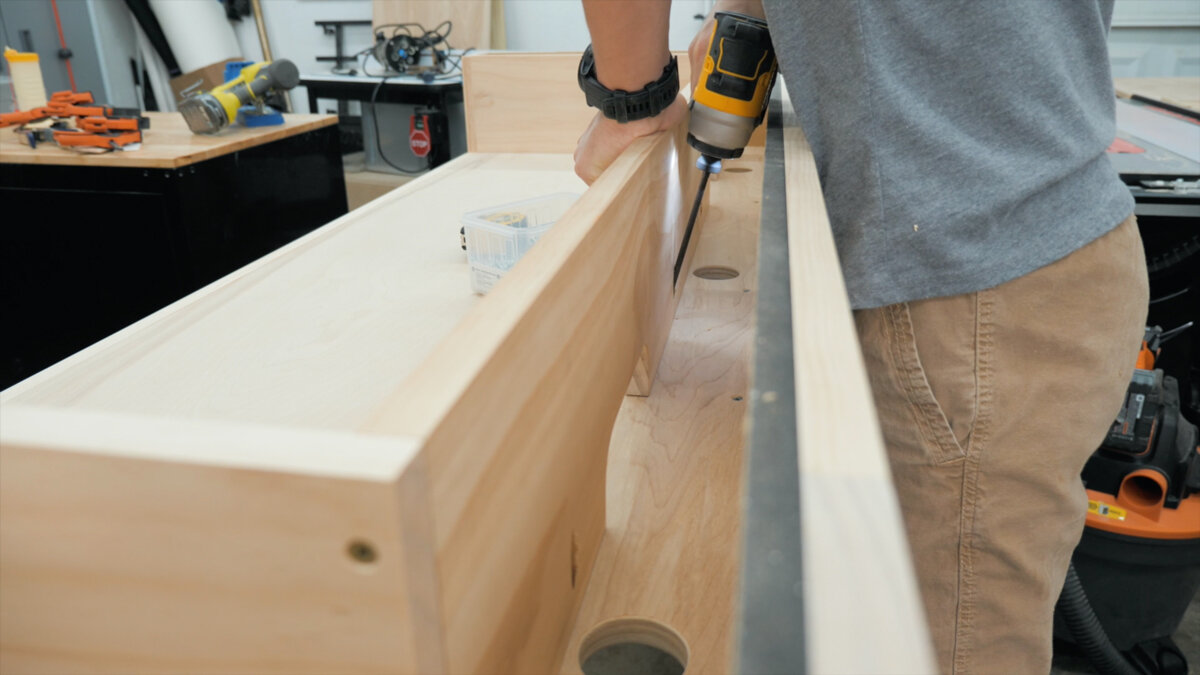
Now just glue and screw the desk top and all the trim pieces into place.

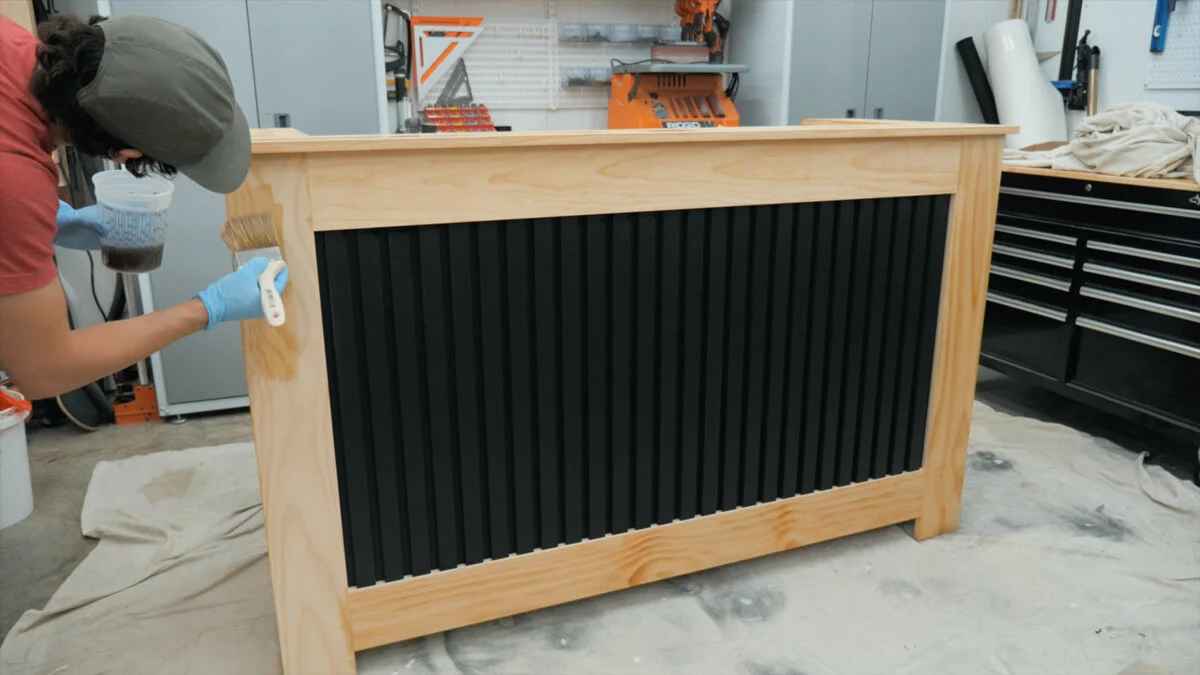
Finish
After a few coats of finish, we let it sit and cure in the shop for 5 days before we moved it to our client’s gym. We did this so there is plenty of time for the finish to cure without any cleaning chemicals being put on right away. This is the front desk to a gym, so there will be a lot of traffic around this and need the finish to last as long as possible. The finish we used is the Gleam Marine Spar Varnish 2.0 from Total Boat. This is heavy-duty finish for both indoors and outdoors and has a great UV protectant.
We moved the desk into our client's gym and it looks so good in the space! The gym has been revamping/rebranding the past few months and this desk really goes well with what they've got going on.