How To Paint A Brick House
We are back with a very exciting video. Today we are taking you through our first major project of our house. This is our first renovation on the house so we are really excited to take you through the process of painting the exterior.
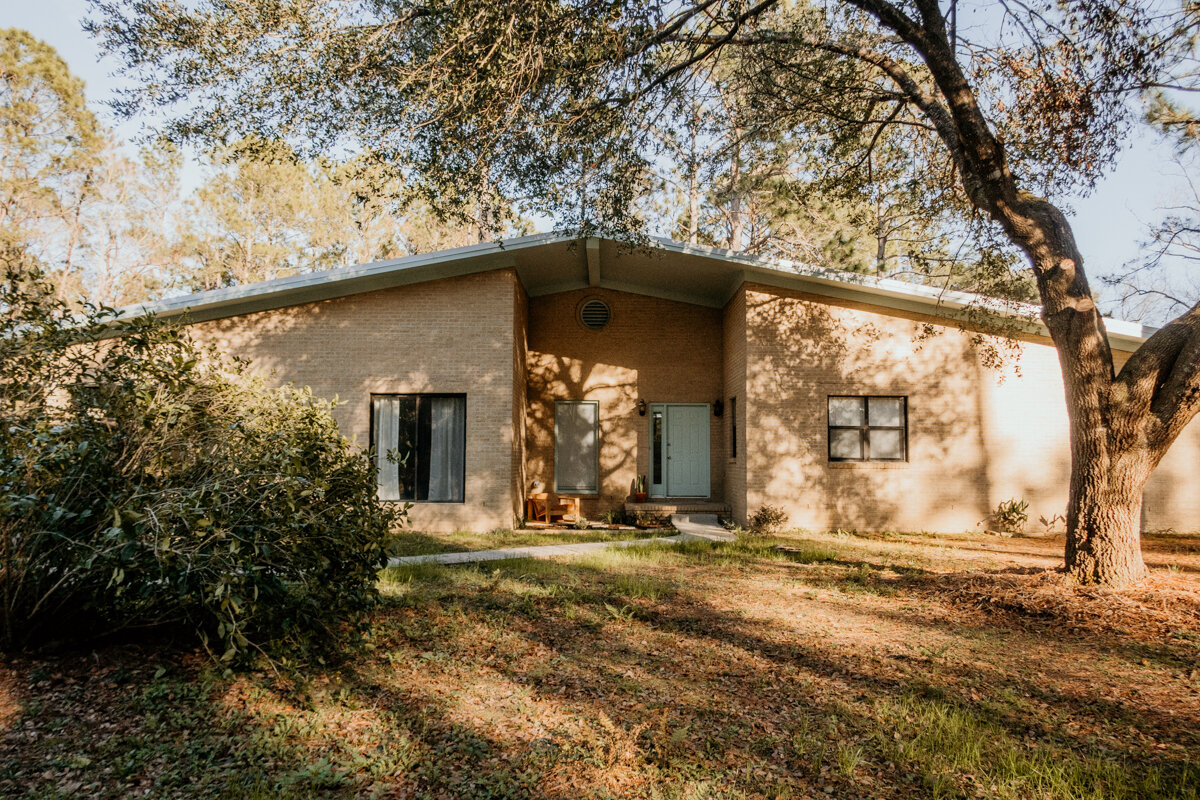
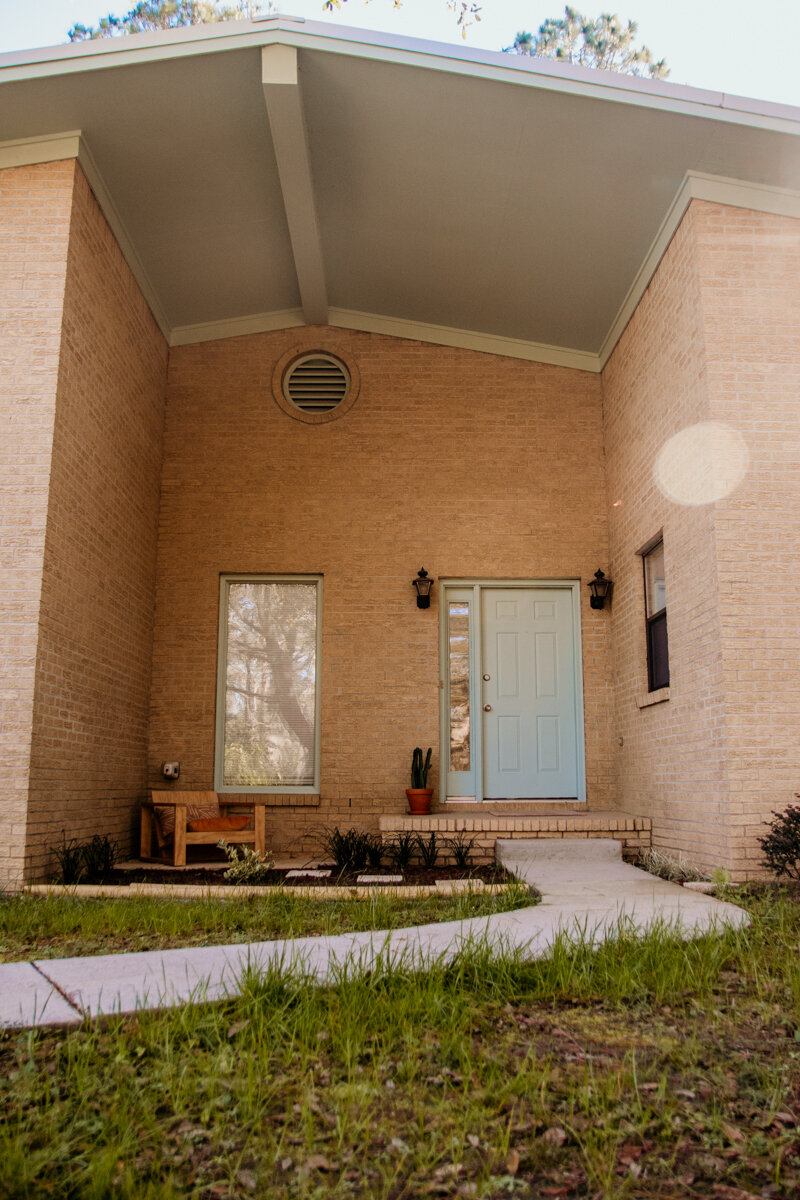
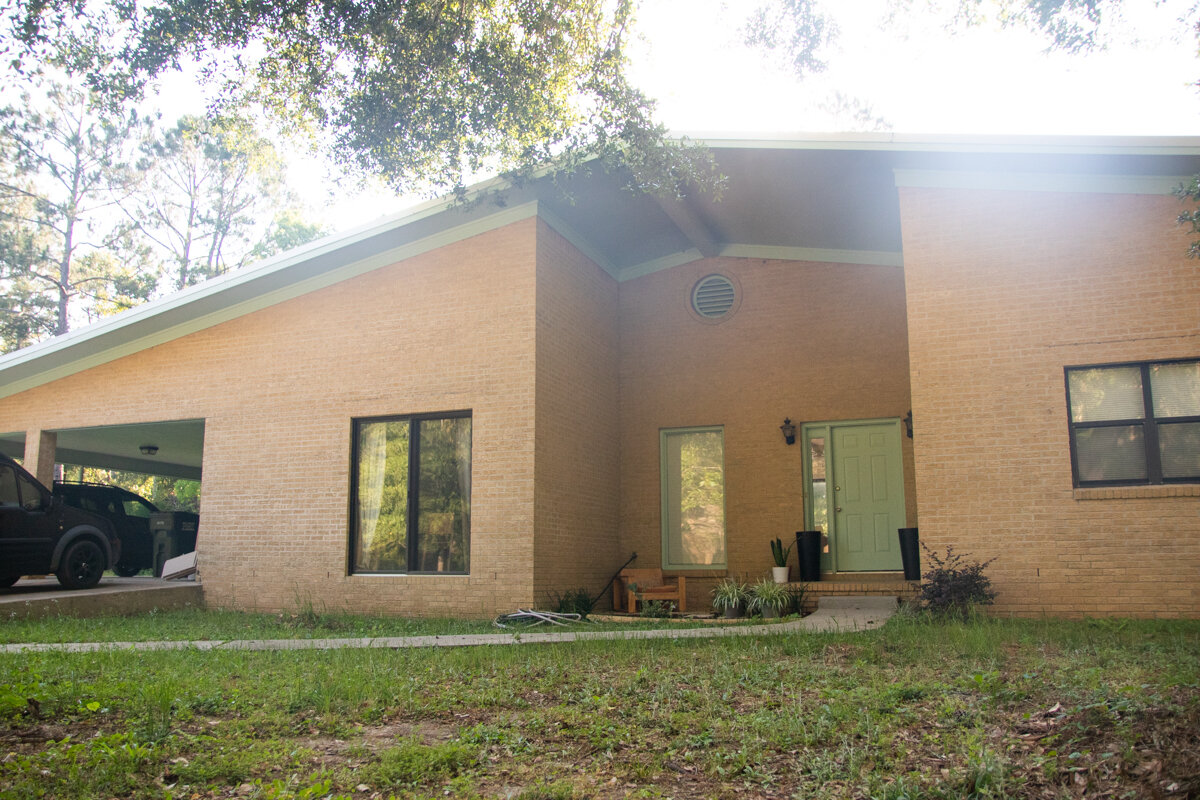
The brick before wasn't a terrible color, but it just felt dated. The goal for this house is to make it bright and warm by combining the styles of mid-century modern and modern coastal while also bringing in some bohemian elements to the space.
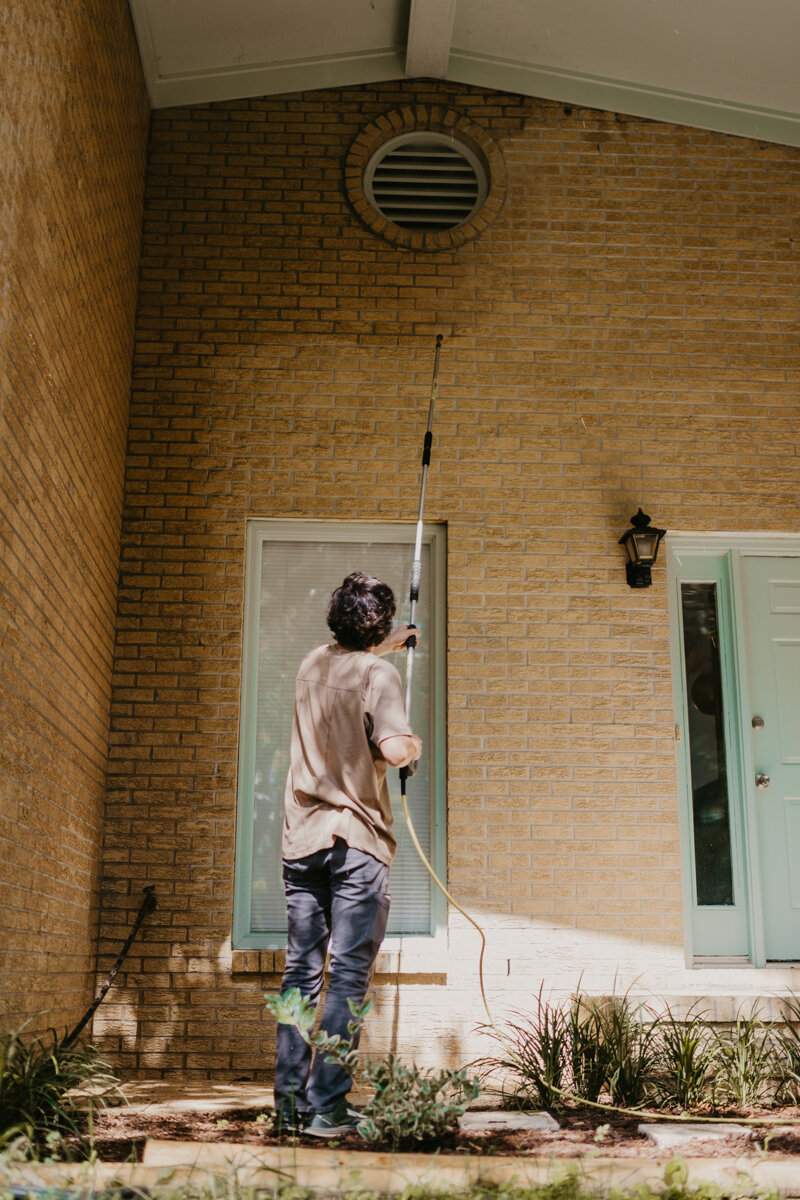
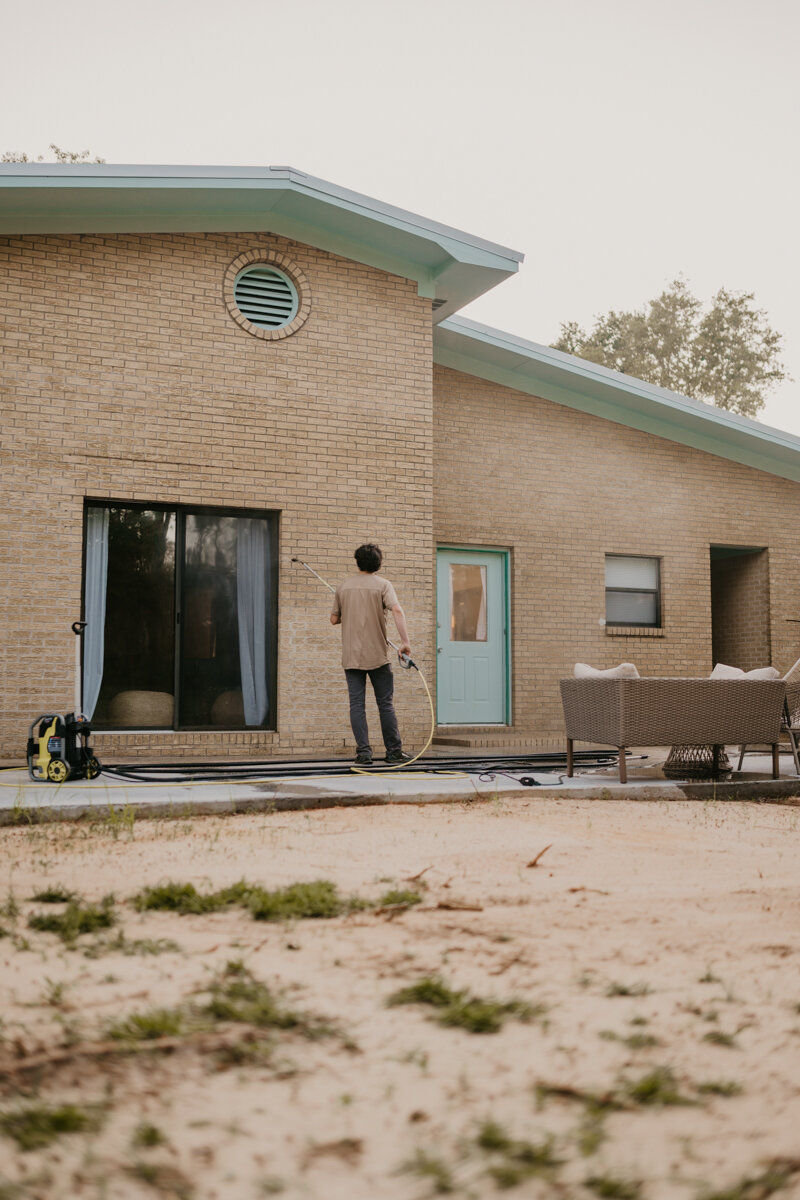
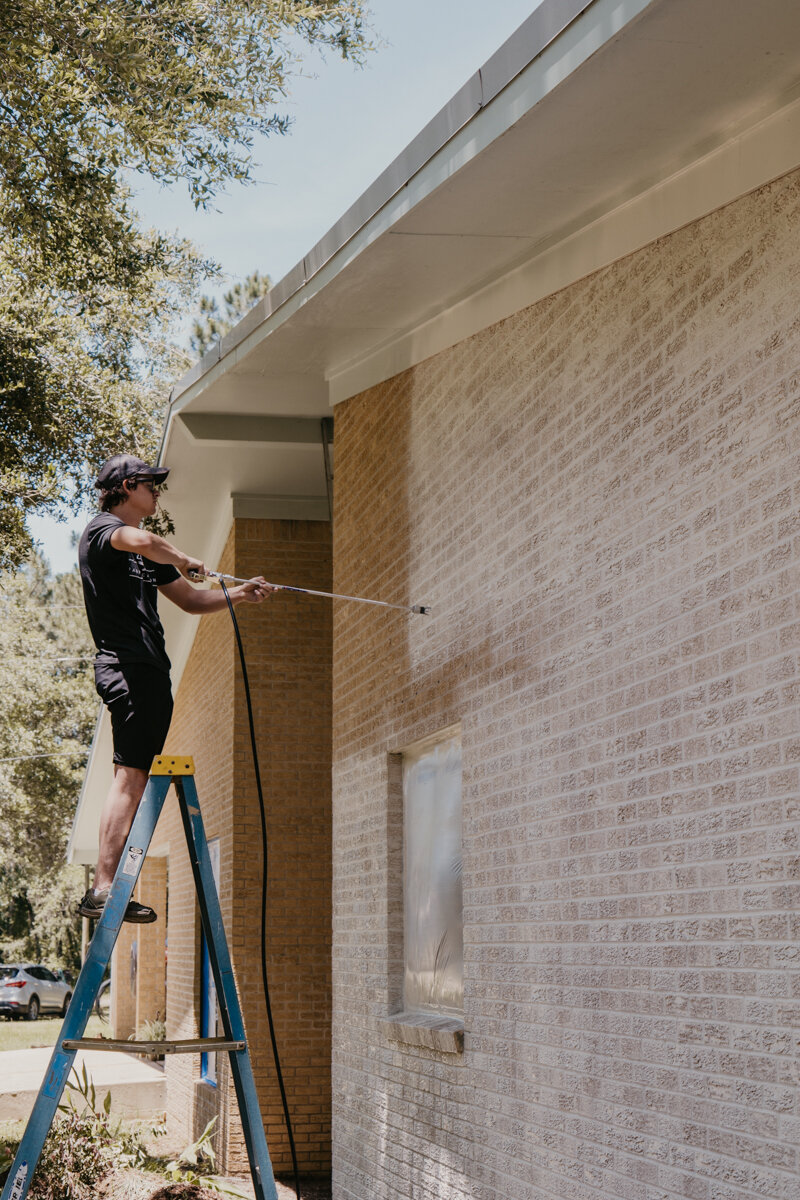
The first thing we did was power wash the house. We used our electric Ryobi power washer and did the whole house which really needed it and you don't realize it until you get started. The last thing you want to do is paint your house with dirt on it and then have the paint start chipping away, so make sure to wash your house first.

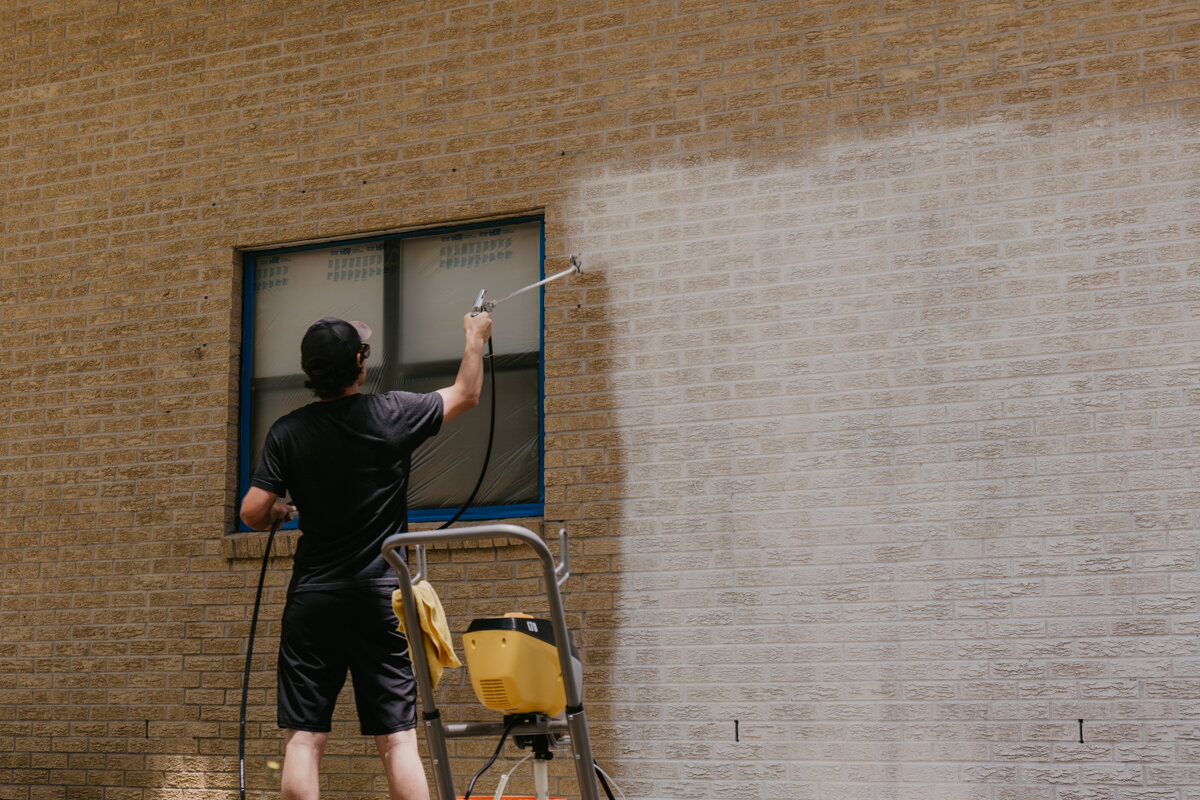
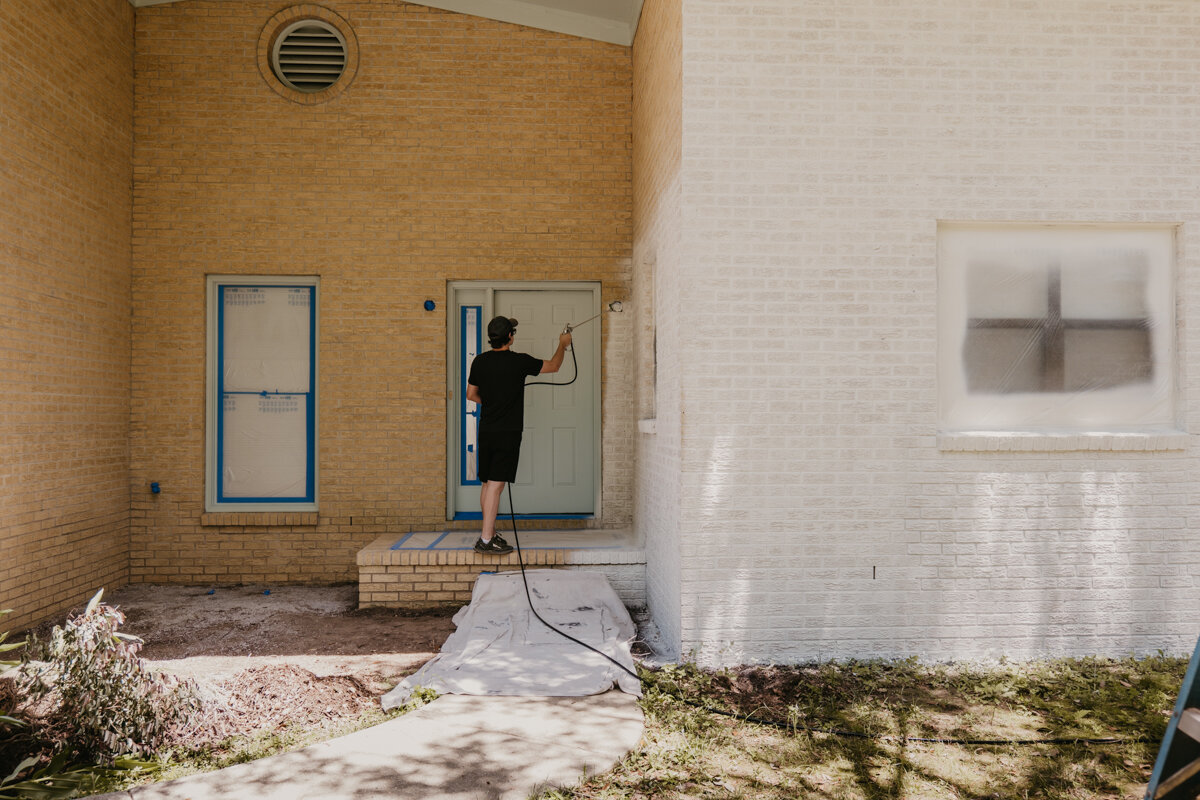
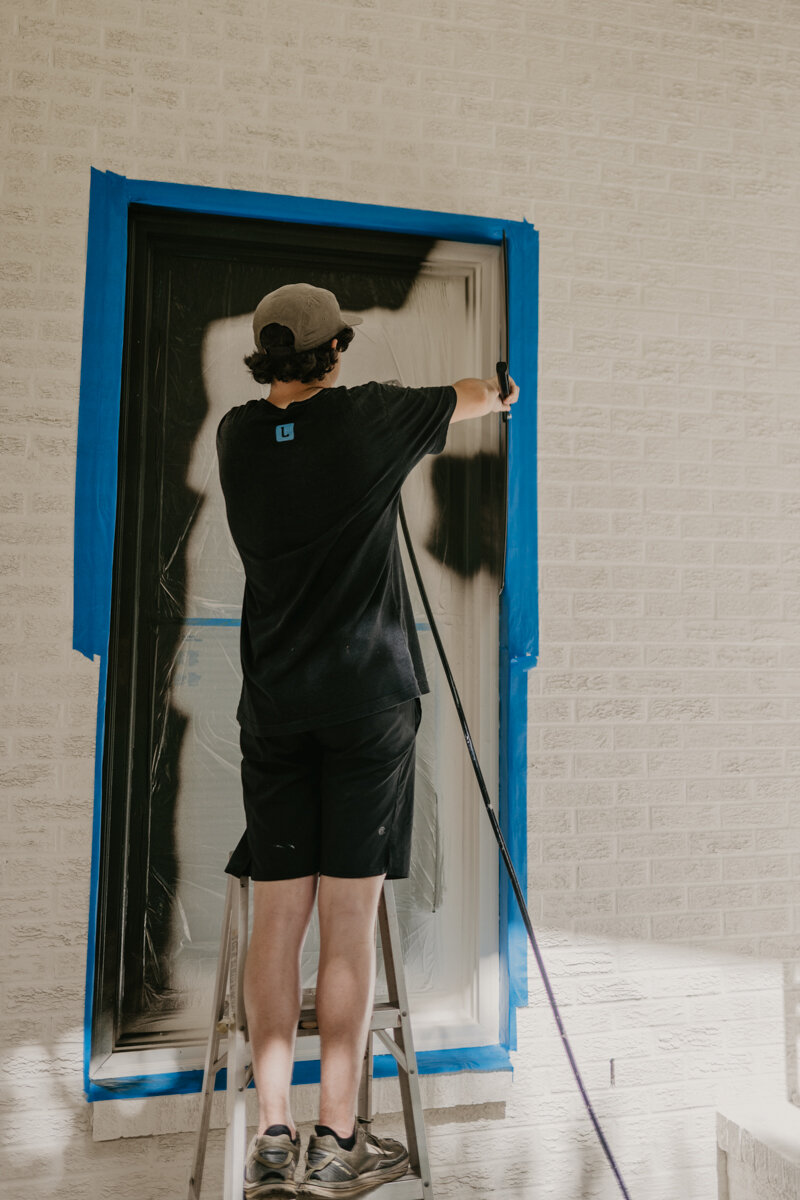
Then, we could move onto taping off all the doors and windows. If you haven't used the 3M pre-taped plastic then you need to next time you paint because it's such a game-changer and saves a lot of time.

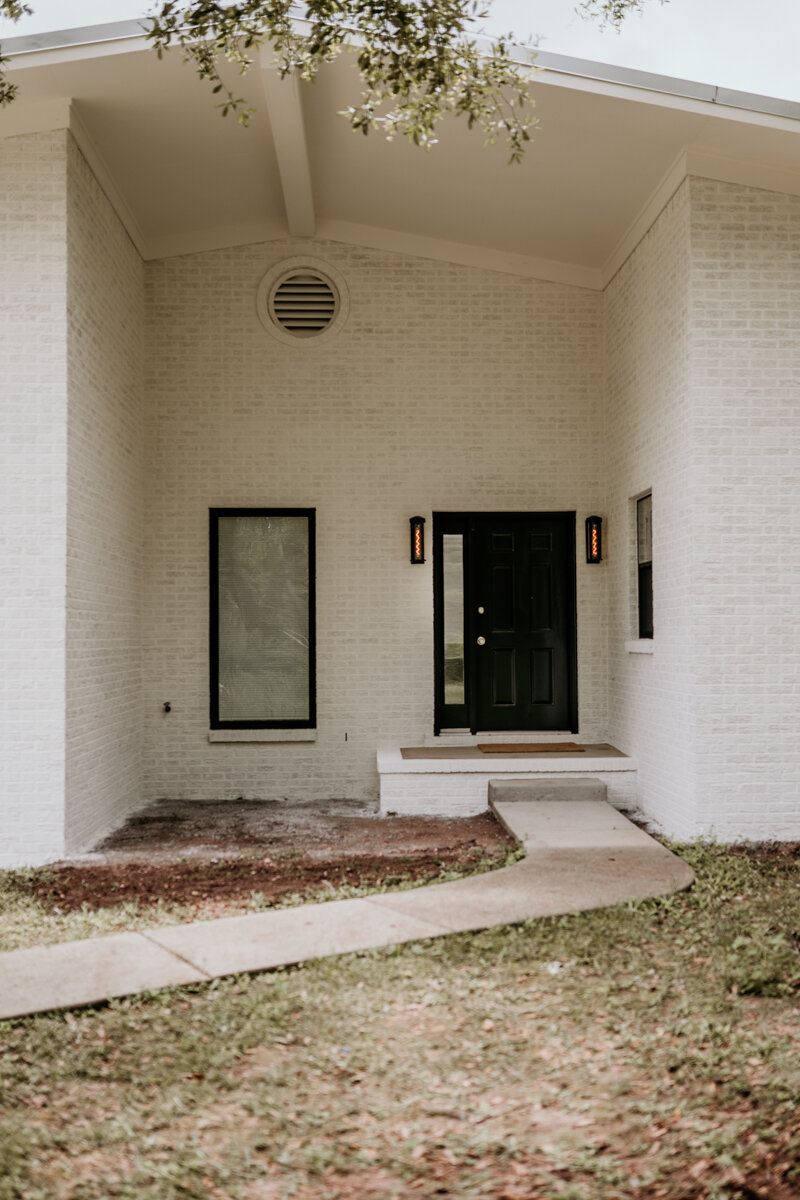
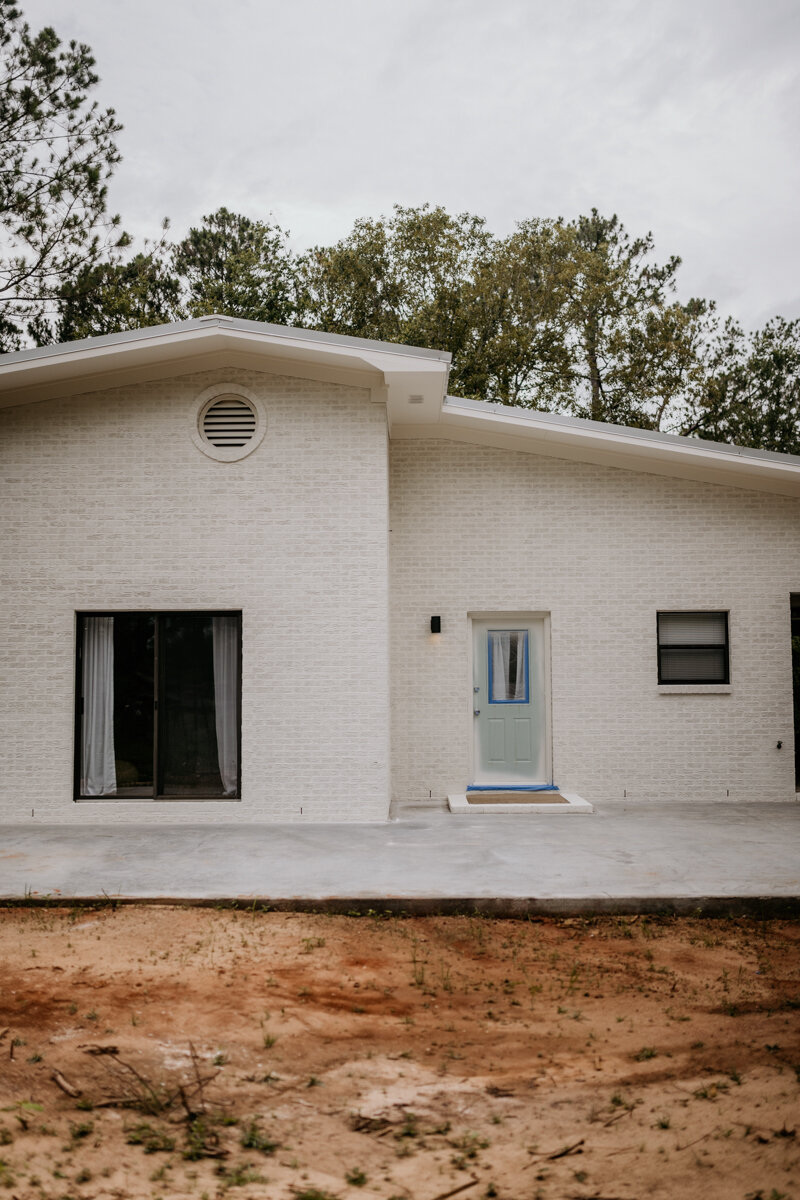
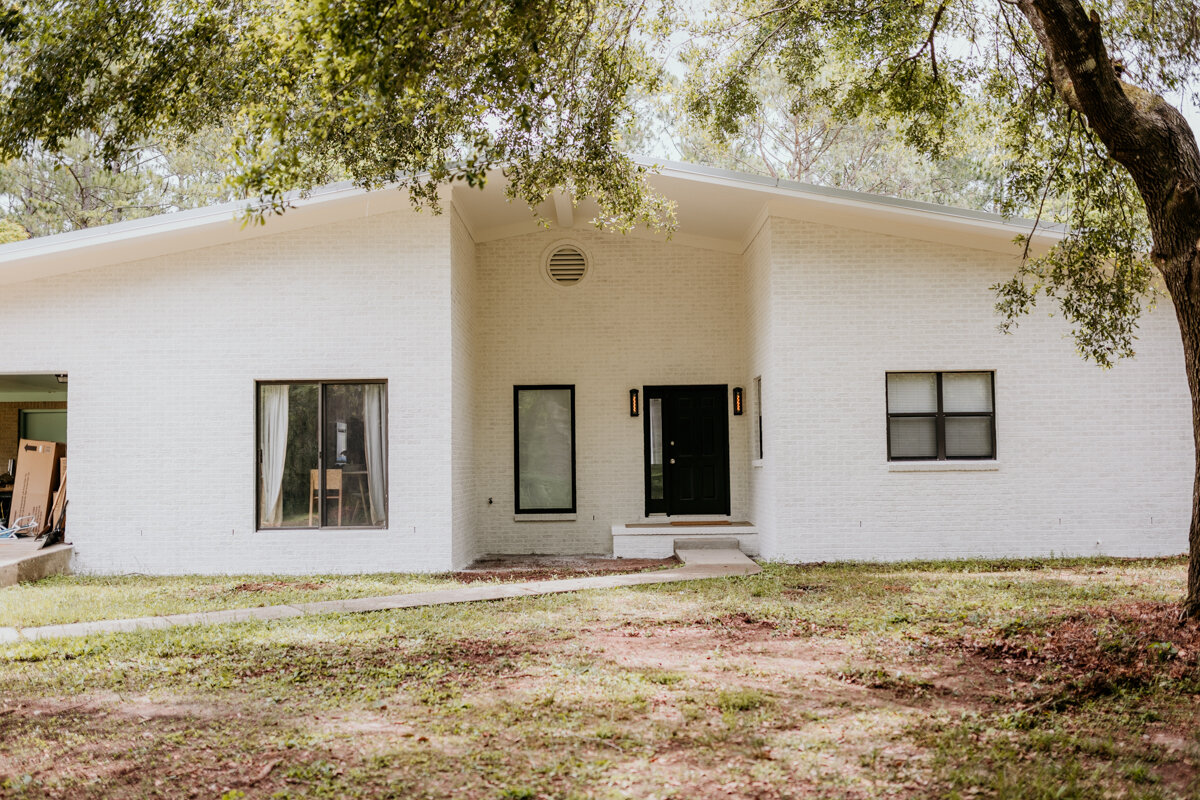
The color we chose for the exterior is Sherwin William's Alabaster and we are using Behr's Masonry, Stucco, and Brick paint which can be found at The Home Depot. Alabaster is a warm white but not too warm. We didn't want a stark white but didn't want a white that would come off neon either. Alabaster is the perfect white in that matter but also because of a little fact about me, I am from a small town in Alabama that I moved away from growing up and that town is actually called Alabaster so it's like a full circle which is fun.
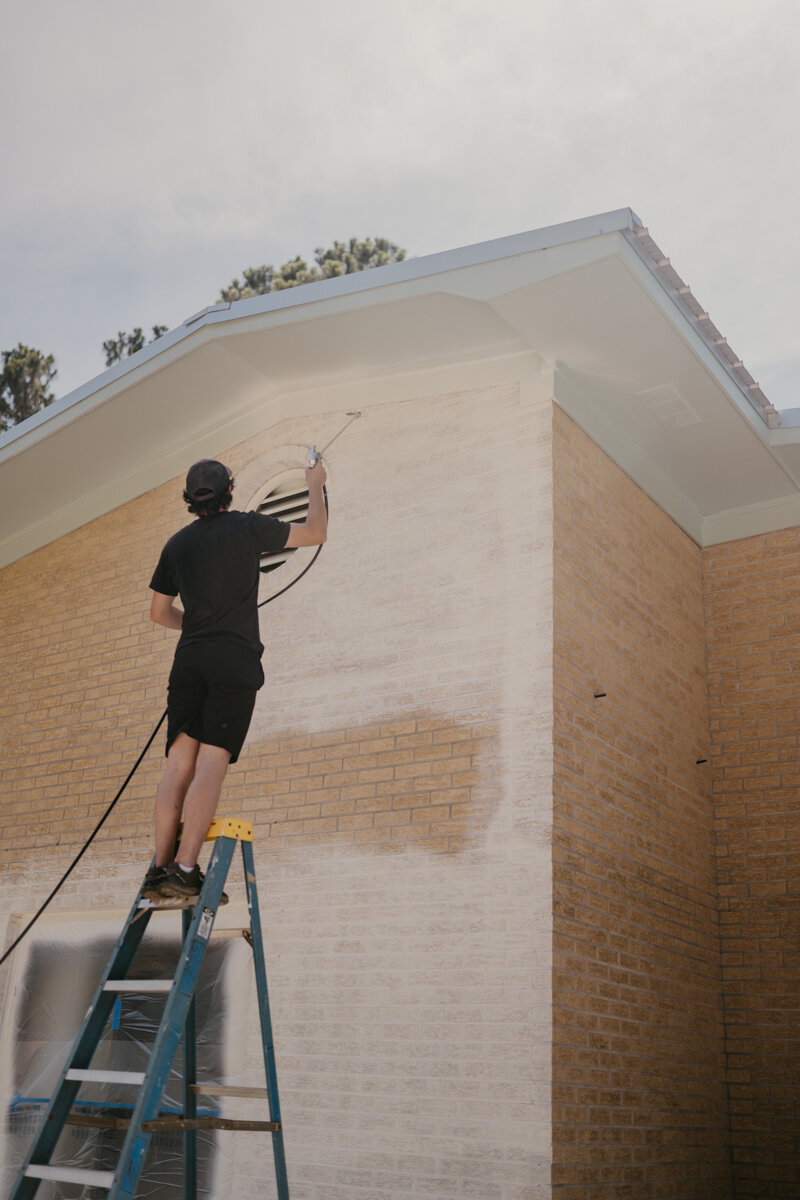
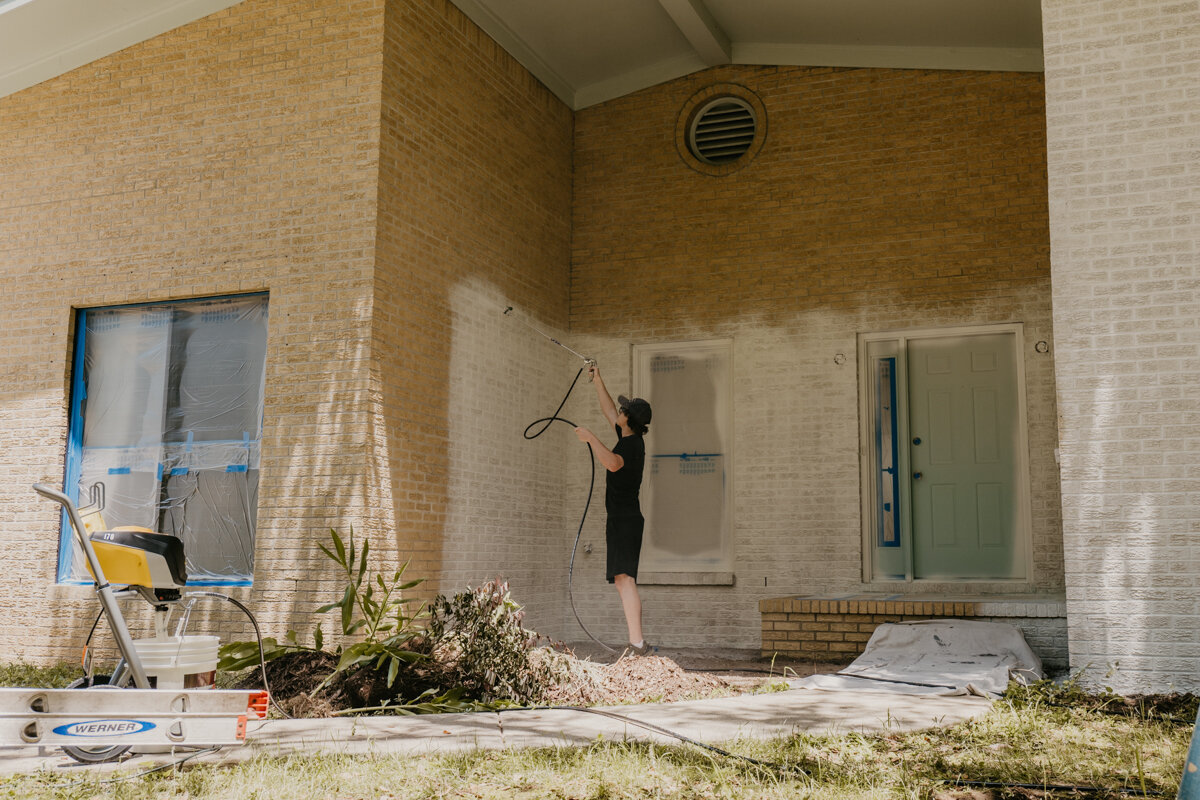
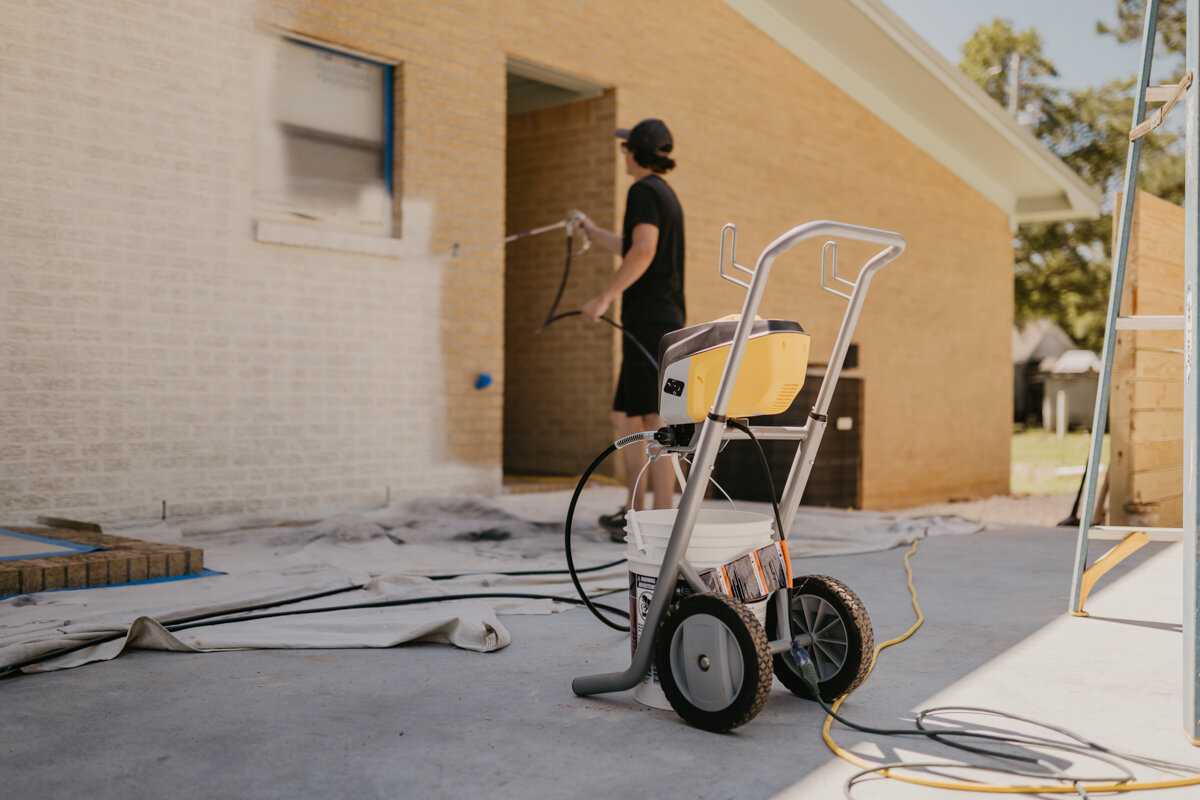
We kept a 5-gallon bucket on the Wagner Control Pro Cart Sprayer by hanging the handle to the cart and then we could roll the sprayer and bucket easily as we went around the house. We will leave a link below to this specific sprayer and thank you Wagner for sponsoring this video.
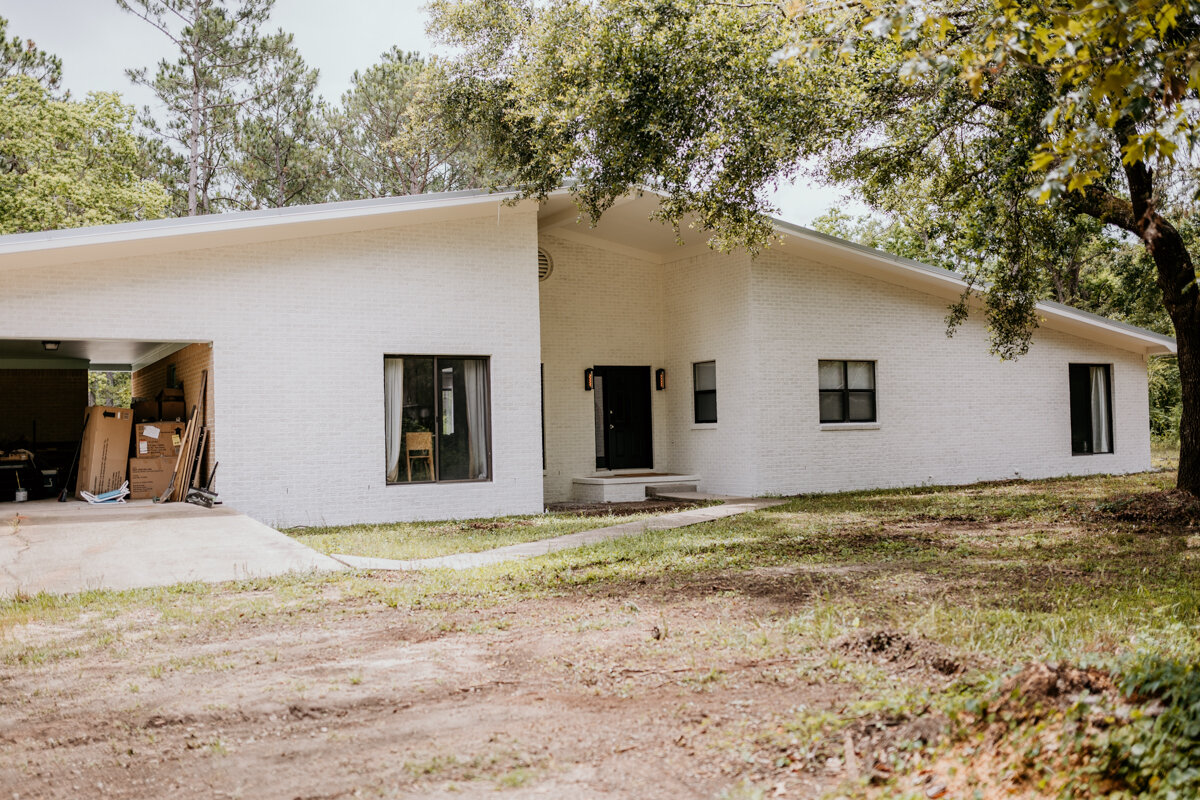
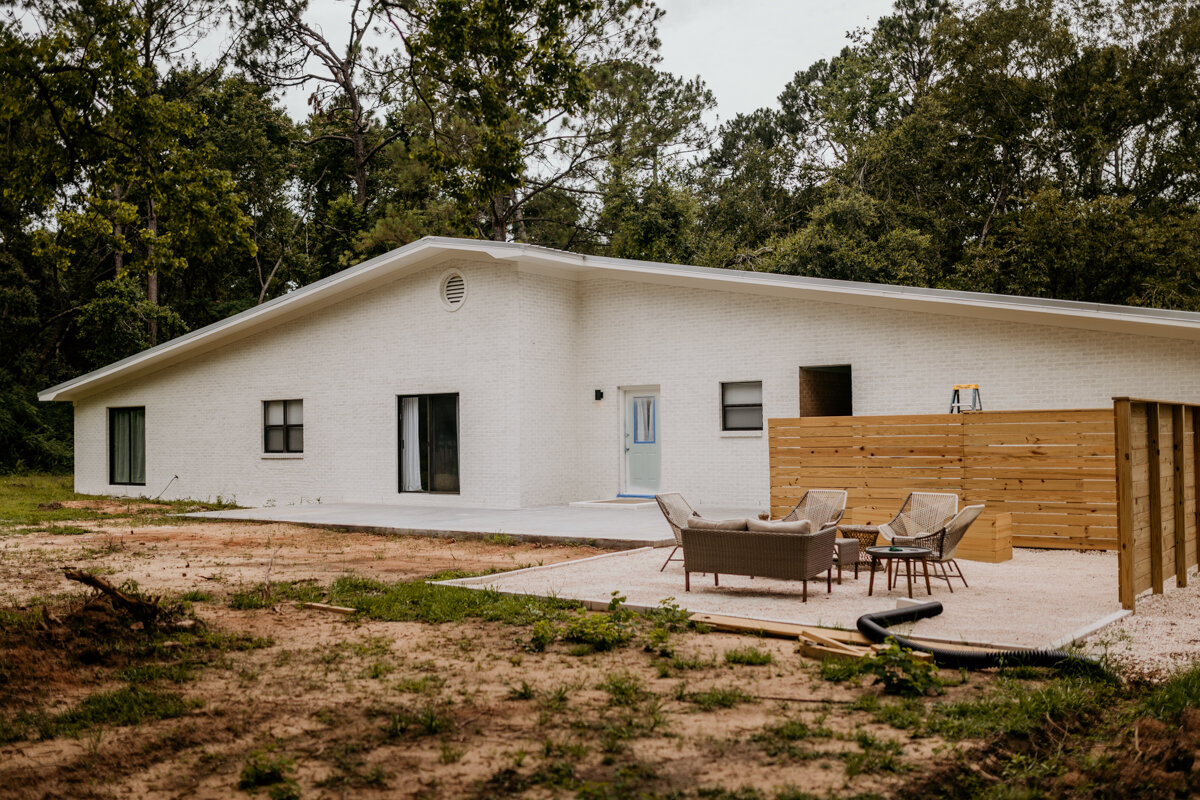
We are skipping painting the carport for now because we are closing it in, but we will come back to paint that area in the near future.
One super nice feature of the Wagner sprayer is that if you get a paint clog, you can spray it out by turning the sprayer tip towards you, spray to get the clog out, turn it back away from you and you'll be good to keep on painting.
There was a lot of talk between Dylan and me if we wanted to paint the brick on a few of the steps around the house or not because of foot traffic, but ultimately we decided to go ahead and paint them and if it needs touch-ups, which it probably won't, then we can use a brush when we need to.

The house is already looking so different with just the first coat which only took 3 hours to do, so we are going to let that sit overnight and come back in the morning to do the second coat as well as painting the soffits.
Another thing we did with the paint is we used the same 5-gallon bucket on the sprayer and just filled more paint in when we needed it. With the screw cap on the top lid, made for a cleaner and quicker process all around.
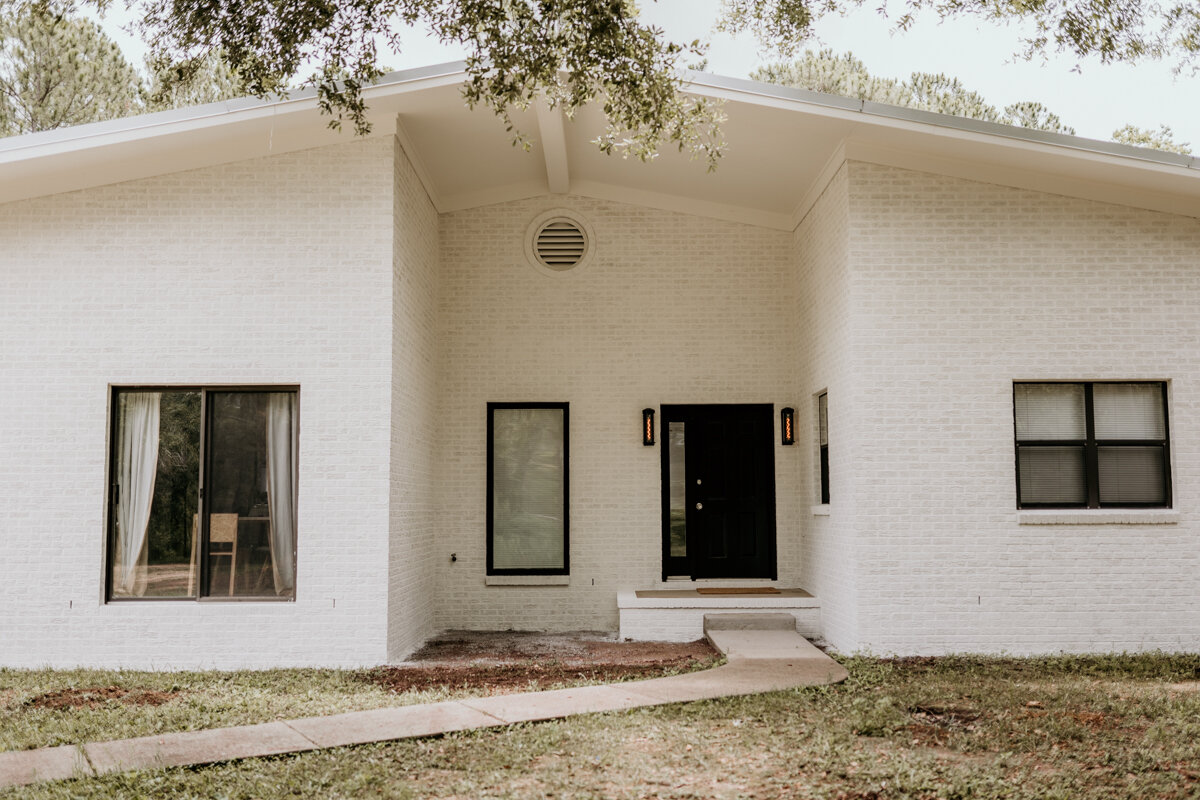
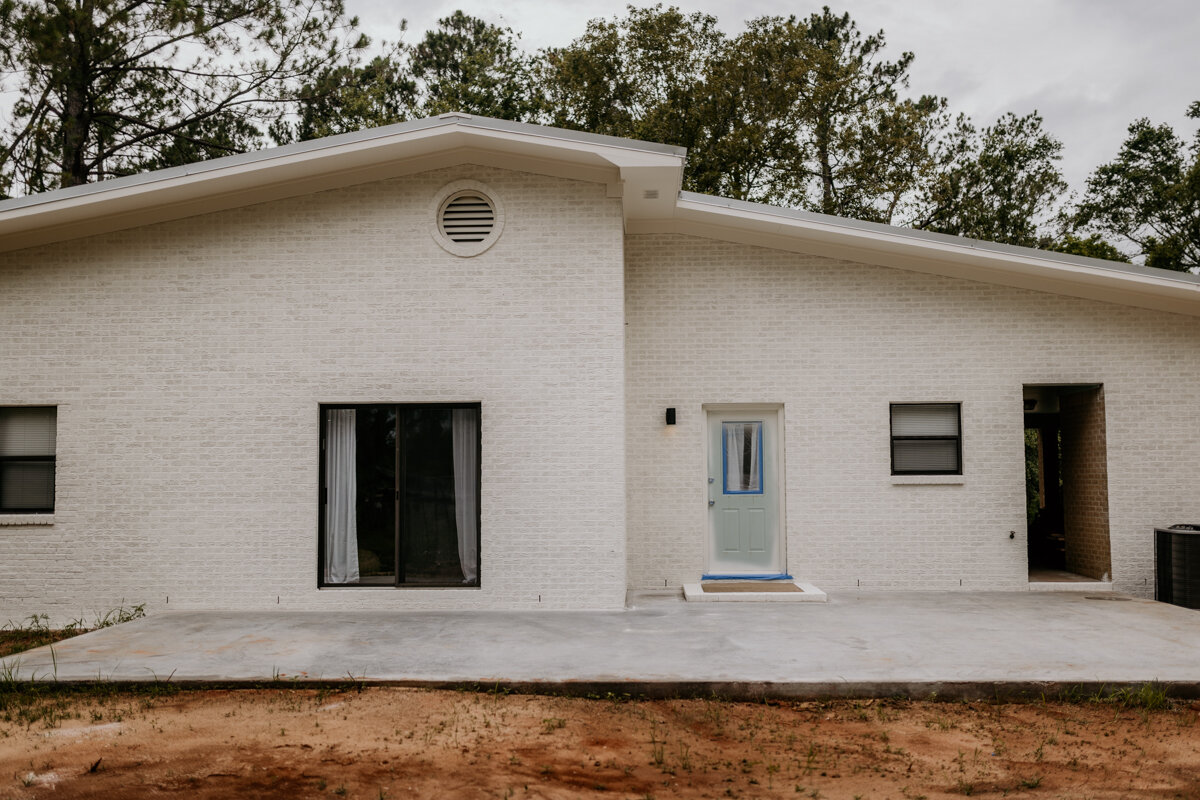
The second coat and having the blue be gone made all the difference in transforming this house. We got excited and took a sneak peak with uncovering one window and it looked amazing.
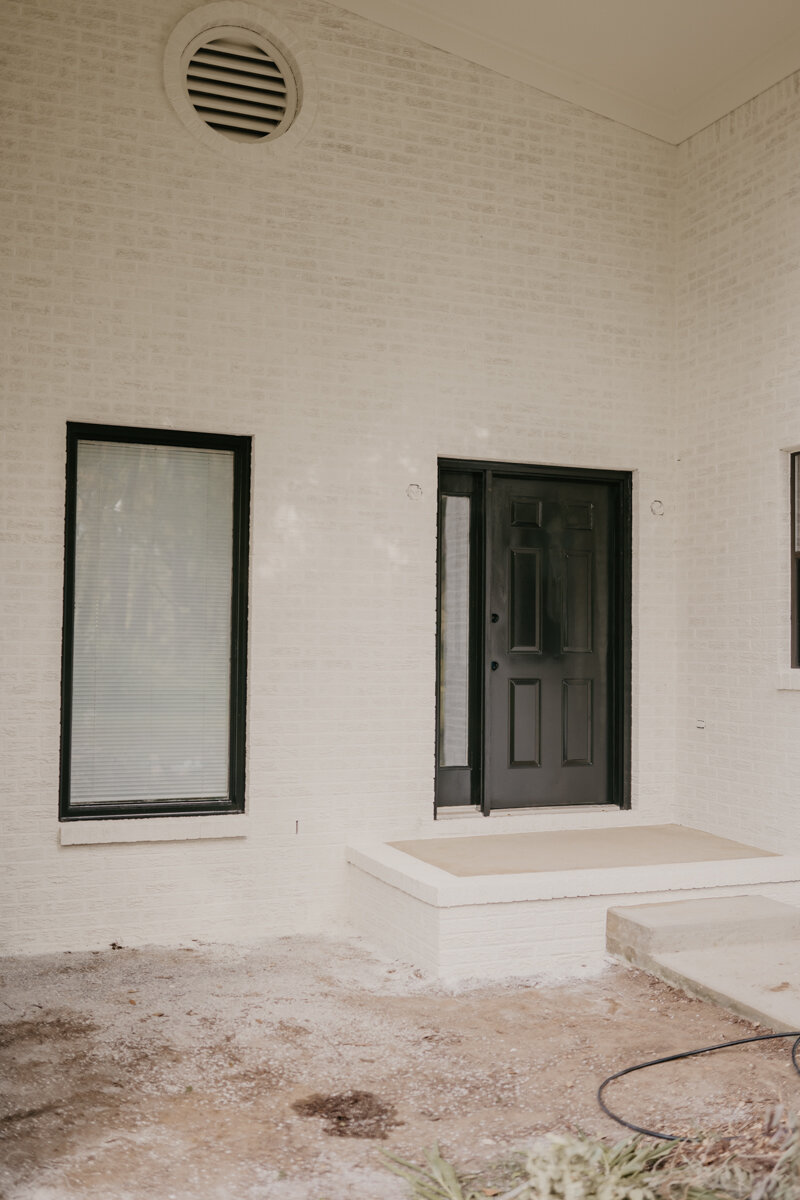
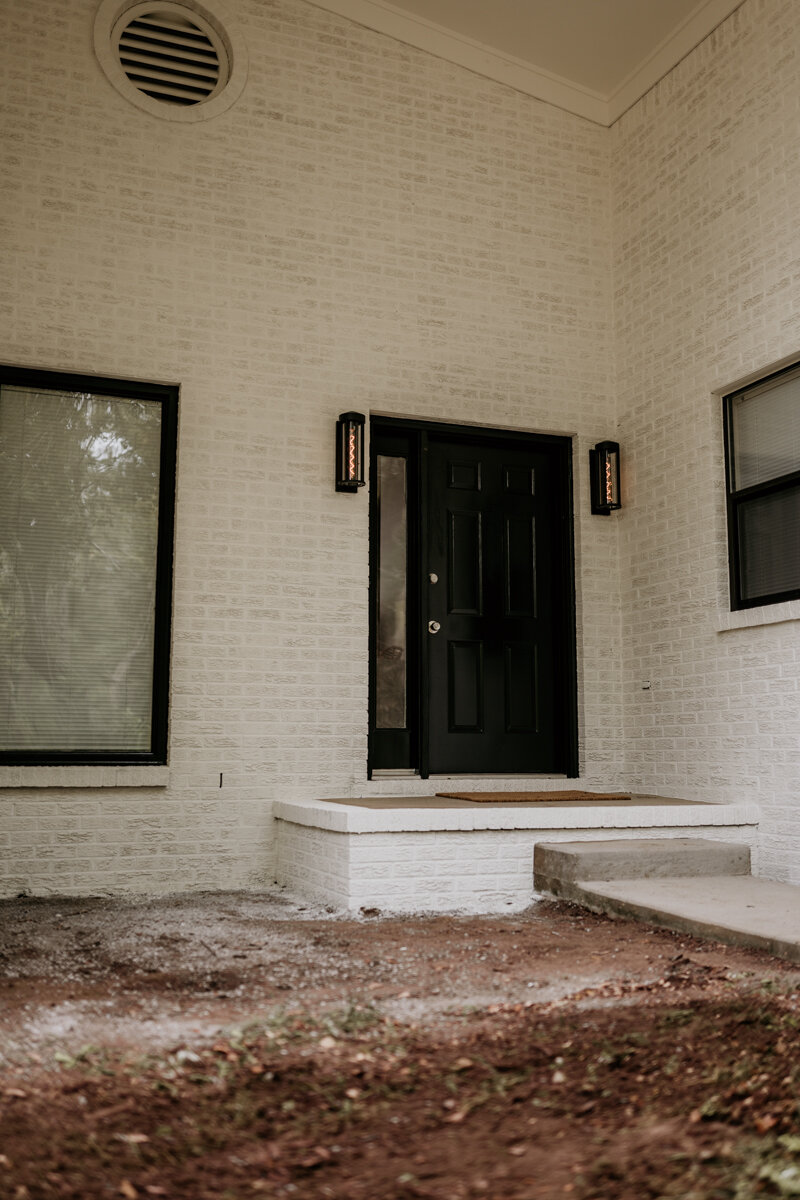
For the window trim and door paint, we used a brownish-black called Broadway to tie in the other windows and this really completed the look.
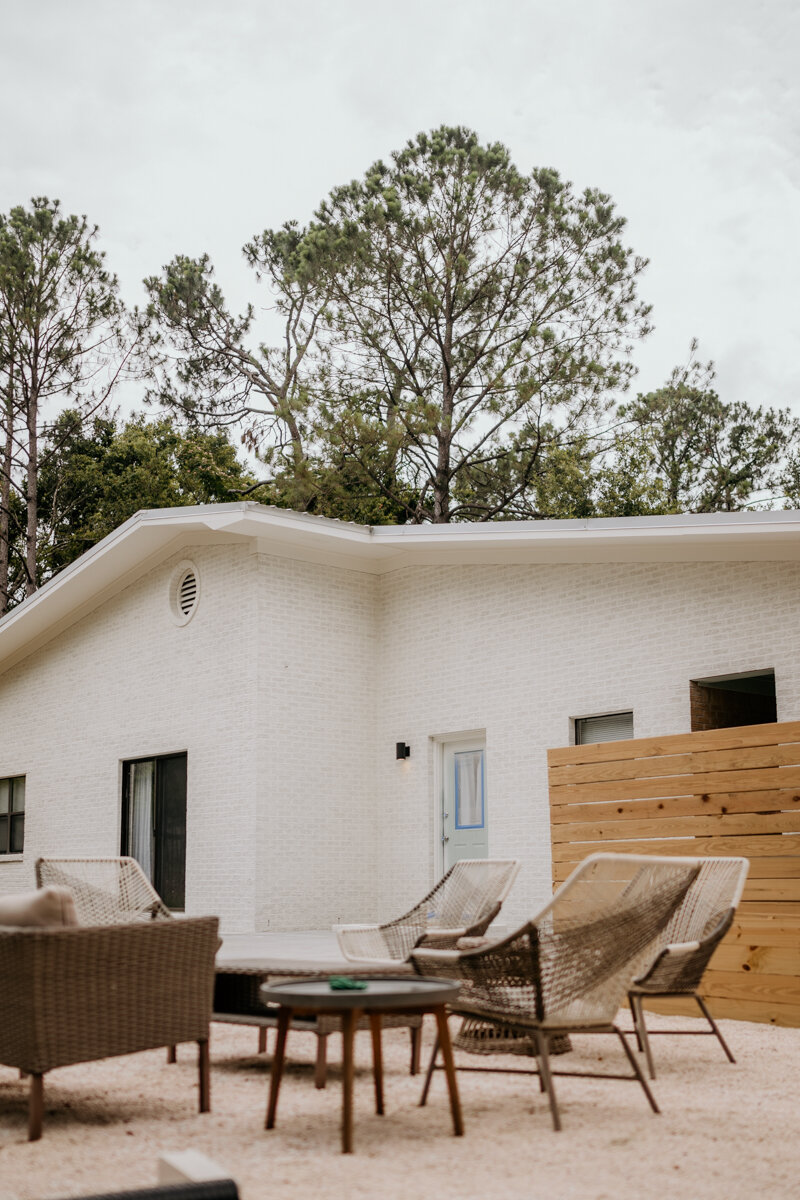
We love how the house turned out. There are, of course, still a few more things to do like the front garden beds, which will be in a video coming out soon as well as the back patio makeover. However, here is the link to the front entry lights! Front Entry Lights: https://homedepot.sjv.io/ZdVZB0 We also didn't have time to paint the back door with the rain we are currently having, so we will be doing that off-camera. We want this house to feel cool, calm, and collected when you see it and step inside. Painting the exterior was the first step in that direction and we can't wait to continue on.