DIY Minimal Bedroom Makeover

This post is sponsored by HomeRight.
In this weeks video we taking a really outdated bedroom and sprucing it up by painting the walls white, installing new trim, installing new carpet, installing a new ceiling fan, and decorating the room in simplistic modern style.
Thanks to HomeRight for sponsoring this Project!
Here’s the products we used:


As you can see here, this room is really outdated. The dark colored walls make the room feel smaller than it actually is, the carpet is dark as well and loosing its shape, and the trim is the small generic trim that most houses come with. We are going to do our very best to brighten this room up. We started out by taking all the outlets covers off and ripping out the old trim. A good little trick is to use a utility knife to cut the old caulk to separate the trim from the wall. It will help to not do to much damage to the sheet rock when pulling out the trim.

For paint application, we are using HomeRight’s E-Z Twist Paint Stick. This is amazing. You put the fill tube inside the paint can, connect the stick to the fill tube, flip a switch on the handle, and pull the end out. Then the tube fills with the paint and you are ready to get to work. No drips and no mess. When you need more paint you twist the end of the stick to push more paint out of the roller. This saves you a ton of time and effort from going back and forth to the paint tray.

We spoke with the lady in the paint department at Home Depot and she recommended for us to use a grey primer instead of white since we were covering up such dark red walls. She said grey primer covers red easier than white primer and grey primer to white paint is an easy transition. Boy was she right.

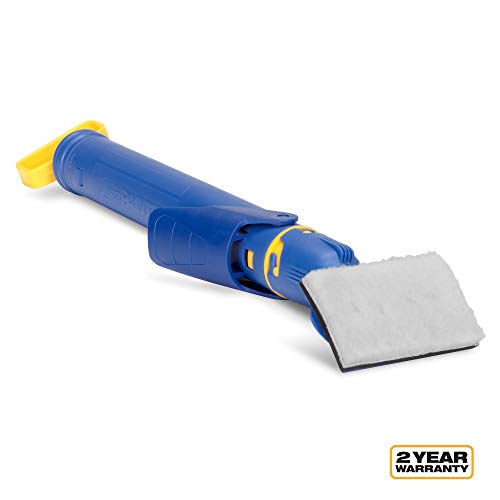
For the corners, I used HomeRight's QuickPainter Pad Edge Painter. You can also fill this up with paint and release the paint how ever often you need it. Not to mention how smooth of a finish the pad leaves.

After all the walls were primed, I came back in to cut in all the upper edges up to the ceiling. We ended up doing 2 coats of primer and cut in twice around the ceiling.

We noticed that the ceiling paint job was pretty spotty and a little yellow, so while all the paint supplies were out we went ahead and painted the ceiling as well. Using a roller cover helped out a ton to not splatter wet paint down on my face and clothes. Highly recommend that if you ever have to paint a ceiling. Also recommend an Advil because your neck will be hurting the next day.

Dylan started the first coat of white paint that night and I finished all the walls the next day. Now we can finally rip up the old dingy carpet and padding. The easiest way to do this is cut it up in sections, so its easier to manage and carry out.

Before adding carpet back in, we did all the trim work. We pre rolled on our trim color paint to all the primed trim before starting to run the trim. This will let us only have to touch up the nail holes later. We went with 1x4 primed boards for the door casing and 1x6 primed boards with a piece of bull nose trim attached to the bottom for the upper casing around the door. Having bigger trim makes the room or a home feel just a little bit more expensive than having the smaller trim. While Dylan did all the trim, I was coming in right behind him with spackling to fill all the nail holes. We also did 1x4 primed boards for the baseboards. We made sure to set the trim off the floor 1/2” to allow for the carpet to be tucked under. After trim was all in, we came back around and caulked all the edges for a nice seamless finish.
We didn’t feel comfortable enough to install carpet ourselves plus it was cheaper for someone to come out and install it instead of us buying the necessary tools for a good job. After it was installed we wasted no time getting furniture together and put in place. We reinstalled the same blinds as before because they were in pretty good shape. We did however add new curtains. Another little trick to make the room feel bigger is either get curtains that go all the way down the floor or attach the curtain rod to the wall a little above the window. For best results, do both. We didn't raise the rod here because the ceiling is already pretty low, so it would look a little goofy if the curtains started at the ceiling.

We found these really cute watercolor leaves already framed and in a set of 3 to go right above the bed. We used the Bosch Laser Level lined up in the center of the room so we know were the middle of the middle frame needs to go and also to keep all the frames level with each other.

Last thing we did was update the ceiling fan and we are all done. We went for a more minimal style in the decor of this room and we love how it turned out. The white walls really make the room feel so much bigger and brighter!

I acknowledge that HomeRight is partnering with me to participate in their campaign. As a part of the campaign, I am receiving compensation in the form of products and services, for the purpose of promoting HomeRight. All expressed opinions and experiences are my own words. My post complies with the Word Of Mouth Marketing Association (WOMMA) Ethics Code and applicable Federal Trade Commission guidelines.