Woodworking Shop Storage with Easy to Install Wall System

This post is sponsored by The Container Store.
The folks at The Container store reached out to us few months ago to see if we’d be interested in checking out their newest addition to their product line, Gladiator, as well as a long time favorite, The Elfa Shelving System. We sent the size of the area where we could use more storage over to the container store’s in house designer. Their design included cabinet storage as well as an entire wall unit with shelving. We decided to install the system ourselves, but The Container Store does offer an installation service if you prefer that.
We are first installing the Elfa top tracks. This track is what everything will be attached to, so we have to take our time and make sure the track is level before continuing. The kit came with dry wall anchors, but we have solid sheeting on the wall so we did not have to worry about that. We did however make sure that several of the mounting screws where into studs.

Once that is screwed into place, we can start sliding on the Elfa standards. we have 3 60” standards and 2 20” standards. This will allow a tall cabinet to fit under the 20” standards. This will make more sense later.

This is where a ton of accessories and customization can come into play. We are attaching these Utility Boards right into the easy hang standards. They actually click into place so you know they are good and secure. These will also help get everything square for the rest of the assembly process.
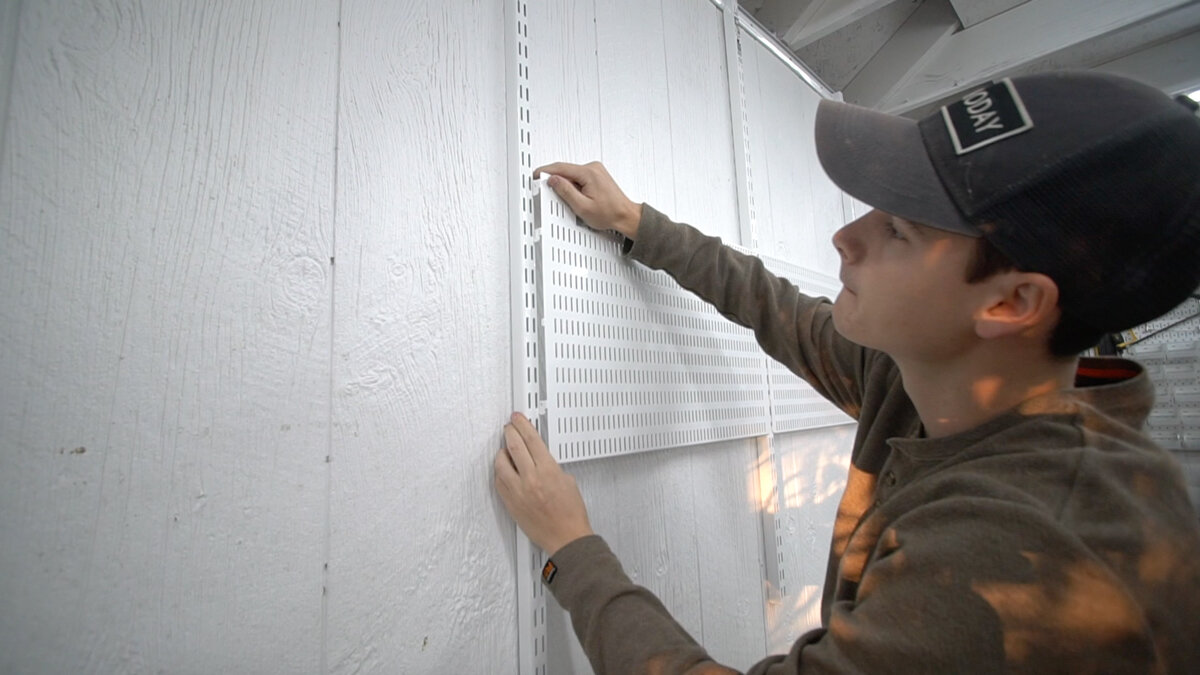
Now we can start adding in shelving. These brackets are so simple. they slide into the easy hang standards as well with a positive click. Make sure you place them at the same height from standard to standard. All the shelving components will slide into these brackets and be firmly secured.

These ventilated wire shelves will be so nice to have when there is dust flying around all the time. The dust can just fall through to the floor and get swept up later. These shelves are also super simple to install. They just get slide into mounting slots in the brackets and are firmly held in place. These are a little difficult to get lined up, but once in place you don’t have to worry about them moving.
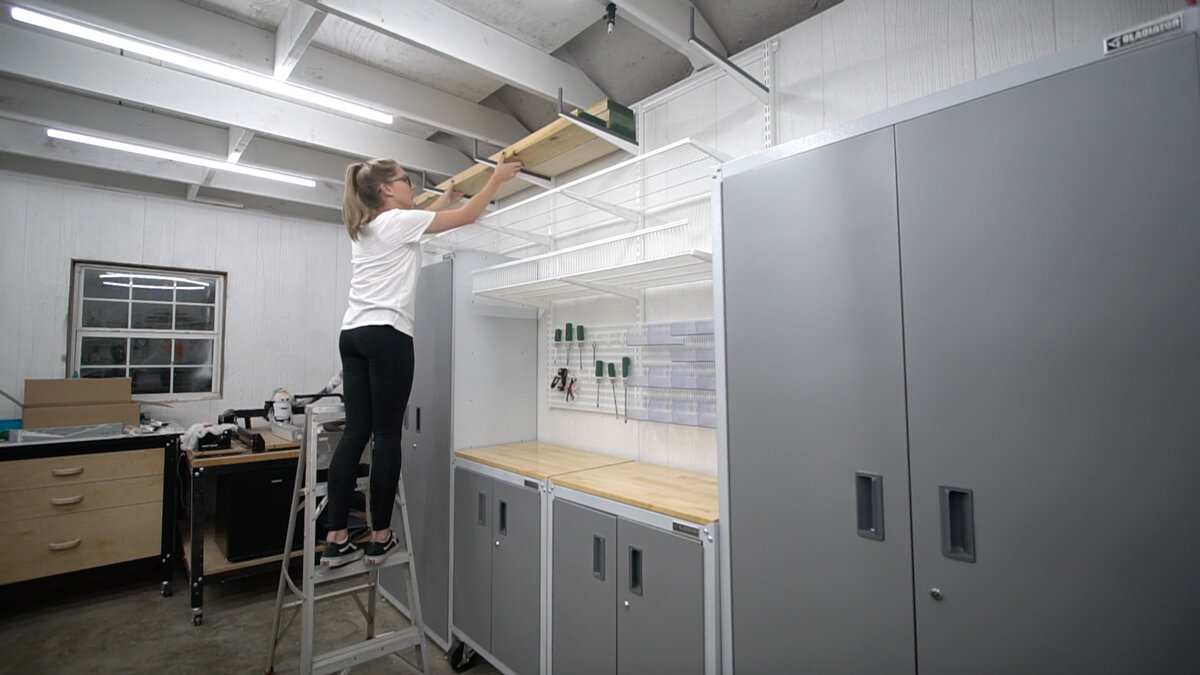
Next we are going to install the brackets for our lumber rack. We haven’t had a place to store lumber in such a long time, that this feels like a treat. These are the same brackets as everywhere else, but these get the utility bracket posts added to them so wood can sit right on the brackets and will also keep wood from falling over the edge.

We decided we wanted the tool utility boards to be a bit lower. All you need to do to remove them is get a flat head screw driver to pop the hook on the backside out. Then you can move them to wherever you want.
After moving the tool holder wall, we added a couple more shelves right above. We added covers to the ends and shelf liners as well.

Now we can finally start adding in some of our smaller most used tools with accessory hooks as well as the Part bins for our most used screws. These slide into the slots on the utility board and click into place. Once in place they are very secure.
We also added in a top track cover to hide all the screws and make a nice clean finished look. This cover also keeps the standards an equal distance apart.
Everything is now coming together with the gearbox cabinets from Gladiator. We have two tall cabinet and two small mobile cabinets with a work surface. The taller cabinets also come with leveling feet, so you are sure to have a steady and square cabinet. We opted for the casters on the smaller cabinets to keep them mobile. It's amazing how well the Elfa system and Gladiator cabinets work together to create seamless look.
Now that all the big stuff is all put in place we can start filling up all the shelves and cabinets. We have all of our chemicals and easy to leak items in a tall weather tight tote. We also have paper towels in a tote so no dust can ruin them as well as all of our paint supplies.
Overall, we love how easy this system is to install and how customizable it can be. It fits all of our wants and needs to well and we couldn't be happier with all the storage space it gives.

I acknowledge that The Container Store is partnering with me to participate in their campaign. As a part of the campaign, I am receiving compensation in the form of products and services, for the purpose of promoting The Container Store. All expressed opinions and experiences are my own words. My post complies with the Word Of Mouth Marketing Association (WOMMA) Ethics Code and applicable Federal Trade Commission guidelines.