Woodbrew Miter Saw Station

We are building this entire miter saw station out of Rockler's shop stands (affiliate link). One is the 36” x 24” stand, which is where the miter saw will sit, and we are also using 2 24”x 36” stands that will be on either side with drawers for storage. On all stands, will be a t-track table (affiliate link). Assembly went really easy, just screw in some bolts and nuts and attach casters and t-track table top to all 3 stands.

Now we can make the drawers for the side tables. These are pretty simple drawers out of 3/4” plywood. Just glue the edges, brad nail to hold everything in place, and then attach the bottom piece, which is 1/4” plywood.

We came back around and screwed all the pieces together to be extra secure. We made two of these sized drawers and then we made the bottom drawer deeper to hold taller items.
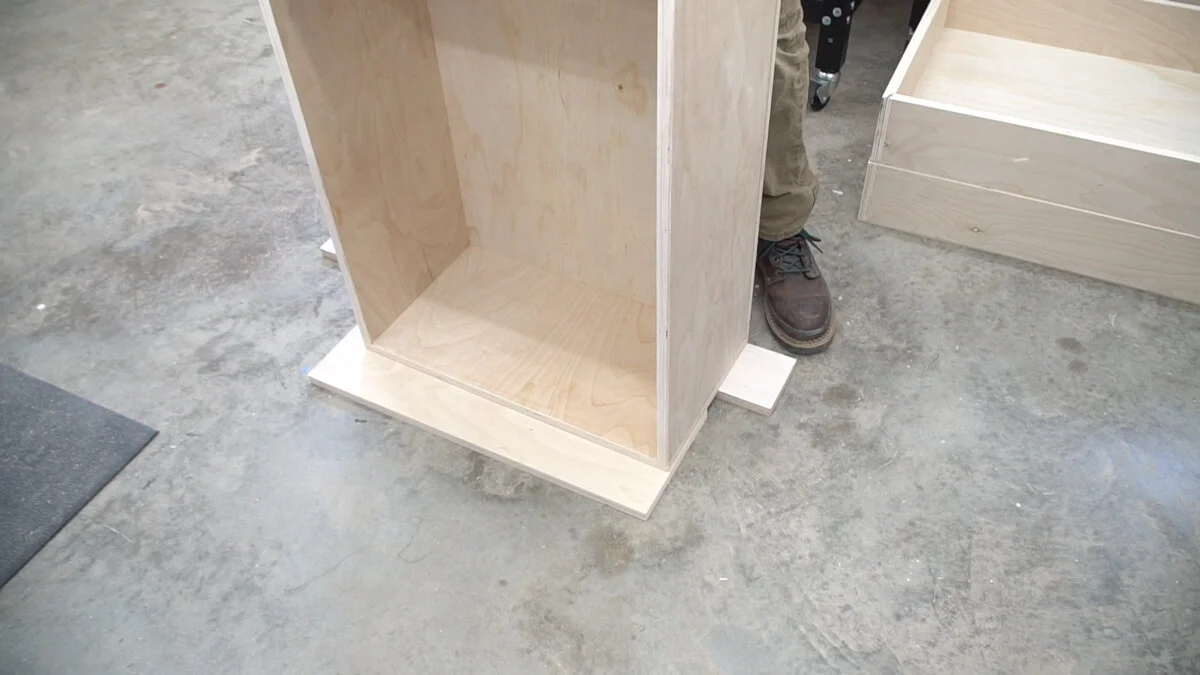
Now we can move onto cutting and putting all the walls in place in the side table. The sides are 1/2” plywood and the back piece is 1/4”. Nothing will be getting attached to the back so 1/4” will work just fine to close off the space.
Now its time for drawer slides. We need the slides to be even with the edge of the angled leg of the stand, so we made a little concoction to make that happen. Using 3/4” plywood we cut 8 strips total, 4 for each side of the table. Then, we glued and brad nailed two strips together, so now we will only have 2 for each side. These will give the slides a place to screw into and make installing them a bit easier, while also getting them close enough inside to attach to the drawer.
While the glue dried, we moved onto closing in the middle stand. All the sides are 1/4” and there won't be any drawers in this one. This will house our vacuum for dust collection.

When the strips were dry, we marked out where each drawer slide needs to be. They will sit in the middle of each drawer, so we measured accordingly. We also marked where the middle of the slide will sit, so we can go ahead and pre drill where the screws will go.

Next is just attaching all the slides to the strips and we are ready to put them inside the tables.

The drawers will have a 3/4” face on them, so we just took a scrap piece of 3/4” to reference from and so we know how far back the slides need to be.
The strips will be attached from the outside, so to know where the screws need to be without hitting a slide, we drilled all the way through from the inside.
Repeat for opposite side.
Now we can attach the slides to the drawers. The best thing to do is take out the slide that gets attached to the drawer, its a lot easier. We made a center mark along the side of the drawer, and then lined up the middle of the slide to the line. Then, we can trace out each hole, and pre drill for the screws. Now we are good to go to attach the slide.

For the other side, grab some scraps and set the slide you just screwed on in the center. This will keep you from putting the slide on the floor and keep it all level.
Repeat the steps for this side and you are good to go to put the drawer in the table.
Also shoutout to Accuride for supplying us with the soft close drawer slides.
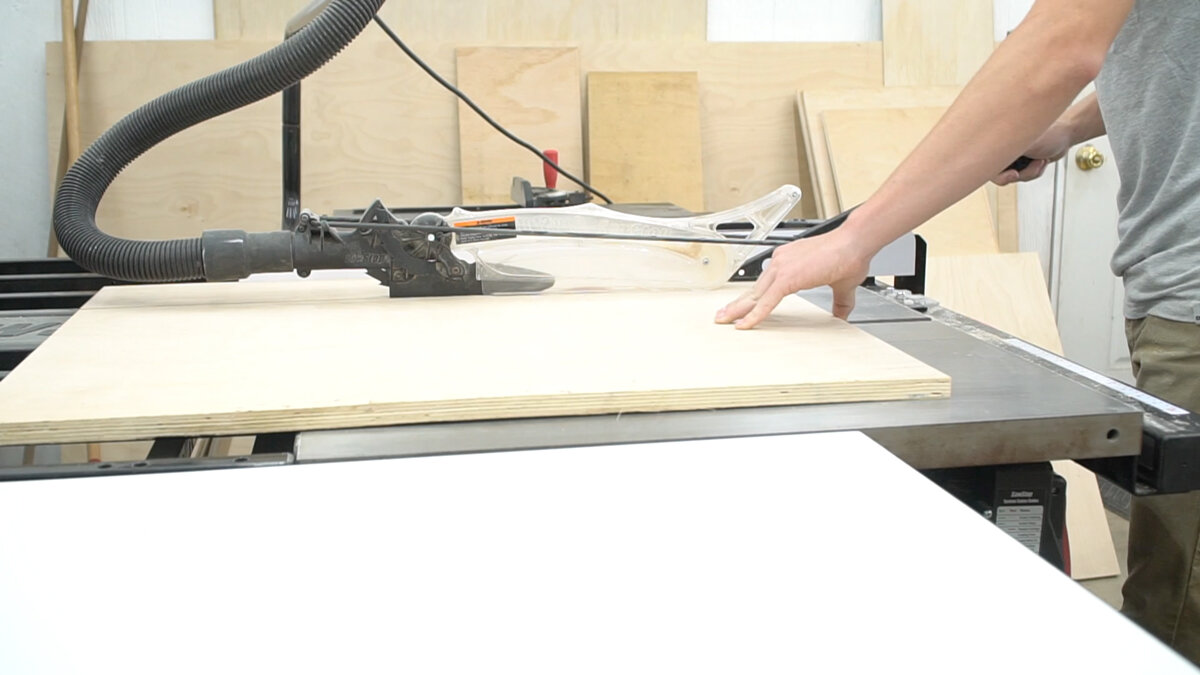
Moving onto cutting out the drawer fronts. We want to keep the grain consistent on all the fronts, so we just cut out exactly the sizes we needed from a single sheet.
To mark the holes for the pulls, we first found the center of the drawer front. Then using the Drawer Pull JIG IT Template (affiliate link) from Rockler, we lined up the centers of each. We want our pulls to be 4” apart and that’s the last holes on the template. Trace those out and you can now drill for the drawer pull screws.

Attaching the drawers fronts is pretty simple. We used plastic shims (affiliate link) above and on the sides of the top drawer front so there will be enough space to for the drawer to slide in and out. Then, we temporarily screwed it on from the front, and then screwed it in from the back.

We want to add a door to the middle table to hide the vacuum, so we needed a strip to go in the inside on the leg to screw a couple hinges to. Then, we cut out our door to the right measurement. We want the middle our hinges two be 2” in from the top and bottom and then we can trace out where the holes are to pre-drill. Now, we can attach the door to the table and we ended up adding a magnet to hold the door closed.

Now its time for finish. We used a simi-gloss one coat polyurethane (affiliate link) for all the sides and drawers.

We are on the home stretch now by making our drawers pulls. We are using the Inventables X-Carve (affiliate link) to cut out all seven of our pulls. Inventabels is also a sponsor for this weeks video. We love having this CNC machine in our shop. It has opened a whole new door into woodworking and the possibilities are endless. We are using maple for our pulls and it only takes about 4-5 minutes to cut out each one.
